
A Step by Step Guide to Installing a Home EV Charging Station
7 min read Easy-to-follow guide on installing your own home EV charging station with tips, costs, and expert advice. (0 Reviews)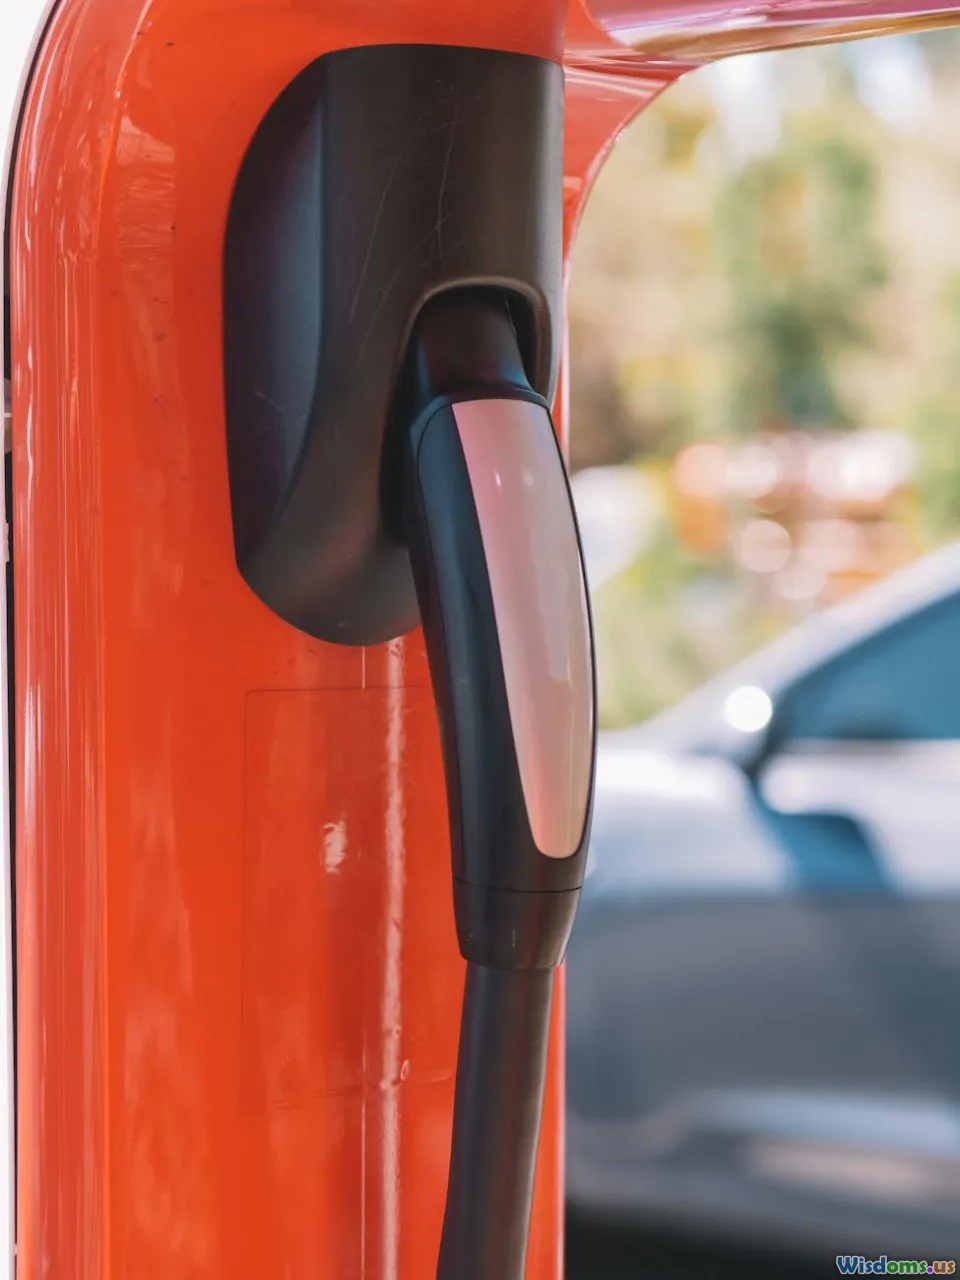
A Step-by-Step Guide to Installing a Home EV Charging Station
Electric vehicles (EVs) are no longer a futuristic idea; they're revolutionizing how we think about transportation. But what powers these lightning-fast innovations in an everyday setting? The answer lies at home—your very own EV charging station. Whether you're embracing electric for environmental, economic, or tech-savvy reasons, setting up a home EV charger is a smart move.
Why Install a Home EV Charging Station?
Owning an EV might be exciting, but charging it can be a logistical puzzle without the right infrastructure. Public charging stations are growing, but a home charger offers unmatched convenience, cost-efficiency, and control.
Consider this: According to a 2023 report by the Electric Power Research Institute, 80% of EV owners primarily charge their vehicles at home. Installing a Level 2 charging station can cut your charging time from over 12 hours on a standard outlet to just 3-8 hours, making it an efficient daily solution.
Imagine pulling into your garage after a long day, plugging your car in, and waking up to a fully charged battery every morning. This step-by-step guide will walk you through everything you need to make this scenario your reality.
Step 1: Assess Your Home’s Electrical System
Before diving in, understanding your home’s current electrical capacity is crucial.
Why It Matters
An EV charger, especially Level 2 (240 volts), draws significant power. A mismatched electrical system risks overloads or requires costly upgrades.
What to Do
- Hire a Licensed Electrician for an Inspection: They will assess your panel’s amperage, wiring condition, and existing load.
- Determine Your Panel's Capacity: Standard home panels often support 100-200 amps. If your panel is insufficient, an upgrade will be necessary.
- Check for Space: Level 2 chargers need adequate breaker slots.
Real-World Insight
Tesla recommends a minimum of 30 amps dedicated to chargers, but 40 amps are preferred for faster charging. Homes with panels under 150 amps might face difficulties.
Step 2: Choosing the Right Charging Station
Selecting the proper equipment optimizes functionality and cost.
Level 1 vs. Level 2 Chargers
- Level 1 Chargers: Plug into a standard 120-volt outlet; convenient but slow—adding only 3-5 miles of range per hour.
- Level 2 Chargers: Require a 240-volt outlet; provide up to 25-30 miles of range per hour.
Considerations When Choosing
- Amperage Rating: Opt for 30-40 amp units for better speed.
- Smart Features: Wi-Fi connectivity allows remote monitoring and energy usage reports.
- Certifications: Look for UL-listed devices ensuring safety.
Popular Examples
- JuiceBox by Enel X: Sleek, smart, and offers a 40 amp charger.
- ChargePoint Home Flex: Flexible amperage settings and app control.
Step 3: Securing Necessary Permits
Electrical work typically requires permits to ensure code compliance and safety.
What to Know
- Contact your local building department for requirements.
- Submitting a site plan or electrical schematics might be necessary.
- Permits also protect your insurance and resale value.
Insider Tip
Many electricians will handle permits on your behalf, making this step headache-free for you.
Step 4: Professional Installation
While some handy EV owners consider DIY, electrical work carries risks better left to professionals.
Installation Steps
- Mounting the Charger: Outside near your parking spot or inside a garage wall.
- Running Wiring: From the breaker panel to the charging unit.
- Installing Dedicated Breaker: Ensuring your EV charger has an assigned circuit.
- System Testing: Verifying proper operation and safety.
Cost Expectations
The national average installation cost ranges from $500 to $2,000 depending on electrical upgrades and wiring complexity.
Safety First
The National Fire Protection Association stresses that improper EV charger installation risks electrical fires. Hiring a certified electrician mitigates these risks.
Step 5: Post-Installation Activation and Use
After installation, here's how to maximize your new EV charger.
Register the Charger
If your unit offers smart features, connect it to your home Wi-Fi, register the device, and download the corresponding app.
Leverage Time-of-Use Rates
Many utility companies provide discounted electricity during off-peak hours—typically late at night. This can significantly reduce charging costs.
Maintenance Tips
- Inspect wiring annually.
- Keep the charger clean and dry.
- Monitor app alerts for fault notifications.
Conclusion: Empower Your EV Ownership Experience
Installing a home EV charging station transforms your vehicle from a promising gadget into a practical daily companion. It combines speculation with convenience, blending technology and sustainability. From evaluating your home's electrical system to professional installation, each step is critical for efficient operation and safety.
Don't just drive the future—power it from your home.
Ready to electrify your garage? Start by consulting a licensed electrician and browse chargers that fit your needs. Your EV’s lifeline awaits.
Rate the Post
User Reviews


Popular Posts


