
Are DIY Halloween Window Silhouettes Worth the Effort?
17 min read Explore if creating DIY Halloween window silhouettes is worth the time and effort for festive, spooky décor. (0 Reviews)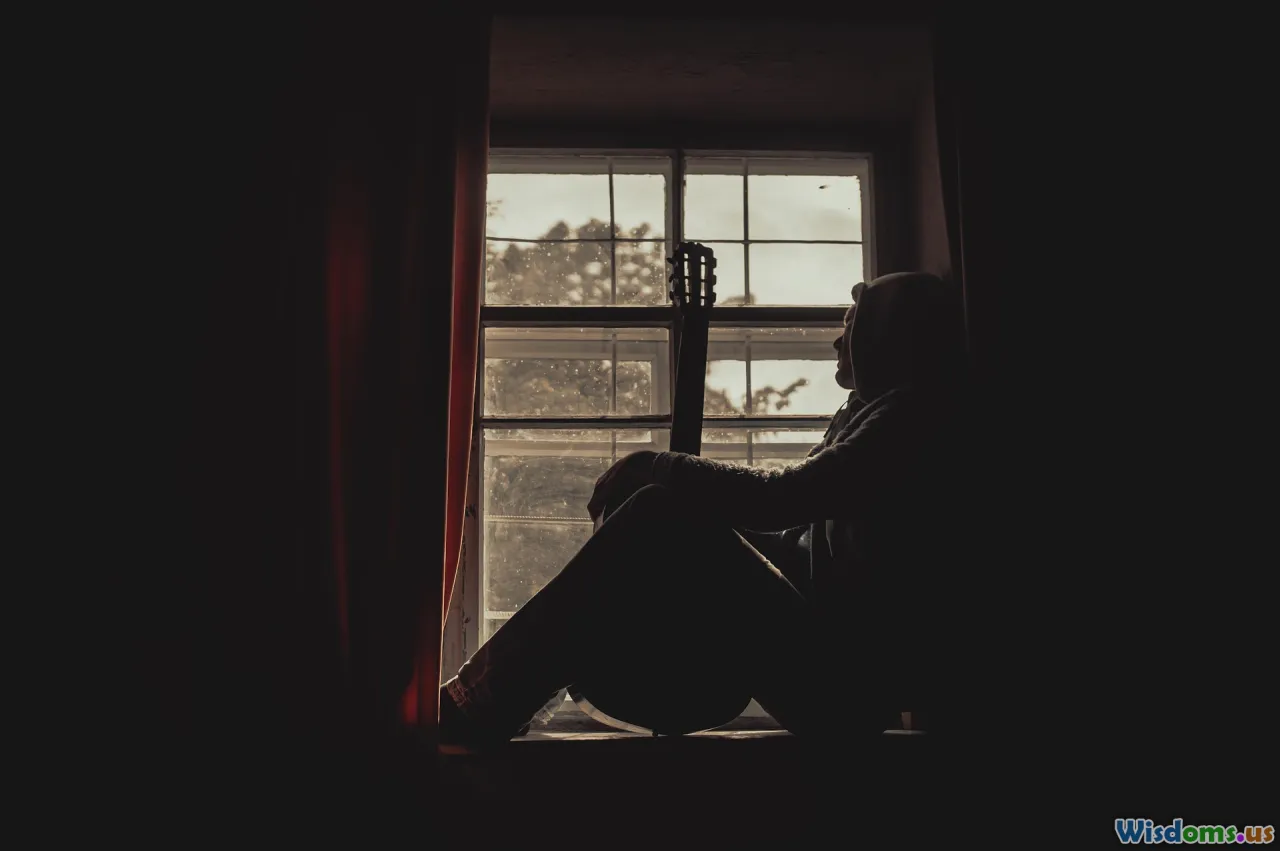
Are DIY Halloween Window Silhouettes Worth the Effort?
Crisp autumn nights, the thrill of pumpkins adorning porches, and the anticipation of trick-or-treaters—Halloween offers a unique excuse to transform the home into something wickedly enchanting. Among the many creative decorations, Halloween window silhouettes have emerged as a favorite DIY project, promising bold, shadowy drama and spooky charm without draining the wallet. But are these handmade displays truly worth the effort, or do they demand more time and skill than many anticipate? Let’s peel back the curtain on the practical joys—and challenges—of crafting your own Halloween window silhouettes.
The Allure of Shadowy Spectacle
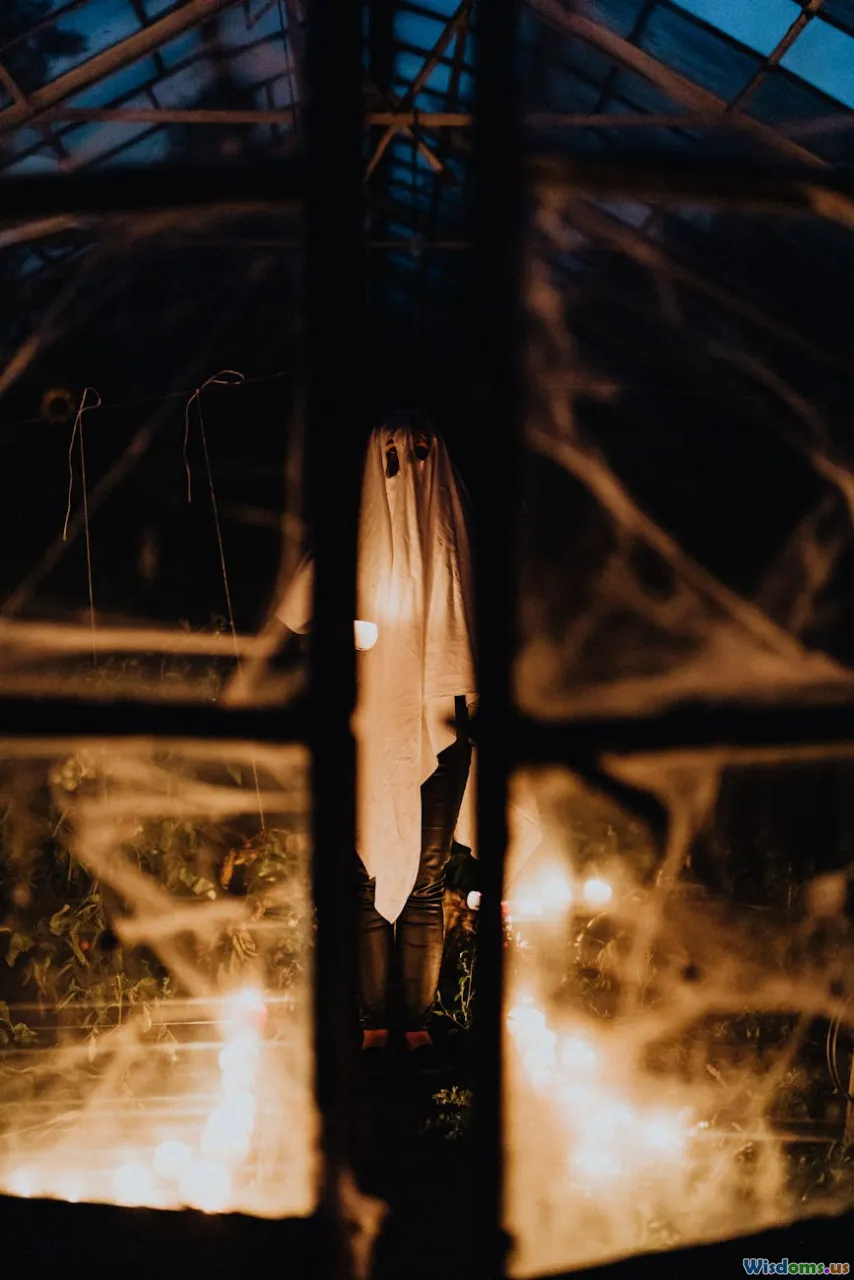
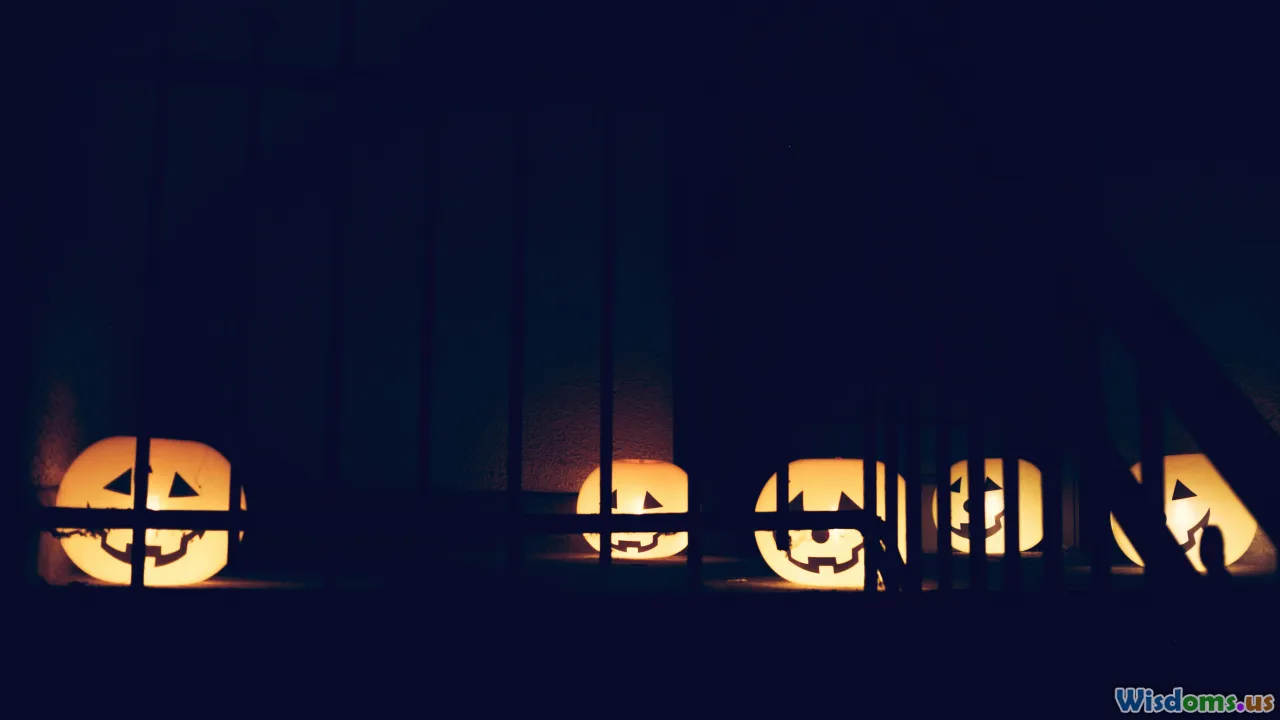
Window silhouettes capture Halloween’s visual language in one of its purest forms: bold shapes illuminated from within, transforming ordinary spaces into eerie tableaux. The appeal lies in both their simplicity and the almost cinematic allure they create. A pair of haunted eyes, ghostly apparitions drifting behind the glass, or an entire family of witches cramped comically together—all become instantly arresting after dusk falls.
These displays are more than fleeting decor; they’ve become part of the seasonal folklore in neighborhoods across the country, igniting healthy competition over the most creative windows on the block. Entire communities coordinate themes, with local contests recognizing the spookiest or silliest designs. The fact that silhouettes can be clearly seen from a distance compels many to choose them over small table or porch decorations, especially for those aiming to impress passersby—and not just the candy-seekers at the door.
Take, for example, the viral photos from towns like Sleepy Hollow, NY, and Salem, MA, where elaborate silhouettes are now an expected feature during October. In some places, walking tours have sprung up just to showcase creative windows. The medium delivers envy-inducing results without needing to step foot inside a party store.
The Basics: What Goes Into DIY Halloween Silhouettes?
Unlike many decor projects, window silhouettes require only a handful of affordable supplies. At their simplest, you’ll need:
- Large sheets of black paper, poster board, or blackout craft foam
- Scissors, utility knife, or precision craft blade
- Transparent tape, spray adhesive, or removable window decals
- White chalk or colored pencils for sketching shapes
- A printed template or stencils (for less confident artists)
The process involves sketching a bold, recognizable outline—a witch, dancing skeletons, a menacing tree—onto the material, then carefully cutting it out. When the shapes are secured against the window—often with translucent backing tissue or none at all—and house lights illuminate them from behind, the effect can be delightfully dramatic.
What’s deceptive, though, is just how much creative freedom the medium allows. Beyond store-bought stencils, DIYers often design intricate haunted houses, elaborate scenes with bats and werewolves, or even playful Halloween puns spelled out in giant gothic letters. Some enthusiasts up the ante by layering colored cellophane, adding red LED backlights for eyes, or experimenting with movable parts.
Measuring the Effort: Time, Skill, and Materials
So how much effort is involved, really? The basics—cutting a pair of bat shapes and taping them up—might only take twenty minutes. But larger, multi-window scenes or custom silhouettes with lots of detail can become a several-hour endeavor. Here’s a breakdown of what to expect:
Time Investment:
- Simple designs: 20-60 minutes to plan, cut, and mount (ex: spooky eyes, standard pumpkin face)
- Intermediate designs: 1–2 hours for multi-shape compositions (a witch with floating cats, cemetery scene)
- Advanced/multi-window scenes: 2–6 hours or more (haunted house with trees, layered characters)
Skill Level:
- Beginners can achieve great results by tracing templates
- Precision cutting and inventive design pushes challenge higher
Material Cost:
- Black poster board: $1-3 per sheet (usually 2-6 sheets suffice for most windows)
- Mounting supplies, tape/adhesive: $2-5
- Optional cellophane or colored tissue: $1-3
- Total project cost: typically under $15, even for elaborate windows
The main ‘effort cost’ comes from the planning, sketching, and especially the cutting for large or detailed pieces. Mistakes can mean starting over (or cleverly patching with some quick artistic rescue work). However, many DIYers find the meditative process rewarding, and—with some music or a Halloween movie in the background—it can become a memorable seasonal tradition.
Comparing DIY to Store-Bought Silhouettes

With the growing popularity of all-in-one Halloween decor kits, it's fair to ask: Why not just buy a packaged set of silhouettes? Let’s weigh the pros and cons of each approach.
Store-Bought Silhouettes:
Pros:
- Convenient—open the box, peel and stick, or hang
- Designs are often professionally balanced and detailed
- Durable materials may survive multiple seasons if stored properly
Cons:
- Limited selection—your home may look just like your neighbor’s
- Higher cost, often $15–$40 for a multi-piece set
- Sizes may not fit all windows; less flexibility for unique window shapes or themes
- Less opportunity for creative expression
DIY Silhouettes:
Pros:
- Unlimited freedom—design, size, layout, and theme
- Cost-effective, often using household materials
- Can be customized for every window
- A fun activity for families, friends, or solo crafters
Cons:
- Time investment, especially for ambitious designs
- Learning curve for beginners
- Materials are less weather-resistant and typically last only one season unless protected
Ultimately, DIY silhouettes win in the creativity department and cost less for those willing to invest their time. The satisfaction of unveiling a homemade scene at dusk often outweighs any potential frustration for craft lovers.
Tips for Achieving Stunning Silhouettes
To help make the DIY process smoother and results more impressive, consider these practical suggestions from experienced creators:
- Start With Printable Templates: Many websites offer free silhouette templates for classic Halloween figures. Tracing eliminates guesswork and helps beginners get confident.
- Go Bold, Not Fussy: Small details and thin lines may not read well from the street. Shape edges should be clear and exaggerated—a lumpy ghost or offset grin just adds character.
- Test With Lighting: Before mounting, place your shape in the intended window, then check it during the evening hours. Sometimes minor tweaks in angle, overlap, or background tissue make a dramatic difference.
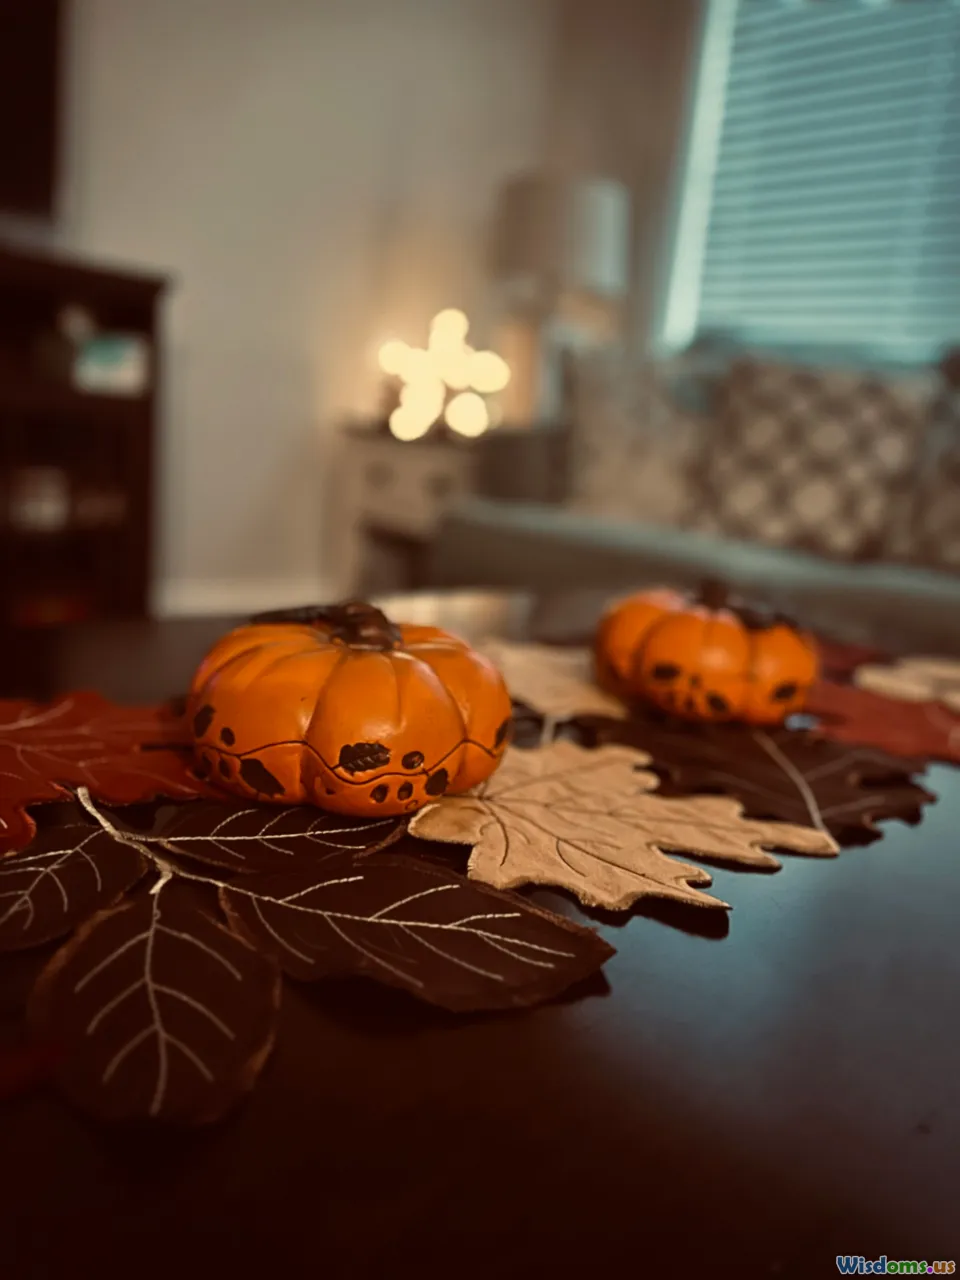
- Use Color and Layering: Add spooky orange or yellow cellophane flames or fiery eyes for a multi-dimensional look.
- Mind the Mounting: Tape works fine for short-term displays, but for humid or cold climates, poster putty, static cling vinyl, or low-tack spray adhesive provide better results (make sure materials are safe for windows).
- Preserve If Possible: Roll larger pieces gently and store in a dry place for next year. Heavy-duty poster board or foamcore lasts much longer than standard construction paper.
Case in point: The Thompson family in Denver created a custom silhouette of their three children dressed as mummies, mounted it over the main bay window, and backlit it with purple LEDs. A snapshot posted online won them a local contest—demonstrating that with some effort and imagination, DIY displays can outshine anything off-the-shelf.
Overcoming Common Pitfalls

Even the most dedicated DIY-ers run into hurdles. Here are frequent stumbling blocks—and how to sidestep them:
- Floppy or Sagging Designs: Thin strips of paper or overly large unsupported sections tend to flop. Reinforce weak spots with clear tape or double layers. Heavier poster board or foamcore can help with large pieces.
- Windows Too Small or Irregular: Custom trimming is one advantage of DIY silhouettes. For oddly shaped windows, tape a large piece of paper directly on the glass first, trace the opening onto it, then design within those boundaries.
- Unruly Reflections or Poor Lighting: Lights on inside the home, or curtains close behind the silhouette, can muddy the effect. For maximum impact, turn off foreground lights, use white blinds behind the design, or add a dedicated light source behind the display.
- Weather Woes: Condensation can weaken adhesives. Stick with inside-mounting products, and choose water-resistant tape in humid climates. Don’t use materials that can stain or leave residue on window frames.
If you mis-cut or your design tears, don’t panic—strategically placed bats or rats can cover a multitude of sins, and Halloween itself embraces imperfection with gleeful abandon.
Family Fun Factor: Involving Kids and Groups

Perhaps the greatest intangible benefit of DIY window silhouettes is their power to unite. The project’s simple steps and opportunity for creative play appeal to every age, making it accessible for families, classrooms, scout troops, and friend groups alike.
Involve younger children by assigning them simpler shapes—pumpkins, ghost blobs, or classic cats—while older kids (or adults) tackle more complex designs. Set up a craft night with hot cider and classic monster movies for an annual tradition. Across many communities, art classes use silhouette projects as seasonal lessons in positive and negative space, teamwork, and creative problem-solving.
For example, the Ashbury Elementary School in Chicago hosts an annual “Dress the School” day, where each class decorates their windows with hand-cut silhouettes—turning the ordinary red-brick schoolhouse into a delightful (and non-scary) spook-fest that brightens the neighborhood and builds creative confidence.
Sustainability and Budget: Getting More With Less

Halloween, in an era of mass-manufactured plastics and quickly discarded decor, can feel excessively wasteful. DIY silhouettes offer a greener alternative. Most materials (paper, cardboard, tape) are recyclable or compostable. Sheets can be repurposed from mailing boxes, leftover poster board, or even upcycled black shopping bags.
Additionally, by forgoing the temptation to buy new decor every season, enthusiasts can devote that budget to creating one or two new masterpieces per year, gradually assembling a collection of unique, reusable designs.
One green-minded household in San Francisco reported making their annual silhouettes out of last year’s moving boxes, painted black with leftover water-based paint. Even their mounting tape was biodegradable. Their philosophy: let creativity, not consumption, define the holiday.
Going Beyond the Window: Expanding the Silhouette Idea
Once you master the window approach, silhouettes can be adapted for doors, porch railings, or even lawn displays using weatherproof materials like corrugated plastic or recycled Styrofoam. Some crafters use LED spotlights behind garden silhouettes for a theatrical effect pumpkin carvings can't match.
There's also a trend toward ‘interactive’ silhouettes: moving parts (motorized flying bats), QR codes linking to spooky audio stories, or even shadow-puppet displays for passersby. Enthusiasts share their creations on platforms like Instagram and TikTok—demonstrating that DIY silhouettes continue to evolve far beyond a piece of black paper cut with scissors.
Final Thoughts: Is the Effort Worth It?
DIY Halloween window silhouettes may not be entirely effortless, but for many, the dividends easily justify the investment. A few hours of creative work can transform a humble façade, thrill visitors, and deliver lasting memories—for a fraction of the cost of big-box swag. More importantly, they spark connection by inviting families, friends, and neighbors to appreciate both the mischief and art at the heart of Halloween.
If your goal is a unique, show-stopping display that signals your love of the season, rolling up your sleeves for some DIY window magic might just become your new October ritual.
Rate the Post
User Reviews


Popular Posts


