Mastering the Bow Drill Step by Step Fire Starting Guide
8 min read Learn how to master the bow drill fire-starting technique with our detailed, step-by-step guide for survival enthusiasts. (0 Reviews)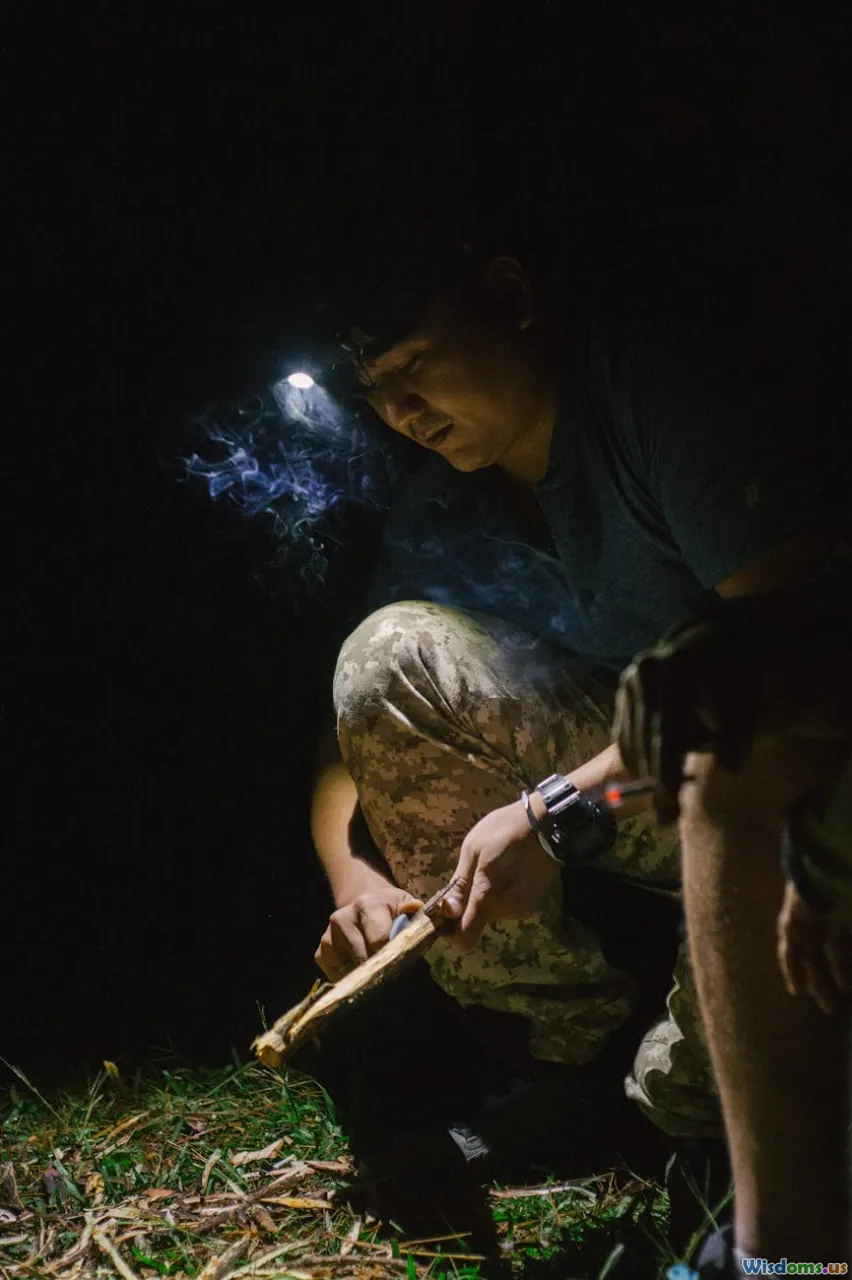
Mastering the Bow Drill: Step-by-Step Fire Starting Guide
Fire is the cornerstone of survival and adventure, providing warmth, cooking ability, and protection. Among traditional fire-starting methods, the bow drill remains one of the most dependable—but also one of the most challenging to master. This ancient technique, dating back thousands of years, uses friction to create an ember which can then ignite tinder into flame.
In this guide, we’ll break down every stage of the bow drill method, equip you with the knowledge to select proper materials, and share expert tips to ensure your success even in adverse conditions.
Understanding the Bow Drill: The Mechanics Behind the Fire
The bow drill operates on a simple principle: friction. By rapidly spinning a wooden drill against a fireboard (a flat piece of wood), heat is generated, eventually igniting fine wood particles into an ember. This ember can be carefully transferred to tinder to start a living flame.
Historically, the bow drill technique has been used worldwide, from Native American tribes to early Asian civilizations. Its longevity is a testament to both its effectiveness and the skill it requires.
Essential Materials: Selecting the Right Components
Success in bow drill fire starting begins with choosing the right materials. Here’s a breakdown of what you’ll need:
1. The Bow
Traditionally, a slightly curved, sturdy, and flexible (yet not too hard) piece of wood about 15-22 inches long serves as the bow. The bowstring can be natural fiber, synthetic cord, or even shoelace. Its purpose is to rotate the spindle by wrapping around it.
Example: A bark-free, green sapling branch is ideal because of its flexibility.
2. The Spindle (Drill)
This is the rotary element that creates friction. Choose a dry, straight, and soft wood, about 6-8 inches long and approximately 3/4 inch thick. Hardwoods like willow, cedar, or cottonwood work well because they generate heat quickly without breaking.
3. The Fireboard (Hearth)
The fireboard is flat and relatively soft wood. It should be dry and flat enough to allow the spindle to rotate smoothly. Ideal woods include basswood, spruce, or cedar. You need to carve a small notch on its edge where the ember will be collected.
4. The Handhold (Socket)
This is held in your non-dominant hand and pressed firmly on the spindle's top to provide downward pressure. Traditionally made from hardwood, bone, or stone, but any hard, smooth object to reduce friction on your hand suffices.
5. Tinder Bundle
Once an ember is formed, it needs to be nurtured into flame. Prepare a bundle of dry, fluffy tinder such as dry grass, shredded bark, or cattail fluff.
Step-by-Step Technique: Building Your Fire from Scratch
Mastering the motion and pressure necessary is crucial for generating heat and then an ember:
Step 1: Set Up Your Fireboard
-Cut the fireboard to a manageable size. -Carve a small, v-shaped notch on one edge, going to roughly one-third the board’s thickness. -Create a shallow depression adjacent to the notch for the spindle’s tip. -Position the fireboard on a non-flammable surface so the notch faces you.
Step 2: Prepare the Spindle and Bow
-Wrap the bowstring once around the spindle’s shaft, ensuring it isn’t too tight or loose (just enough not to slip). -Hold the handhold firmly on top of the spindle.
Step 3: Master the Motion
-Place your dominant hand on the bow, holding it steady. -With your non-dominant hand, press the handhold firmly down, creating good downward pressure. -Start a steady back-and-forth motion with the bow, spinning the spindle. -Your aim is to maintain consistent speed and pressure. The spindle will dig into the fireboard, creating fine wood dust.
Step 4: Creating the Ember
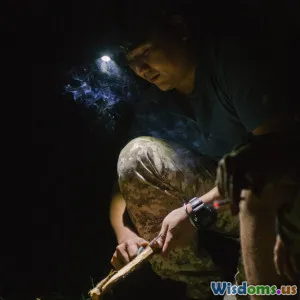
-As friction heats the dust in the notch area, black powder-like dust will accumulate. -When smoke appears, maintain momentum and pressure until a glowing ember forms.
Step 5: Transferring and Nurturing Your Ember
-Carefully tap the ember from the notch to your tinder bundle. -Place the ember gently into the tinder. -Using controlled breaths, nurture the ember, turning it into flame.
Real-World Insight:
John McVay, a survival expert, notes, "Mastery of the bow drill not only connects us with ancient traditions but hones patience and focus. Each ember sparks confidence in wilderness self-reliance."
Troubleshooting Common Problems
Even seasoned practitioners face challenges. Here’s how to troubleshoot:
-Spindle slipping: Adjust bowstring tension or try different wood combinations. -No smoke: Increase pressure or check wood dryness. -Hand soreness: Use a smooth, ergonomic socket and gloves if necessary. -Ember not catching: Ensure tinder is dry and finely shredded.
Tips and Additional Advice
- Practice makes perfect: Spend time honing your technique in safe conditions.
- Keep materials dry: Moisture drastically reduces effectiveness.
- Select wood thoughtfully: Avoid resinous or very hard wood for the fireboard and drill.
- Be patient: The bow drill is a skill combining physical and mental endurance.
Conclusion: Why Mastering the Bow Drill Matters
In an era dominated by lighters and matches, mastering the bow drill is a profound reconnection with primal survival skills. It cultivates patience, ingenuity, and respect for natural resources. More importantly, it provides a reliable alternative fire-starting method when modern tools fail.
By mastering this age-old technique, you equip yourself with not only the ability to create fire from nothing but also a symbol of perseverance and adaptability integral to survival and adventure.
Ready to tie your bowstring and spark your journey into ancient wilderness wisdom?
References
- "Bushcraft 101" by Dave Canterbury
- John McVay – Survival Skills Instructor
- "The Art of Fire Making" – International Survival Workshop, 2019
Start your practice today and ignite the spirit of wilderness mastery!
Rate the Post
User Reviews


Popular Posts


