Step By Step Guide to Installing Home Wireless Chargers
17 min read Learn how to install a wireless charger at home with this step-by-step guide covering tools, safety tips, and optimal placement. (0 Reviews)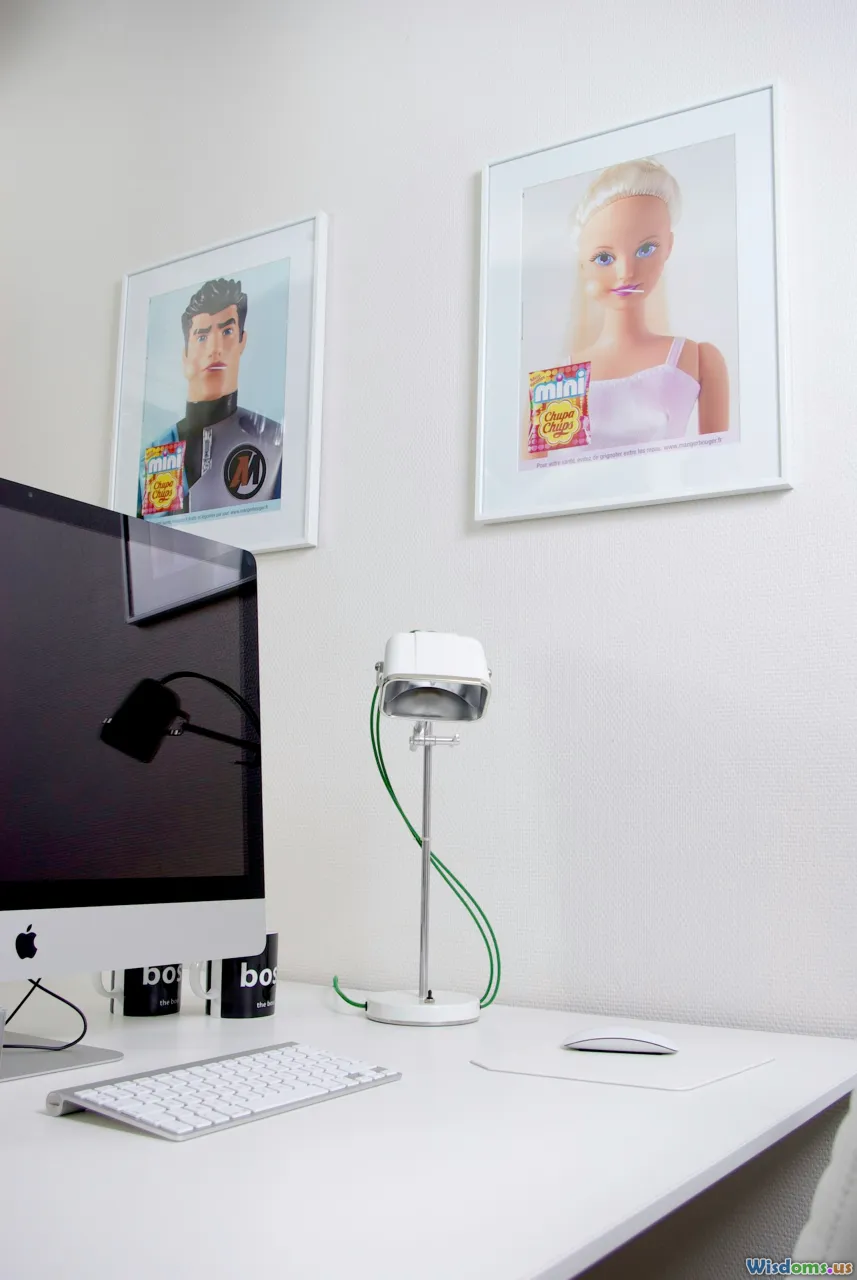
Step By Step Guide to Installing Home Wireless Chargers
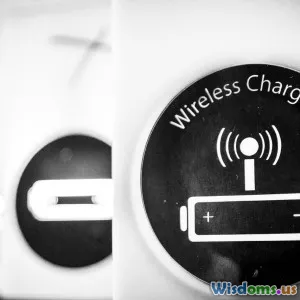
Having a wireless charging station at home brings an unparalleled convenience to your daily tech routine. Imagine coming home and simply laying your phone down—no scrambling for the right cable, no worn-out charging ports. With the advancement of Qi wireless charging technology, setting up your own wireless charging hub has never been more accessible. In this comprehensive guide, we’ll walk you through the steps to install a home wireless charging system, offer smart placement advice, and recommend best practices to maximize its efficiency and safety.
Understanding Wireless Charging at Home
Before diving into the installation process, it’s essential to grasp the fundamentals of wireless charging. Qi (pronounced “chee”) is the prevailing standard for wireless power transfer, allowing devices to charge by induction via electromagnetism—meaning, no physical plug is necessary once you set your device down.
What Devices Support Wireless Charging?
Most flagship smartphones from Apple (iPhone 8 and onwards) and Samsung (Galaxy S6 and newer) support Qi. Beyond phones, growing numbers of wireless earbuds, smartwatches, and even tablets have wireless charging capabilities. Always check your device specifications before investing in chargers.
The Main Types of Home Wireless Chargers
- Stand Chargers: Hold phones upright for hands-free use.
- Flat Pads: Lie flat for easy drop-and-go charging.
- Multi-Device Stations: Simultaneously charge a phone, watch, and earbuds.
- Furniture-Integrated Chargers: Built into desks or nightstands.
Manufacturers like Anker, Belkin, and Nomad are respected for their safety standards and innovation in this space. By selecting a reputable device, you’ll avoid counterfeit chargers that risk overheating or power inefficiency.
Choosing the Right Spot for Your Wireless Charger

Selecting an ideal placement for your wireless charging station has practical and aesthetic implications. For most users, optimal locations are:
- Bedside Tables: For overnight charging without worrying about cable connections in the dark.
- Home Office Desks: Keep your device topped up during the workday.
- Entryways or Hall Tables: Convenient spot to drop your phone as you walk in.
- Living Rooms: Integrating with furniture for seamless charging while relaxing.
Example: A survey by Statista (2023) found that over 40% of wireless charger users kept the primary station in their bedroom, followed by 30% in the living area. Ultimately, your daily routine should inform this decision.
Pro Tips:
- Ensure the charger sits on a stable, nonmetallic surface.
- Keep the location dry and away from direct sunlight or heat sources to protect both your devices and the charger itself.
Planning Your Installation: What You'll Need

Before grabbing your screwdriver, verify that you've assembled all essentials:
- Wireless Charging Pad, Stand, or Station: Carefully selected according to your devices and power needs.
- Wall Adapter (Compatible Wattage): Many devices support up to 15W or 20W fast wireless charging, but only when using the proper adapter. Always use one supplied or recommended by the manufacturer.
- Certification and Safety Labels: Look for Qi-certified devices and UL/CE/FCC labeling.
- Voltage Tester (for built-in furniture installations): Ensures safe placement away from electric lines.
- Cord Management Supplies: Cable clips or sleeves for keeping cords tidy and out of sight.
- Basic Screwdriver or Drill (if mounting or integrating into furniture)
- Measuring Tape and Level: For precise centering and neatness.
Extra: If integrating into a desk or nightstand, consider an under-surface or flush-mounted Qi transmitter panel for a truly seamless look. Brands like IKEA offer furniture with built-in wireless charging, or you can retrofit using widely-available kits.
Installation Step 1: Preparing the Area
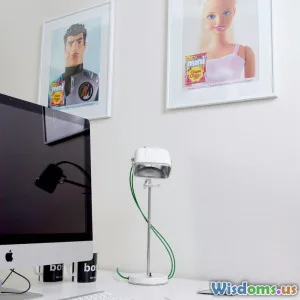
Start by clearing the installation area. Remove clutter, wipe dust, and ensure you have easy access to a power outlet. If installing on a home office desk, now is the time to declutter cords for a cleaner workspace.
Example: Michael, a remote software engineer, increased his productivity by setting up a multi-device station on his desk, keeping his phone, wireless earbuds, and smartwatch always within reach and charged—side benefits included tidier cables and a more organized desk.
If you're integrating the charger into a fixed piece of furniture:
- Use measuring tape to identify the exact sweet spot. Place it where you’d naturally deposit your device.
- For embedded (inset) pads, mark the surface carefully to cut or drill out the necessary shape and depth.
Installation Step 2: Assembling and Placing the Charger

Take your wireless charging unit out of the box and give it a visual inspection. Double-check that all essential accessories (adapter, USB-C/Micro-USB cable, holders) are included.
Freestanding or Desktop Placement
- Connect the power cable to the pad and then to the wall adapter.
- Use a level to ensure the pad is flat; a crooked surface can disrupt charging efficiency.
- Tuck excess wires using cord management products—under-desk trays, adhesive clips, or zip-ties.
- Do a dry run by placing your device on the charger to confirm proper alignment; misaligned coils can lead to slow charging.
Furniture Integration (Inset or Hidden)
- For installing under a desk or furniture surface, measure the thickness of the material (e.g., wood, laminate). Most Qi transmitters work through non-metallic surfaces less than 3/8 inch (10 mm) thick.
- Mark and drill/cut an opening just large enough for the transmitter.
- Secure the transmitter using provided screws or adhesive mounts, being careful not to pinch wiring.
- Feed wiring discreetly along the underside to the nearest power outlet; avoid sharp bends in the wire path to prevent damage.
- Several brands (e.g., Kew Labs, IKEA) offer wireless charging pads meant for under-table mounting in home environments.
Installation Step 3: Power Up and Cable Management

Plug the charger into its adapter and outlet. Verify indicator lights (usually blue, green, or white LEDs) to confirm it’s powered and ready.
At this stage, managing cables ensures your installation remains neat and safe. Invest in:
- Cable ties for excess lengths
- Under-desk trays and sleeves
- Concealed wall-mounted power strips if your station is in plain view
Pro Tip: If your station is regularly visible (e.g., in the living room), explore decorative cable sleeves or wooden boxes that blend with décor, maintaining practical elegance.
Step 4: Testing and Troubleshooting
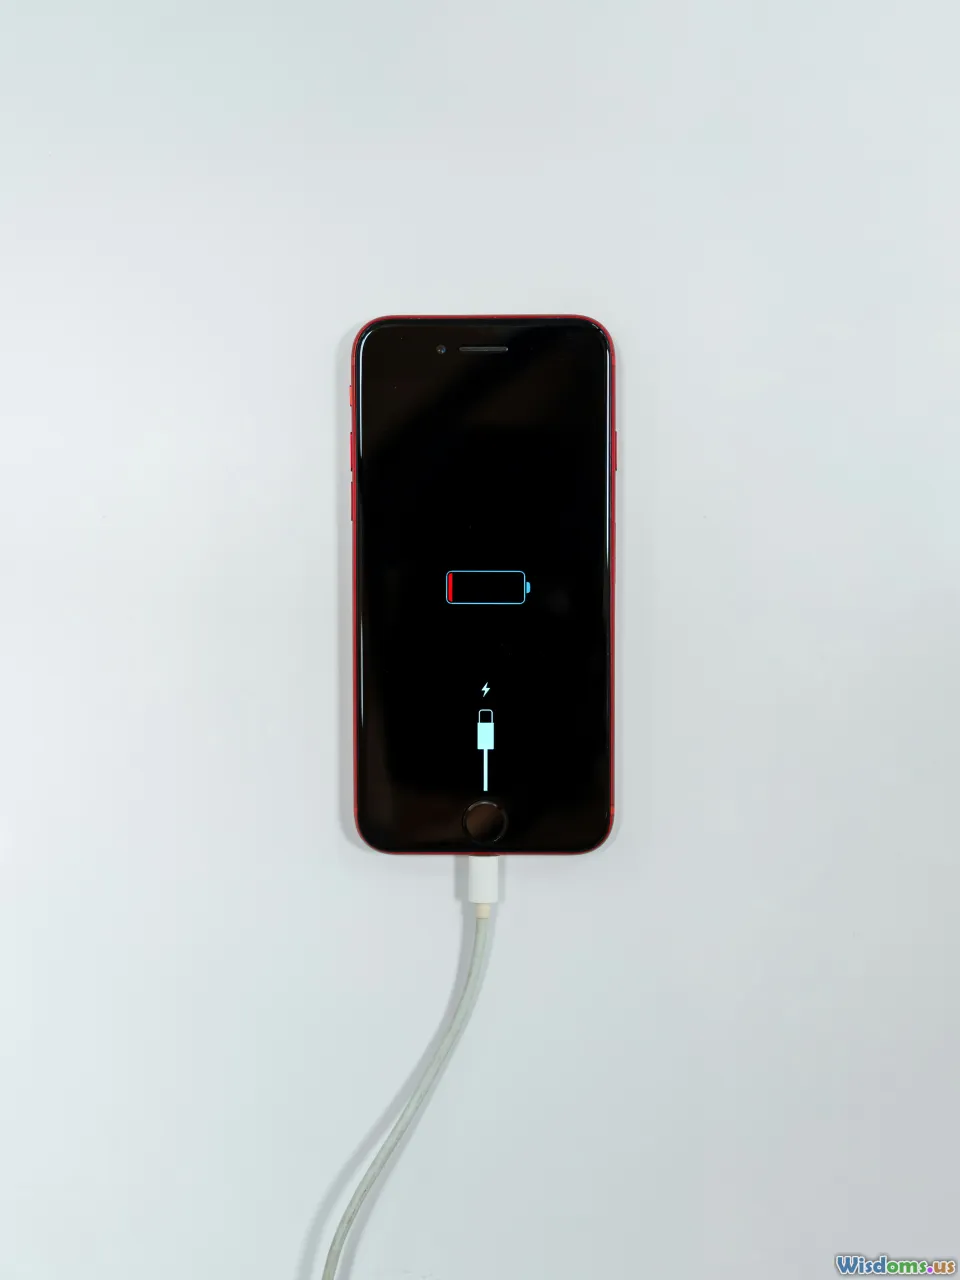
Place your device on the charger. A successful connection is indicated by a confirmation sound/vibration on your device or a light change on the charging pad. Charging should begin within 2–3 seconds.
Common Issues & Fixes
- No Charge Detected: Ensure proper alignment. Wireless chargers use coils that must line up; move the phone slowly around until it connects.
- Slow Charging: Use only the supplied/high-quality adapter. Phones charge slower on incompatible pads, or if a thick case interferes.
- Device Overheating: Remove heavy or metal phone cases and avoid stacking objects on the pad. If persistently hot, stop use and consult the manufacturer.
- Intermittent Charging: Check for dust or debris on the pad and the device. Also, review nearby electronics that could cause interference, such as metal objects or large speakers.
Tip: Always set up your wireless charger away from direct wireless routers or strong magnetic fields. Interference can disrupt efficient power transfer.
Integrating Wireless Charging into Everyday Routines

With your charger up and running, it’s time to weave this convenience into your daily habits. Use your charging station to power up overnight, top off during work, or share it with family members.
Real-World Example
The Johnson family installed a Qi multi-device station by their kitchen. Mornings now include a quick phone check and 30 minutes of charging, which often brings most devices near full capacity before heading out the door. Their teenagers have less battery anxiety at school, and they noticed a reduction in cable clutter in shared spaces.
Productivity Tip
Set a recurring habit—like reading the news at your charging spot or meditating while your devices charge—to anchor wireless charging into your daily flow. This increases meaningful device downtime and sets positive tech boundaries at home.
Maintenance and Safety Best Practices

Just like any electronic device, wireless chargers benefit from a touch of care and regular maintenance:
Cleaning
- Use a dry microfiber cloth to wipe pads and contact surfaces weekly.
- Avoid sprays or electronics wet wipes directly on the charging pad.
Safety Checks
- Periodically inspect cords for fraying or loose plugs.
- Make sure vents on charging stands (if present) are not blocked.
- Never cover the charging pad with fabric or other heat-insulating materials during use.
Fire and Child Safety
- Place chargers out of reach from curious pets or small children—especially cords and wall adapters.
- Use certified, name-brand equipment to protect against potential hazards. For example, Underwriters Laboratories (UL) and CE certificates ensure products are rigorously tested.
A small investment in care can keep your charging station both functional and safe for years to come.
Upgrading and Expanding Your Wireless Charging Setup

As your needs evolve—new gadgets, more devices, bigger family—the beauty of wireless charging is its scalability. Consider these ideas:
- Multi-Device Stations: Add wireless pads that can fit all household phones, watches, and earbuds simultaneously.
- Smart Furniture Integrations: Consider nightstands with built-in pads for a clutter-free look, or convert an old side table using a DIY upgrade kit.
- Wireless Power Banks: Portable batteries that recharge devices wirelessly—great for travel, backyard use, or in a pinch when outlets are scarce.
- Smart Home Integration: Pair smart plugs with your charger to turn on/off during certain hours or modes, conserving energy and reducing standby drain.
Look for modular chargers (like the Nomad Base Station or IKEA SJÖMÄRKE) that allow you to add more coils or pads as needed. This way, your charging system grows with your tech ecosystem.
Key Tips for a Seamless Experience

To get the most out of your wireless charging installation, remember these actionable tips:
- Always remove metal-backed or thick phone cases before charging to ensure efficiency.
- Avoid stacking more than one device on a single coil.
- Don’t use chargers near heat sources or direct sunlight which may degrade device batteries over time.
- If possible, enable Battery Optimization settings on your device (found in iOS and Android) to prolong both your device’s battery health and that of the charger.
- Register your charging stations on home inventory or warranty apps, in case you need to troubleshoot defects or claim repairs.
Consider periodically updating firmware for smart charging pads—some models do support OTA (over-the-air) updates, bringing improved performance and safety.
Transforming your home with wireless charging isn’t just about fewer tangled cords—it's about creating an environment where technology blends seamlessly into your lifestyle. With a carefully chosen location, a safe installation, and a few mindful upgrades, wireless charging becomes more of an invisible assistant than a visible device. Invest a little time upfront, and you’ll enjoy effortless power—anywhere, any time, and truly wire-free.
Rate the Post
User Reviews
Other posts in Wireless Charging for Vehicles


Popular Posts


