StepbyStep Guide to Creating Personalized Leather Journals
8 min read Discover how to craft personalized leather journals with this detailed step-by-step DIY guide. (0 Reviews)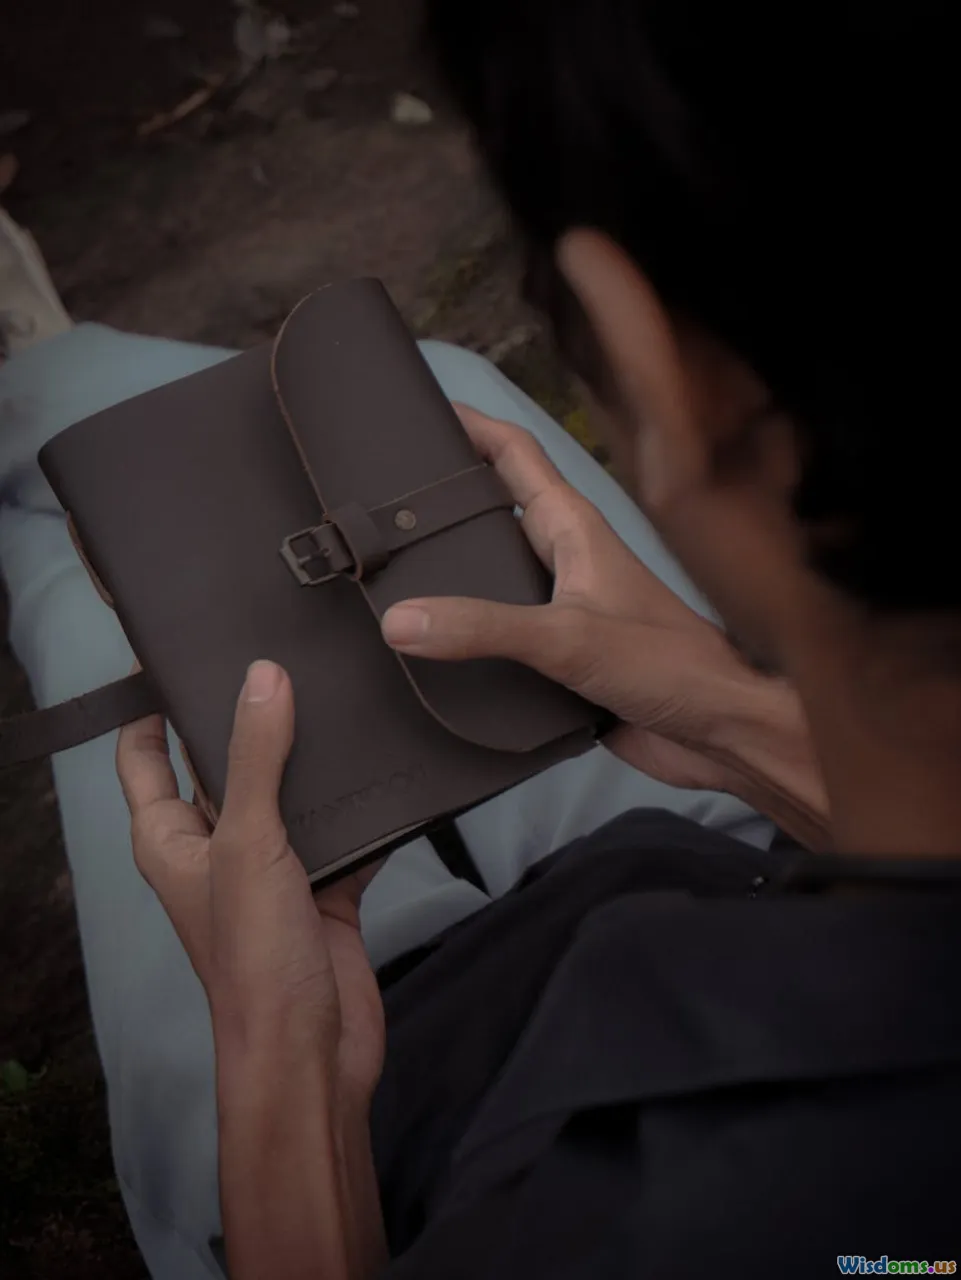
Step-by-Step Guide to Creating Personalized Leather Journals
Introduction
In an age dominated by digital notes and ephemeral clouds, there’s something profoundly satisfying about putting pen to paper, especially when that paper is bound within a uniquely crafted leather journal. Personalized leather journals not only serve as timeless keepsakes but also as expressions of creativity and personal style. Whether you want to document thoughts, sketch ideas, or offer a meaningful handmade gift, crafting your own leather journal offers an enriching DIY experience. This article will take you on a detailed journey through the process of creating personalized leather journals—combining craftsmanship, design, and personal touch in a way that ensures every journal you make is truly one-of-a-kind.
Why Choose Leather Journals?
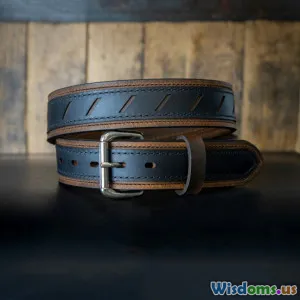
Leather journals blend durability with aesthetic appeal. According to the Leather Working Group, high-quality leather goods properly cared for can last decades or even centuries, becoming richer with age. This longevity paired with the tactile luxury of leather elevates a journal from a simple notebook to an heirloom. Furthermore, leather accepts tooling, stamping, and dyes in ways that allow fine-tuned personalization.
Materials Needed
Before delving into the technique, gather your materials. Quality supplies enhance the final result and ease the crafting process:
- Vegetable-tanned leather (ideal for tooling and personalized embellishments)
- Unlined journal paper or sketching paper (choose acid-free for longevity)
- Bone folder (for creasing and folding)
- Thread and needle (waxed linen thread is preferred for stitching)
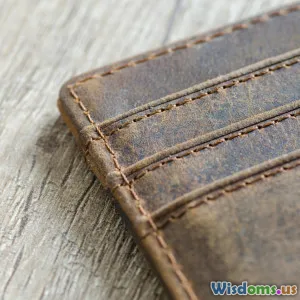
- Cutting tools (rotary cutter, craft knife, and sharp scissors)
- Leather adhesive
- Edge beveler, sandpaper, and burnishing tools
- Stamping tools or branding irons (optional for personalization)
- Leather dye and finish (optional for coloring and protection)
- Ruler and pencil
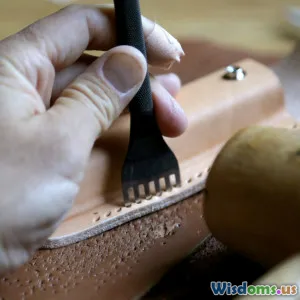
- Awl (for punching holes)
Step 1: Designing Your Journal
Start by conceptualizing the journal’s size, style, and function. Decide on the dimensions by comparing common journal sizes—for example, 5"x8" is popular for portability, while 8.5"x11" suits sketchbooks or planners.
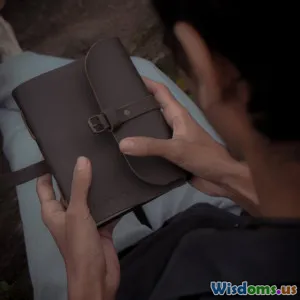
Sketch your cover design—will it be minimalist with a monogram, or elaborate with floral tooling? Remember, personalized journals often feature subtle inscriptions or embossing that add sentimentality. Think about closure options too: a strap tie, button, or elastic band can protect the contents creatively.
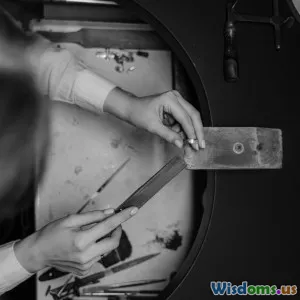
Step 2: Preparing the Leather Cover
Cut your leather to size, allowing roughly an extra inch on all sides beyond the paper block for wrapping and stitching. Use a sharp rotary cutter and metal ruler for precision.
If you want to include tooling or stamping on the cover, now is the time. Leather should be slightly dampened for crisp impressions. Use stamping tools thoughtfully to create names, dates, or intricate patterns. Famous artisan leather crafters suggest practicing on scrap leather for perfect results.
Once stamped, let the leather dry completely before proceeding.
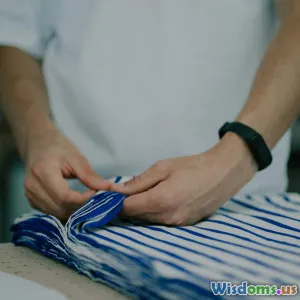
Step 3: Preparing the Paper
Select paper types suited for your journal purpose (lined pages for writing, blank for drawing).
Cut paper to the desired size, if not pre-cut. Fold your sheets into signatures — groups of folded sheets typically 3 to 5 pages thick, which makes for easier stitching.
Step 4: Binding Techniques
There are several binding options. The most common DIY binding for leather journals include:
a) Coptic Stitch Binding
Allows the journal to lay flat. Punch holes along the spine of your paper signatures and the leather cover using an awl. Stitch through these holes with waxed linen thread, looping around the spine in a braided pattern. This style is visually striking and durable.
b) Long Stitch Binding
Pierce one continuous set of holes through the leather spine and signatures and stitch back and forth, weaving the thread to form long stitches. Easy for beginners and elegant.
c) Post Binding
Use screw posts to attach pre-punched leather covers to your paper block. This provides refillability.
Choose the binding that best aligns with your journal’s use and your skill level.
Step 5: Stitching Your Journal
Take your time and use needle pads to guide the thread through punched holes. Keep tension consistent to avoid loose pages. Waxed linen thread, though slightly more expensive, resists fraying and enhances durability.
According to leather crafting expert Lisa Sorrell, "the quality of your stitching defines the longevity and usability of the journal. Don’t rush this step."
Step 6: Finishing Touches
Use an edge beveler followed by thorough sanding to smooth raw leather edges. Then, apply a burnishing tool with water or beeswax to seal and polish.
Dye your cover if desired, choosing colors that complement the paper and intended personal style. Light coats work best to avoid blotching.
Finally, apply a leather conditioner or finish to protect from moisture and wear.
Personalization Ideas
Make your journal unique by incorporating:
- Custom embossing: initials, meaningful symbols, or quotes.
- Hand-painted details: subtle watercolor designs.
- Colored stitching: choose bright or contrasting thread for visual pop.
- Add pockets or pen holders: for functionality.
Real-World Insight
Handmade leather journals have surged in popularity on platforms like Etsy, where artisans command substantial prices for personalized, quality goods. This trend indicates significant consumer appreciation for handcrafted products with authentic materials and craftsmanship.
Moreover, the healing power of journaling, widely supported by psychologists, combines beautifully with the tactile luxury of leather to make writing a meditative, cherished ritual.
Conclusion
Creating personalized leather journals is more than just a craft—it's an artistic journey that melds practical skills with personal expression. By thoughtfully selecting materials, employing tried-and-true binding techniques, and adding your unique flair, you’ll produce a journal that is not only durable and functional but also deeply meaningful. Whether gifting or personal use, a handmade leather journal enriches the writing experience and preserves your words in a timeless fashion. So gather your tools and unlock your creativity with this rewarding DIY project!
_ Embark on your leather journal crafting adventure today and transform simple materials into an elegant, personalized treasure._
Rate the Post
User Reviews


Popular Posts


