Building Your Own Cipher Wheel with Simple Tools
17 min read Unlock the mystery of classic cryptography by building your own cipher wheel using everyday materials, empowering all ages to experiment, learn, and communicate in secret. (0 Reviews)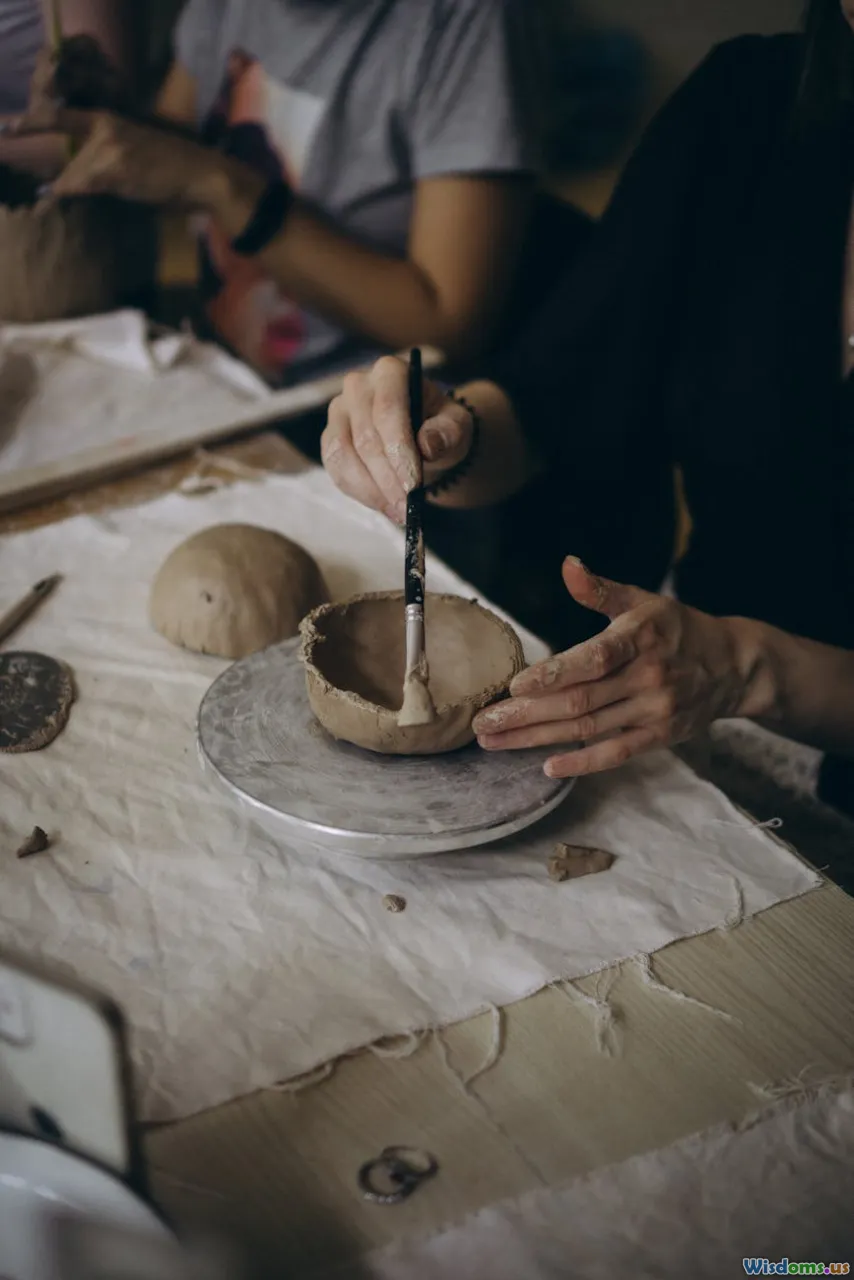
Building Your Own Cipher Wheel with Simple Tools
Unlocking the Secrets: Why Cipher Wheels Still Fascinate
Have you ever marveled at a secret code in a story or wished you could send a clandestine message to a friend? Throughout history, hidden communications have sparked intrigue and adventure—from spies exchanging classified details during wars to kids whispering playground secrets. At the heart of classic cryptography lies the humble cipher wheel—a delightfully simple, yet powerful tool for encoding and decoding messages. But did you know crafting your own cipher wheel is not only possible but also surprisingly easy and incredibly rewarding using everyday materials?
Building a cipher wheel bridges the realms of history, math, crafting, and play. In this guide, you'll learn step-by-step how to create a cipher wheel with simple supplies, understand the fascinating mechanisms behind classical encryption, and even spark an interest in STEM or critical thinking among kids and adults alike. Whether you're an educator, parent, hobbyist, or code-breaker at heart, this hands-on project will empower and inspire you. Ready to crack the code? Let's begin!
Table of Contents
- The Cipher Wheel: A Brief History & Its Modern Appeal
- How Cipher Wheels Work: A Simple Explanation
- Gathering Materials: Everything You Need in One Trip
- Crafting Your Cipher Wheel: A Step-by-Step Guide
- Using Your Cipher Wheel: Encrypt and Decrypt Messages
- Cipher Wheels in Learning and Play
- From Paper to Digital: The Cipher Wheel’s Enduring Legacy
- Conclusion: Embrace Craft, Code, and Curiosity!
1. The Cipher Wheel: A Brief History & Its Modern Appeal
Cipher wheels are not a new invention—they’re centuries old, tracing their ancestry back to the ancient Greeks and Romans. The renowned Roman general Julius Caesar famously used a straightforward cipher (now called the Caesar cipher), shifting letters by a set value. The modern descriptor "cipher wheel" entered the lexicon in the 15th century with the advent of Leon Battista Alberti's cipher disk, which leaned on the mechanics of two rotating disks, each inscribed with the alphabet.
"Cryptograms and cipher disks are not merely puzzles—each is a key to the mindsets of eras faced with communication, secrecy, and survival" — Simon Singh, author of ‘The Code Book’
While the ingenuity of the classic cipher wheel allowed messengers to carry miniature codes securely, these devices also had a democratizing effect: anyone who understood the principle could create and use one. Fast-forward to today, and cipher wheels haven't vanished into obscurity. Encryption is now the backbone of our internet, but the tactile satisfaction and intuitive clarity of a physical cipher wheel still appeals to educators, hobbyists, puzzle creators, and young learners alike.
From historical reenactments to escape rooms to coding lessons, the cipher wheel is a vibrant link between past and present, offering both an entry point into the art of cryptography and a creative hands-on project.
2. How Cipher Wheels Work: A Simple Explanation
Before you build one, let’s demystify how a cipher wheel functions. At its core, a cipher wheel is a device for substitution ciphers—it allows the user to systematically swap one letter with another in the alphabet, obscuring a message from unintended eyes.
Imagine two wheels—one slightly smaller than the other and mounted so they can rotate independently. Each wheel's rim is marked with the alphabet. By rotating them relative to one another, the correspondences between the letters change. Commonly, the outer ring represents the plaintext alphabet (the original message), while the inner ring displays the ciphertext (the encrypted message).
Example: Suppose you set the wheel so that 'A' on the outer disk aligns with 'D' on the inner. Now, every time you see an 'A' in your message, you replace it with 'D', 'B' with 'E', etc. Anyone with the matching wheel alignment—a shared 'key'—can reverse this to decode the message.
This system means:
- Custom shift (not always the same letter mapping as Caesar's classic shift of 3!)
- Repeatable and easy to adjust for increased complexity—swap alignment or shuffle the order, and your cipher is brand new.
Modern cybersecurity relies on much more sophisticated methods. However, the cipher wheel's tangible form makes cryptographic principles accessible and instantly graspable, familiarizing users with key concepts like algorithms and keys—foundations for further study.
3. Gathering Materials: Everything You Need in One Trip
One of the cipher wheel’s biggest charms is its simplicity. You won't need rare gadgets or fancy tools—just materials most people have at home or can easily find at a supermarket or stationery store. Here’s your checklist:
Essential Supplies
- Cardboard or Thick Paper: Sturdy enough to keep its shape when rotated. Recycled boxes or cereal packaging are perfect.
- Pencil & Eraser: For marking letters and making adjustments.
- Ruler: Accuracy matters when spacing out letters.
- Compass or Circular Object: To draw two perfect circles. A mug or small plate works too.
- Scissors or Craft Knife: To cut out your wheels.
- Brass Fastener (a.k.a. paper fastener/split pin/brad): For joining the wheels at the center and letting them spin.
- Markers or Pens: For clear, legible lettering. Colored pens can add flair and aid visibility.
- Optional: Stickers, decorative tape, colored paper: For customization and creative fun.
Tip: If you’re working with younger kids or classrooms, round off sharp edges and supervise cutting. Consider using plastic lids or fidget spinner bases as alternatives for robustness.
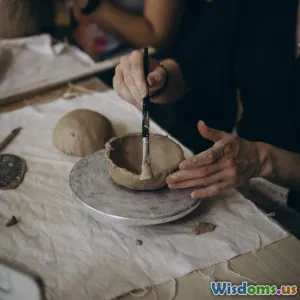
4. Crafting Your Cipher Wheel: A Step-by-Step Guide
Now comes the rewarding process of turning ordinary materials into an extraordinary code device!
Step 1: Creating the Wheels
You'll need two disks: one large, one small. The size is up to you, but to keep things readable and easy to manipulate, a good starting point is:
- Outer disk: ~12 cm (5 inches) in diameter
- Inner disk: ~9 cm (3.5 inches) in diameter
How-To:
- Trace two circles on your cardboard using a compass or by drawing around cups, bowls, or lids matching the above sizes.
- Carefully cut out both circles with scissors or a craft knife.
- Mark the exact center of both disks. A quick trick: gently fold each disk in half twice (quarters) and crease the folds to find the center.
Step 2: Marking the Letters
Accurate letter spacing ensures readability and usability. The alphabet traditionally has 26 letters ('A'–'Z'), but you can add numbers, symbols, or even foreign characters for added challenge.
How-To:
- Use your ruler (or a protractor if you want to be very precise) to divide the perimeter of both disks into 26 equal segments.
- Shortcut: Lightly draw a cross to divide into quarters, divide each quarter into halves, and continue subdividing until you have 26 divisions.
- On each wheel, write one letter per segment, going clockwise.
- Standard practice: Write A–Z in order on both disks.
- For more difficult puzzles: Shuffle the inner wheel’s sequence, or use two alphabets (e.g., English outer, Greek inner).
- For legibility, print the letters clearly and boldly. Use color for added clarity (e.g., blue for plaintext, red for ciphertext).
Fun Fact: Early cipher disks sometimes included other symbols/punctuation, or even a null character to further defeat codebreakers.
Step 3: Assembling the Cipher Wheel
With disks ready and labeled, it’s time to bring your cipher wheel to life.
How-To:
- Stack the smaller disk on top of the larger, aligning the centers.
- Use your pencil to poke a small hole through the center of both disks. (Adults should assist kids here.)
- Insert the brass fastener through both disks, securing it at the back so the wheels can spin freely without wobbling excessively.
Test:
- Rotate both disks to ensure that they move smoothly yet are snug enough to stay aligned once set.
Step 4: Final Touches & Customization
Personalization adds pride of ownership and can increase functionality. Some ideas:
- Decorate with drawings, stickers, or themed paper. Kids might choose a pirate or detective motif.
- Laminating paper (or using clear tape) makes wheels more durable and fingerprint-resistant.
- Add numbers, special characters, or even symbols like emojis for creative encoding.
- For repeated classroom use: Create a master template and photocopy onto cardstock.
Pro Tip: Some educators glue the fastener onto a disc of foam board or plastic, improving grip and longevity. Tiny magnets embedded in the wheels can provide a satisfying tactile snap to the alignment marks.
5. Using Your Cipher Wheel: Encrypt and Decrypt Messages
With your device complete, it’s time to move from craft to code. Here’s a simple workflow to make your cipher wheel the core of secret correspondence, treasure hunts, or classroom lessons.
Step-by-Step Encryption/Decryption Example
Setting the Key
Before you start, you and your partner (the messenger and the recipient) must agree on how to align the wheels—the key. This could be 'A' on the large (outer) wheel lined up with any letter (say, 'G') on the small (inner) wheel.
Write down your key:
- KEY = Outer: 'A' lined up with Inner: 'G'
Encode a Message
Suppose your message is “SECRET”.
- Set the wheels as per the agreed key.
- For each letter in your message, find the letter ('S', then 'E', etc.) on the outer wheel.
- Replace each with the corresponding letter on the inner wheel that's directly aligned.
- Example: If 'S' on the outer corresponds to 'Y' on the inner, that’s your first cipher letter.
- Repeat for the rest of the letters, writing down the ciphertext as you go.
Decode the Message
To unlock the message, your partner:
- Sets the wheels using the exact same key.
- For each letter of the received message, finds that letter on the inner wheel and replaces it with the aligned letter on the outer wheel.
- The message reveals itself!
Classroom Use Example: Teachers have used cipher wheels to create spelling games, science quizzes, or even to deliver the steps in a classroom scavenger hunt, cultivating curiosity and lateral thinking.
6. Cipher Wheels in Learning and Play
Cipher wheels aren’t just retro gadgets—they’re learning powerhouses.
- STEM Fundamentals: Building and using cipher wheels reinforces concepts like rotation, geometry, logical thinking, and frequency analysis.
- Cross-Curricular Creativity: Combine them with history lessons (spycraft, World War II, ancient Rome), mathematics (modular arithmetic), or literature (coded narratives).
- Teamwork & Communication: Kids and adults enjoy cooperative problem-solving, creating and cracking codes together.
- Accessible Coding Concepts: Ciphers introduce algorithmic thinking early—vital for budding coders.
“Cipher wheels spark curiosity and bridge the gap between playful discovery and genuine mathematical thinking.” — Dr. Susan Johnson, Math Education Specialist
Modern Applications
Many educational curricula and adult workshops use cipher wheels as a springboard for:
- Programming lessons (write a simple Caesar cipher program!)
- Engineering sessions (designing 3D-printed cipher wheels using basic digital modeling tools)
- Escape rooms and puzzle design
7. From Paper to Digital: The Cipher Wheel’s Enduring Legacy
Long after their invention, cipher wheels inspired everything from war-time encryption machines (like the famous Enigma, with its rotating rotors resembling stacked cipher wheels) to digital cryptography software. The challenge remains the same: share information safely, requiring a shared secret or “key”.
Today, kids who experiment with a paper cipher wheel gain a foundational appreciation for how secrets are secured online. Understanding these principles can demystify intimidating tech concepts and subject areas. Even professional cryptologists teach beginner classes using physical ciphers before moving on to computers, as the tactile manipulation solidifies understanding of relative offset, keys, and algorithms.
8. Conclusion: Embrace Craft, Code, and Curiosity!
In a world abuzz with headlines about data breaches and cybersecurity, learning the fundamentals of ciphers can feel empowering—and fun. Creating your own cipher wheel brings history, math, engineering, and creativity right to your fingertips, regardless of your experience or age level.
So the next time you want to introduce someone to the magic of secret codes—or inject STEM excitement into a lesson, party, or rainy day—don’t reach for an app first. Try making a cipher wheel. It’s the chance to tinker, craft, learn, and play, connecting you directly to centuries of code-makers and breakers. Who knows? Today’s simple cipher could inspire tomorrow’s cryptographer.
The tools are simple. The possibilities? Limitless.
Ready to build? Grab some cardboard and unlock a world of secrets, learning, and adventure!
Rate the Post
User Reviews


Popular Posts


