How to Choose the Right Backpack for Remote Mountain Expeditions
36 min read Expert guide to selecting expedition backpacks for remote mountains: capacity, fit, frame types, suspension, weatherproofing, load distribution, and safety features, with examples for alpine, winter, and multi-week trips. (0 Reviews)
When the map turns gray and the trail disappears into rock, glacier, and scree, your backpack stops being “luggage” and becomes part of your survival system. On a remote mountain expedition—days from help, hours from a road—the right pack determines how far you can go, how safely you move, and how much energy you have left for the crux. Choosing well isn’t about buying the biggest or the lightest. It’s about matching a pack’s capacity, suspension, materials, and features to your terrain, weather, and objective. Here’s how to do it with confidence.
Start with Your Objective and Trip Profile

Before you browse models, write down the non-negotiables of your trip. Every other choice flows from these four variables:
- Duration: How many full days between resupplies? A five-day carry with technical gear is fundamentally different from a weekend fastpack.
- Season and climate: Winter, monsoon, high winds, and temperature swings change capacity and material requirements.
- Terrain and technical demands: Are you hauling skis or a rope? Will you be scraping granite and carrying ice tools? Will you bushwhack?
- Team configuration: Are you sharing group gear, or solo? Is anyone carrying the rope or stove for the team?
A simple way to profile your expedition:
- Trekking focus (non-technical): Long distances on trail or tundra, occasional talus. Priority: long-term comfort, weather resistance, organization for frequent access.
- Alpine climbing or mountaineering: Mixed climbing, snow travel, heavy protection hardware, rope management. Priority: tool carry, slim profile for chimneying, snag-resistant exterior.
- Ski mountaineering or winter traverse: Cold, bulky layers, avalanche equipment, skis or splitboard. Priority: ski carry systems, snow-shedding fabrics, gloves-friendly hardware.
Example: A 4-day alpine rock objective with a glacier approach means you’ll want 50–60L capacity with rope carry and ice tool attachments; a 7-day off-trail trek across volcanic terrain may push you to 65–75L with durable side pockets and robust hip belt pockets for snacks and nav.
Capacity and Volume Planning
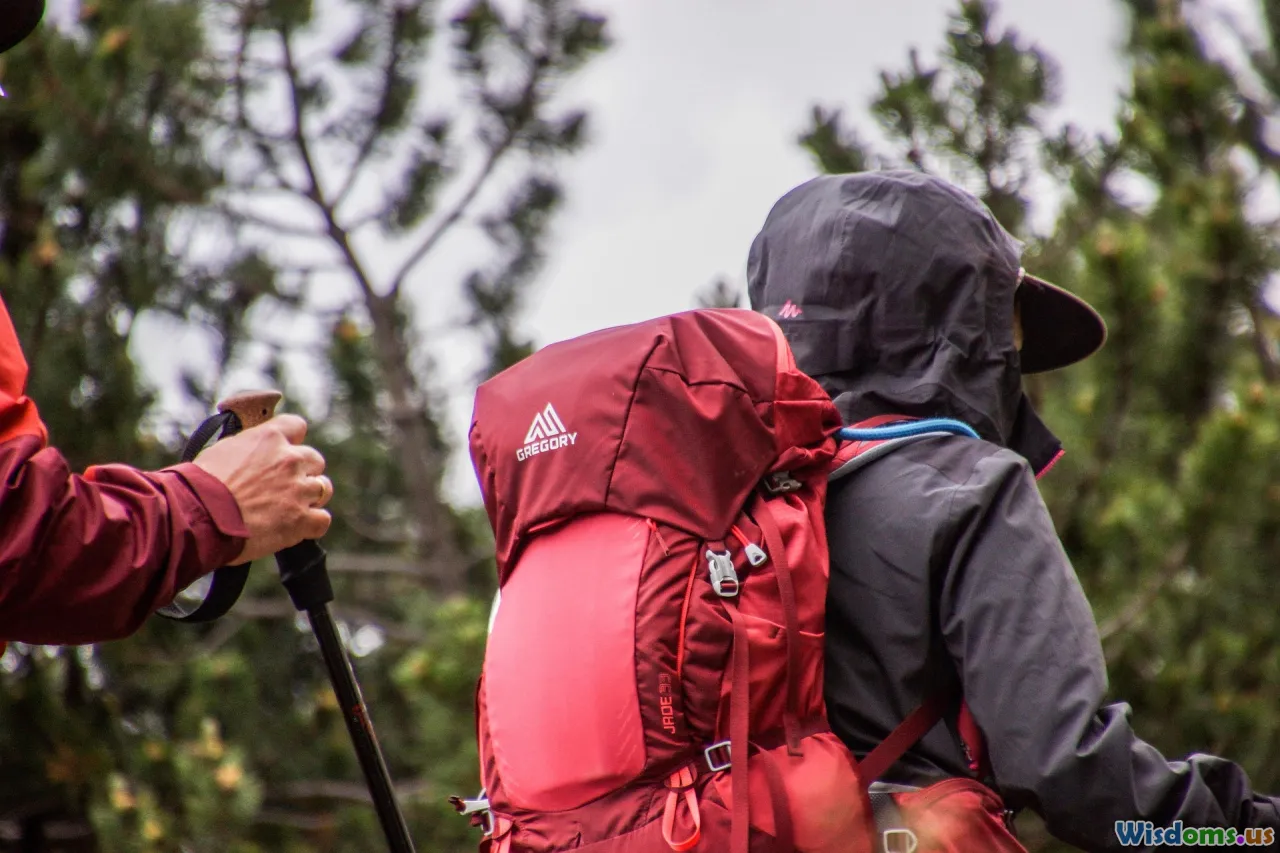
Liter labels are a starting point, not gospel. Two 60L packs can swallow gear differently based on patterning, frame architecture, and pocket volume. Use these rules of thumb and adjust for your kit:
- 1–2 nights, three-season, non-technical: 40–55L
- 3–5 nights, three-season: 55–70L
- 5–8 nights or group gear carrier: 65–85L
- Winter add-on: Add 10–20L for cold-weather layers, denser sleeping kits, and fuel
- Technical add-on: Add 10–20L if you’ll carry rope, rack, helmet, ice tools, or skis
Food volume and weight are easy to underestimate. As a rough planning factor for dehydrated food:
- 0.7–1.0 kg per person per day
- 2–4 liters of pack volume per day, depending on packaging, diet, and whether you carry high-bulk items (nuts, chips) versus dense items (oils, bars)
Bear canisters are a special constraint. In several US parks (Sierra Nevada, some Rockies ranges), specific models like the BV500 or Garcia are required. Check whether your target pack can fit the canister horizontally; vertical carry saves width but raises the center of gravity. In bad weather, that matters on exposed traverses.
If you plan to cache gear or climb from a high camp, consider a pack with a removable lid or an internal daypack sleeve. This lets you shrink the pack’s effective volume for summit pushes without hauling dead space.
Frame Types and Load Transfer

Mountain loads feel heavier when they sway on fifth-class slabs or during long talus crossings. The frame controls how the load moves with you.
- Frameless: Minimal structure (foam pad pocket or thin frame sheet). Good up to ~9–11 kg if your base weight is ultralight and you pack with discipline. Not ideal for technical carries or remote trips with variable loads.
- Semi-framed: Frame sheet with stays or a hoop. Sweet spot for 12–18 kg loads. Often lighter than full frames but can still transfer weight to hips.
- Full internal frame: Stays (aluminum, sometimes carbon) plus frame sheet, often with adjustable torso. Best for 18–27+ kg loads common on winter and multi-week expeditions.
- External frame: Excellent ventilation and load transfer, easy to lash awkward loads (packraft, bear can). However, they can be unwieldy on technical rock and in dense brush.
Load transfer physics, simplified:
- Your hips should carry 60–80% of the weight; shoulders stabilize the rest. If your shoulders ache early, the hip belt or frame isn’t doing its job.
- Load lifter angle matters. Ideally 30–45 degrees from your shoulder to the pack’s top anchor. Too flat? They won’t pull the load in. Too steep? They can deform the shoulder straps.
- Stays and frame sheet stiffness need to match your load. Many packs allow bending aluminum stays to match your spine. Take the time to custom-fit; it’s a major comfort upgrade.
If you’ll climb with the pack on, a pack with a narrow, close-to-body frame and predictable flex helps keep the center of gravity tight. Pack frames that are too tall can bump helmets when you look up on steep snow or rock—check head clearance when the pack is loaded.
Fit: Torso, Hip Belt, and Straps

A great pack with a bad fit is a bad pack. Measure your torso length from the C7 vertebra (the bony bump at the base of your neck) to the midpoint between the tops of your iliac crests. Most brands publish size charts; if you’re between sizes, choose based on your intended load (heavier loads favor the longer frame for better leverage).
Key fit checks:
- Hip belt: The padded wings should center over the iliac crests. When you tighten, the buckle should sit about an inch from your navel and not bottom out. For heavy loads, a sculpted, stiff belt prevents rolling.
- Shoulder straps: They should wrap smoothly without gapping. You want light contact on top when the hip belt is tight, not a big gap and not crushing pressure.
- Load lifters and sternum strap: With a loaded pack, tighten load lifters until the weight tucks into your upper back without collapsing the strap padding. Set the sternum strap at armpit height; too high can restrict breathing.
Consider gender-specific or short-torso designs if applicable. Women’s-specific models often adjust strap spacing and hip belt shape, which can drastically reduce hotspots and pinching.
Adjustment systems vary. Ladder systems with discrete slots are durable and hard to slip, while hook-and-loop panels offer infinite adjustability. If you anticipate layering thick clothing in winter, a pack with an adjustable torso or interchangeable hip belt is helpful.
Suspension Comfort in Real Terrain
Two packs that feel similar on a showroom floor diverge quickly on a shale traverse. Focus on how suspension behaves when you twist, hop, and scramble.
- Foam density: Dual-density foams provide firm support under the shoulder straps and hip belt with a softer face for comfort. Too soft and the foam “bottoms out” over time; too firm and it hot-spots.
- Pivoting hip belts and harnesses: Some designs allow a slight pivot to follow your gait. Great for trail efficiency; mixed results on technical rock where too much movement can feel sloppy.
- Back panel ventilation: Trampoline-style mesh maximizes airflow, excellent for hot treks. Close-contact panels keep the load tighter and shed snow better in winter. For alpine routes, close-contact often wins.
- Anti-barreling: On roll-top packs, heavy loads can “barrel” outward. Stiffer framesheets or cross stays prevent the pack from rounding out and pushing your center of gravity backward.
If possible, test with your target expedition weight. Walk stairs, side-hill on a grassy slope, and take short downclimbs. If the pack squeaks or the hip belt creeps loose, it will only get worse 15 km and 1000 m of gain later.
Fabrics, Durability, and Weatherproofing

Fabric choice controls durability, weight, and weather resistance.
- Denier isn’t everything: Denier (e.g., 210D, 420D, 500D) describes fiber thickness, not necessarily strength. High-tenacity nylons and blends can outperform heavier, low-tenacity material.
- Common fabrics:
- High-tenacity nylon (210D–500D): A balance of durability and weight. Many expedition packs use 420D in high-wear zones.
- UHMWPE blends (Dyneema/Spectra, Ultra): Exceptional tear resistance; more expensive but great for rock-rich alpine environments.
- Laminates (e.g., X-Pac/Ecopak, Ultra): Good abrasion resistance, low water absorption, and inherent waterproof film layers.
- Dyneema Composite Fabric (DCF): Very waterproof (>20,000 mm hydrostatic head typical), light, but can puncture and abrade differently than woven fabrics; best for users who pack carefully.
Weather resistance facts:
- Coatings: PU and silicone coatings improve water resistance but can degrade over time (hydrolysis). Laminates resist wet-out better and absorb less water weight.
- Hydrostatic head: Many “water-resistant” packs are in the 1000–3000 mm range or unspecified. Fully waterproof builds with seam-taped laminates can be effectively stormproof but are rare in technical alpine packs due to complexity and repairability.
- Zippers: Look for YKK coil zippers (#5 for small pockets, #8–#10 for main access). Water-resistant zippers reduce seepage but still benefit from a flap in prolonged rain.
Rain cover vs liner:
- Rain covers add protection but can flap in wind and snag on brush. They also don’t help in driving rain from the back panel side.
- Pack liners (heavy-duty trash compactor bags or purpose-made dry bags) protect critical gear regardless of fabric wet-out. Many expedition travelers do both: liner plus weather-resistant pack.
Reinforcements to look for: double-layer base panels, crampon patches (high-denier, textured), bartacks at stress points, and bound seams.
Access and Closure Systems
How you get into the pack matters when the wind is waiting for you to drop a glove.
- Roll-top: Simple, weather-resistant, compresses well for summit days. Harder to access bottom items unless the pack has a side or front zip.
- Top lid (brain): Adds organization (map, headlamp, snacks). Many lids are removable, helpful for weight savings and summit pushes.
- Panel or U-zip access: Excellent for organization; less common on alpine-focused packs due to potential failure points. If included, ensure robust zippers and storm flaps.
- Side zips: Quick access to the main compartment; verify that zipper routing doesn’t cross high-abrasion zones without reinforcement.
Check glove usability. Big, glove-friendly zipper pulls and buckles are a small feature with huge value. In winter, buckles made from acetal tend to perform better in the cold than some nylon blends, which can get brittle.
A simple rope strap under the lid or a dedicated rope carry system keeps coils stable without swallowing main compartment volume. For alpine starts, a rope that deploys without unpacking half your kit saves minutes when the cold matters.
External Carry for Technical Tools
If your expedition includes technical objectives, dedicate attention to tool carry.
- Ice axe attachments: Classic loops plus upper bungee capture work, but modern picks can cut fabric. Look for reinforced patches where the head rests.
- Crampon carry: A front “shove-it” pocket with a tough face fabric, or a dedicated crampon patch with straps. Inside carry is safer for snagging but risky for puncturing soft gear unless well-protected.
- Helmet carry: Removable mesh slings or fixed cradles keep helmets accessible. If you strap a helmet on the lid, ensure it doesn’t block head tilt when looking up on steep ground.
- Ski carry: A-frame is stable and keeps the center of gravity close; diagonal is faster for transitions. Verify strap placement fits your ski width and tails don’t hit your calves.
- Trekking poles/snowshoes: Dedicated loops and upper retention straps prevent swing. For brushy approaches, carry poles vertically to reduce snagging.
The best external systems secure tools without slop. Sloppy carries rub holes in fabric and drain energy on long days.
Organization That Actually Helps

In the alpine, you pack and repack constantly. Organization features either save energy or get in the way.
- Side pockets: High stretch mesh is convenient but fragile on granite. Consider woven pockets with drain holes for durability and snow shedding.
- Front pocket/shove-it: Perfect for wet layers, snow stakes, or maps. A non-stretchy, abrasion-resistant face is best for crampons.
- Hip belt pockets: Large enough for two bars or a compact camera saves you from stopping. Water-resistant zips are helpful but still double-bag electronics.
- Hydration sleeve vs bottles: Sleeves are tidy but hoses freeze in winter. For sub-freezing trips, carry insulated bottles upside down in side pockets (ice forms at the top).
- Internal security pocket: Good for passport or satellite communicator if you’ll travel internationally or in remote border regions.
Avoid over-complication. Every zipper is a failure point, every pocket is more sewing and weight. Pack what you’ll use; skip what you won’t. If you carry a paper map, a flat, lid-top pocket keeps it uncreased and quick to reference.
Weight vs Durability: Finding the Right Tradeoff
Ultralight packs can feel magical on day one—and chewed up after a week of granite squeezing. Overbuilt packs can feel indestructible—and unnecessarily heavy. Balance comes from honest load and terrain assessment.
- Light-and-fast (sub-1.2 kg for 50–60L): Best if your base weight is already low, you’re disciplined with packing, and routes avoid aggressive bushwhacking.
- Midweight workhorses (1.5–2.2 kg for 60–75L): Most reliable for remote trips with mixed terrain. Look for reinforced bottoms, robust frames, and conservative feature sets.
- Expedition tanks (2.5–3.5+ kg for 70–90L): For heavy winter loads, group gear, or when you know you’ll scrape granite daily.
Look for evidence of durability:
- Stitching: Box-and-x patterns on strap anchors, bartacks on daisy chains, double-needle seams on high-load joins.
- Fabric mapping: Abrasion zones (base, sides, front) get higher denier or laminates; less exposed panels use lighter fabrics.
- Lab-tested claims: If available, abrasion test metrics (e.g., Martindale cycles) help compare apples to apples. Not all brands publish them, but when they do, it’s a plus.
Cold-Weather and High-Altitude Considerations
Cold finds the weak points in gear.
- Buckles and webbing: Large, glove-friendly buckles and ladder locks reduce fiddling. Acetal buckles resist cold brittleness better than some nylons.
- Foam and stiffness: Some foams get rigid at -20°C. Try the pack in a freezer test if winter is your primary season: loaded, cold-soaked, then adjusted with gloves.
- Hydration: Hoses freeze. If you insist on a reservoir, use an insulated hose routed under your arm and blow back after each sip. Otherwise, wide-mouth bottles in insulated sleeves, carried upside down in side pockets.
- Snow shedding: Smooth, low-nap fabrics shed snow better than fuzzy face fabrics. Minimize mesh on the exterior for winter trips.
- Compression in wind: Strong compression straps stabilize a half-full pack on storm days. Slack packs act like sails.
Altitude affects your movement efficiency; small annoyances become big ones. The pack that adjusts easily with gloves and resists snow build-up pays off a hundred times.
Safety and Redundancy Features
You hope you never need these, but on remote expeditions they matter.
- Integrated whistle on sternum strap: A lightweight, always-accessible backup to your voice in high wind.
- Reflective accents: Help a headlamp find you in storm or low visibility when separated from partners.
- Emergency color contrast: Bright pack colors increase visibility to SAR; stealth colors blend better if you’re wildlife-focused. Choose intentionally.
- Avalanche airbags: For ski mountaineering in avalanche terrain, an airbag pack can reduce burial depth. Note: They’re heavier, capacity is consumed by the mechanical system, and not a substitute for decision-making.
- Attachment points for comms: Secure mounting for a satellite messenger or two-way radio keeps SOS accessible and the antenna unobstructed.
- RECCO reflectors: Passive reflectors are light and increasingly common; they assist organized rescue teams but don’t replace beacons in avalanche terrain.
Design redundancy: Two attachment points for ice tools, double loops for load compression, and backup ways to secure your rope if a buckle fails—all add resilience when far from a trailhead.
Budget, Warranty, and Sustainability

Price doesn’t always predict field performance—but support and repairability matter.
- Typical prices: Serious alpine/expedition packs run from $200–$500+. Airbag systems and exotic fabrics push higher.
- Used market: Quality packs often outlive trends. Inspect seams, zippers, and frame integrity carefully; lightly used can be an excellent value.
- Warranty and repair: Brands that offer parts (replacement lids, hip belts) and in-house repairs extend a pack’s life. On remote trips, the ability to field-repair matters more than marketing weight claims.
- Sustainability: Look for Bluesign-approved textiles, recycled nylons, and PFC-free DWR. These don’t guarantee performance but indicate responsible sourcing. Also consider companies with repair programs—keeping gear in use is the greenest choice.
Try-Before-You-Buy and Real-World Testing

A 10-minute try-on with store pillows is misleading. Simulate your expedition.
- Bring your own weight: Fill a duffel with water jugs or sandbags to your expected carry weight (e.g., 18–23 kg for winter or rope-heavy alpine).
- Torso and belt tuning: Adjust the torso length, then dial the hip belt. Walk for 20–30 minutes; do stairs if possible. Note any numbness in hands (sign of strap impingement) or hot spots.
- Stability checks: Side-hill on an incline. Try small hops and abrupt stops. If the load sways, check compression and frame stiffness. Persistent sway suggests a mismatch.
- Glove test: Put on your thickest gloves. Open/close buckles, pull zips, adjust load lifters. If you struggle in a store, it won’t improve in spindrift.
- Helmet clearance: Wear a helmet and look up; the pack shouldn’t shove it forward.
If you can’t test in person, order from a retailer with a generous return policy and simulate the above at home without scuffing the pack. Keep tags on until you’re sure.
Packing Strategy for Stability

A great pack won’t fix poor packing. Improve stability with load zoning:
- Bottom: Soft, compressible items—sleeping bag in a dry bag, insulated layers. Avoid dense weight down low.
- Core (against the back): Heaviest items here—food, water, hardware, bear canister—centered close to your spine, roughly between shoulder blades and hip belt.
- Top: Lighter but frequently used—shell, puffy, first-aid kit.
- Exterior pockets: Wet items, map, gloves. Avoid strapping heavy items far from your back; they behave like a lever on scrambles.
Compression: Cinch side and front straps to control volume. If your pack has top-to-bottom compression, use it to flatten the load profile on technical moves. Rope under the lid or secured by a rope strap keeps the center of gravity tight.
Maintenance and Field Repairs
Expeditions grind gear down. A little maintenance pays back in reliability.
- Cleaning: Brush off grit, then hand wash with mild soap. Avoid harsh detergents that strip DWR. Air dry out of direct sun.
- DWR refresh: When water stops beading, clean first, then reapply a PFC-free DWR spray and heat-set if the fabric allows.
- Seam checks: Look for loose stitches or seam creep at high-stress points (shoulder strap bases, hip belt anchor). Reinforce before it’s a field problem.
- Zipper care: Clean grit with a soft brush; lube sparingly with zipper-specific lubricant. Replace sliders before teeth fail.
- Field repair kit: Tenacious Tape, a heavy needle and waxed thread, spare buckles and webbing, mini cordage, and a few rivets or Chicago screws for emergencies. Add a couple of zip ties—they fix miracles.
Small issue, big fix: A single lost shoulder strap buckle can end a trip. Carry a spare compatible with your webbing width.
Three Example Setups
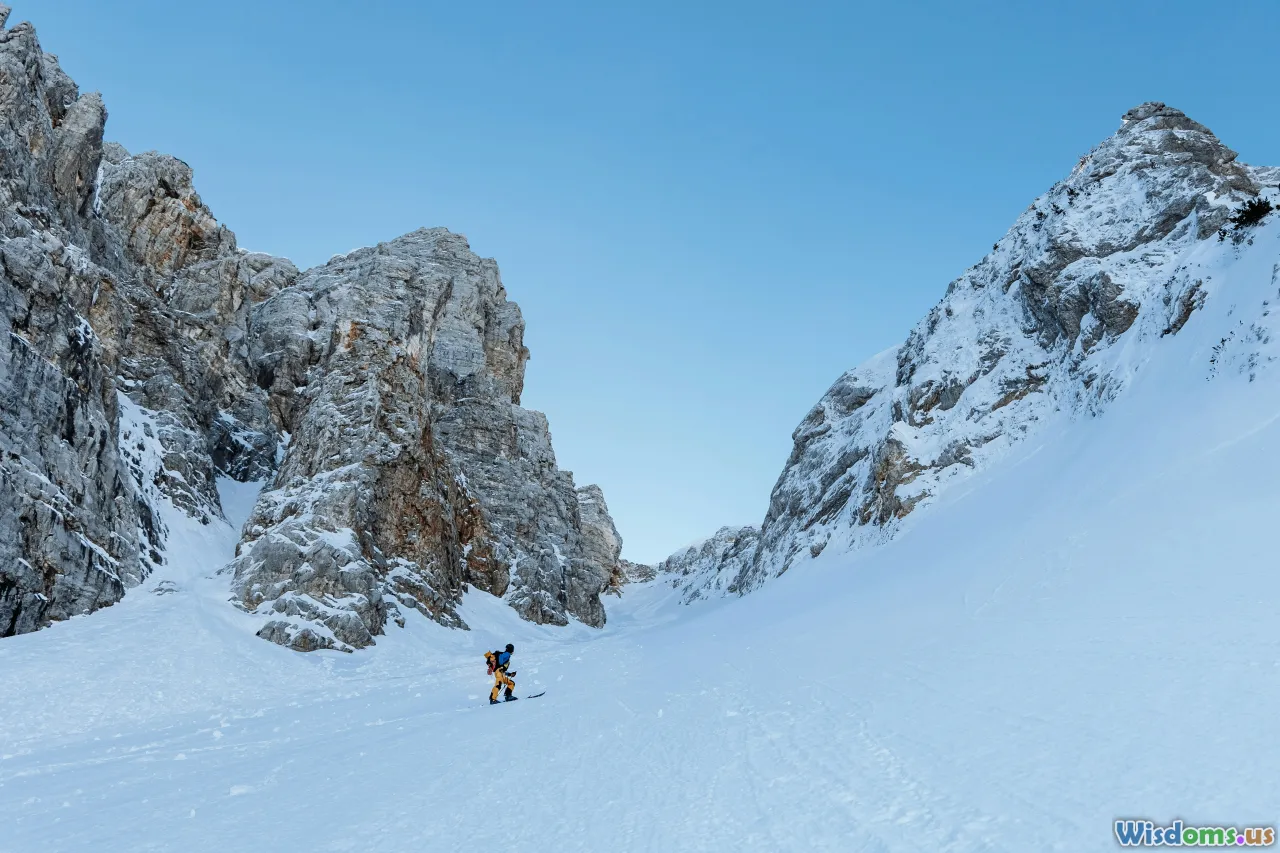
- 5-day remote alpine trek (mixed trail and talus, occasional class 3)
- Capacity: 60–65L
- Frame: Semi-framed to full internal frame with aluminum stays
- Fabric: 210–420D high-tenacity nylon with reinforced bottom
- Features: Removable lid, large side pockets for bottles, front shove-it for wet shell, hip belt pockets for snacks/GPS, rope strap under lid (optional)
- Why: Enough volume for 5 days of food plus a compact shelter without overkill. Durable yet not overly heavy. Emphasis on comfort over long carries.
- Technical alpine objective (glacier approach, grade III–IV rock)
- Capacity: 45–55L
- Frame: Close-contact internal frame, stiff enough for a full day’s rack and rope
- Fabric: UHMWPE blend in high-wear zones, minimal exterior snag points
- Features: Dual ice tool carry with reinforcements, helmet holder, slim profile, roll-top with removable lid, side zip for fast access to belay jacket, rope retainer
- Why: Narrow profile for chimneys and easy tool management. Moderate capacity to approach with bivy gear, then compress tight for the route.
- 7-day winter ski traverse (avalanche terrain, -15°C nights)
- Capacity: 70–85L
- Frame: Full internal frame with robust hip belt, tall stays for leverage
- Fabric: Snow-shedding laminate panels, minimal mesh
- Features: A-frame and diagonal ski carry, avalanche tool pocket, big glove-friendly buckles, insulated bottle storage, strong compression, rope and ice tool options, removable lid for summit days
- Why: Bulky winter gear and fuel require real volume and frame strength. Snow-focused features and glove usability keep transitions efficient and safer.
Quick Decision Flow
Use this flow to zero in quickly:
- How long and in what season?
- 1–2 nights three-season: 40–55L
- 3–5 nights three-season: 55–70L
- Add 10–20L for winter or technical gear
- What terrain and tools?
- Rope, rack, ice: Tool carry, slim profile, reinforced crampon patch
- Skis: A-frame/diagonal carry, avalanche tool pocket
- Heavy bushwhack: Durable woven pockets, fewer external snag points
- What load range?
- ≤11 kg: Semi-framed or even frameless (experienced UL users)
- 12–18 kg: Semi-framed with stays or light full frame
- 19–27+ kg: Full frame with stiff hip belt and load lifters
- Fit check:
- Torso matches C7–iliac crest guidance
- Hip belt centers on iliac crests, doesn’t bottom out
- Load lifters hit 30–45° under load
- Features checklist:
- Glove-friendly buckles and pulls
- Side pockets that fit your bottles/canister
- Access pattern you prefer (roll-top with side zip vs lid)
- Compression adequate for summit day shrink
- Rain strategy (liner, cover, or laminated build)
If two packs tie on paper, choose the one that fits better and has simpler, stronger construction. Field reliability wins every time.
Frequently Overlooked Details
Little things add up on day four.
- Strap keepers: Elastic keepers or Velcro loops manage excess webbing and prevent wind flap.
- Noise: Creaking frames and squeaky harnesses sap patience. A bit of silicone on squawky joints can fix it.
- Anchor angles: Shoulder strap bar-tacks should align with pull direction. Mismatched angles cause puckering and early failure.
- Helmet interference: Tall packs and protruding lids can block head tilt. Test with a helmet.
- Buckle compatibility: Proprietary buckles are hard to replace in the field. Standard side-release designs are easier to swap.
- Drainage: Grommets or mesh bases in exterior pockets keep snowmelt from pooling.
- Lash points: Daisy chains are useful, but too many create snag points. Choose moderated, reinforced lash points over a webbing jungle.
Final Thoughts
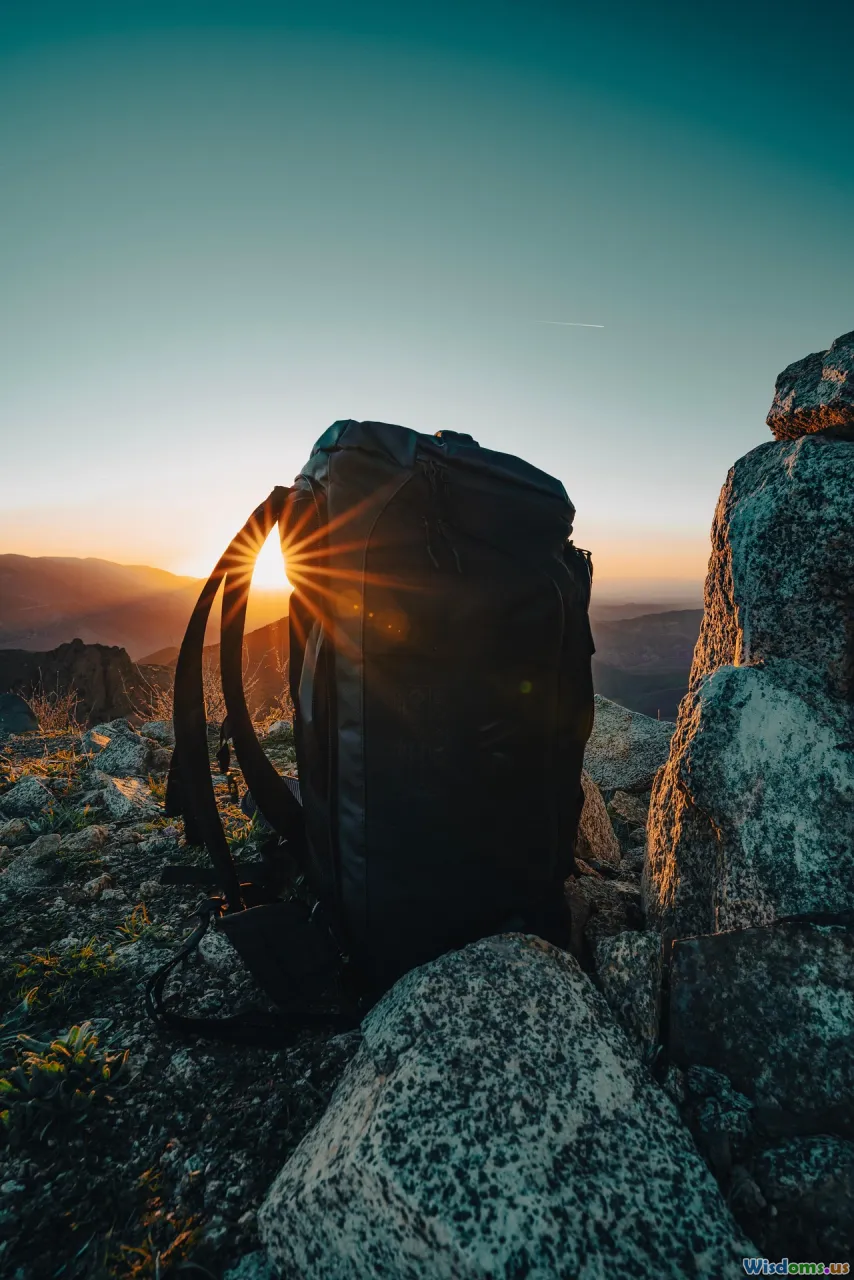
On remote mountain expeditions, your backpack is more than a container—it’s part of your movement system, your shelter management, and your safety net. The “right” pack is the one that carries your specific load securely, fits your body over unpredictable terrain, and survives the abuse your route will inevitably deliver.
Start with an honest trip profile. Size the volume to your food, season, and tools. Prioritize frame and fit for your heaviest expected day. Choose fabrics and features that match your terrain and weather. Then test ruthlessly: stairs, side-hills, gloves, helmet. A few hours of pre-trip evaluation can save days of discomfort and risk.
The mountains will always add surprises—spindrift on a ridge, wet granite you didn’t plan for, a route that takes longer than expected. A well-chosen backpack won’t remove the uncertainty, but it will make your response steadier and your margin wider. That extra margin is often the difference between turning a challenge into a memory and letting a preventable gear failure write the story for you.
Outdoor Skills Backpacking Adventure & Exploration Expedition Gear & Equipment mountaineering Gear Guides expedition backpack pack volume torso length suspension system internal vs external frame weatherproofing durability denier hip belt fit load lifters ice tool carry avalanche gear integration satellite communicator storage winter mountaineering multi-day trekking
Rate the Post
User Reviews
Other posts in Expedition Gear & Equipment
Popular Posts


