Chocolate Tempering Techniques Every Home Baker Should Try
42 min read Master foolproof chocolate tempering at home with seed, tabling, and microwave methods, precise temperatures, troubleshooting, and equipment tips for glossy snap and smooth coatings. (0 Reviews)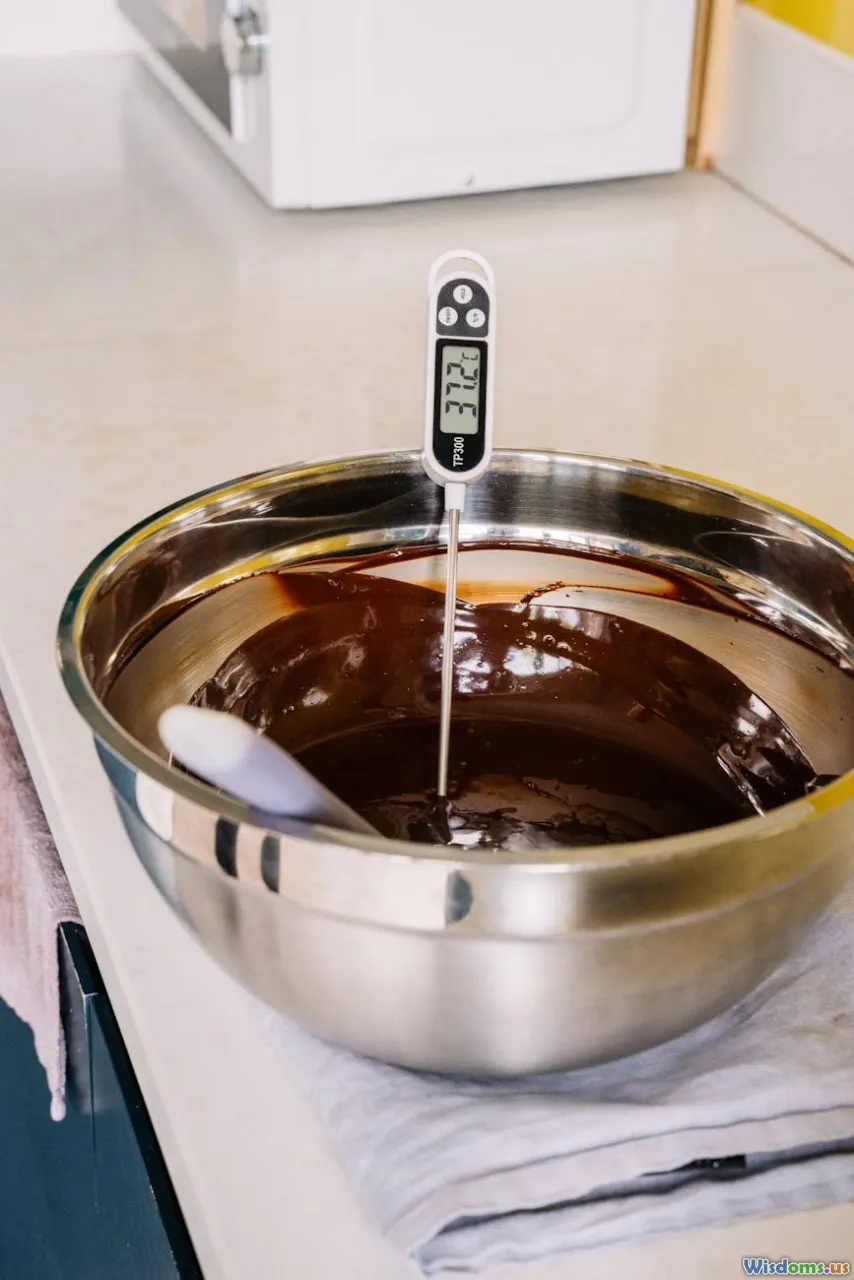
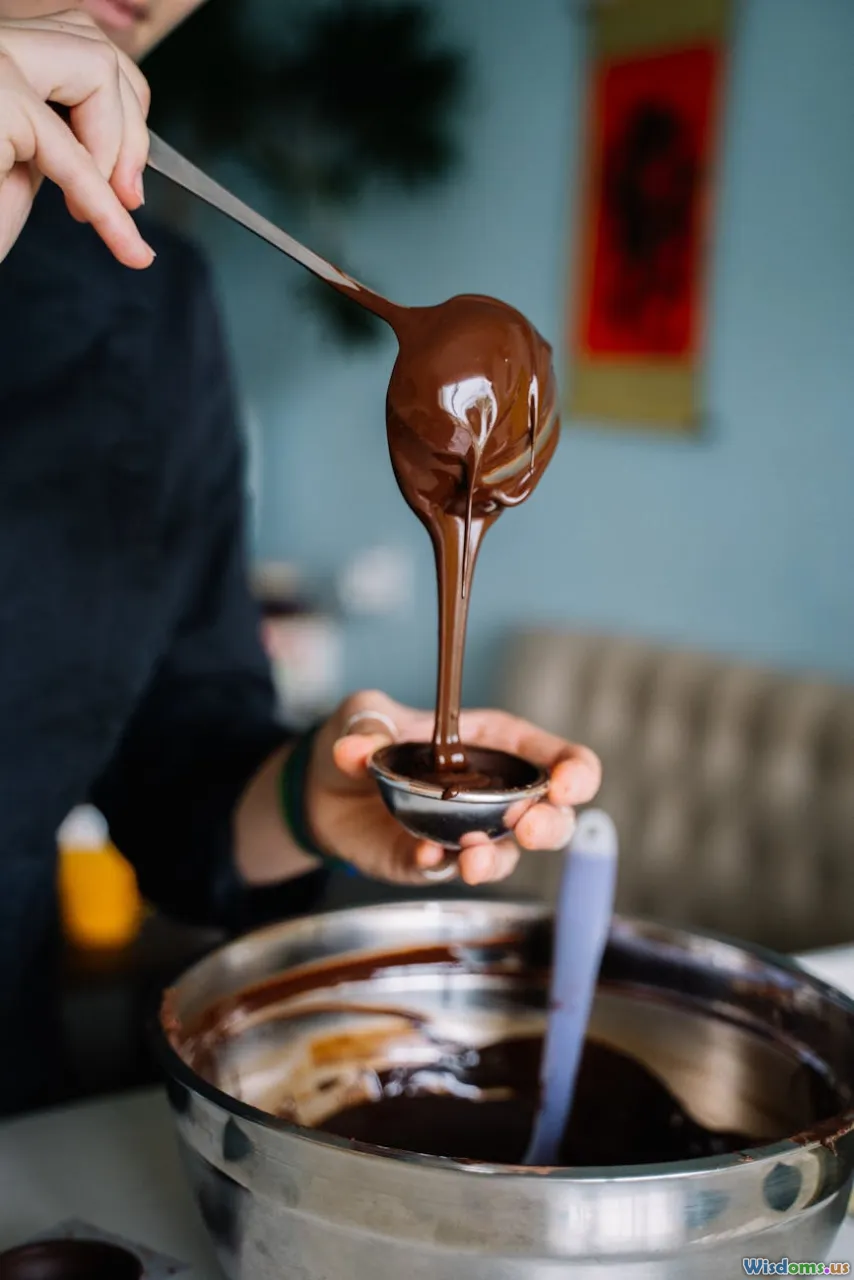
There is a moment every home baker chases: the clean snap when a chocolate shell breaks, the mirror-like sheen on a truffle, the crisp edge on a dipped strawberry. That satisfying crack is not an accident; it is the result of tempering, the intentional control of chocolate's temperature and crystal structure. Tempering may seem fussy at first glance, but it is an approachable skill once you grasp the why and the how. With a thermometer, patience, and the right method for your setup, you can produce professional-quality finishes at home.
In this guide, you will learn the core science behind tempering, practical tool and ingredient choices, and a range of reliable techniques from classic marble-slab work to modern sous vide. Along the way, you will find testing methods, fix-it strategies, and real-world examples so you can temper with confidence and repeat your results any day of the year.
Why tempering matters for home bakers
Tempering is the process of heating and cooling chocolate to encourage the formation of stable cocoa butter crystals, which gives the finished chocolate desirable traits that untempered chocolate cannot match. When you temper correctly, you get:
- Glossy shine: A reflective, even surface that looks like glass.
- Sharp snap: A crisp break that signals the correct crystallization.
- Smooth melt: A clean, silky mouthfeel rather than waxy or grainy textures.
- Better contraction: Useful for molded bonbons, where chocolate pulls away cleanly from the mold.
- Resistance to bloom: Reduced likelihood of fat or sugar bloom during storage.
Real-world example: Tempered chocolate-dipped orange peels will set at room temperature within minutes and can be handled without smudging. The same peels dipped in untempered chocolate will stay tacky, dull, and may bloom within a day even if refrigerated.
For home bakers, the benefits go beyond aesthetics. Tempering reduces mess, speeds up production, and gives consistent results across diverse projects: shards for cake decoration, chocolate curls, piped filigree, dipped fruits, or shells for ganache-filled bonbons.
The science in simple terms: cocoa butter crystals
Cocoa butter is polymorphic, meaning it can solidify into several crystal forms. The key forms are labeled I through VI, each with different melting points and stability. Only one of these structures, commonly called beta V (form V), delivers the classic snap and shine.
- Forms I–IV: Softer, melt too quickly, lead to dull surfaces and weak snap.
- Form V (beta V): The sweet spot for tempering; melts near body temperature, glossy finish, crisp snap.
- Form VI: Very stable but forms slowly over time; can cause fat bloom as it transforms from less stable forms.
What tempering actually does is create a majority of form V crystals while minimizing the others. That requires a controlled journey through three steps:
- Melt fully to eliminate existing crystal memory.
- Cool to create a network of stable form V seed crystals.
- Reheat slightly to working temperature, so the chocolate flows while retaining those seeds.
Think of it like building scaffolding inside the chocolate. Too hot and the scaffolding melts away; too cool and the chocolate becomes thick and unworkable; just right and the structure is there but still fluid enough to use.
Tools and setup for success

You do not need a professional kitchen to temper chocolate well. A few key tools and a sensible setup make the difference.
Essential tools:
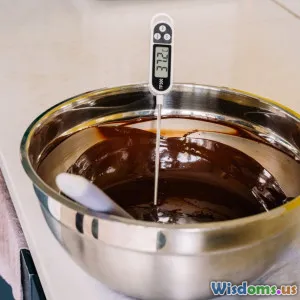
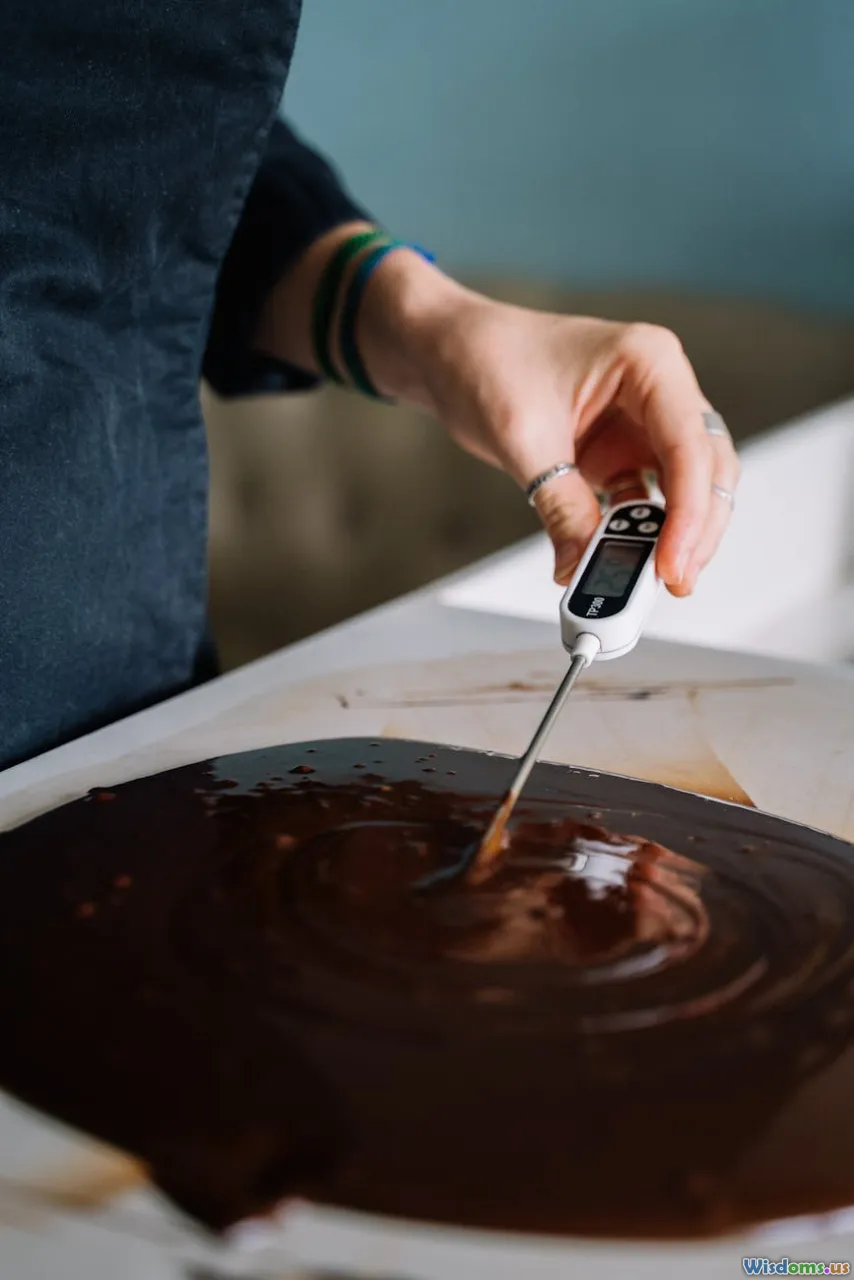
- Accurate thermometer: Infrared for quick checks, and a probe or instant-read for stirring and core temperature. A 0.5 °C (1 °F) resolution helps.
- Heat-safe bowls: Glass or stainless steel; avoid plastic that retains odors. Narrow, deeper bowls reduce cooling too quickly.
- Silicone spatulas: For stirring and scraping the bowl sides.
- Scraper or bench knife: If using a marble slab for tablierage.
- Microwave or gentle heat source: Microwave, bain-marie (double boiler), or induction on low.
- Cooling surface: Marble or granite if you plan to use tablierage; otherwise, a room at 20–22 °C (68–72 °F) is helpful.
Helpful extras:
- Hair dryer or small heat gun: Micro-bursts of warm air to maintain working temperature.
- Seed chocolate: Finely chopped tempered chocolate of the same type as your melted batch.
- Piping bags or squeeze bottles: For decorative work or filling molds.
- Lint-free cotton pads: To polish polycarbonate molds and remove static and dust.
Environmental setup:
- Room temperature: Ideal is 20–22 °C (68–72 °F).
- Humidity: Keep it under 50%. High humidity causes condensation; sugar bloom follows.
- No steam: Keep chocolate away from simmering kettles; even a drop of water can seize chocolate.
Choose the right chocolate for tempering
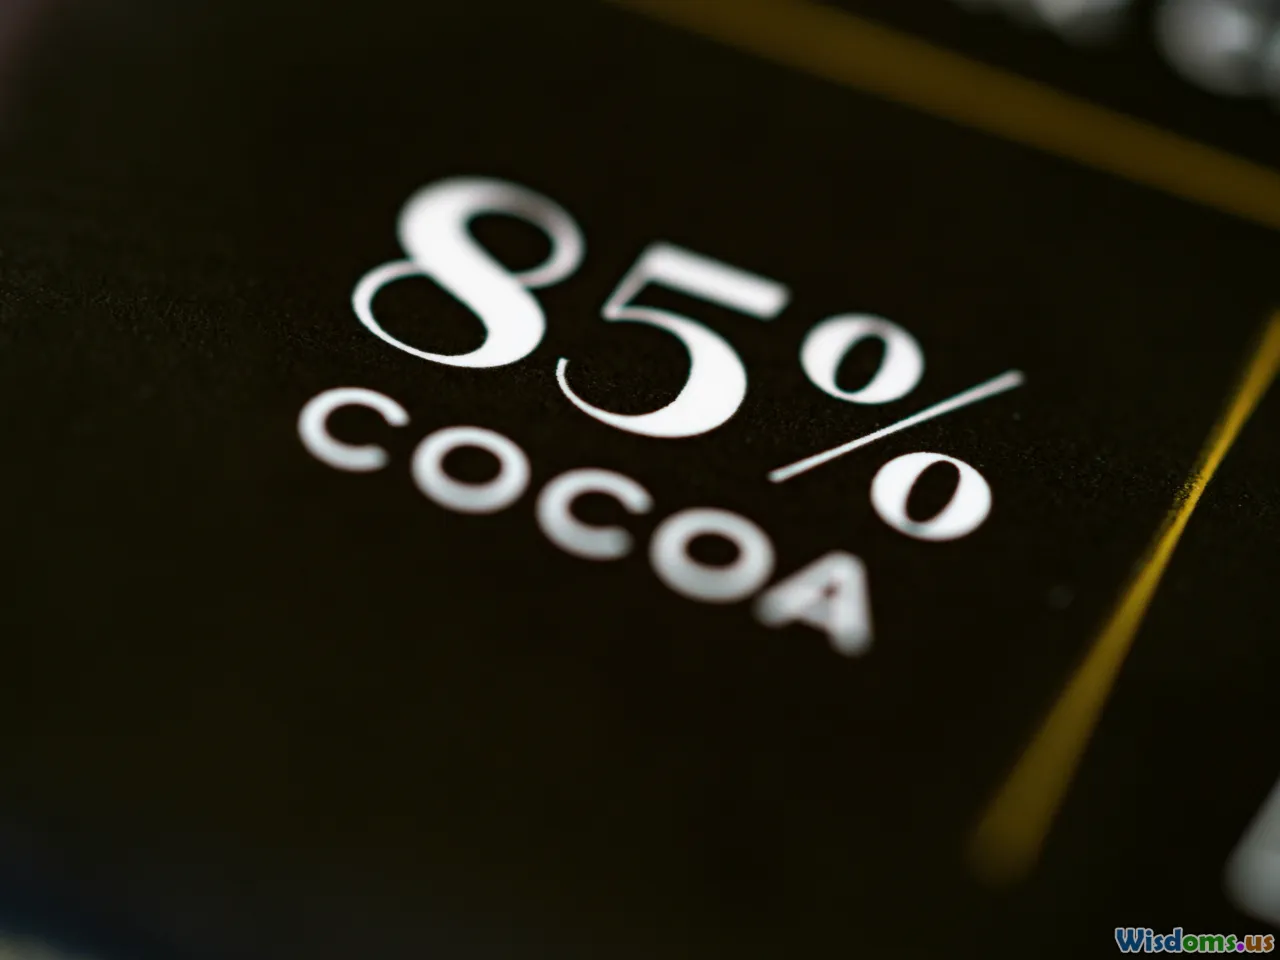
Your results depend heavily on the chocolate you start with.
-
Couverture vs. regular chocolate: Couverture has a higher cocoa butter content (often 31–39%), which melts fluidly and coats thinly. It is ideal for dipping, molding, and fine decorations. Regular eating chocolate may be thicker and harder to temper consistently because of lower cocoa butter and varying emulsifiers.
-
Dark vs. milk vs. white: Milk and white chocolates contain milk solids that behave differently under heat, generally requiring lower temperatures than dark chocolate. White chocolate contains no cocoa solids but does contain cocoa butter; it can be temperamental and scorches easily.
-
What to avoid: Compound coatings made with vegetable fats (often labeled candy melts or coating chocolate) do not require tempering at all. They can be melted and used directly, but the flavor and mouthfeel are not the same as real chocolate made with cocoa butter.
-
Cocoa butter percentage and viscosity: Packaging often lists a fluidity index or suggests whether a chocolate is best for molding or baking. If your melted chocolate feels too thick for dipping, add 0.5–2% deodorized cocoa butter by weight to thin it without diluting flavor. For example, 4–16 g cocoa butter added to 800 g chocolate.
Example pairing:
- Molding bonbons: Choose a 65–72% dark couverture with 35% cocoa butter for strong contraction and shine.
- Dipping strawberries: A fluid white or milk couverture that sets quickly and thinly.
Method 1: the seeding method (beginner-friendly)
Seeding is the most accessible way to temper at home. You melt most of your chocolate, then add finely chopped tempered chocolate (the seed), which introduces form V crystals into the mass.
You will need:
- 700 g chocolate to melt + 300 g finely chopped chocolate to seed (10–30% seed by weight is typical; 15–20% is a safe starting point).
- Thermometer and spatula.
Steps:
- Melt: Place 700 g chopped chocolate in a bowl. Melt gently over a bain-marie or in short microwave bursts.
- Dark chocolate: Heat to 45–50 °C (113–122 °F).
- Milk chocolate: Heat to 40–45 °C (104–113 °F).
- White chocolate: Heat to 38–43 °C (100–109 °F). Avoid scorching.
- Seed: Remove from heat. Add 200–300 g of finely chopped chocolate (same type and brand if possible). Stir steadily, not vigorously, scraping down the sides so everything melts evenly.
- Cool to crystallize: Continue stirring until the temperature drops to the crystallization zone:
- Dark: 27–28 °C (80–82 °F).
- Milk: 26–27 °C (79–81 °F).
- White: 25–26 °C (77–79 °F).
- Rewarm to working temperature: Briefly return the bowl to gentle heat or use a hair dryer with stirring to reach:
- Dark: 31–32 °C (88–90 °F).
- Milk: 29–30 °C (84–86 °F).
- White: 28–29 °C (82–84 °F).
- Test temper (see testing section). If the test sets within 3–5 minutes with good gloss and snap, you are ready to use.
Common issues and fixes:
- Chocolate still too thick at working temp: Add 0.5–1% cocoa butter and stir; keep within working temperature.
- Seeds not melting fully: The mass may be too cool; give it 2–3 seconds of warm air and stir. Avoid overshooting.
- Fine flecks: Unmelted seed; strain through a fine sieve or warm slightly to fully incorporate.
Method 2: tablierage on marble (classic and visual)
Tablierage is the old-world method: you pour a portion of melted chocolate onto a cool stone, work it with scrapers to form crystals, then fold it back into the warm chocolate. It is tactile and fast, ideal when you want tight control.
Steps:
- Melt your chocolate to full melt temperatures (as listed above).
- Pour roughly two-thirds of the melted chocolate onto a clean, dry marble or granite slab.
- Agitate with a metal scraper and an offset spatula. Spread it thinly and gather back into a mass repeatedly. This accelerates cooling and crystal formation.
- Monitor temperature on the slab. You are aiming for crystallization temperatures:
- Dark: 27–28 °C (80–82 °F).
- Milk: 26–27 °C (79–81 °F).
- White: 25–26 °C (77–79 °F).
- Return the cool, thickened chocolate to the bowl with the warm third. Mix thoroughly. The combined mass should rise to near working temperature. If still cool, gently rewarm.
Why it works: The physical agitation and rapid cooling encourage form V crystal formation. Because you reintegrate it with warmer chocolate, you automatically approach the working zone.
Pro tips:
- Keep tools dry and warm the bowl slightly before starting to avoid condensation.
- Scrape the slab clean as you go to avoid streaks of over-crystallized chocolate.
- Practice with 500–800 g at a time; too small a batch cools too fast.
Method 3: microwave tempering in short bursts
The microwave is a powerful, controlled heat source if used correctly. The key is short intervals and frequent stirring.
Basic approach:
- Place finely chopped chocolate in a microwave-safe bowl.
- Heat at 50% power in 10–20 second bursts, stirring well between each.
- Stop heating when 75–80% of the chocolate has melted and the rest is still visible as small pieces. The residual heat will melt the remainder.
- Monitor temperature; if you stayed below full melt by a few degrees, your remaining pieces often act like seed. If you overshoot, add 10–20% seed chocolate and stir to cool to the crystallization zone, then rewarm to working temperature.
Advantages:
- Minimal equipment, fast, clean.
- Less risk of water contamination compared to a bain-marie.
Key caution:
- Microwaves heat unevenly; scrupulous stirring prevents hot spots and scorching.
Example workflow for white chocolate: Heat in 15-second bursts to 38–39 °C, stir until smooth. If you hit 41–42 °C, stir in 15% finely chopped white chocolate to drop to 26 °C, then rewarm to 28–29 °C.
Method 4: sous vide bag tempering (mess-minimizing)
Sous vide tempering is neat, hands-off, and excels for batch work or when you want minimal cleanup. You will temper the chocolate inside a bag in a precisely controlled water bath.
You will need:
- Vacuum or zip-top freezer bag.
- Immersion circulator and deep container.
Steps (dark chocolate example):
- Set the circulator to 49–50 °C (120–122 °F). Place chopped chocolate in the bag, seal, and submerge. Massage occasionally until fully melted.
- Drop temperature to 27 °C (80 °F). Add a couple of ice cubes to the bath to speed the drop if needed. Knead the bag occasionally to promote even crystallization.
- Raise to 31–32 °C (88–90 °F) for working. Keep the bath at this temperature while you pipe or pour directly from the bag.
This approach is extremely forgiving because the chocolate remains protected from drafts and humidity. It is excellent for white chocolate, which scorches easily on direct heat.
Method 5: tempering with cocoa butter powder (Mycryo-style)
Pre-crystallized cocoa butter powders (often sold as Mycryo) contain pure form V crystals that seed your melted chocolate quickly.
Steps:
- Melt chocolate to full melt temperature.
- Cool to 34–35 °C for dark chocolate, 32–33 °C for milk or white. This is slightly higher than the usual crystallization zone; that is okay because the powder provides the needed crystal form.
- Add 1% Mycryo by weight (10 g per 1 kg chocolate). Sprinkle evenly and stir thoroughly for 2–3 minutes.
- Let sit for a minute, then begin working at standard working temperatures.
Advantages:
- Very consistent. Ideal if you struggle with seeding ratios or cannot find matching seed chocolate.
- Clean taste because it is pure cocoa butter.
Tip: Store the powder cool and dry. Moisture in the canister ruins flow and consistency.
Method 6: the quick-seed hack with stable discs
If you are using a reputable couverture that ships as small discs or callets, you can exploit their built-in temper by melting only part of the batch.
Quick method:
- Fill a bowl with discs. Microwave or heat only until about 70–75% of discs have melted. Stir vigorously. The unmelted discs act as seed, providing form V crystals.
- If needed, brief 5-second bursts to reach working temperature, but avoid exceeding full melt.
Caveats:
- This works best with discs specifically designed as baking callets and may be less reliable with irregularly chopped bars.
- You still need a thermometer; guessing leads to inconsistent results.
Understanding temperature stages and working ranges
Memorize these three stages for each type of chocolate. Numbers vary slightly by brand, but these ranges work well for most couvertures.
Dark chocolate:
- Full melt: 45–50 °C (113–122 °F)
- Crystallization zone: 27–28 °C (80–82 °F)
- Working temperature: 31–32 °C (88–90 °F)
Milk chocolate:
- Full melt: 40–45 °C (104–113 °F)
- Crystallization zone: 26–27 °C (79–81 °F)
- Working temperature: 29–30 °C (84–86 °F)
White chocolate:
- Full melt: 38–43 °C (100–109 °F)
- Crystallization zone: 25–26 °C (77–79 °F)
- Working temperature: 28–29 °C (82–84 °F)
What happens if you miss the mark:
- Too hot at working stage: You melted away your seeds. Chocolate will set slowly, look dull, and may streak. Fix by adding 10–20% seed and cooling to the crystallization zone, then rewarm.
- Too cool at working stage: Chocolate thickens or sets in the bowl, leading to heavy coating or clumpy molds. Fix by gently warming a degree at a time while stirring.
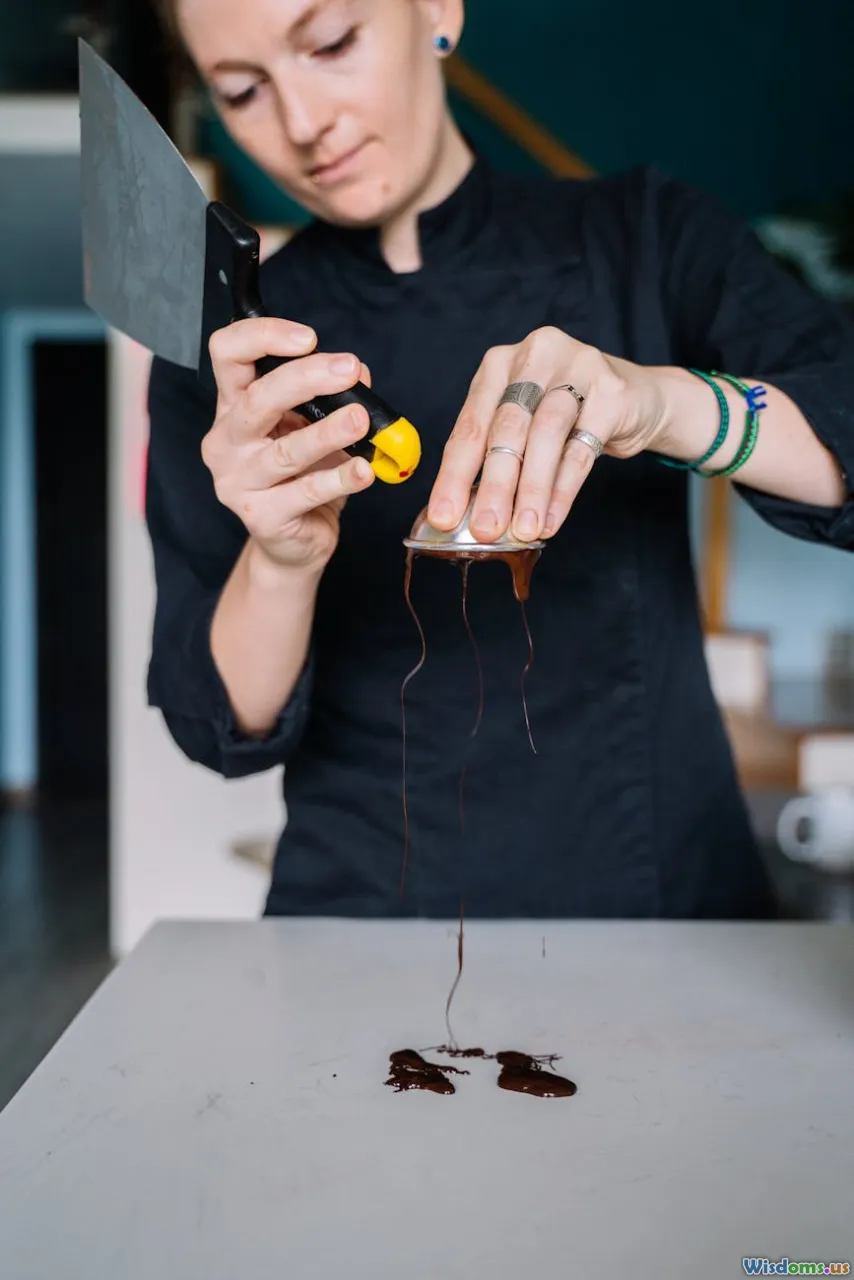
How to test temper before committing

Never fill molds or dip a tray of strawberries without testing your temper. Two simple tests reveal the truth in minutes.
-
Knife or spatula test: Dip the tip of a room-temp metal knife or offset spatula into the chocolate and set it on the counter.
- In temper: It should start setting within 2–3 minutes at room temperature, with a uniform shine and no streaks.
- Out of temper: It remains tacky after 5 minutes, looks streaky or cloudy, or sets unevenly.
-
Parchment streak test: Swipe a thin line on parchment paper. You should see it firm up quickly with a smooth finish. For milk and white chocolate, allow up to 5 minutes.
-
Lip test for experienced hands: Touch a clean dab to your lower lip. Properly tempered dark chocolate at working temp feels cool but not cold; white and milk will feel barely cool. This is quick but subjective; combine with an objective test when in doubt.
Keeping chocolate in temper while you work
Tempering is not a one-and-done moment. Once you begin dipping or molding, the chocolate gradually thickens as more crystals form and the temperature creeps down.
Strategies to maintain the sweet spot:
- Heat gun or hair dryer: Short, 1–2 second bursts with constant stirring to add a fraction of a degree.
- Warm water bath: Set a bain-marie with water 1–2 °C above working temperature. Rest the bowl on top, not touching the water, and stir frequently.
- Heating pad: Place under a towel and set to low, rotating the bowl to avoid hot spots.
- Add fresh chocolate: Stir in a small amount of fully melted chocolate at the same working temperature to refresh fluidity without breaking temper.
Warning signs:
- Thinning unexpectedly: You may be too hot; test again.
- Thickening rapidly: You are cooling too quickly; introduce gentle heat or move to a slightly warmer room.
Troubleshooting bloom, streaks, and seizing

Even seasoned bakers hit snags. Here is how to diagnose and fix common problems.
-
Fat bloom: Dull, gray, or white patterns on the surface. Caused by unstable crystals or temperature fluctuations after setting.
- Fix: Re-temper and avoid storing finished pieces in warm rooms that later cool; temperature cycling pushes fats to the surface.
-
Sugar bloom: Rough, grainy whiteness caused by moisture dissolving sugar, then recrystallizing.
- Fix: Control humidity; never move cold chocolate into a hot, humid room. If pieces get condensation, allow them to come to room temperature before unwrapping or exposing to air.
-
Streaks or marbling: Incomplete melting or incomplete mixing of seed.
- Fix: Return to melting stage and restart, or seed more evenly with thorough stirring.
-
Seized chocolate: Thick, grainy paste caused by water contact.
- Fix for saving as ganache: Add hot cream or milk gradually to turn it into a smooth ganache. For pure chocolate work, you must start over with dry tools and chocolate.
-
Thick but still glossy: Over-crystallized chocolate; too many form V crystals.
- Fix: Warm 0.5–1.0 °C at a time while stirring, or add a small amount of fully melted chocolate to dilute crystals.
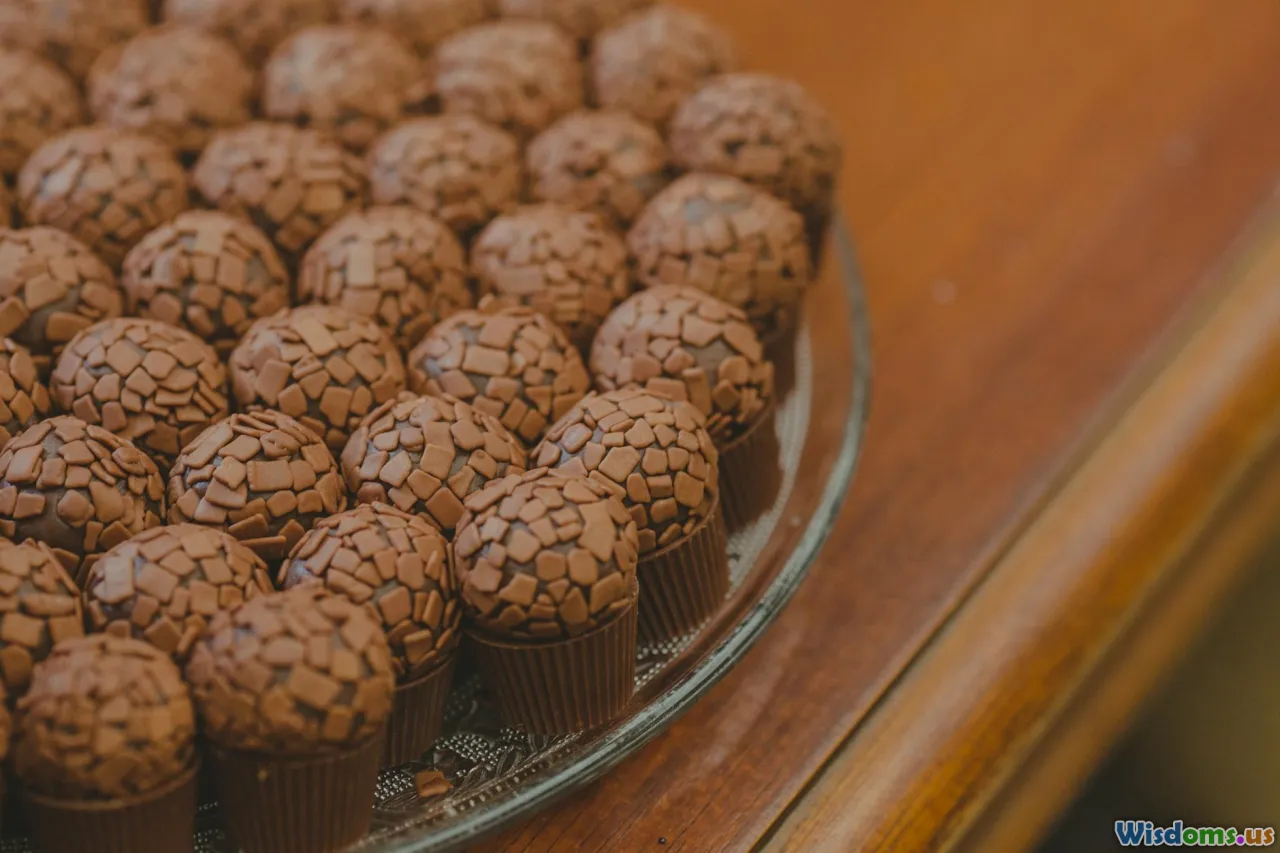
Applications: what to make with beautifully tempered chocolate

Once your chocolate is properly tempered, the projects open up.
-
Dipped fruits: Strawberries, candied orange peel, dried apricots. Tempered chocolate sets quickly and cleanly, minimizing pooling. Tip: Pat fruit dry completely; moisture ruins the finish.
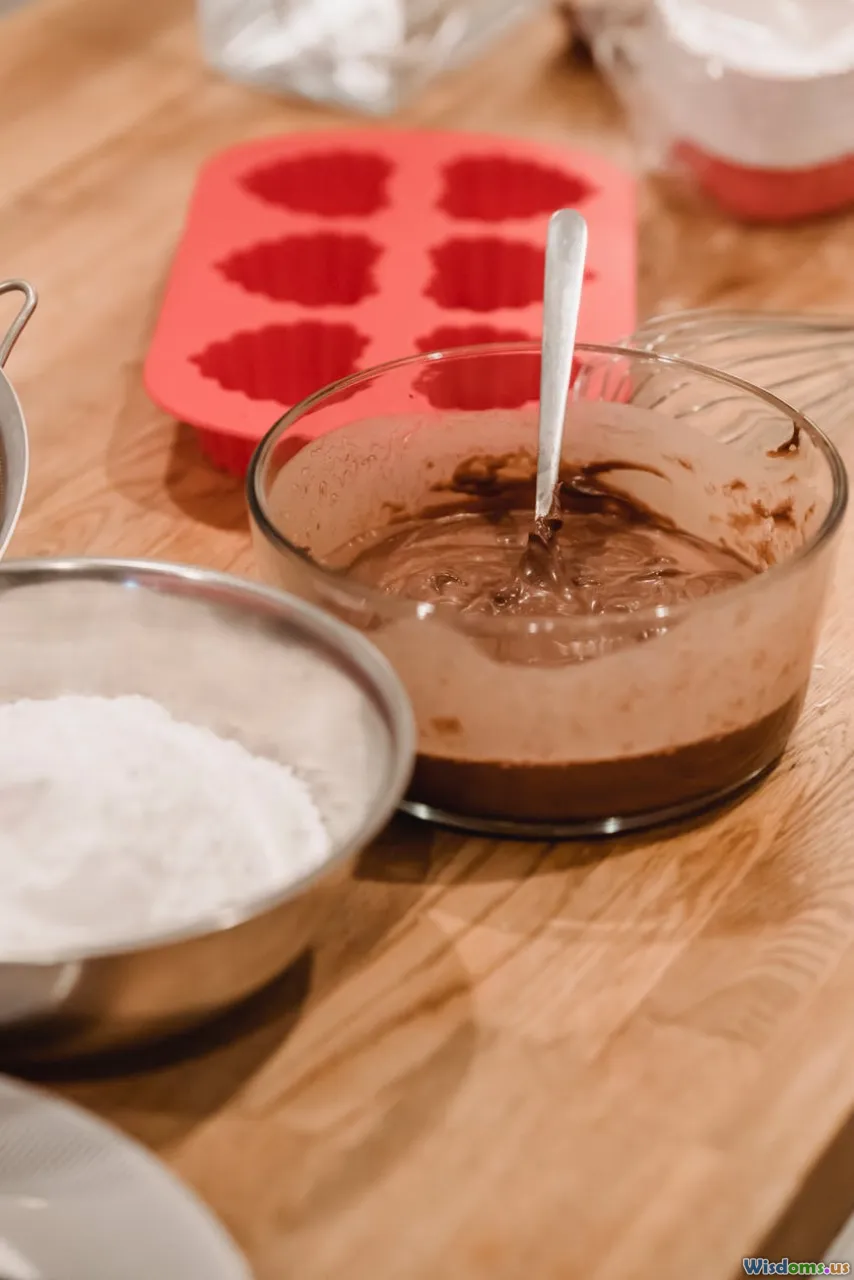
-
Molded bonbons: Polycarbonate molds yield glossy shells. Polish molds with cotton, pre-warm slightly with a hair dryer to avoid chill shock, then shell with tempered chocolate. Tap firmly to dislodge bubbles. Allow to crystallize before filling with ganache.
-
Chocolate bark: Spread a thin layer on parchment, add toasted nuts, freeze-dried fruit, cacao nibs, or sea salt. Tempered bark breaks into clean shards and stores well.
-
Decorative garnishes: Pipe filigree onto acetate, make curls by spreading a thin layer and scraping at the precise moment between set and still-pliable, or create transfer-sheet designs for cakes.
-
Shiny shells for ice cream bars: Dip frozen bars into tempered chocolate thinned with 1–2% cocoa butter for a thin crackling shell.
Each of these applications showcases the advantages of temper: glossy finishes, fast set, and sturdy, breakable textures.
Climate, storage, and shelf-life best practices
The environment you temper and store in matters as much as your technique.
Tempering conditions:
- Temperature: Work at 20–22 °C. If your kitchen is hot, consider tempering in the morning or evening.
- Humidity: Keep below 50%. Dehumidifiers help in humid climates.
- Airflow: Avoid drafts that cool chocolate too fast and cause streaks.
Storage for finished pieces:
- Ideal storage: 15–18 °C (59–64 °F), low humidity, away from sunlight and odors. Chocolate absorbs smells quickly.
- Packaging: Airtight containers or foil-lined boxes with food-safe parchment separators. Silica gel packets can help control humidity.
- Shelf life: Plain tempered dark chocolate can last months if stored well. Milk and white are more sensitive due to milk fats. Filled bonbons depend on the water activity of the filling; ganaches with cream typically have 1–3 weeks at cool room temp, longer if formulated with glucose, invert sugar, and low water content.
Transportation tips:
- Thermal insulation: Use cool packs separated from chocolate by cardboard to avoid condensation.
- Avoid temperature cycling: Moving repeatedly between cold and warm environments encourages bloom.
Advanced insights: viscosity, emulsifiers, and brand differences

Not all chocolates behave the same. Understanding a few variables helps you adjust on the fly.
-
Viscosity variations: Two 70% dark chocolates can flow differently depending on cocoa butter percentage and particle size. If a brand feels thick, add 0.5–2% cocoa butter to increase flow. For very fine decorative work, some pros go up to 3% but watch for thinning flavor impact.
-
Emulsifiers: Many chocolates include lecithin (soy or sunflower). Some also use PGPR (polyglycerol polyricinoleate) to improve flow. These do not change tempering temperatures dramatically but do affect how quickly chocolate thickens once seeded.
-
Particle size and fineness: Ultra-fine chocolates feel silkier but can thicken faster during work due to increased surface area. Maintain temperature more proactively.
-
Colorants and inclusions: Colored cocoa butter for mold decoration must be tempered too, usually around 29–31 °C. Nuts or crispy inclusions must be absolutely dry and preferably warm to prevent condensation.
Molds, polishing, and preventing bubbles
If your goal is mirror-gloss bonbons, 90% of the finish comes from mold prep and temperature management.
- Polish: Use cotton pads to remove micro-dust and static. Avoid detergents or abrasives.
- Pre-warm: A few seconds of warm air to bring molds close to room temperature; cold molds cause condensation or thick shell spots.
- Decorate with tempered cocoa butter: Splatter, brush, or airbrush. Ensure each color layer has set but not fully contracted before shelling with chocolate to promote adhesion.
- Tap and scrape: After filling with tempered chocolate, tap the mold firmly to release bubbles, then invert and scrape to create a thin, even shell.
- Cooling: Set molds on a level surface at room temperature first; then move to a 16–18 °C cooling area. Too cold, too fast can cause shock and micro-cracking.
Comparing techniques: which method fits your kitchen
- Seeding method: Best all-round starting point. Minimal gear, predictable, scales up or down.
- Tablierage: Fast and tactile. Great when you have a stone surface and want high gloss; requires practice and cleanup.
- Microwave: Efficient for small batches and frequent reheats; excellent when you lack a stovetop.
- Sous vide: Clean and consistent for larger batches, piping straight from bags; ideal if you own a circulator.
- Cocoa butter powder (Mycryo): Ultra-consistent seeding without chopping; useful in warm kitchens where crystallization control matters.
- Quick-seed with callets: Simple and fast for small jobs if you pay attention to temperature.
Choose based on your tools, batch size, and time. Many home bakers combine methods: melt in microwave, seed traditionally, maintain with a heat gun.
Safety and cleanliness: water is the enemy
- Keep tools bone-dry: A single drop of water can seize chocolate. Dry the underside of bowls after using a bain-marie.
- Control steam: Use barely simmering water and a bowl that does not touch the water surface.
- Avoid odor contamination: Store chocolate away from spices, onions, or cleaning chemicals.
- Clean as you go: Chocolate sets quickly; warm water and mild soap remove residue from tools. Dry thoroughly before reuse.
A practical tempering session plan for home bakers
Here is a sample 90-minute session to practice and create a finished project.
-
Prepare the space (10 minutes):
- Set room to 20–22 °C; turn on dehumidifier if needed.
- Lay out tools: thermometer, spatulas, bowl, parchment, molds, hair dryer.
- Chop 1 kg dark couverture; set aside 200 g as seed.
-
Melt (10–15 minutes):
- Microwave on 50% power in short bursts until 45–48 °C. Stir diligently.
-
Seed and cool (10 minutes):
- Stir in 200 g seed. Keep the bowl off heat. Stir until 27–28 °C.
-
Rewarm to working temp (5 minutes):
- Use 1–2 second bursts of warm air to reach 31–32 °C.
-
Test (5 minutes):
- Knife test and parchment streak. Adjust if necessary.
-
Production (35–40 minutes):
- Make bark on one tray with toasted pistachios and candied orange.
- Dip 12 strawberries, tapping off excess for thin shells.
- Pour into two small polycarbonate molds; tap and scrape.
- Maintain temperature with occasional brief warm air and stirring.
-
Set and store (10 minutes active, rest passive):
- Let pieces set at room temperature, then move to a 16–18 °C area to finish crystallizing.
- Package in airtight boxes once fully set.
By the end of this session, you will have three distinct products demonstrating the same temper: bark, dipped fruit, and molded shells.
Frequently asked questions and myths
-
Do I need an expensive thermometer? No, but you need a reliable one. A basic instant-read and an affordable infrared thermometer are enough for precise work.
-
Can I temper chocolate chips? Baking chips are formulated to hold shape in the oven; they often have less cocoa butter and more stabilizers. They can be tempered, but results are inconsistent. Couverture or bar chocolate is better.
-
Is it true that I can fix bloom by rubbing the surface? You can buff a tiny improvement, but bloom is structural. The real fix is to re-temper and manage storage better.
-
Can I cool chocolate in the fridge to set faster? For some applications, yes, but use brief, controlled cooling (5–10 minutes) in a 10–12 °C fridge to prevent condensation. For bonbon shells, initial room-temp setting followed by a cool-down is safer.
-
Why does my tempered chocolate lose shine the next day? Common causes are temperature cycling, high humidity, or fillings that are too warm when capped. Ensure stable storage and let fillings cool to room temperature before sealing shells.
-
Do I have to temper compound coatings? No. They use vegetable fats that set without tempering, but they will not deliver the same flavor or mouthfeel.
A note on working with inclusions and flavors
- Toasted nuts: Warm nuts to just above room temperature before mixing to avoid cooling your chocolate too fast.
- Freeze-dried fruit: Adds crisp texture without moisture. Crush slightly for even distribution.
- Spices and extracts: Oil-soluble flavors work best. Alcohol-based extracts can introduce water; if using, add sparingly to a small portion of melted chocolate and then blend back in.
- Crunchy inclusions: Feuilletine or crispy rice must be perfectly dry. Coat lightly and spread quickly to maintain crispness.
When to skip tempering on purpose
Not every chocolate task needs tempering.
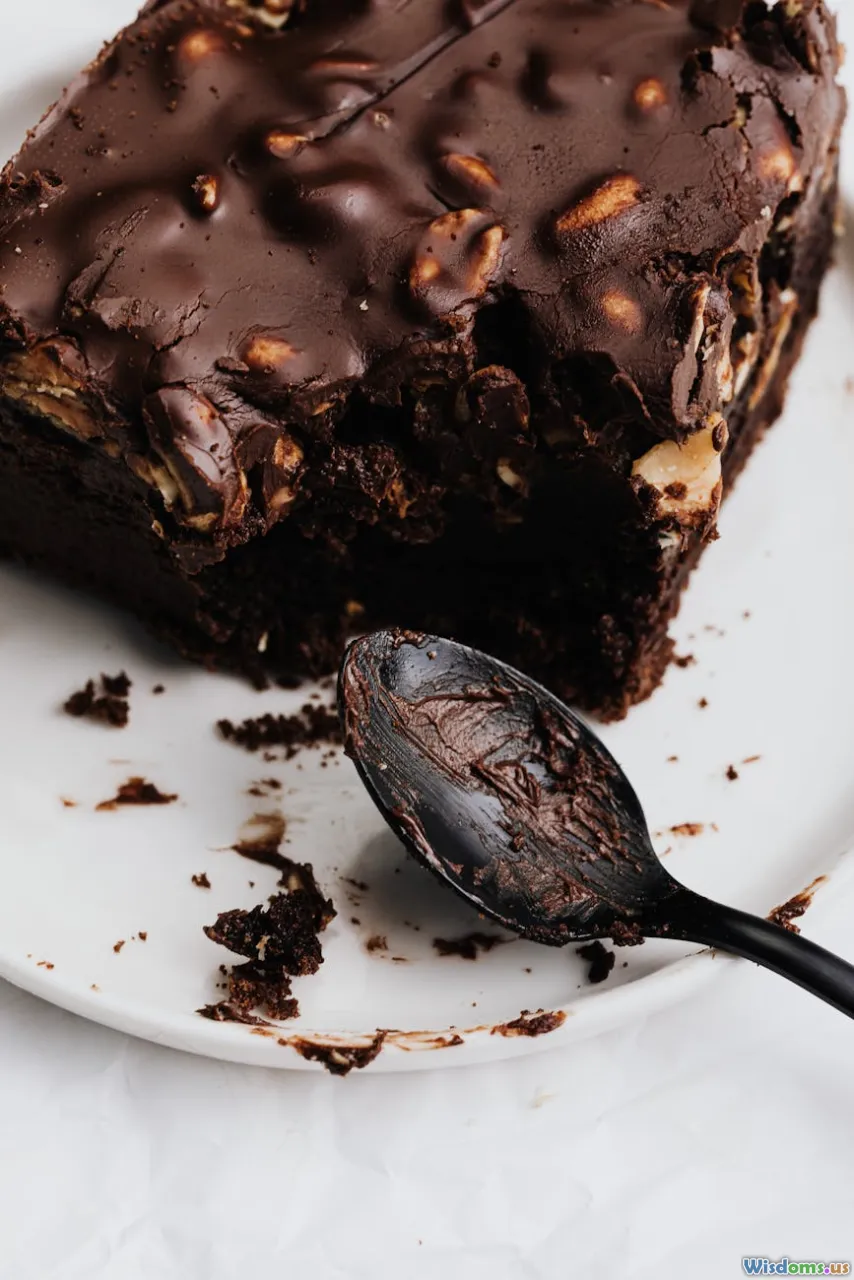
- Ganache: Since you are emulsifying with cream or butter, tempering is unnecessary. Focus on proper emulsification and cooling.
- Brownies and cakes: Chocolate is baked, so pre-temper does not matter.
- Hot chocolate or sauces: Melt and use directly.
Save tempering for finishes and coatings where shine, snap, and contraction matter.
The skill-building mindset: precision, patience, and notes

Two tempering sessions are rarely identical because chocolate brands, room conditions, and batch sizes vary. Adopt a baker's mindset:
- Record: Note brand, cocoa percentage, seed ratio, temperatures, humidity, and results. Patterns emerge quickly.
- Adjust: If your kitchen is cooler than usual, aim for the higher end of working temperatures. If warmer, the lower end.
- Practice: Run quick 200 g trials to practice tablierage or microwave bursts. Nothing replaces hands-on repetition.
A small anecdote: A home baker struggling with streaks switched to Mycryo for summer months and logged consistent success. In winter, they returned to seeding to save cost. The logs showed nearly identical gloss and snap once they tuned working temperatures to their room.
With an understanding of cocoa butter crystals, a thermometer, and a method that suits your kitchen, tempering becomes a calm, repeatable process. Soon you will dip fruit without fear, unmold flawless bonbons, and shave glossy curls onto desserts. Treat tempering like you treat yeast dough or meringue: a living process guided by touch, temperature, and timing. When your chocolate snaps cleanly and catches the light, you will know you have turned an elusive technique into a familiar rhythm in your home baking.
Rate the Post
User Reviews
Other posts in Desserts & Sweets


Popular Posts


