My First Year Growing Kitchen Herbs at Home
16 min read Discover lessons, successes, and challenges from my first year growing culinary herbs indoors and outdoors at home. (0 Reviews)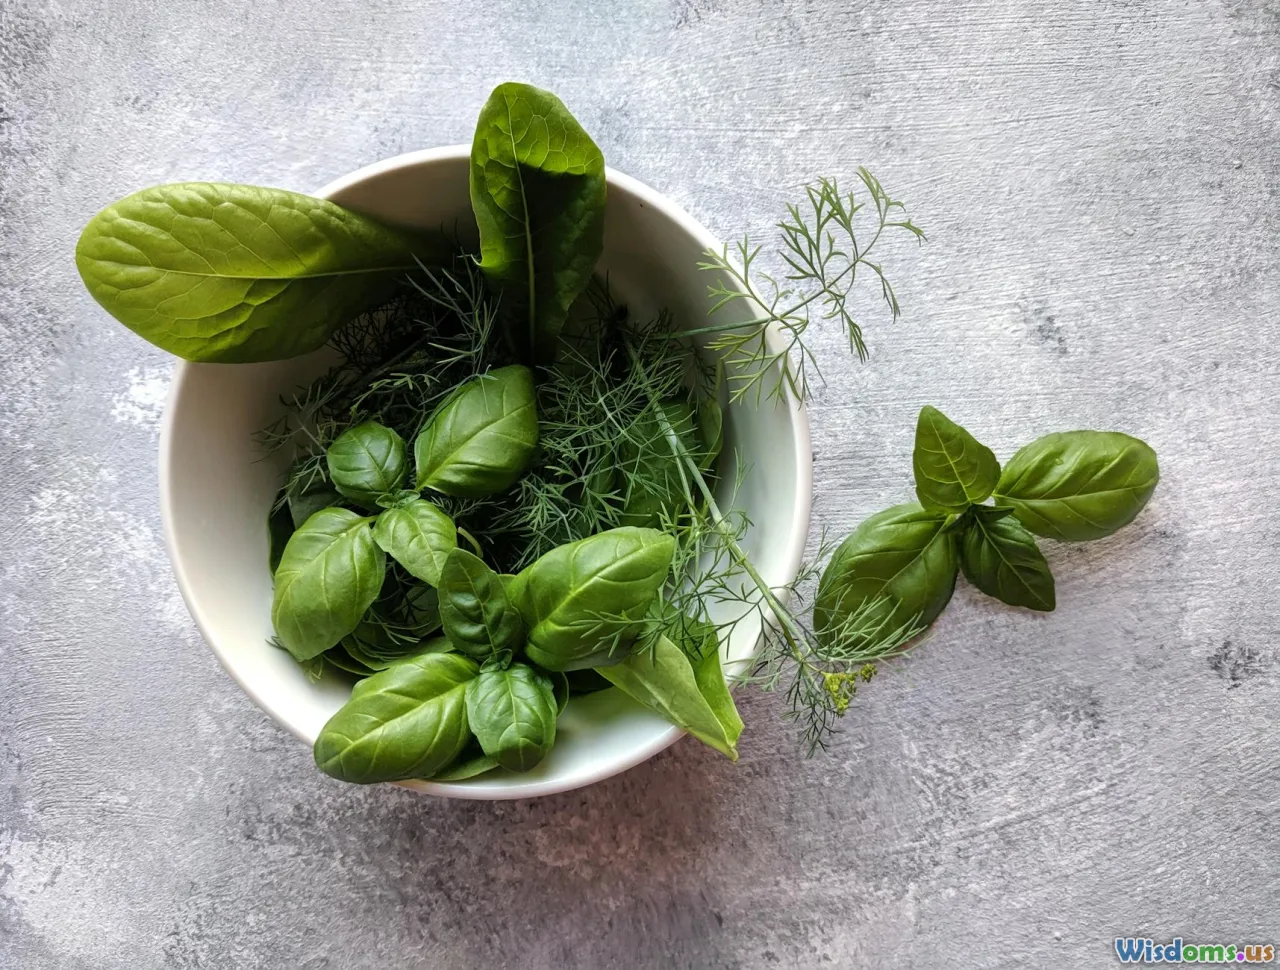
My First Year Growing Kitchen Herbs at Home
Culinary herbs have always transformed my everyday dishes, but buying fresh bundles frequently felt wasteful—wilted bunches in my fridge became a persistent reminder. Last spring, after reading about the benefits of homegrown herbs, I embarked on my own herb-growing journey. Little did I know this seemingly simple endeavor would open up a world of vibrant flavors, captivating aromas, and small moments of daily satisfaction. Whether you’re a city dweller with only a windowsill or someone with a bit of outdoor space, my first year is full of lessons and successes worth sharing.
Finding the Right Space for Herbs

Space is often the biggest constraint for urban gardeners. My own apartment faces north, with only a handful of sunlit hours passing through my kitchen window each morning. Not ideal—yet entirely workable with some creative planning.
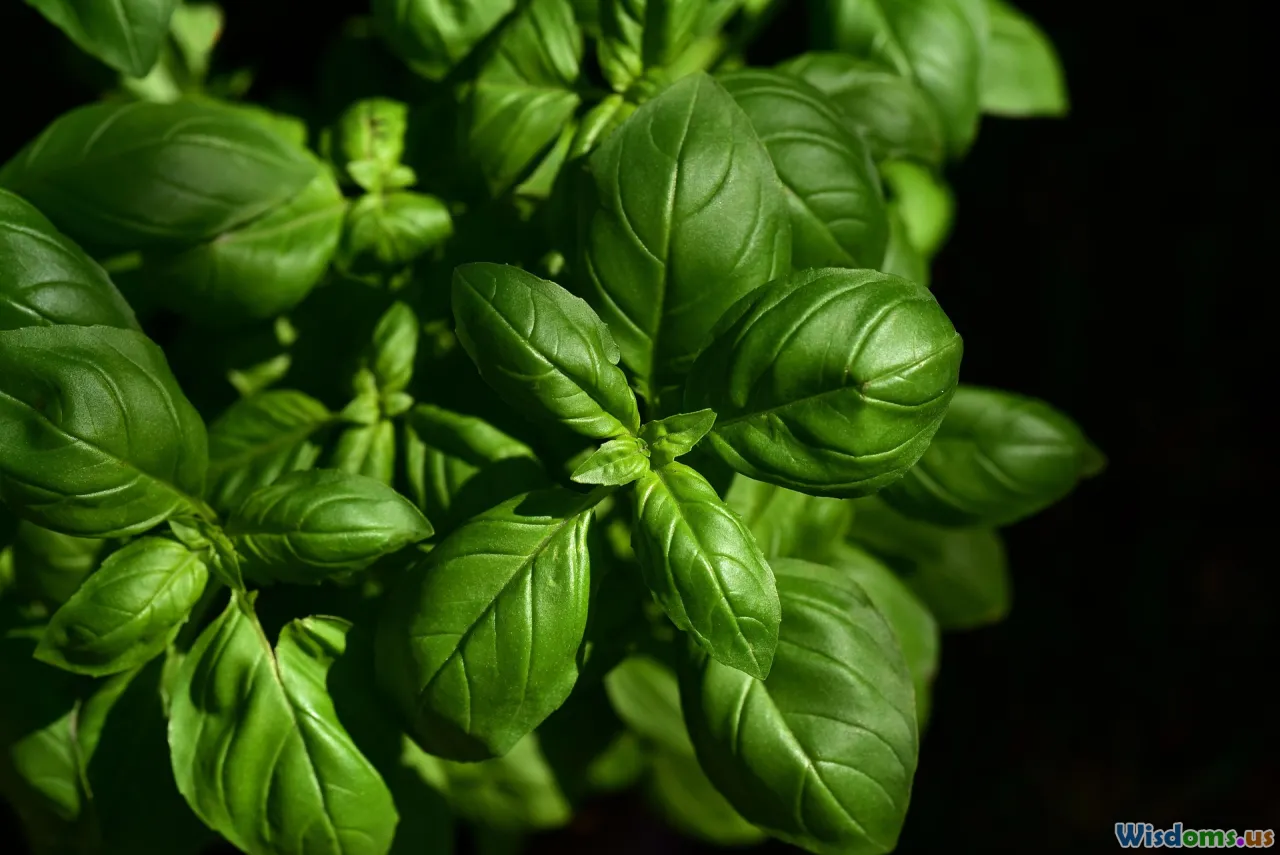
First, I evaluated available spaces: cramped balcony, kitchen windowsill, and a corner in the living room. I researched herbs that tolerate uneven light, eventually landing on basil, parsley, chives, and mint, all known for resilience in partial sun. While sweet basil craves as much light as it can get, mint and chives are more forgiving, thriving in ambient light conditions.
I invested in a set of compact, stackable plant stands to maximize my balcony's limited real estate. Inside, I rearranged jars on the windowsill, placing smaller pots where they’d catch the morning sun. A used LED grow light later joined the lineup—a modest but transformative upgrade for persistently gloomy days. Anyone with limited space should never underestimate the power of a simple clamp-on grow light!
Key Tip
- Prioritize southern or eastern exposure when possible.
- Rotate your pots every other week to encourage even growth, especially if window light is uneven.
- If plants appear leggy, supplemental grow lighting can make a tremendous difference—modern LED setups are energy-efficient, cool, and compact.
Choosing the Best Herb Varieties

Store shelves teem with exotic-sounding seeds, but not all herbs lend themselves equally well to container gardening indoors or in tight spaces. Looking back, I made rookie errors and happy discoveries alike.
Favorites That Flourished:
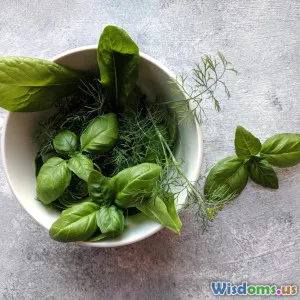
- Basil ('Genovese', 'Greek'): By far the most prolific, requiring diligent pinching to prevent bolting. 'Greek' basil formed shrub-like mounds, perfect for small containers.
- Chives: Tough as nails; survived an accidental drought and bounced right back after a haircut.
- Mint ('Spearmint', 'Chocolate Mint'): Vigorous to a fault. Best grown solo to avoid choking out pot mates.
- Flat-leaf Parsley: Slow to establish, but gave months of steady harvest once rooted.
Not-So-Successful Experiments:
- Cilantro: Bolted rapidly in heat, requiring sowing every few weeks. Still, fresh cilantro gnocchi made it worthwhile.
- Rosemary: Fussy with watering, prone to powdery mildew indoors—likely due to poor air circulation.
- Oregano: Needed more sun than my window offered and became leggy.
Takeaway
Opt for forgiving herbs to start. Basil, chives, mint, and parsley are excellent choices for beginners. Specialized varieties, like purple basil or lemon thyme, can be added once fundamentals are dialed in. Don’t be discouraged by early setbacks—mistakes were my best teachers.
Sourcing Seeds and Saplings: Pitfalls and Pleasures
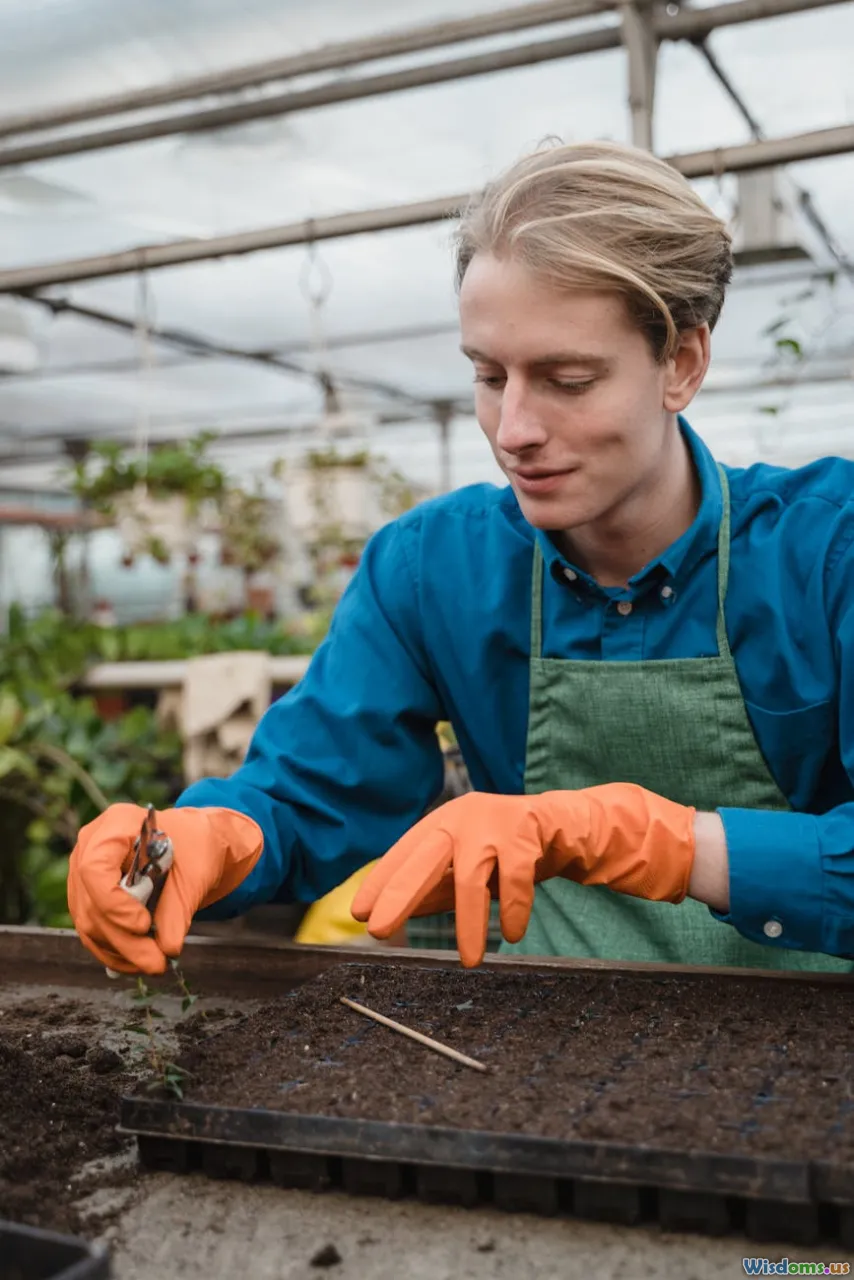
A common debate among home gardeners: Should you start herbs from seed or bring home starter plants?
Seeds: The Budget-Friendly Gamble
Starting from seed is a lesson in patience. Basil and chives sprouted reliably in a warm, moist environment—a covered tray under the kitchen radiator. Mint and parsley, however, tried my endurance with their sluggish germination.
Eager for instant greenery, I often caved and bought starter herbs from local farmers’ markets or even grocery stores. While convenience is appealing, these supermarket herbs were often root-bound and reluctant to adapt to new homes. Only half survived the inevitable transition from nursery to my dry, central-heated kitchen.
Takeaways on Sourcing
- Best value: Sow fresh seeds of quick-germinating herbs every few weeks for a rolling harvest.
- For immediate gratification: Starter pots from reliable nurseries or markets are a quick win and let you focus on harvesting and cooking rather than coaxing seedlings. Give each store-bought plant space to recover—trim back damaged parts and repot in fresh, rich compost.
- Avoid the supermarket impulse buy unless you're ready to divide, prune, and potentially lose a plant or two. Nursery plants are bred for longevity, unlike many supermarket herbs grown solely for immediate sale.
Potting and Soil: Setting the Foundation
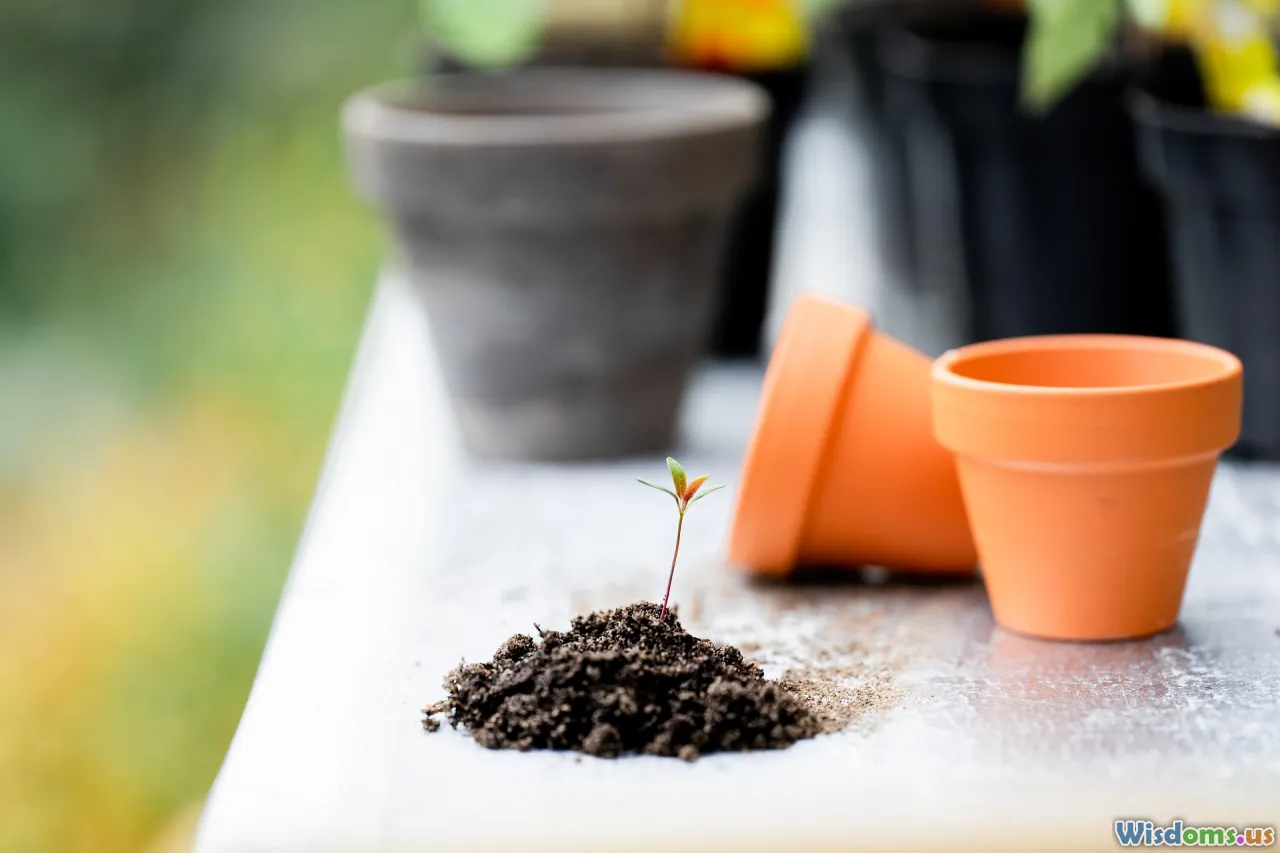
At first, I underestimated the importance of soil quality and container size. My naïve approach of using dirt from the garden (full of weed seeds and clay lumps) led to poor drainage, sluggish growth, and the occasional fruit fly infestation.
Experience quickly taught me a few immutable laws:
- Always use a lightweight, quality potting mix. Purchased mixes formulated for vegetables or herbs provide optimal aeration and drainage.
- Ensure pots have drainage holes. Soggy roots invite root rot—a silent killer of kitchen herbs.
- When reusing pots or trays, thoroughly wash and disinfect them to minimize disease; diluted white vinegar or mild bleach solutions work wonders.
Container Size Matters
Basil, with its rapid root growth, thrived in pots at least six inches in diameter. Parsley and chives appreciated similarly roomy quarters. Mint, ever the bully, grew best when isolated in its own large container to prevent invasive spread.
Bonus Tip
Add a thin drainage layer—coarse gravel or broken terracotta pieces—at the bottom of each pot before adding soil. This prevented waterlogging and encouraged strong root proliferation.
Watering and Feeding: Avoiding Common Pitfalls

If herbs had a single recurring nemesis this year, it was inconsistent watering—especially during peak summer. Early on, overzealous watering led to fungus gnats and stunted chives. Later, vacation absences and a forgetful spell allowed some basil to wilt beyond rescue. Here’s how my approach evolved:
Watering Routine Guidelines
- Stick your finger in the soil: Only water when the top inch feels dry. Overwatering is just as fatal as neglect.
- Water in the morning to allow leaves to dry and prevent fungal diseases, especially for dense or fuzzy-leafed herbs like sage.
- Use room temperature water. Cold water can shock roots, especially in sensitive plants.
Herb Feeding Facts
While some guides advocate regular feeding, I found most kitchen herbs prefer a light touch:
- Use a diluted, balanced liquid fertilizer (such as fish emulsion or compost tea) once a month during active growth.
- Avoid excess nitrogen, which can boost leafy growth at the expense of aroma and flavor.
A simple method to reduce the risk of both overwatering and underwatering: a low-tech moisture meter (costing under $15) bought online. Eventually, as I grew more confident, I relied more on instinct and observation.
Dealing With Pests and Disease

Even indoors, aphids, spider mites, and fungal diseases found their way onto my plants. My parsley became an aphid magnet during spring, and basil succumbed to powdery mildew in late summer when days were damp and windows rarely open.
Integrated Pest Management (IPM) Steps
- Physical removal: Small infestations can be washed off with gentle sprays of water.
- Natural remedies: Solutions of water and a few drops of dish soap dispatched aphids. For powdery mildew, I used a baking soda and water spray (½ teaspoon baking soda per quart of water), being sure to minimize leaf wetness bombarded with indirect light.
- Predators: On the balcony, local ladybugs discovered a feast. Indoors, predatory mites can help but are tricky for beginners.
- Good air flow: A small oscillating fan kept inside air from becoming stagnant and helped prevent fungus growth.
When problems seemed chronic, I removed affected leaves or—if necessary—the whole plant. Quick action prevented infestations from leaping plant to plant.
Harvesting for Maximum Freshness and Flavour
Learning when and how to harvest was as crucial as growing itself. In my early enthusiasm, I harvested too aggressively, occasionally setting plants back.
Guidelines I Learned
- Pinch, don't pull: For basil and mint, always use clean scissors to snip just above a healthy set of leaves. Regular pinching encourages bushy, fragrant regrowth.
- Morning harvests: Picking leaves after the morning dew dries but before midday sun yields peak flavor.
- Never harvest more than a third of the growth at once; overharvesting, especially with slow growers like parsley, depleted the plant’s reserves.
Cookbooks came alive with each trimmings’ harvest: scrambled eggs scattered with chives, tabbouleh starring backyard parsley, pesto made with more basil than I ever dared buy at the store.
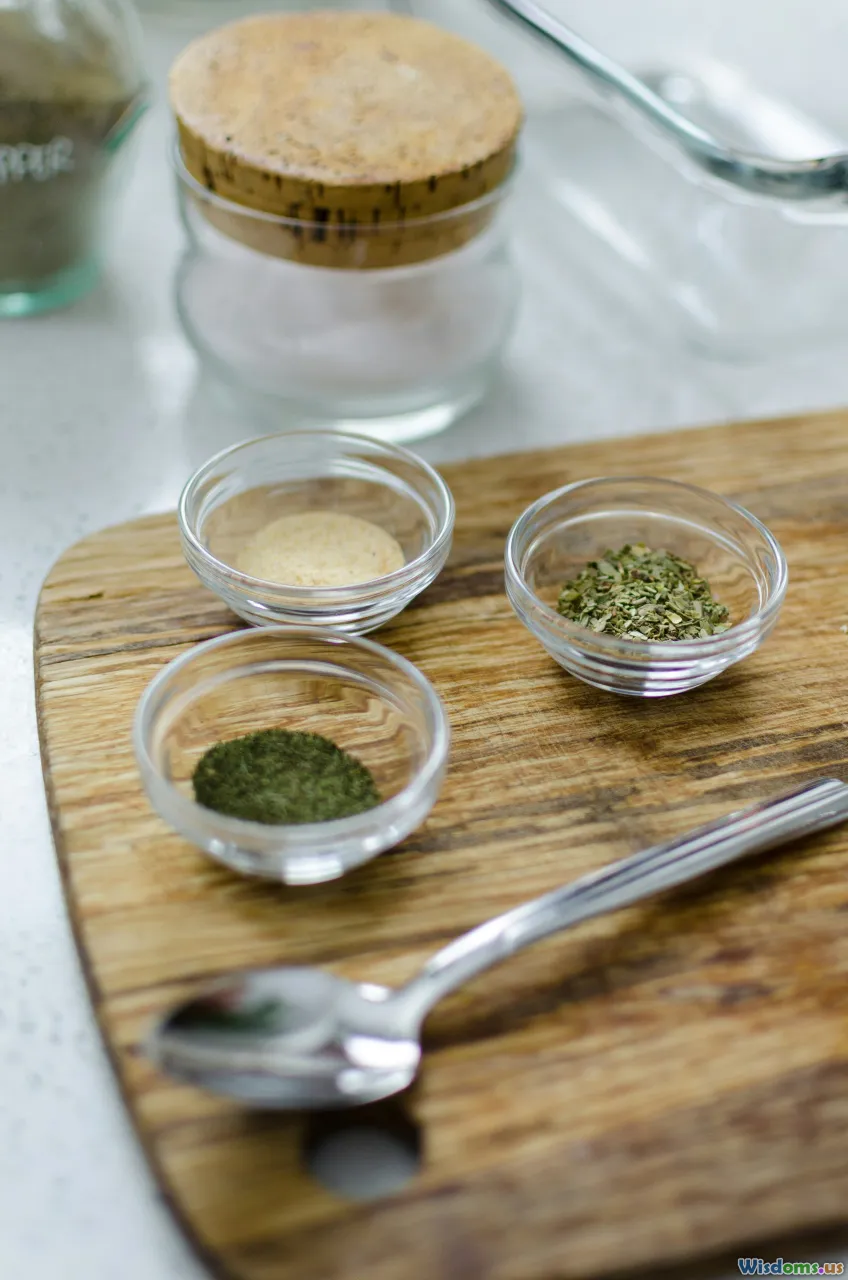
Quick Indoor Projects: From Herb Cubes to Vinegar Infusions
With the herb garden in full swing, I soon had regular surpluses. Waste was the enemy, so I grew creative:
- Herb cubes: Chopped, packed into ice cube trays, and covered with olive oil or water, then frozen—perfect to toss into soups and stews all winter.
- Herb-infused vinegar: A sprig of rosemary or thyme in a bottle of apple cider vinegar transformed salad dressings. Clean, dry herbs and sterilized bottles are key to fresh, aromatic results.
- Dried herb blends: Low, slow oven drying or simple string-up bundles against an airy wall let me store mint and oregano long-term.
Beyond reducing waste, these projects deepened my appreciation for herbs’ transformative culinary power.
Lessons, Surprises, and Future Plans

Twelve months into my herbal adventure, reflecting back brings a sense of calm pride—a year’s failures, triumphs, and everything in between. I realized that even small, seemingly trivial rituals—like pinching basil for a weeknight dinner—added to my wellbeing.
Lessons Learned
- Stay curious: Mistakes are as fruitful as successes. Every failure revealed practical wisdom no YouTube video could convey.
- Adaptation: Not every plant or strategy succeeded in my specific microclimate. Adapt and experiment season by season.
- Mindfulness: Tending to herbs, even for five minutes, became a daily reset.
As the second growing season begins, my intentions shift to adding specialty varieties—lemon verbena, Thai basil—and perhaps starting a small vertical garden. I am eager to try self-watering pots to minimize holiday-induced wilting.
Above all, I feel connected: to the meals I prepare, the seasons as they turn, and to the long tradition of home cooks cultivating flavor right at home. The smallest packet of basil seeds can, indeed, transform both your cooking and your daily life.
Rate the Post
User Reviews
Other posts in Cooking with Herbs & Spices


Popular Posts


