Step by Step Guide to Shooting Aerial Sunsets Safely
9 min read Master the art and safety of capturing breathtaking aerial sunsets with our detailed step-by-step guide. (0 Reviews)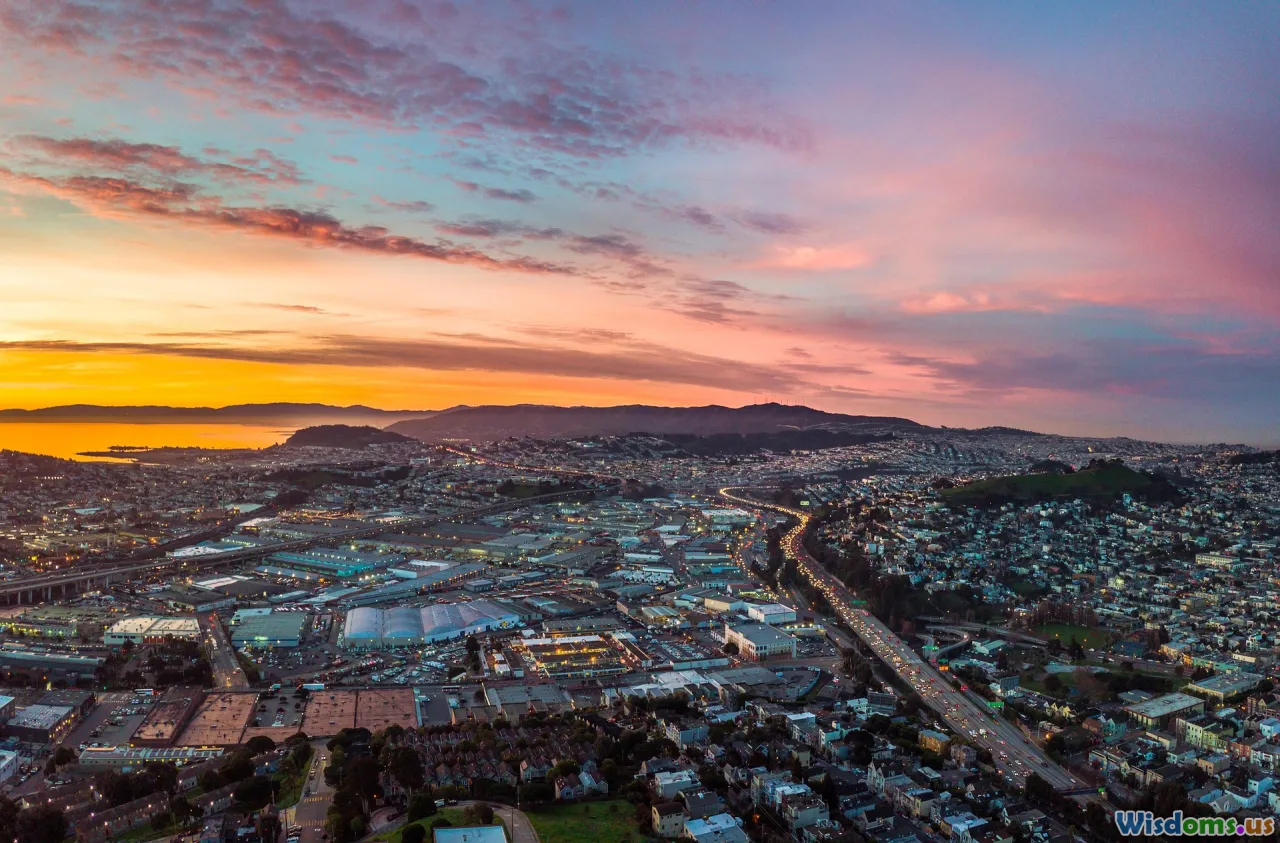
Step by Step Guide to Shooting Aerial Sunsets Safely
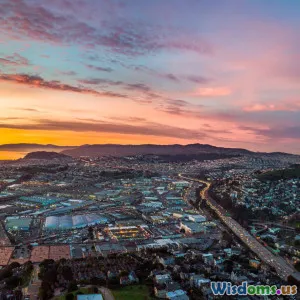
Capturing aerial sunsets offers photographers and drone enthusiasts an unparalleled opportunity to showcase nature's breathtaking beauty from a unique vantage point. The rich hues, dynamic clouds, and tranquil landscapes bathed in the warm glow of the golden hour are mesmerizing — but photographing them safely requires knowledge, preparation, and responsible operation. Whether you're a seasoned drone pilot or a beginner intrigued by aerial sunset photography, this guide walks you through every crucial step to help you produce stunning images while staying safe and compliant.
Understanding the Appeal and Challenges of Aerial Sunset Photography
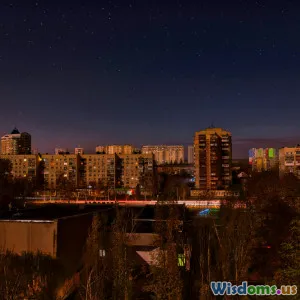
Sunsets have captivated humanity for millennia, inspiring artists and photographers alike. Aerial perspectives elevate traditional sunset shots by adding layers of depth and scale — sweeping coastlines, urban backdrops, serpentine rivers, or mountain ranges unfold below the camera, illuminated by descending light. However, factors such as fading light, variable weather, and navigating drone flight regulations create challenges.
Unchecked enthusiasm can lead to safety risks: flying drones in prohibited zones or unsafe conditions, risking crashes or loss of equipment. Photography quality also depends heavily on careful planning and technique.
With meticulous attention to safety and knowledge, you can capture awe-inspiring aerial sunsets that stand out and preserve the thrill of exploration responsibly.
Preparation: The Foundation of a Safe and Successful Flight
1. Research Your Location and Legal Regulations
Flight legality varies widely. Before flying, check FAA regulations (or local authorities if outside the U.S.) regarding drone operations near airports, urban centers, or protected areas. Websites like AirMap or DroneDeploy offer real-time airspace info.
Example: Flying near Los Angeles International Airport requires authorization and avoiding restricted airspace. Conversely, remote coastal areas may have fewer restrictions but watch for protected wildlife zones.
Always obtain necessary permits if required. For instance, shooting above national parks often necessitates special permission to minimize wildlife disturbance.
2. Check Weather and Lighting Conditions
Sunsets can be weather-dependent. Monitor forecasts to avoid rain, high winds, or fog that compromise your drone’s stability or camera visibility.
Wind speeds above 15 mph increase risk of drone drift, battery drain, and control difficulty.
Use apps like Windy or The Weather Channel and sunset-specific apps like Golden Hour to predict golden hour timing precisely.
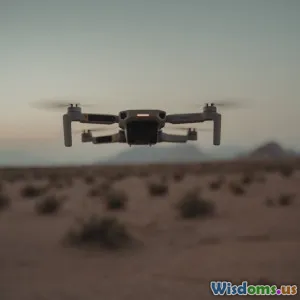
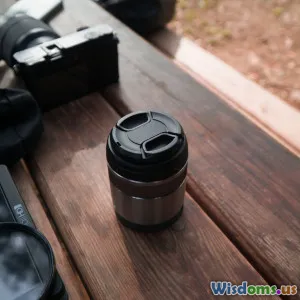
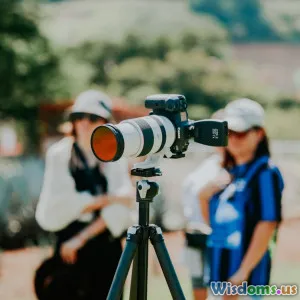
3. Prepare Your Drone and Camera Settings
Fully charge batteries and ensure firmware is up to date. Check propellers and hardware for any damage.
Use a drone known for stable flight (e.g., DJI Mavic Air 2 or DJI Phantom 4 Pro) which offer advanced sensors and obstacle avoidance.
For camera settings:
- Shoot in RAW for maximum editing flexibility.
- Use manual exposure to counterbalance bright sun and shadows.
- Set ISO low (100-200) to reduce noise.
- Adjust shutter speed considering lighting conditions; slower shutter speeds may be used with ND filters.
Stick with a frame rate that allows capturing smooth motion if shooting video.
Step-by-Step Drone Setup and Flight for Sunset Shooting
Step 1: Choose Your Takeoff Spot
Select a safe, open area free from obstructions and crowds. A flat surface ensures safer drone takeoff and landing.
Example: A quiet beach or park clearing with a clear horizon view maximizes visual impact.
Notify any individuals nearby about your flight intentions for safety.
Step 2: Pre-Flight Checklist
- Calibrate the compass following manufacturer instructions.
- Confirm GPS lock for precise hovering.
- Test remote controller responsiveness.
- Double-check battery levels for both drone and controller.
- Set Return-to-Home altitude higher than nearby obstacles.
Step 3: Launch and Ascend Gradually
Take off slowly, reaching a stable altitude. If aiming for a wide landscape, start around 100-200 feet, adjusting for your composition.
Maintain line-of-sight with the drone.
Step 4: Compose and Frame the Shot
Use the drone’s live camera feed to locate dramatic elements: reflective water bodies, silhouetted trees, rooftops, or the sun dipping below the horizon.
Try different angles, such as tilting the camera downward to capture layers or panning for sweeping panoramic effects.
Remember the rule of thirds: place the horizon on the upper or lower third line to avoid boring dead-center shots.
Step 5: Manage Exposure During Changing Light
Sunsets change rapidly, so adjust exposure as the light fades.
Using manual settings helps prevent overexposure from the sun’s brightness while retaining detail in shadows.
Bracket exposures if possible — capturing multiple shots at different settings to blend later in post-processing.
Step 6: Monitor Battery and Flight Time
Sunset sessions can extend beyond 20 minutes due to low app activity but battery life diminishes in cooler twilight temperatures.
Always leave room for margins to return safely—do not exhaust batteries completely while flying.
Step 7: Controlled Landing
After capturing the perfect shots, gradually descend keeping an eye on obstacles.
Land the drone smoothly on a safe patch, avoiding dust or loose sand which damages motors.
Post-Flight Considerations and Editing
Review and Backup Footage Immediately
Inspect photos and videos for sharpness, correct exposure, and overall quality.
Make backups to avoid data loss.
Basic Post-Processing Tips for Aerial Sunsets
- Use software like Adobe Lightroom or Capture One.
- Adjust white balance to enhance warm tones without exaggerating.
- Enhance contrast carefully to maintain detail in shadows and highlights.
- Apply graduated filters to balance sky brightness and foreground retention.
- Correct lens distortion and increase sharpness subtly.
Ethical Considerations and Sharing
Respect privacy: avoid capturing people without consent.
Respect environment: Do not disturb wildlife or protected areas.
When sharing, include information about your responsible practices to educate others.
Inspiring Examples and Insights
-
Pilot of DJI Mavic Air 2, Mary R.: “Timing is everything — the ten minutes right before sunset and the first ten after are gold. Pre-planning saved me from flying in unsafe gusts.”
-
In 2022, aerial sunset images of the Grand Canyon published by the National Geographic drone team garnered global acclaim for blending technical mastery with ecological awareness.
Statistically, drone-related incidents spike during dusk/dawn due to reduced visibility—highlighting the importance of stringent safety protocols.
Conclusion
The magic of aerial sunset photography lies not only in vibrant imagery but in the careful orchestration of skill, technology, and safety awareness. By thoroughly preparing, respecting regulations, choosing optimal conditions, and mastering your drone’s capabilities, you unlock infinite creative possibilities from an elevated vantage point. Remember, breathtaking visuals come hand-in-hand with thoughtful responsibility — your actions today help protect the skies and natural vistas for future sunset-chasers.
Pack your gear, plan meticulously, and let the sky become your canvas safely.
Happy flying and shooting!
Rate the Post
User Reviews


Popular Posts


