Beginner Mistakes in Shot Composition and How to Fix Them
18 min read Learn about common beginner mistakes in shot composition and simple, practical fixes to improve your photography immediately. (0 Reviews)
Beginner Mistakes in Shot Composition and How to Fix Them
You rarely get a second chance at a true first impression — and this holds as true in photography and cinematography as anywhere else. Whether you're wielding a camera for your budding YouTube channel, vlogging your travels, or stepping onto your first film set, how you compose a shot silently directs your audience’s focus and emotional response. Yet, beginners often stumble on the nuances of composition, resulting in flat, cluttered, or confusing images that subtly undermine their creative intention.
Understanding and mastering shot composition is a journey paved with plenty of trial and error. In this article, we unpack the most common pitfalls that trip up new shooters, with actionable fixes and classic examples. These lessons, rooted in visual storytelling from pioneers of the craft, are what separate forgettable images from iconic frames.
The "Center Everything" Trap
A ubiquitous mistake among novices is placing the subject dead-center in every frame, assuming it's the best way to highlight a focal point. While this approach may seem logical, it often leads to static, lifeless images lacking tension or movement.
Why This Happens:
- Centering feels safe because it assures the subject won't be "cut off".
- Point-and-shoot cameras or smartphones automatically focus in the center.
The Downside:
- The image loses narrative tension. There's no visual interest leading the eye around the frame.
- Background details may overpower or distract because there is no designed flow.
How to Fix This:
- Learn the Rule of Thirds. Imagine your frame divided by two equally spaced horizontal lines and two vertical lines, forming a tic-tac-toe grid. Place points of interest at or near the intersections, creating balance and inviting the eye to explore.
- Use your camera's grid display or framing guides.
- Compare: Look at the work of Annie Leibovitz. Her iconic portraiture frequently places subjects off-center for added drama and story.
Pro Tip:
- Deliberately break the Rule of Thirds once you've understood it—symmetrical and centered compositions (à la Wes Anderson’s films) can be powerful if used for intentional effect.
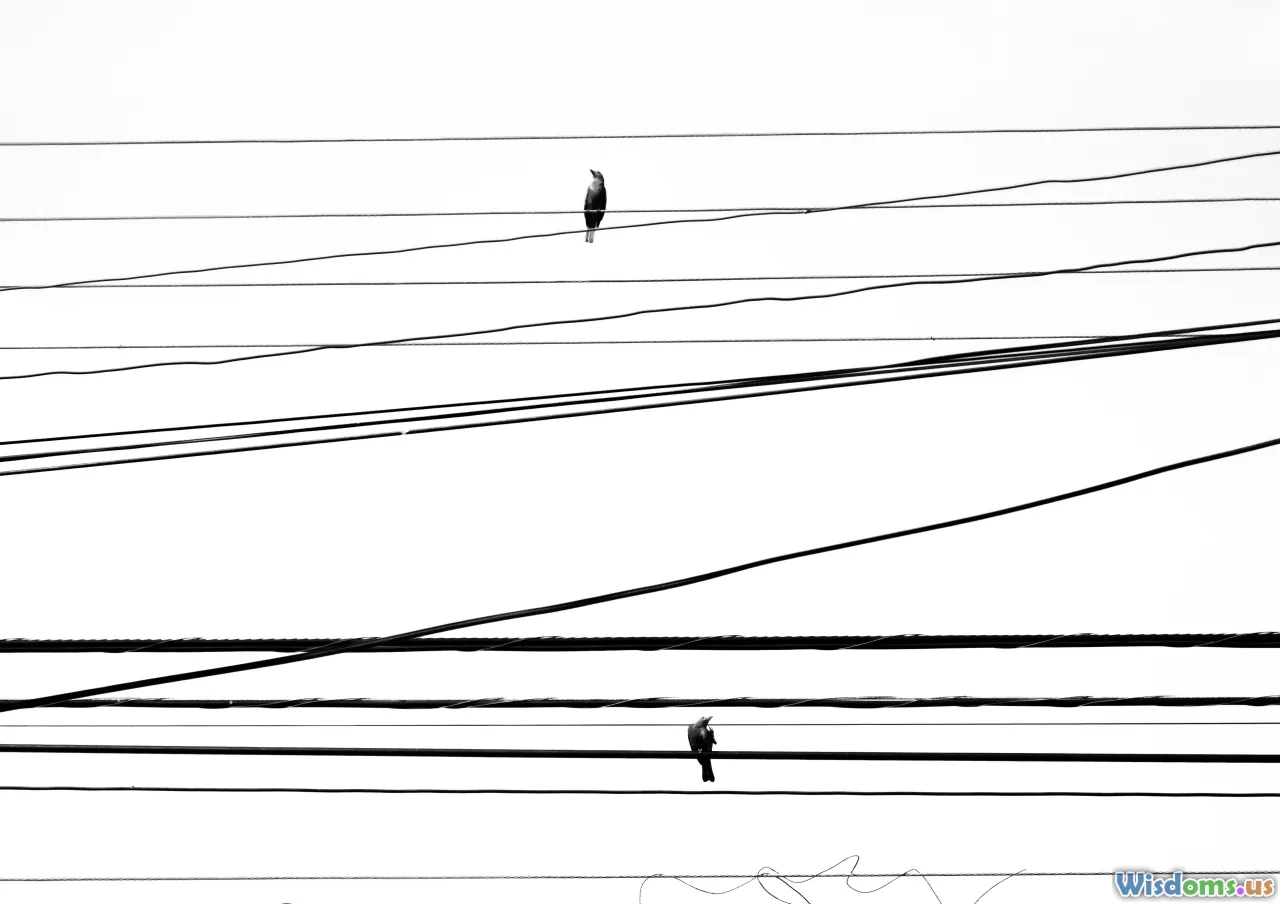
Cluttered or Distracting Backgrounds

Have you ever captured a candid photo, only to realize a tree seems to sprout from your subject’s head? Or that passing tourists, signs, and electrical wires turned a simple shot into visual chaos? It’s easy to focus so much on your subject that you overlook what’s behind them.
Common Causes:
- Tunnel vision: concentrating solely on the subject, not the surroundings.
- Rushing: grabbing the shot quickly at the expense of scanning for distractions.
Consequences:
- The audience’s eyes jump around, unable to find a clear point of focus.
- The photo feels unprofessional and careless.
How to Fix This:
- Scan the edges and background before clicking. Make a quick mental inventory: are there light posts, bright colors, unrelated faces, or shapes positioned awkwardly?'ready?
- Physically move: shifting to a lower angle, changing direction, or repositioning the subject can eliminate background noise.
- Use depth of field creatively. Open your aperture (lower f-stop) to blur backgrounds, making subjects stand out. Legendary portrait photographers often shoot with wide apertures for this very reason.
Example:
- Compare two shots: a child in front of a playground, one with a cluttered array of jungle gyms, swings, and kids, the other with the background blurred, focusing all attention on the child’s joyful expression.
Ignoring Leading Lines and Frame Dynamics
Shots that feel flat or lack a journey for the eye often ignore natural paths and lines within a scene. Leading lines — anything from fences to roads, table edges to rails — can subtly draw viewers toward the subject or guide emotional flow.
What Goes Wrong:
- Beginners may shoot perpendicular to the main subject, creating rigid, blocked-off frames.
- Ignoring scene geometry leads to a scatter of attention.
Why Lines Matter:
- They convey movement and energy. For example, in Stanley Kubrick’s hotel corridors ("The Shining"), converging lines unsettle and direct the gaze.
- They add depth and dimension to a two-dimensional medium.
How to Fix It:
- Look for naturally occurring lines—roads, architectural features, sunlight streaming through blinds.
- Use them to draw the eye purposefully toward your subject instead of away.
Practical Exercise:
- Shoot on a sidewalk or pathway. Position yourself so the path leads from the frame’s corner toward your subject standing further down, guiding viewers through the story visually.
Flat or Poor Lighting Choices

Even thick storyboards and perfect composition can fall apart under poor lighting. Beginners often rely solely on available light, leading to washed-out faces, murky features, or dramatic shadows that unintentionally mask emotion.
Common Lighting Mistakes:
- Shooting in harsh midday sun—resulting in deep, unflattering shadows and blown highlights.
- Relying on overhead or direct camera flash, causing "deer-in-headlights" look and lost mood.
Case in Point:
- Compare a street portrait taken at noon (squinting subject, harsh contrasts) with one at golden hour (soft, directional side light flattering the face and skin).
How to Fix This:
- Scout and plan for soft, directional light. Outdoor "golden hour" — the hour after sunrise or before sunset — provides cinematic, balanced light.
- Use reflectors (even a white piece of paper or cardboard) to bounce light and fill shadows.
- In interiors, position subjects by windows for soft natural light.
- If using artificial light, aim for indirect sources bouncing on walls, or diffuse it with paper or fabric.
Bonus Insight:
- Watch Roger Deakins’ cinematography for examples of how soft lighting transforms entire scenes universally acclaimed for mood and texture.
Ignoring Subject-to-Camera Distance and Lens Choice

New shooters sometimes underestimate the dramatic effect distance and lens selection have on an image’s feeling. Wide-angle lenses up close exaggerate proportions; standing too far diminishes intimacy.
What Beginners Miss:
- For group shots, using overly wide lenses distorts edges, stretching faces and bodies.
- Portraits with distant subjects make the viewer feel disengaged — while getting too close with the wrong lens can breed awkwardness or unnatural perspectives.
Fixes and Tips:
- For portraits, using an 85mm equivalent focal length (or longer) from a comfortable distance provides natural proportions and pleasant compression; avoid the widest lens in your kit for close-up faces.
- Bring the camera closer for intimacy — but match with the appropriate lens to prevent distortion.
- For storytelling context — like environmental portraits — choose a wider lens, but keep your subject closer to the center and check for edge stretching.
Example:
- Compare a face captured with ultra-wide lens from arm's length (cartoonish distortion) vs. the same person shot with a telephoto lens across a small room (natural, flattering).
Ignoring The Power of Negative Space

Filling every inch of a frame with "stuff" feels tempting when you want to communicate story, but it's often the empty areas — known as negative space — that evoke mood, emphasize subject, and cultivate visual elegance.
How Beginners Trip Up:
- Believing more detail and objects equals more context.
- Crowding compositions so the eye has nowhere to rest.
Why Embrace Negative Space?:
- Minimalism brings emotional weight and focus, as seen in the minimalist work of photographers like Michael Kenna.
- Open skies, empty walls, or simple backgrounds pull attention directly to the subject and amplify their presence.
How to Use It Effectively:
- Place your subject near the periphery with a clean, contrasting background.
- Try subtracting elements: each time you compose a shot, challenge yourself to remove one item.
Case Study:
- Famous Apple billboards use a sparse background to draw your gaze exclusively to the product. The emptiness is the message.
Cutting Off Limbs and Cropping Mistakes
Nothing can drag down an otherwise beautiful image more than an awkward crop — whether it's lopping off the top of someone's head or chopping a hand at the wrist. Yet framing errors are among the easiest to overlook in the heat of the moment.
Typical Cropping Blunders:
- Accidentally trimming "at the joints" (elbows, wrists, ankles), which feels unsettling and unnatural.
- Centering faces so tightly that forehead or chin disappears partially.
Easy Solutions:
- Compose a little wider in camera — this gives room to crop cleanly in post if necessary. It's easier to lose edges later than to create missing body parts.
- Memorize basic portrait guidelines: don't crop arms/hands/legs at joints. Instead, crop between joints for natural appearance.
- Review classic art (i.e., Renaissance paintings). Notice where and how painters "end" the canvas in relation to the figure.
Pro Example:
- Compare a group wedding photo where someone’s arm is half-visible at the margin (awkward) to one with everyone’s body neatly within the borders.
Not Considering the Storytelling Element

Photography and filmmaking go beyond simply capturing faces. Each frame should communicate meaning, mood, or narrative — yet for many beginners, composition becomes technically focused (exposure, focus, sharpness) at the expense of story.
Mistake:
- Just pointing and shooting, without pausing to ask what’s happening in the frame: is there tension, anticipation, or relationship portrayed by the way subjects are positioned?
How to Elevate Your Shots:
- Before snapping, take a breath. What emotion or message do you want to convey?
- Consider how placement, depth, negative space, and angle affect your shot’s story.
Reference:
- Think of the famous image "Lunch atop a Skyscraper." The composition isn’t just about proper exposure, but the arrangement of workers above empty sky, conveying drama, danger, camaraderie.
Practice Tip:
- Plan a storyboard, even for still shots: sketch where each subject could be, what action happens, and how the background supports (or hinders) your message.
Using Only One Perspective — Staying at Eye Level

Too many beginners shoot every subject from the standing, eye-level height — often leading to mundane, predictable imagery when more compelling perspectives are just a footstep away.
Flaw:
- Eye-level is the default. But it's how most people view the world already, so unless you change the angle, your images might fail to stand out.
Transforming Your Perspective:
- Go high: shoot from a balcony, curb, or staircase for a bird’s-eye view, imparting grandeur or vulnerability.
- Try low: crouch, lie on the ground, or tilt the camera upwards. This empowers the subject, adds drama, or helps lead lines converge dynamically.
Insider Example:
- Cinematic shots of children are often from lower angles — placing viewers into their world visually. Check out the work of Spike Jonze ("Where the Wild Things Are").
Action Exercise:
- Next time you compose a shot, challenge yourself to try three different viewpoint heights before settling. See how it changes the mood and narrative power.
Rushing — Not Taking Time to Compose

In our fast-paced world, there is a tendency to shoot first and fix later. While there is a time for spontaneity, deliberate, considered composition almost always pays richer dividends.
Fast Mistakes:
- Snapping the first angle because of excitement or time pressure.
- Not checking all frame corners for unwanted objects.
Course Correction:
- Slow down. Give yourself the grace of 5–10 seconds more than you think you need.
- Take a "test shot" and review on your screen. Analyze if your intended focus, composition, and exposure align before moving on.
- Imagine yourself as a film director, composing a still that must communicate the entire scene’s purpose at a glance.
Case to Remember:
- Even legendary photographer Henri Cartier-Bresson waited for the precise "decisive moment" — often standing in the same spot for minutes, anticipating the flow of elements needed for a perfect shot.
Mastering shot composition is not about following cold rules but forging habits that anchor your creative process. The best shooters and filmmakers remain students forever; each mistake is a stepping stone to a richer visual language. Next time you pick up your camera, acknowledge the urge to center, fill, or rush – then choose consciously, guided by these insights. Over time, your frames will evolve from accidental snaps to deliberate stories, resonating longer in memory — and on screen.
Rate the Post
User Reviews


Popular Posts


