
Breaking Plateaus With Real Time Biomechanical Feedback
30 min read How athletes and coaches smash plateaus using real-time biomechanical feedback from wearables, force plates, and video AI—plus protocols, metrics, and case insights for faster gains and fewer injuries. (0 Reviews)
Most plateaus don’t happen because you’re lazy or lack willpower. They happen because your body is clever. It adapts to the exact inputs you give it—and when those inputs stop changing in meaningful ways, so do your results. The usual fix is to add more volume, more load, more miles. But if the mechanics driving your performance (or pain) aren’t improving, more of the same inputs just reinforces the status quo.
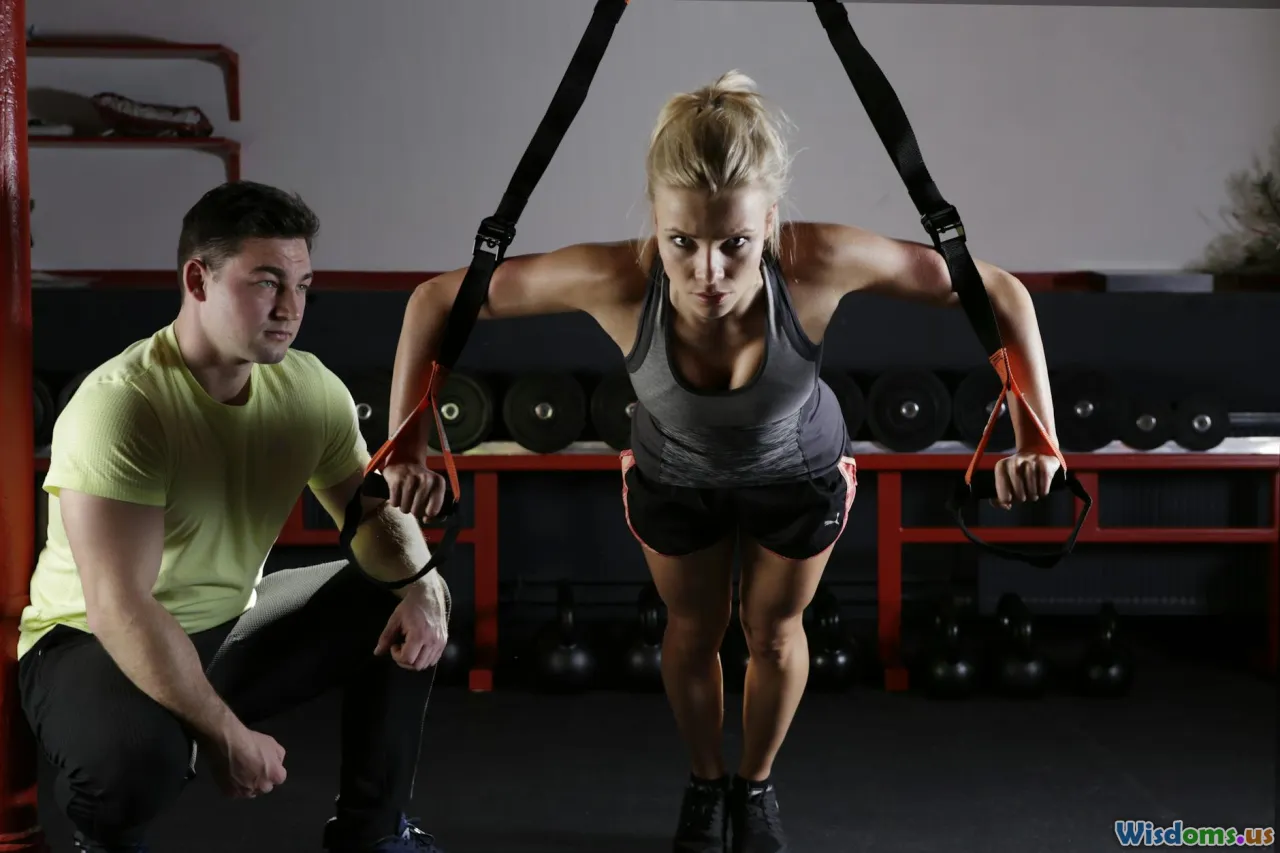
Real-time biomechanical feedback breaks plateaus by turning invisible movement errors into immediate, correctable signals. Instead of reviewing form after the workout or waiting for a coach’s weekly notes, you get a prompt—vibration, tone, color change—while you’re moving, rep by rep, stride by stride. This is the difference between trying to learn a new language by reading grammar summaries at night and having a conversation partner correcting your pronunciation on the spot.
Why plateaus happen—and why feedback fixes them

Plateaus are multifactorial, but three themes show up across strength, endurance, and skill sports:
- Hidden compensations: You can lift more without improving joint alignment, or run faster without fixing braking forces. The output looks good, but the underlying movement strategy is capped.
- Monotony of stimulus: Repeating the same drills at similar intensities produces diminishing returns. Without a change in the informational content of practice, the nervous system has nothing new to solve.
- Blunt feedback loops: Most athletes get either delayed feedback (video after the session) or generic cues (keep your chest up) that don't link to specific, measurable mechanics.
Real-time biomechanical feedback addresses all three. It exposes compensations, adds a fresh dimension of stimulus (information, not only intensity), and delivers precise, actionable cues while you’re still in the task.
Consider common plateau scenarios:
- A runner stuck at a 5K time for months, despite more mileage. The culprit: excessive vertical oscillation and long ground contact time—more bounce than forward drive. Real-time cues to adjust cadence and footstrike reduce wasted motion within a single session.
- A lifter whose back squat has stalled. The issue: bar path drifting forward mid-stance and knee valgus under load. A bar-mounted accelerometer and video overlay alert the lifter when drift exceeds a threshold; haptic prompts reinforce a more centered drive.
- A tennis player with serve speed plateauing. Sequencing is off—hips and trunk aren’t transferring energy efficiently. Wearable sensors flag late hip rotation; audio cues during shadow serves help the athlete initiate earlier, restoring kinetic chain timing.
What real-time biomechanical feedback actually is

Real-time biomechanical feedback pairs measurement with immediate cues to alter technique. It consists of:
- Sensing: Devices collect movement or force data—IMUs (inertial measurement units), pressure insoles, force plates, camera-based motion analysis, EMG for muscle activation, power meters, or barbell velocity sensors.
- Interpretation: Software compares current data to a target, model, or bandwidth. This might be a personal baseline, a coach-defined range, or a system-generated “green zone.”
- Cueing: The system delivers feedback concurrent with movement—audio tones, haptic buzzes, visual overlays—so the athlete can make an in-rep correction.
Key difference from traditional analytics: latency. A sprint coach’s comment after a rep is helpful. A buzz within 100 milliseconds when your foot spends too long on the ground can change the next step. That immediacy is what converts data into skill.
Examples of real-time feedback modalities:
- Visual: On-screen overlays showing bar path or center-of-pressure trace, or a color bar switch when pelvis tilt exceeds a limit.
- Auditory: A metronome that speeds up until cadence hits the target, or a beep only when landing forces exceed your bandwidth.
- Haptic: A single vibration if the knee collapses inward beyond a threshold; stronger vibration if the deviation persists.
The motor-learning science behind plateaus and feedback

Real-time biomechanical feedback taps principles that have been tested for decades in motor learning research:
- Knowledge of results (KR) vs. knowledge of performance (KP): KR is about outcomes (you jumped 60 cm), KP is about technique (your knee tracked 8 degrees medially). Plateau-busting often requires KP to change the movement strategy, not only the result.
- Bandwidth feedback: Provide cues only when performance drifts outside a target range, not on every rep. This reduces dependency and promotes self-organization. A simple rule: let clean reps go un-cued; cue only errors.
- Concurrent vs. terminal feedback: Concurrent feedback (during the rep) is excellent for immediate corrections. Terminal feedback (after the rep) is better for reflection and consolidation. Combining both yields faster acquisition and better retention.
- External vs. internal focus: Cues focusing on the effect of the movement (push the ground back) often outperform internal body-part cues (activate your glutes) for performance and retention.
- Faded feedback: Start with frequent cues, then deliberately reduce frequency as the pattern stabilizes. Constant feedback can speed early learning but hurt long-term independence.
Latency matters. Humans can react to auditory signals in roughly 150 milliseconds and to visual ones around 200 milliseconds, though active movement corrections depend on task complexity. For in-rep corrections, aim to deliver cues within the same movement cycle (for running, within a few strides; for lifting, within the eccentric-concentric event). If your pipeline introduces a half-second delay, switch to terminal feedback for that session and use summary cues between reps.
Tools and sensors: what they measure and when to use them

You don’t need a lab to benefit from biomechanics. But choosing the right tool for your constraint is crucial:
- IMUs (accelerometer + gyroscope, sometimes magnetometer): Attach to segments (shank, thigh, trunk, barbell). Great for measuring angular velocity, segment orientation changes, and cadence. Typical sampling: 100–1000 Hz. Beware drift over time; short bouts and sensor fusion help.
- Pressure insoles: Capture center of pressure, foot strike pattern, contact time, and force surrogates. Excellent for running gait and jumping landings. Real-time haptics are common.
- Force plates and smart plates: Measure ground reaction forces precisely—and asymmetry. Best for jump diagnostics, isometrics, and barbell derivatives. Price and portability vary.
- Camera-based analysis: Phone cameras at 120–240 fps can estimate joint angles with computer vision. Real-time processing depends on device power; external sensors often reduce latency versus pure vision.
- Barbell velocity sensors: Linear position transducers or accelerometer-based devices offer mean/peak velocity and bar path. Immediate beeps when velocity loss exceeds thresholds help control fatigue.
- EMG (surface electromyography): Tracks muscle activation timing and magnitude. Useful in rehab and skill sequencing; requires careful placement and filtering to avoid noise.
- Power meters (cycling, rowing, paddle sports): Provide power, torque effectiveness, and left-right balance in real time.
Choose sensors based on the decision you want to make during the session. If you can’t act on a metric and don’t fully trust its accuracy, it’s probably better as an after-action analytic rather than a real-time cue.
Building your first real-time feedback loop

A plateau-busting loop is simple, but purposeful:
-
Define the bottleneck. Example: ground contact time is longer when pace rises above threshold; bar path drifts forward in the hole; left-right pedal imbalance increases under fatigue.
-
Select one key metric that links tightly to that bottleneck. Avoid tracking ten variables at once. Examples: cadence for overstriding; mean concentric velocity for strength endurance; knee valgus angle for landing mechanics.
-
Set a bandwidth. Establish a personal baseline across multiple sessions and surfaces. A workable starting point is ±5–10% around the median or an evidence-informed range defined by your coach.
-
Pick a cue and make it actionable. Use external focus when possible:
- Running: a single low beep if cadence falls below bandwidth; a higher double beep if vertical oscillation spikes.
- Lifting: green screen if bar path stays within a corridor; vibration if velocity loss exceeds 25%.
- Cycling: gentle haptic on the left side if left-right balance drifts beyond 10%.
-
Calibrate and test latency. Do a dry run and verify cues occur in the same movement cycle. If not, switch to terminal cues between reps and work on pipeline speed later.
-
Plan a faded schedule. Start with frequent cues for the first third of the session, then bandwidth-only cues, then silent reps. Summarize after each set.
-
Review and adjust. If a cue triggers constantly, the bandwidth is too tight or the task is too hard; if it never triggers, you might be under-challenging.
Protocol templates for common plateaus
Below are field-tested, modular protocols that convert feedback into results. Adjust to your context and equipment.
- Running economy tune-up (30–40 minutes)
Goal: Reduce braking forces and wasted vertical motion at threshold pace.
- Warm-up: 10 minutes easy running. Capture baseline cadence, vertical oscillation, ground contact time.
- Drill block (10 minutes): Short strides at slightly higher cadence (+3–5% from baseline) using a metronome tone. Cue only when cadence drops below bandwidth.
- Main set (12–16 minutes): 4 x 3–4 minutes at threshold pace with 90 seconds easy jog between. Use bandwidth feedback on ground contact time and vertical oscillation. One cue per stride max; avoid constant beeps.
- Terraced cues: First two reps with cadence cue active; last two reps only vertical oscillation cue active. This prevents over-focusing.
- Cooldown and summary: Display average changes per rep, plus a 5-minute silent run to confirm retention.
Expected outcomes: Many runners see a small yet meaningful drop in ground contact time and vertical oscillation within the first session, with pacing holding steady or improving. Across 3–4 weeks, you should see the same running economy at slightly lower perceived effort, or the same effort at a marginally faster pace.
Tips:
- If cadence increases but heart rate spikes, the change is too abrupt. Reduce the target step change to +2–3% and extend the adaptation phase.
- If cues overwhelm you, move to stride-level summaries (every 10–20 steps) instead of per-step cues.
- Barbell velocity plateau breaker (45–60 minutes)
Goal: Improve power output and technical consistency near the sticking point.
- Warm-up: 2–3 sets of ramping loads with bar velocity displayed, no cues.
- Main sets: 5 sets of 3 reps at a load where mean concentric velocity is around your power target (for many lifters, this is moderate load). Enable cues only when velocity loss within the set exceeds 20–25% from the first rep.
- Bar path corridor: For squats or presses, use a visual corridor and a soft buzz when the bar deviates outside. Keep the corridor generous in early sets; narrow it in later sets.
- Faded feedback: First two sets with full cues; last three sets with bandwidth cues only.
Expected outcomes: Technique drift appears before strength limits. Targeting drift reduces wasted energy and keeps reps snappier. Over several weeks, you should be able to hold power output deeper into sets or move up a load increment at the same power.
Tips:
- If the bar path cue triggers frequently but velocity holds, the corridor is too tight or the stance/grip needs adjusting. Fix the setup before chasing velocity.
- Use terminal video review for one set only; don’t stack visual, audio, and haptic cues on every set.
- Cycling torque-smoothness session (50–70 minutes)
Goal: Even out torque application and correct left-right asymmetry under fatigue.
- Warm-up: 15 minutes easy, recording baseline torque effectiveness and balance.
- Over-unders: 3 x 10 minutes alternating 1 minute just below threshold and 1 minute just above. Enable haptic cue on the left leg when imbalance exceeds 8–10%.
- Cadence play: During the above-threshold minutes, experiment with cadence ±5 rpm from usual while watching torque smoothness. Note which cadence reduces imbalance.
- Cooldown and silent spin: 10 minutes with cues off to check retention.
Expected outcomes: Athletes often find a cadence window where asymmetry decreases. Across a few weeks, the balance bandwidth can be tightened and cues reduced.
Tips:
- If cues trigger more as fatigue accumulates, shorten the interval or slightly lower power. Feedback cannot fix a physiology mismatch.
- Racket or club sport sequencing tune-up (30–45 minutes)
Goal: Improve kinematic sequencing (hips-to-trunk-to-arm) to increase racket head speed or ball speed.
- Shadow swings: 2 sets of 10 swings with wearable sensors on pelvis and torso. Audio cue when hip rotation lags trunk by more than a set threshold.
- Live reps: 3 sets of 8–10 swings with a reduced cue—only if sequencing is late by a larger bandwidth. Add a terminal summary of pelvic-thorax separation timing.
- Transfer: 2–3 minutes of rally or driving with cues off, then re-enable for a final set.
Expected outcomes: Cleaner sequencing often yields a small uptick in speed even before strength changes. Retention improves when cues are faded quickly.
Tips:
- Use external cues like drive the handle past the hip rather than internal cues like rotate your hips earlier.
- Return-to-sport landing mechanics (20–30 minutes)
Goal: Reduce risky knee valgus and over-reliance on the uninjured limb during landings.
- Double-leg drop jump: Start with a low box. Haptic cue on the involved side if knee valgus angle exceeds bandwidth or if force asymmetry spikes.
- Progress to single-leg landings: Keep cues but widen the bandwidth so athletes aren’t punished for slight wobble. Add terminal feedback with a simple score (green, yellow, red) to avoid overload.
Expected outcomes: Rapid reduction in extreme deviations. Over weeks, cues can be faded to terminal-only as confidence and control improve.
Tips:
- Avoid cueing every little deviation. Aim for safety-critical bandwidths and celebrate green reps to build confidence.
Interpreting metrics without getting lost in noise
Data is only useful if it changes decisions. Keep these principles in mind:
- Reliability first: If a metric varies wildly under identical conditions, don’t use it for real-time cueing. Repeat a standardized drill across days to gauge test-retest stability.
- Minimal worthwhile change: Identify the smallest change that matters for your context. For many field metrics, changes under a few percent may be noise. Build a personal threshold from your data rather than chasing population norms.
- Smoothing and windows: Raw stride-by-stride or rep-by-rep data can be jittery. Use short moving averages (for example, 3–5 strides) to stabilize cues without hiding genuine shifts.
- Context control: Shoe type, surface, fatigue, and temperature can sway metrics. When comparing sessions, keep at least two of these constant.
- Cross-checks: Pair mechanical metrics with outcomes: time, load, RPE, heart rate, soreness. If mechanics improve but outcomes worsen, revisit assumptions.
Latency, sampling, and user experience

A great feedback system is fast, simple, and quiet until it needs to speak.
- Latency: Aim for cues to land within the movement cycle. For running, this usually means under a few hundred milliseconds; for lifting, within the set before the next rep begins. If your setup includes camera processing that introduces heavy delay, switch to terminal cues between reps.
- Sampling rate: Faster isn’t always better. A rate of 100–200 Hz is plenty for many human movement tasks. Extremely high sampling rates can amplify noise and strain batteries or processing.
- Cue salience: Use distinct signals for distinct errors and avoid stacking multiple cues at once. A single buzz for cadence, a double buzz for contact time. Reserve loud tones for safety-critical alerts.
- Bandwidth UI: Show the athlete a simple green zone and a minimal real-time dial; reserve full traces and heatmaps for post-session analysis.
Budget-to-pro setups that work

You can start small and scale as you learn what matters.
-
Budget DIY:
- Phone camera at 120 fps for terminal review.
- Metronome app for cadence cues.
- Basic foot pod for stride metrics.
- Workflow: Measure baseline, set a cadence range, use the metronome to nudge into the zone, film one set for end-of-block review.
-
Mid-range:
- Pressure insoles or smart foot pods for real-time ground contact time and pronation cues.
- Barbell velocity sensor for strength work.
- Cycling power meter for torque balance feedback.
- Workflow: Concurrent cues with bandwidth, plus end-of-set summaries.
-
Pro:
- Force plates integrated with bar path tracking.
- Multi-IMU kits for segment kinematics.
- EMG for activation timing.
- High-speed capture with on-device processing.
- Workflow: Personalized models, predictive alerts, and coach dashboards that track load and skill acquisition together.
Don’t buy gear without a decision rule. For each device, answer: what session decision will this change today? If you can’t answer, wait.
Psychology of feedback: autonomy, focus, and fun

The best biomechanical systems don’t just measure—they coach in a way that sticks.
- Autonomy: Let athletes opt in to cues or silence them for parts of the session. Self-controlled feedback often produces better retention.
- External focus: Phrase cues around effects and targets in the environment. Instead of keep your knee out, try push the floor away and hit the green zone.
- Gamification: Use simple streaks and streak breaks—five green reps in a row triggers a chime; a red rep resets the streak. Keep stakes low and fun.
- Reflection: After the set, ask one question: what changed when you heard the cue? Brief reflection deepens learning without bogging down the session.
From data to decisions: microcycles that break stagnation

Use feedback to create a new stimulus every week without chaos.
- Week 1: Discover and define. Baseline your metrics across typical sessions. Identify one primary KPI and a backup.
- Week 2: Constrain and cue. Use narrow bandwidths and frequent cues early in sessions. End with silent work to test retention.
- Week 3: Fade and fortify. Reduce cue frequency. Introduce mild variability (surface, cadence, or load) to test robustness.
- Week 4: Challenge and compare. Add intensity or complexity with cues mostly off. Compare outcomes to Week 1 with matched conditions.
If progress stalls:
- Change the KPI or how it’s cued (auditory to haptic; continuous to bandwidth-only).
- Adjust task difficulty so the athlete can succeed roughly seven out of ten reps within bandwidth.
- Shift from concurrent to terminal feedback, emphasizing summary knowledge of results.
Safety, signal quality, and ethics

Real-time feedback is powerful, but it can mislead if the signal is wrong or the context isn’t safe.
- Calibration: Recalibrate sensors regularly, especially IMUs and pressure insoles. Use standardized poses or static stands.
- Artifact control: Sweat, cable motion, and magnetized environments can corrupt readings. Secure sensors, check placement, and validate with a brief known-movement test before the session.
- Progress gradually: Mechanically cleaner does not mean biologically ready. If a new pattern increases local tissue load, build volume slowly.
- Privacy and data control: Store only what you need, for as long as you need it. Share metrics with coaches and clinicians transparently, and be clear about device limitations.
- Medical boundaries: Use biomechanics to inform training, not to diagnose. If pain persists or worsens, consult a qualified clinician.
Troubleshooting: when the needle doesn’t move

If weeks pass without change, run a quick diagnostic:
- Is the KPI truly linked to your bottleneck? If performance improves when the metric gets worse, you may be optimizing the wrong thing.
- Are cues too frequent or too cryptic? Try bandwidth-only cues and clearer, external-focus phrasing.
- Is latency undermining corrections? Switch to terminal feedback between reps or strides.
- Is fatigue masking learning? Separate skill work from heavy conditioning; use fresh sessions for feedback-rich practice.
- Are you chasing noise? Widen the bandwidth and look for larger trends week to week rather than rep to rep.
A compact checklist you can use tomorrow
- Identify one plateau and the suspected mechanical cause.
- Pick one sensor or method that can measure the cause with acceptable reliability.
- Establish a personal baseline over two to three short tests.
- Set a bandwidth that balances ambition with realism.
- Choose a single cue modality and keep it simple.
- Run a short session with frequent early cues, then fade to bandwidth-only.
- Finish with a silent block and a quick summary to check retention.
- Adjust next session based on the smallest meaningful changes, not single-rep wiggles.
Breaking a plateau rarely requires a total overhaul. It requires better information at the right moment. Real-time biomechanical feedback delivers that information in a form your nervous system understands quickly—feel this, now. Whether you are chasing seconds on the road, kilos on the platform, speed off the racket, or confidence after injury, turning invisible mechanics into immediate cues transforms practice from repetitions into refinement. The next breakthrough is not about doing more; it is about moving better, and knowing it in the moment you do.
Wearable Technology Sports Science Injury Prevention Biomechanics Fitness Training Performance Analysis & Optimization Computer Vision motion capture Coaching & Performance real-time feedback wearable sensors force plates EMG velocity-based training technique optimization athlete monitoring data-driven coaching
Rate the Post
User Reviews


Popular Posts


