
How to Build a Personal Robot From Spare Parts
18 min read Step-by-step guide to building a personal robot using spare parts, covering essential tools, design, assembly, and programming for beginners and enthusiasts. (0 Reviews)
How to Build a Personal Robot From Spare Parts
Who hasn't dreamed of having their own robot? Not as a distant fantasy but a hands-on reality. Building a personal robot using spare parts opens a world where curiosity becomes creation. For hobbyists, tinkerers, or anyone eager to blend creativity and practicality, cobbling together a robotic helper from secondhand bits is a thrilling challenge. With accessible technology and electronic recycling on the rise, hunting through old printers or forgotten gadgets can result in surprisingly capable and unique automatons. Here’s how you can turn spare parts into your own personal robot, step by step.
Finding the Right Spare Parts

Every robot starts as a collection of seemingly unrelated components. The first step is gathering a toolkit:
- Motors and Actuators: Salvage motors from cordless drills, toys, or broken kitchen appliances for mobility and function. For fine control, strip gearboxes from inkjet printers.
- Microcontrollers: Arduino and Raspberry Pi boards are favorites, but sometimes an old game console controller or PC motherboard houses promising chips, especially if you know basic soldering.
- Sensors: Harvest IR sensors from old TV remotes for obstacle avoidance. Photodiodes and microphones can come from disassembled security alarms or headphones.
- Chassis and Frames: Wheelchair bases, RC car chassis, or even unused vacuum cleaner shells make excellent frames. Look for strong, lightweight materials.
- Wheels and Tracks: Printer rollers, roller skates, or even drawer tracks can be adapted.
For example: Scrapping an old vacuum cleaner yields not just motors and wheels but sometimes even a ready-made frame, helping you leapfrog early design headaches.
Crafting a Blueprint
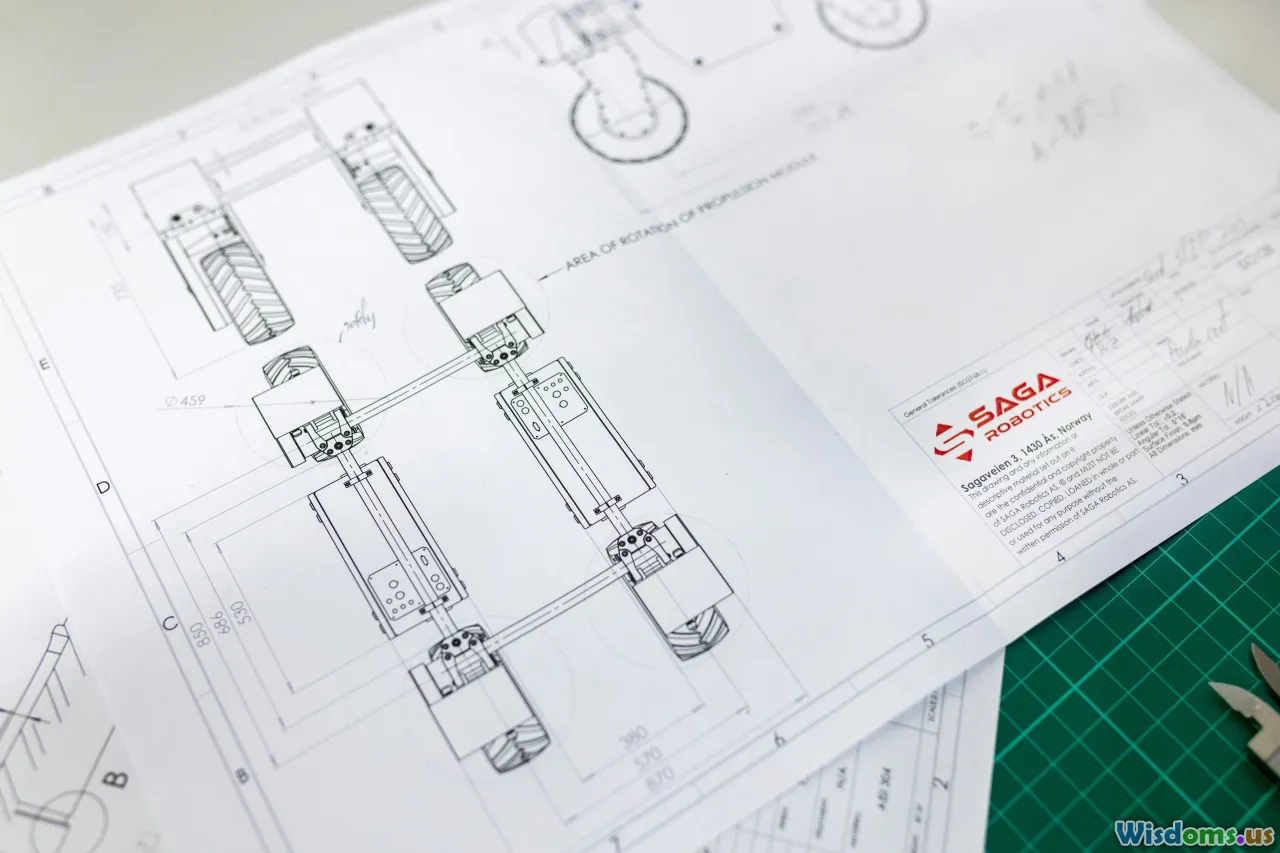
Before soldering or screwing anything, plan your robot’s purpose and form. Is it a simple lawn monitor, a rolling assistant, or a desktop butler?
Key steps:
- Define the Goal: List the main tasks your robot will perform, like fetching items, greeting guests, or monitoring the environment.
- Sketch a Layout: Draw your robot’s core subsystems: mobility (wheels/legs), power (battery placement), intelligence (controller position), sensors, and manipulators.
- Subsystem Mapping: Feel free to label where salvaged parts will fit. The gear motor from that old VCR might drive an arm, while an RC car chassis delivers mobility.
This blueprint will help identify gaps, such as needing more stability or aiming for modularity (swapping parts later for upgrades).
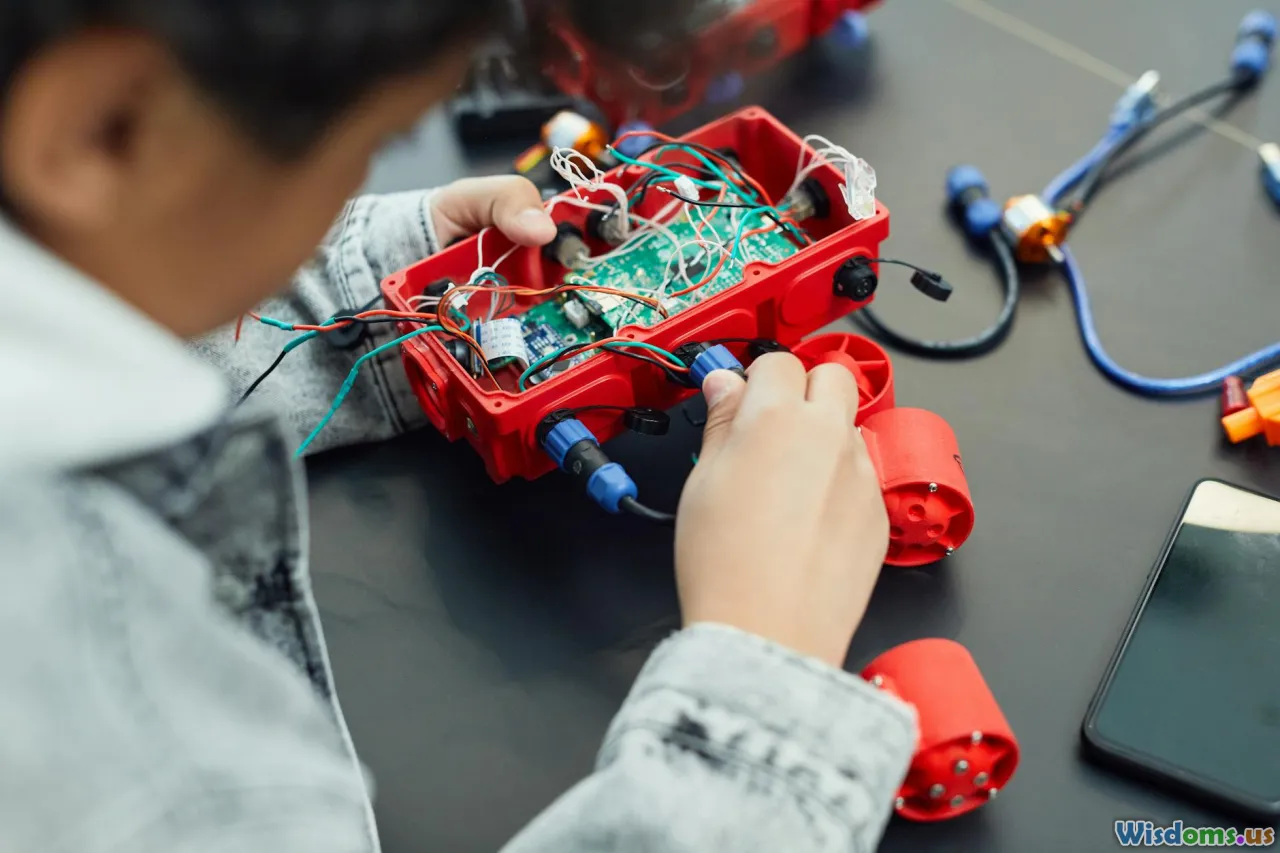
Assembling the Chassis and Locomotion System
The frame forms the robot’s backbone.
Suggestions:
- Chassis Base: Use strong yet lightweight platforms like recycled aluminum from printers or thick plastic from toy trucks.
- Attaching Wheels or Tracks: Adapt caster wheels from office chairs for balance. Points of attachment should be secure but allow some flex for rough surfaces.
- Drive System: For straightforward movement, repurpose gear motors and connect them to the wheels using strong glue, couplers, or even repurposed gears from old toys.
A youth robotics club famously refashioned an unused metal toolbox. Adding cutouts for motors and mounting wheels turned it into an all-terrain rover.
Adding Power: Sourcing and Safely Wiring Batteries
A robot requires stable, reliable power. Salvaged lithium-ion batteries from laptops or old mobile phones can serve, but safety is paramount.
Key tips:
- Voltage Compatibility: Match your power source with component requirements. For instance, 7.4V laptop batteries suit most robotics motors and MCUs.
- Protection Circuits: If reusing raw cell packs, install protection modules to guard against overcharging or short circuits.
- Connectors and Wiring: Steal sturdy connectors from power adapters; always use thick enough wires for current demands.
- Testing: Before integrating, charge and discharge batteries separately, monitoring for abnormal heat—a sign to discard and try another cell.
Some builders favor older lead-acid scooter batteries for heavy, rugged robots, but newer lithium variants offer better energy-to-weight ratios for mobile creations.
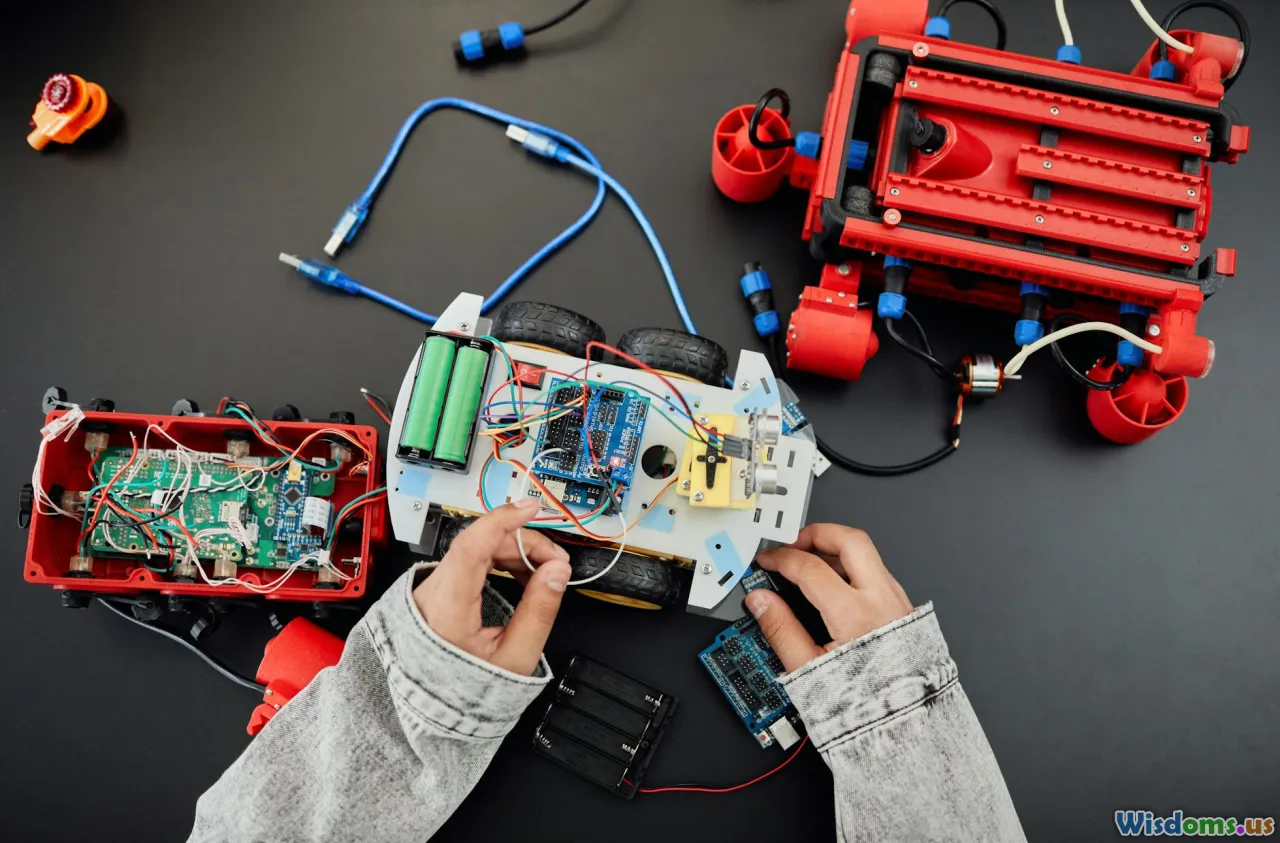
Selecting and Integrating a Microcontroller
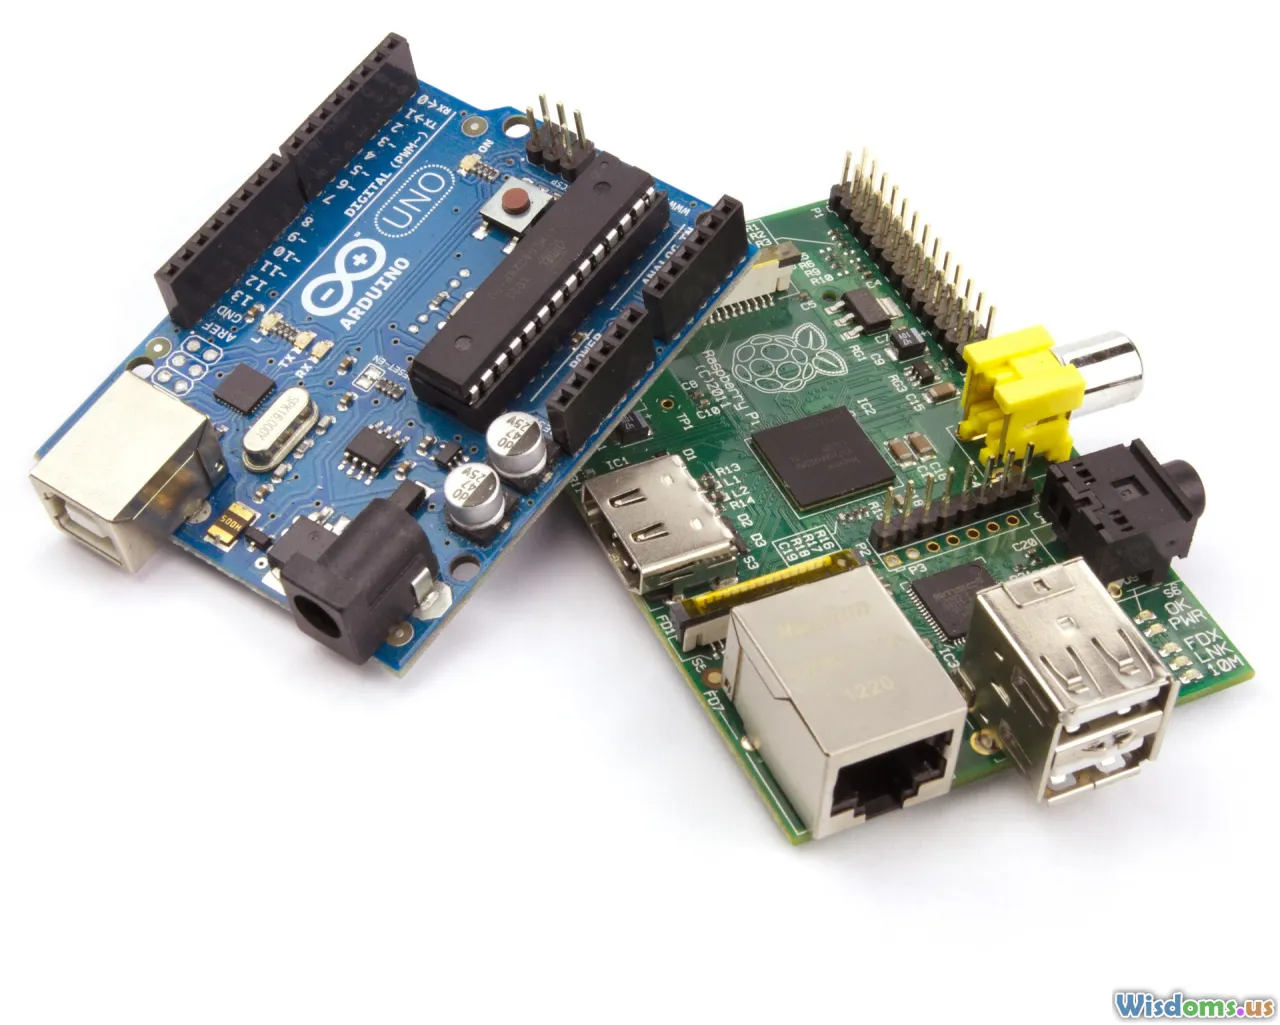
At the heart of any DIY robot lies its controller brain.
- Arduino/ATmega Boards: Ubiquitous for beginners, compatible with most sensors, and easy to program.
- Raspberry Pi: For complex robots needing vision or web connectivity, the Pi combines processing power with GPIO (General-Purpose Input/Output) control.
- Harvesting Old Controllers: Old toys or defunct drones sometimes have workable on-board microcontrollers that can be re-flashed.
Connect the microcontroller to all sensors, actuators, and communication ports using pin headers or solder directly with jumper wires. Use breadboards for early tests, switching to more permanent solder joints as features stabilize.
Example: One builder repurposed the microcontroller from a discarded coffee maker, using its relays to control arm movements for a supply-fetching robot.
Mounting and Calibrating Sensors
Sensors make robots aware of the world. Typical additions include:
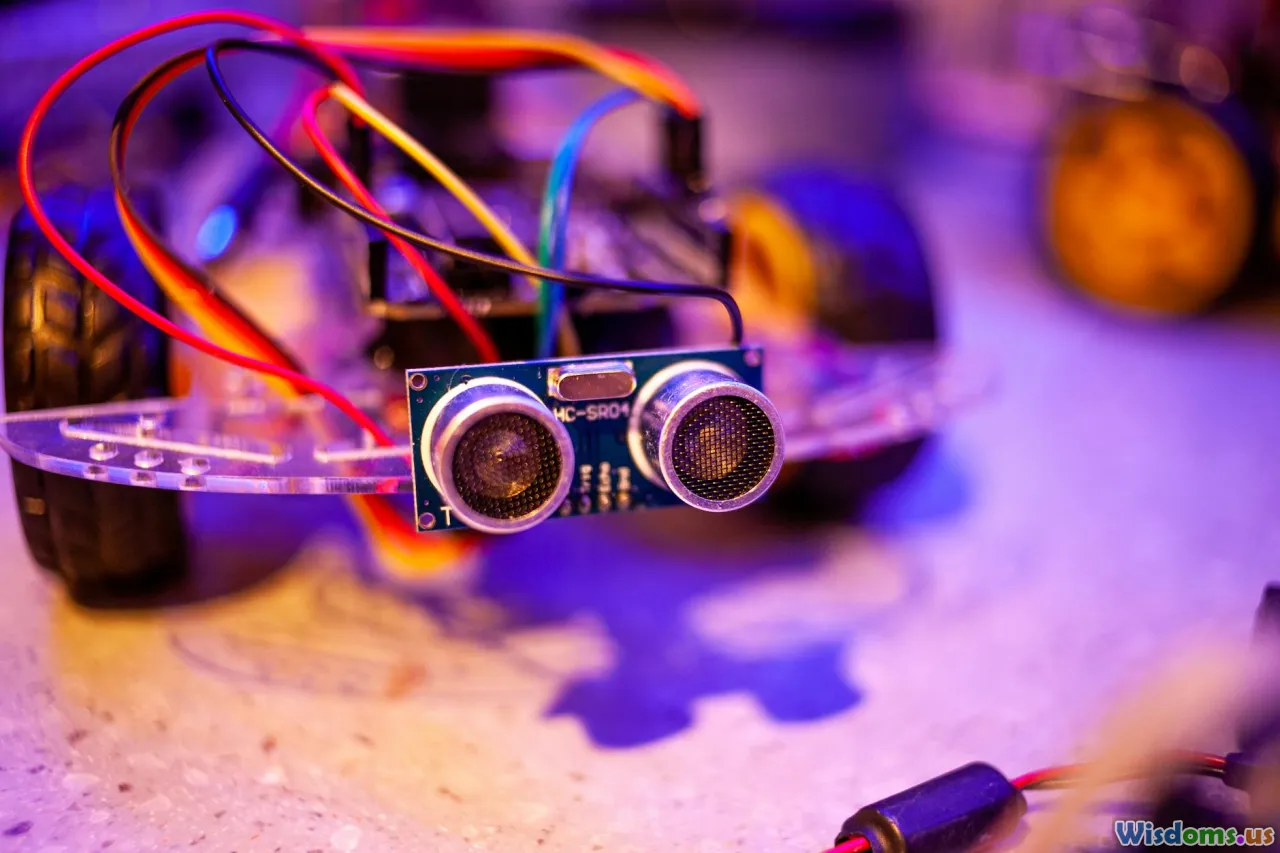
- Ultrasonic Rangefinders: Remove from defunct parking sensors for distance detection.
- Infrared Sensors: Salvage from broken security systems for line-following or basic object detection.
- Webcams: Cannibalize from an old laptop for basic computer vision.
Mount sensors at optimal heights: ultrasonic modules at bumper level for navigation, IR or light sensors near the base for obstacle avoidance, and cameras near the “head.” Test and recalibrate angles to maximize the field of view.
A hobbyist used four infrared sensors placed at each corner, providing accurate edge-of-table warnings for their desktop companion robot.
Programming Your Robot’s Brain
With hardware ready, it’s time to define behavior:
- Choosing a Language: Arduino IDE (C++ like) is best for Arduinos; use Python for Raspberry Pi.
- Open-Source Libraries: Tap into thousands of existing libraries for navigation, obstacle avoidance, and even speech recognition.
- Sample Code: Always test basic movement and sensor response before layering in complex routines.
Recommended approach: Start simple. Write code to make your robot move forward for one second, then brake. Next, test each sensor individually, logging inputs or blinking an onboard LED in response.
Advanced builders go further, connecting their bots to Wi-Fi (via Raspberry Pi or ESP8266 modules) for remote control or integrating cloud-based APIs for features like voice commands.
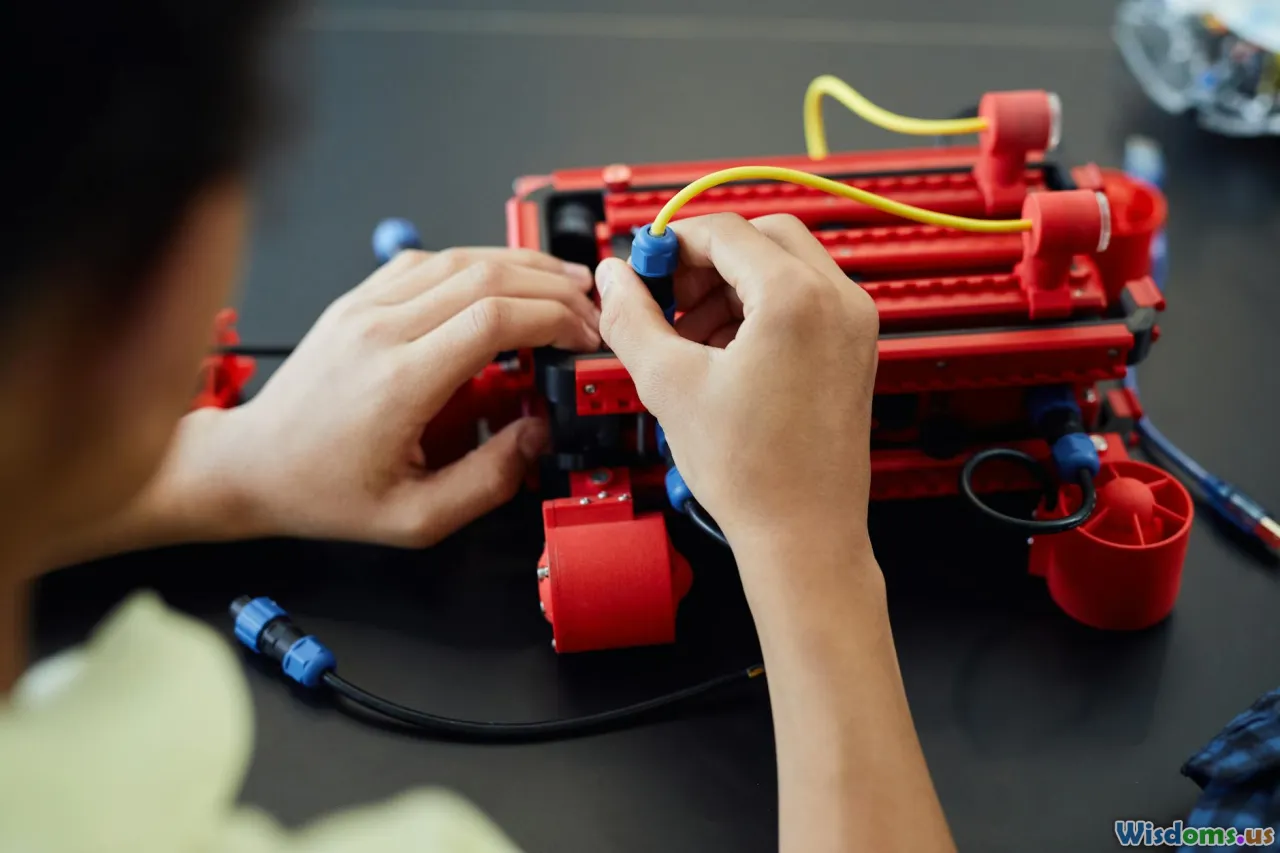
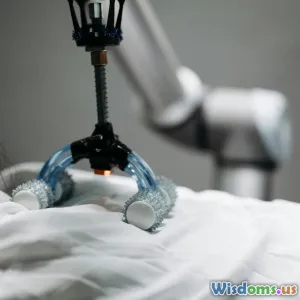
Building Custom Features: Arms and Manipulators

A robot doesn’t have to be all wheels and sensors—you can add arms, grippers, or even simple servos to interact with objects.
- Basic Arms: Use Erector set parts, Meccano pieces, or old shelf brackets as arm bones.
- Grippers: Pinch mechanisms made from clothespins or 3D-printed claws (if you have access to a printer). For high dexterity, try adapting servo motors from RC model cars.
- Joint Control: Servo motors (from RC toys) allow for simple up/down or side-to-side motion. PWM signals via Arduino handle most basic actions.
One enthusiast created a bottle-fetching robot with a repurposed car-door lock actuator serving as a powerful, robust gripper, proving that creative recycling often beats buying new hardware.
Enhancing Mobility and Stability
A personal robot should smoothly maneuver its surroundings:
- Balanced Wheels: Offset wheel placement (tricycle or four-wheel layouts) from shopping cart or stroller designs help with cornering.
- Treads: If building for rough terrain, consider treads cut from old bicycle tires or printer belts.
- Stabilization: Add stabilizer wheels, using swiveling caster wheels found in furniture to prevent tipping.
- Weight Distribution: Place heavy components, like batteries, low and central on the chassis.
Case in point: A homemade rover adapted the track system from a toy tank, giving it enough traction to explore a backyard garden with no loss of balance.
Adding Communication and Interactivity

Getting your robot to communicate boosts utility and charm:
- Lights and Displays: Reuse old LED bar graphs or LCDs for status updates, animated faces, or output data.
- Sound: Small speakers from defunct alarm clocks become perfect for beeps or primitive speech. For speech synthesis, a Raspberry Pi can even output custom audio files.
- Wireless Modules: Wi-Fi chips (ESP8266), classic RF remotes, or Bluetooth adapters let your robot receive commands from your phone or computer.
A creative project once equipped a recycled warehouse assistant cart with LED “eyes” that change color based on battery status and ultrasonic proximity—a fun and useful navigation indicator.
Safety Precautions and Responsible Hacking

While DIY robotics is exciting, there are inherent risks:
- Electrical Hazards: Always discharge capacitors in power supplies before removal. Wear insulated gloves when handling live circuits.
- Mechanical Risks: Sawing, drilling, and deconstructing devices require safety goggles and a well-ventilated area. Sharp edges from metal or plastic components demand careful handling.
- Battery Safety: Never use damaged lithium cells. Always charge in fireproof containers and never leave unattended.
- Ethical Sourcing: Salvage responsibly. Obtain parts from electronics recycling centers, community e-waste events, or with permission from property owners.
Being cautious not only protects you but ensures your project’s sustainability.
Testing, Troubleshooting, and Iterating

Your robot is assembled—but expect issues. Prepare to iterate:
- Systematic Testing: Check individual subsystems: mobility, sensor input, manipulator function, and communication.
- Debugging: If a motor doesn’t run, recheck wiring, fuses, and if signals are reaching the controller. Use a simple multimeter and continuity tester.
- Log Data: Add LEDs or serial/logging outputs to track sensor reading and error states.
- Document Adjustments: Keep a notebook or shared document for part numbers and code changes. This habit is invaluable for future upgrades or repairs.
Many early robot-makers discover faults—like a sensor being shadowed by a wheel—or that the robot is too top-heavy. Quick fixes, like changing sensor positions or lowering the battery, are all part of the process.
Inspiring Builds From the DIY Community
Hundreds of makers share their journeys and solutions, offering inspiration:
- OpenDog by James Bruton: A large, four-legged robot made from plywood, motors, and 3D-printed parts, showing how home shops can create complex walkers.
- Robot Girl Lila: A humanoid helper constructed from kitchen appliance parts and a custom faceplate, performing home greeter tasks.
- LawnBot: Built from a recycled RC car, it maps backyards using recycled smartphone GPS modules to autonomously find and return to a charging dock.
You can find rich sharing on Instructables, the Arduino Project Hub, and even on YouTube.
From Scrap Heap to Sidekick—What’s Next?

Building a robot from spare parts is not a weekend project, nor a guaranteed success on the first try. But that’s what makes it rewarding. Each recycled wire and scavenged motor carries the story of its components—blending function, fun, and sustainability into a creation uniquely your own.
As you experiment and iterate, you’ll gain not only a robot but new skills, insights, and appreciation for thrift and innovation. Perhaps your first creation will roll unevenly across a living room, bump into walls, or greet friends with a flickering LED smile. That’s only the beginning: soon, you’ll tweak it to fetch drinks, act as a guard or home monitor, or simply teach others the joy of hands-on learning.
So raid your local e-waste drive, rescue forgotten tech from the attic, and set aside a weekend for creative dismantling. Your personal robot awaits—imperfect at first, but with infinite potential only you can unlock. Happy building!
Rate the Post
User Reviews


Popular Posts


