Restoring Antique Violins Practical Steps and Pitfalls
16 min read Learn essential steps and potential challenges in restoring antique violins, preserving their history, value, and unique sound quality. (0 Reviews)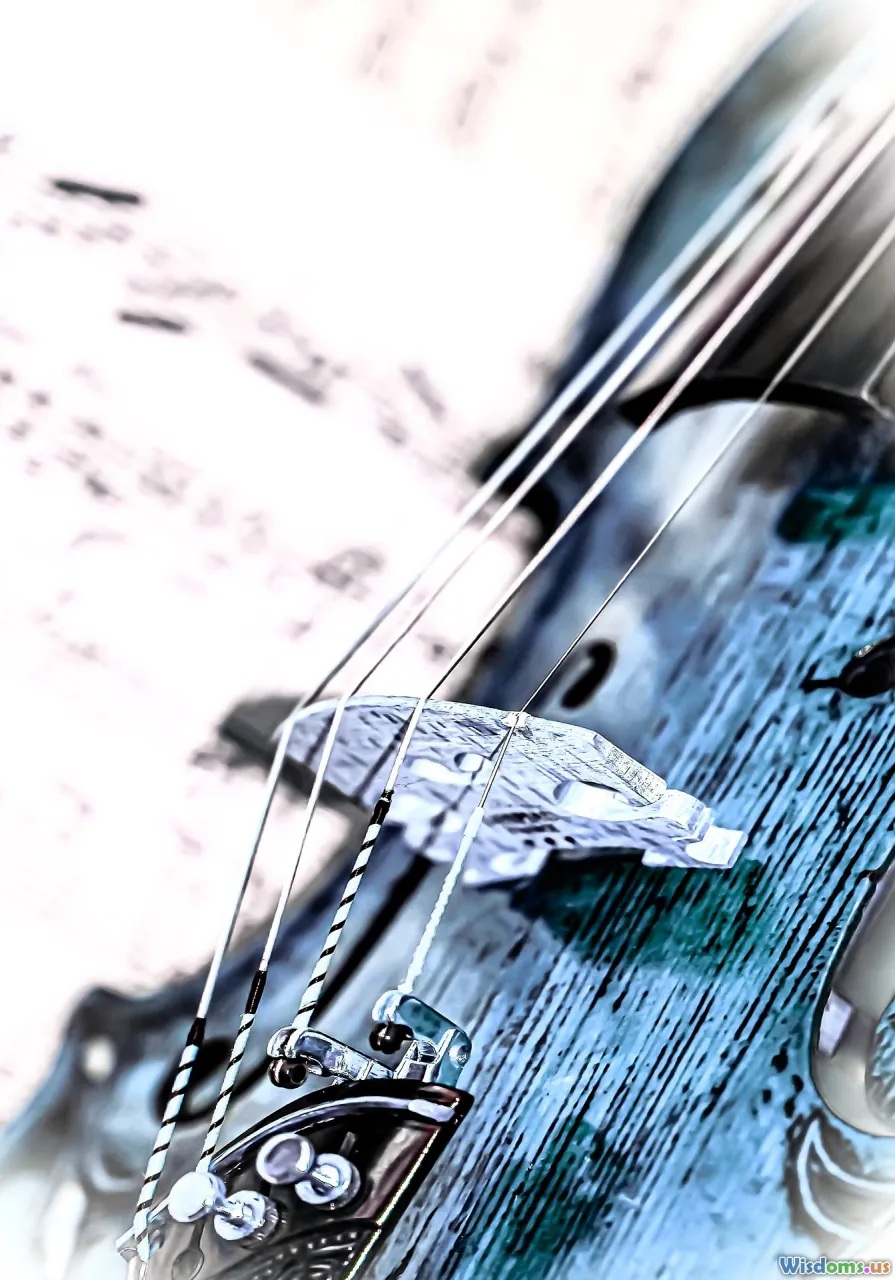
Restoring Antique Violins: Practical Steps and Pitfalls
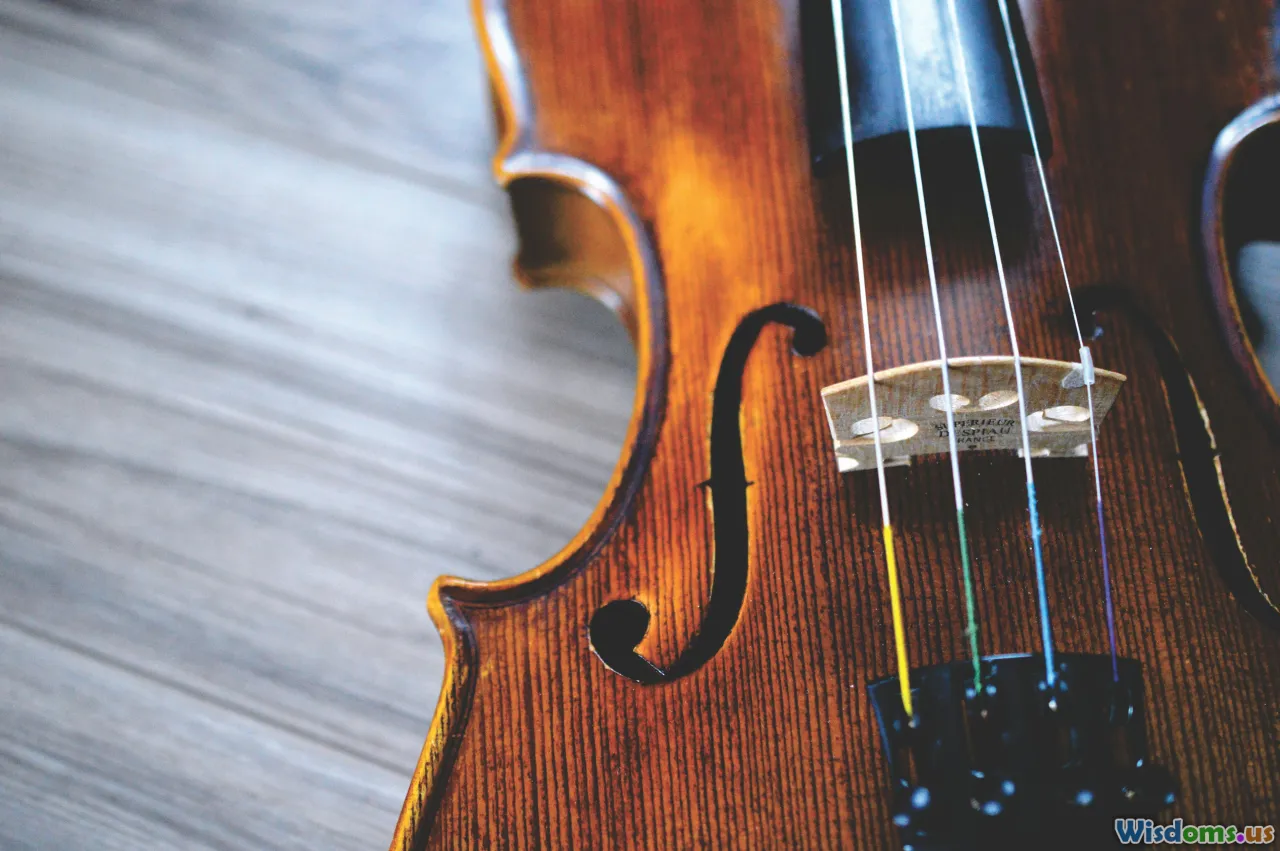
Few instruments possess the regal mystique or storied histories of antique violins. Revered for their aged tonewoods, intricate craftsmanship, and sometimes centuries-old backstories, antique violins hold tremendous value both musically and monetarily. However, the journey to restore one is not for the faint of heart—requiring patience, specialized know-how, and a deep respect for both tradition and innovation. Whether you've discovered a dusty fiddle in a family attic or you've invested in a vintage find, understanding the practical steps (and the many pitfalls) of violin restoration is essential to preserving both the instrument and its legacy.
Evaluating the Instrument’s Condition
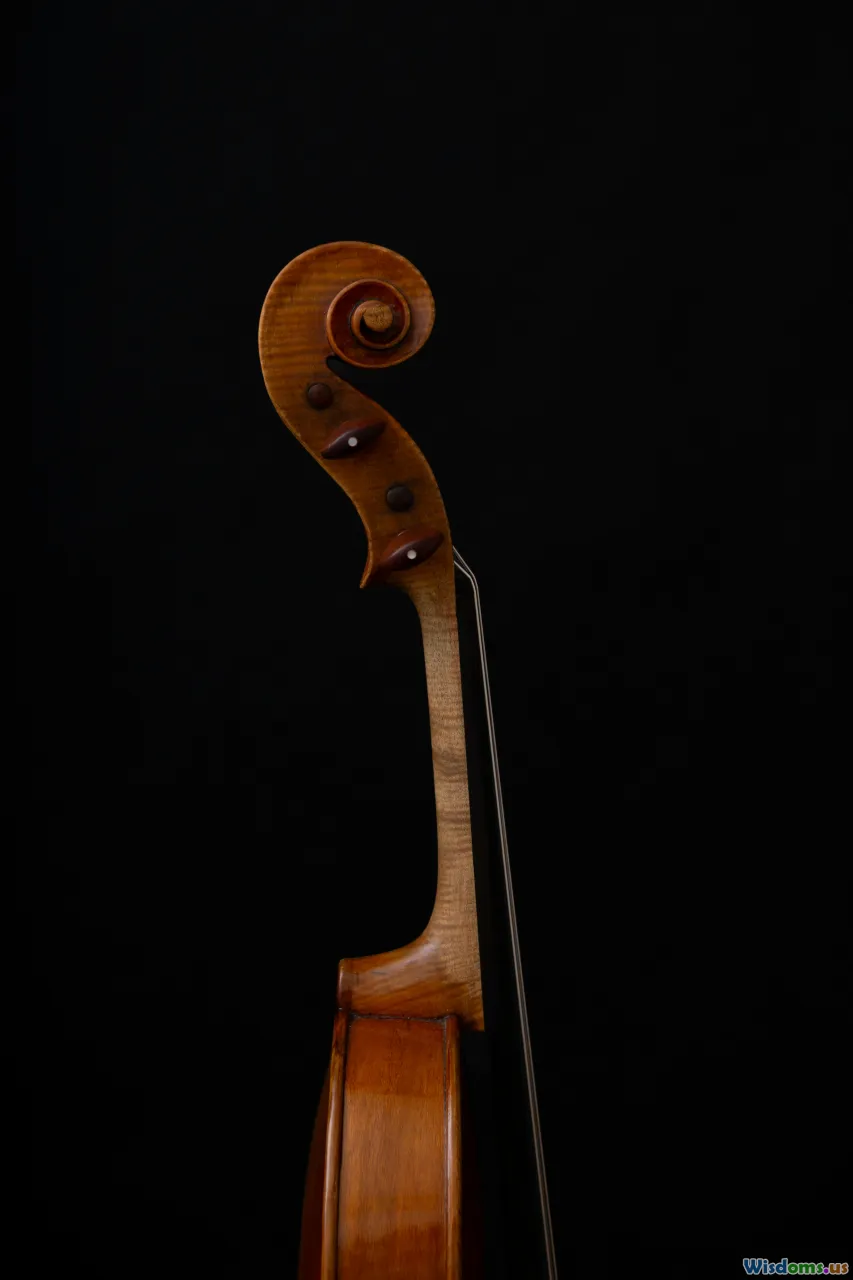
Before embarking on any restoration project, begin with a meticulous assessment of the violin’s current state. This inspection involves both visual scrutiny and gentle physical testing. Start by examining common problem areas: the arching of the top and back plates for warping, the soundboard for cracks or open seams, and the scroll and pegbox for signs of repair, wear, or fracture. Use a strong lamp and a small inspection mirror to look inside the body for internal label information or hidden damage, such as soundpost cracks or woodworm trails.
Example:
- Soundpost Cracks: A soundpost crack directly beneath the bridge on the top plate can drastically diminish value unless expertly restored.
- Edge Wear: Rounded edges often hint at poor previous repairs or heavy use.
Tip: Document everything—photos and notes are essential. Even small flaws or aging details provide context for future decision-making and restoration approaches. In rare cases, such as a violin attributed to a renowned historical maker, professional evaluation for authentication should precede any intervention.
Tools and Materials: Building the Right Restoration Kit

Unlike modern instrument repairs, antique violin restoration demands a sensitive touch and specialized tools. The goal is to preserve as much original material and patina as possible, requiring restraint and expertise in material selection.
Common Tools and Materials:
- Hide Glue: Traditional animal hide glue is preferred due to its reversibility and compatibility with old violins.
- Clamps and Cleats: Wood or plastic clamps, along with soft caul lining, allow precise pressure without damaging delicate surfaces. Cleats reinforce cracks internally.
- Seam Separators: Thin, strong blades—sometimes repurposed razor blades—for gently opening glued seams.
- Varnish Touch-up Supplies: High-quality retouch varnish, brushes, and alcohol-based stains for matching aged finishes.
- Basic Woodworking Tools: Small chisels, knives, and gouges for shaping and fitting replacement parts.
Practical Advice: Avoid industrial glues (like Titebond) or hardware store clamps, as they are unsuitable and can permanently damage the instrument. Modern superglues, for example, cannot be undone without harming the instrument, while reversible hide glue aligns with historical methods and future maintenance needs.
Cleaning and Surface Preservation
Aged violins frequently accumulate rosin, dust, oils, and even residue from prior misguided attempts at cleaning. The process of revitalization begins with gentle surface care—not aggressive scrubbing!
Safe Cleaning Steps:
- Dry Dusting: Use soft, lint-free cloths or cosmetic brushes to remove surface debris without dragging grit across the finish.
- Solvent Testing: Before using any cleaner, test it on an inconspicuous area with a cotton swab. Traditional violin varnishes react differently than modern poly finishes to solvents and oils.
- Mild Cleansers: Solutions formulated for string instruments (not plain water or domestic cleaning products) can remove rosin build-up without stripping ancient varnish. In some cases, diluted mineral spirits are recommended, but only with extreme caution.
Pitfall Example: Oil-based polishes or heavy wax applications, sometimes marketed to well-meaning collectors, can saturate and darken varnish irreversibly, harming both the look and the tone.
Restorer’s Secret: Maturely patinated finishes—minor scratches and all—are an authentic part of the violin’s value and should not be "perfected" away.
Structural Repairs: Addressing Cracks and Open Seams
Many antique violins bear scars: hairline cracks, open seams, loose internal blocks. Proper repair dictates a minimalist approach—the least invasive intervention to restore stability without replacing original wood.
How-To: Mending a Plate Crack
- Opening the Plate: If the damage is severe or internal inspection is needed, the back or top plate is carefully separated—never ripped—using seam separators and gentle warming, if required.
- Gluing Techniques: Clean all mating surfaces. Apply hot hide glue sparingly, working it into the split with a fine brush or palette knife.
- Cleating: Delicate, grain-aligned patches (cleats) are added to the interior, bridging the crack. Clamping pressure is even, monitored until set, and checked visually to avoid any misalignment.
Advice: Over-cleating can deaden the plate’s vibration. A good rule—less is more. When in doubt, consult a professional, especially on cracks in the soundpost and bassbar regions, which affect structural integrity and acoustic performance.
Replacement Parts: What to Change and What to Save
One of the thorniest topics is which worn parts should be replaced. Antique violins often arrive with aged fingerboards, pegs, bridges, or tailpieces, many of which could still be original.
Guiding Principle: Save original parts unless they are beyond functional repair. Why? Because even an imperfect 19th-century rosewood tailpiece can add character and value compared to a shiny modern substitute.
Part-by-Part Overview:
- Pegs: Worn, shrunken, or rounded pegs causing tuning instability may be bushed and re-fit—or, if truly unworkable, replaced with period-correct fittings.
- Fingerboard: Deep grooves or warping may mandate planing or occasionally replacement—but skilled luthiers can often salvage a historic board.
- Bridge: A uniquely carved bridge may be original to the maker. If it must be replaced for playability, consider keeping the original in the violin’s case as context for future caretakers.
Case Study: Vintage Hill & Sons violins often come with intricately mother-of-pearl inlaid pegs, still functional after more than a century—small treasures best preserved, not replaced.
Varnish Restoration and Retouching
The patina and character of an antique violin’s varnish is central to its aesthetic and monetary worth. Heavy-handed retouching or recoating ranks among the top restoration disasters.
Do’s and Don’ts:
- Do: Employ minimal, transparent retouching over exposed wood patches, using historically accurate natural resins and stains.
- Don’t: Attempt full-body re-varnishing. It wipes away history and often devalues the violin.
- Insider Method: French polishing (an alcohol and shellac application technique) can revive luster but should be undertaken by a specialist and only on certain varnish types.
Real-World Example: The Hill workshop, historically, would barest retouch any repair, believing that signs of genuine use—what the British call the instrument’s “story”—were integral to the violin’s appeal.
Preserving or Replacing Labels and Markings
Instrument labels—often hidden inside the soundbox—offer critical provenance clues. Historic stamps and signatures add to the mystique and, occasionally, the violin’s provenance and price. Yet, labels are fragile, easily lost to moisture or ham-handed cleaning.
Best Practices:
- Photograph any label before beginning work.
- Avoid all solvents or wet cleaning near the label; if the label is peeling, consult with an expert on conservation adhesives.
- Forging or replacing labels drastically undermines authenticity and is ethically and legally questionable.
Famous Example: A hidden Stradivarius label, correctly authenticated, could make a six-figure difference in valuation. However, as counterfeit labeling was common even in the late 1800s, suspicion surrounds any label not carefully assessed in context.
Set-Up: Strings, Soundpost, and Bridge Work
Once structural and cosmetic restoration is complete, attention turns to the set-up—where the violin’s playability and final sound quality are determined.
Critical Tasks:
- Soundpost Placement: This small dowel, spanning between the top and back plates, should be precision-cut and positioned for optimal response and tone. Incorrect placement or fit can cause wolf tones or muffled sound.
- Bridge Fitting: The bridge should be expertly cut to match not just the radius of the fingerboard but also the arch of the top plate.
- String Selection: Antique violins often pair best with gut or synthetic-core strings rather than high-tension steel, preserving both their warmth and the underlying structure.
Tip for Enthusiasts: Retain original soundpost and bridge as relics, especially if they have luthier stamps or notations.
Common Pitfalls to Avoid
For all the romance of violin restoration, accidental errors can be costly or irreversible.
Key Mistakes:
- Over-Restoration: Excessive wood removal, stripping patina, or modernizing the neck dimensions can rob the violin of its identity.
- Poor Adhesives: Using household glues like epoxy or superglue makes future repairs impossible and can split delicate wood.
- Inexpert Neck Resets: Reshaping or resetting a neck without respect to the instrument’s age and model risks playability and resale value.
- Heat or Moisture: Excessive heat (such as using a hair dryer to soften glue) warps or delaminates aged woods.
Learning Case: A well-intentioned amateur stripped an 18th-century Bohemian violin using abrasive pads and acetone, exposing bare wood and significantly reducing resale value from several thousand dollars to a few hundred.
When to Call in a Professional
Some restoration challenges exceed the safe scope of even the most careful enthusiast. Rare makers, unique historical value, or major structural compromises demand the hands of a certified luthier.
Questions to Ask Before DIY:
- Is the violin linked to a well-known historical maker?
- Are there complex issues like missing purfling or multiple cross-grain cracks?
- Would improper restoration risk irreparably damaging the instrument or erasing provenance?
Finding Expertise: Check credentials: Recognized violin societies (like the American Federation of Violin and Bow Makers or the British Violin Making Association) list qualified restorers. Many luthiers specialize in period instruments, blending tradition with scientific analysis (e.g., CT scanning for invisible repairs).
Added Value: Professional appraisals and documentation—accompanying the restoration process—can bolster insurance and future sale value.
The Rewards and Responsibilities of Restoration
To restore an antique violin is to honor centuries of artistry, music-making, and human story. The careful resurrection of a sleeping instrument, patiently undone by time, provides both tangible and intangible rewards: richer sound, networked community with other music lovers, and, occasionally, the rediscovered echo of a long-silent master.
But these rewards are balanced by responsibility. Each intervention, each choice to repair or replace, forms a new chapter in the violin’s journey—a story for which you are now a humble caretaker. With informed practice, a gentle touch, and a measure of awe for the instrument’s past, you ensure its voice sounds true for the next generation.
Rate the Post
User Reviews


Popular Posts


