Your Guide to Cleaning Brass Instruments and Preventing Tarnish
15 min read Learn effective methods to clean brass instruments and prevent tarnish, ensuring your instrument stays shiny and performs its best. (0 Reviews)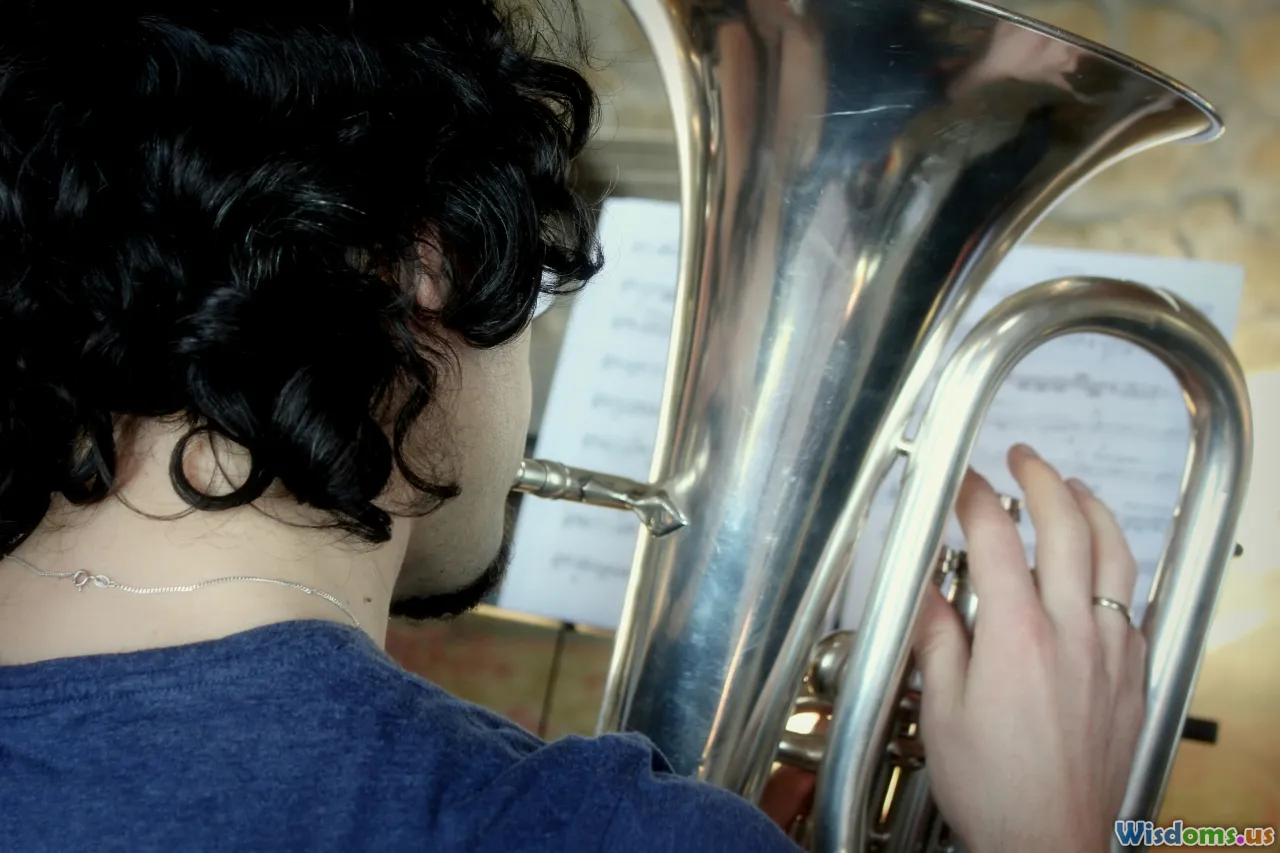
Your Guide to Cleaning Brass Instruments and Preventing Tarnish
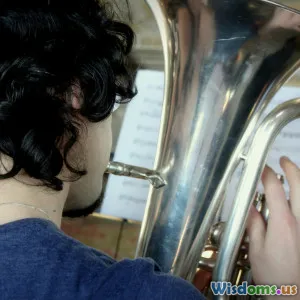
A gleaming brass instrument isn't just impressive to behold—it promises reliable sound and lasting performance. Whether you play the trumpet, trombone, euphonium, French horn, or tuba, keeping your instrument clean ensures brilliance in both tone and appearance. Yet, even a modest layer of tarnish can deaden shine and, over time, damage the metal. Let's explore effective and safe steps to maintaining your prized instrument, from thorough cleaning routines to smart prevention of tarnish.
Understanding Brass and Why It Tarnishes
Brass, an alloy chiefly composed of copper and zinc, is a favorite for wind instruments thanks to its durability and rich acoustic qualities. However, the presence of copper makes brass susceptible to a process called oxidation. When exposed to oxygen and moisture over time, brass develops tarnish—a thin, often dark, layer that mars its luster.
What Does Tarnish Look Like?
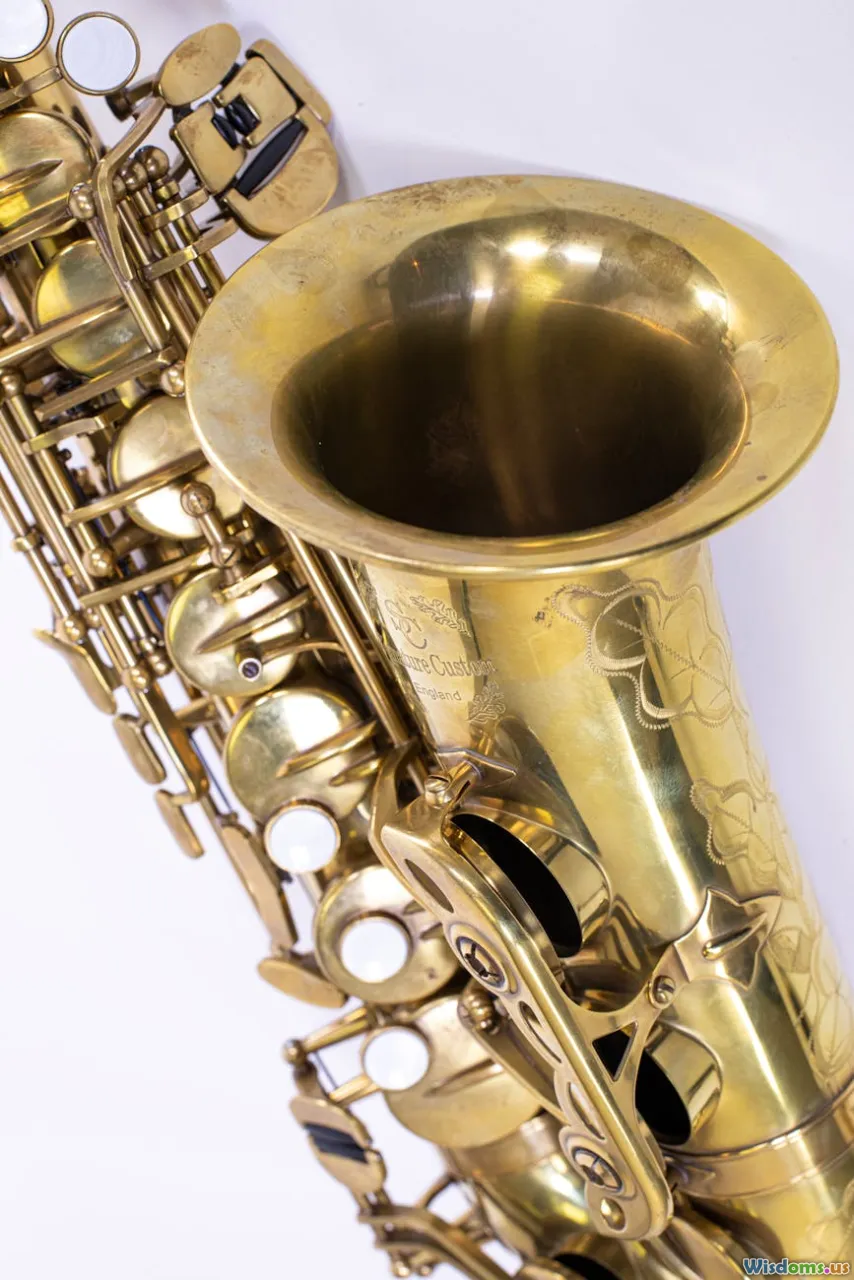
Tarnish usually starts as slight yellowing or dark spots and can extend to dull, blackened, or greenish (verdigris) patches. Particularly for musicians in humid or coastal regions, tarnish can set in quickly, especially on areas frequently touched, like valves, slides, or mouthpieces.
Via regular handling—think hours of rehearsals or concerts—skin oils, sweat, and breath introduce salts and acids that accelerate this chemical reaction. Understanding the science here helps inform not just how to remove tarnish, but, importantly, how to minimize its return.
Safe Cleaning: Tools and Products You’ll Need
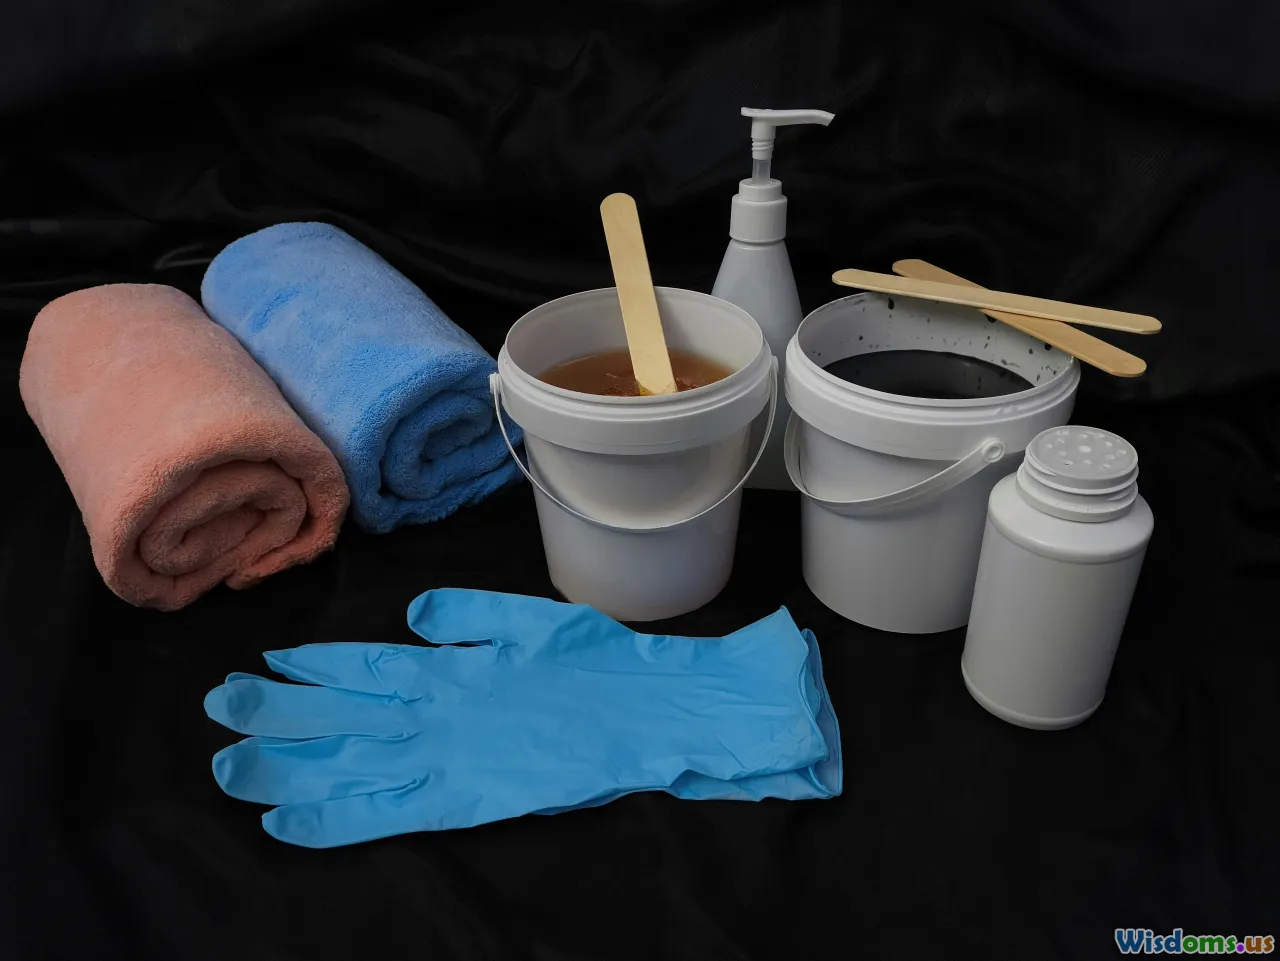
Before cleaning, assemble the right gear. Not all cleaning products or tools are created equal: some everyday household products can scratch or corrode brass finishes, particularly lacquered or silver-plated instruments. Here are recommended essentials for brass-specific maintenance:
- Lint-Free Cloths: Microfiber or polishing cloths designed for instruments.
- Valve Oil/Lubricant: High-quality synthetic oils keep mechanical parts moving and protect against corrosion.
- Instrument Cleaning Snakes: Flexible brushes designed for slides and tubing.
- Mild, Fragrance-Free Soap: For delicate cleaning.
- Soft Brushes: Valve casing and mouthpiece brushes with nylon bristles.
- Brass Polish: Opt for a product made specifically for musical instruments (avoid harsh metal polishes for fine finishes).
- Cotton Swabs: For small crevices.
- Rubber Gloves: Especially for sensitive skin or allergic reactions.
Avoid “DIY” Cleaners
Recipes involving baking soda, toothpaste, or lemon juice seem convenient, but these can scratch lacquer or leave chemicals masked in hard-to-reach areas. Professional brass polishes are formulated to clean without abrasive consequences.
Step-by-Step: Deep Cleaning Your Brass Instrument
A full cleaning session—sometimes dubbed a "bath"—should take place every couple of months, more frequently in hot or humid climates, or after particularly energetic performances.
1. Disassembly
Carefully take apart all removable parts: mouthpiece, valves, slides, bottom valve caps, and tuning slides. Place small components in a clean tray to keep from misplacing them.
2. Gentle Soak
Fill a large tub with lukewarm (never hot) water and add a few drops of mild, fragrance-free soap. Soak larger parts for no more than 15–30 minutes. Do not immerse anything with felt, cork, or leather (e.g., valve pads).
3. Cleaning the Tubes and Slides
Feed a flexible cleaning snake through the tubes and slides. Be gentle and avoid any twisting motion that might scratch or dent the inside surface. Stubborn dirt or calcium deposits at the leadpipe or tuning slides warrant extra attention with a carefully applied cleaning brush.
4. Mouthpiece Attention
Mouthpieces accumulate bacteria and mineral deposits. Using a mouthpiece brush and mild soap, scrub inside and out, rinsing thoroughly. For periodic deeper disinfecting, use an alcohol wipe safe for plated metals.
5. Rinsing and Drying
Thoroughly rinse all parts in clean, lukewarm water. Stand each component on towels or hang to dry completely. Never reassemble while wet; residual moisture can promote corrosion internally.
6. Spot Polishing
For lacquered instruments, simply use a microfiber cloth; for raw brass, apply a musician-approved brass polish in thin, circular motions, immediately buffing out residue.
7. Valve Maintenance
Wipe off each valve with a lint-free cloth and inspect for grime. Never submerge felt or pad-equipped valves. After cleaning, lubricate with quality valve oil before reassembly.
8. Reassembly & Functional Check
Carefully reassemble, ensuring slides and valves move freely and seals are tight. Flex the tuning slides and test play—any sticky resistance may signal remaining moisture or debris.
Smart Tips For Preventing Tarnish
Regular, gentle maintenance can keep tarnish at bay for months, extending both the shine and operational life of your brass instrument. Here are effective, everyday strategies:
- Wipe Down After Playing: Have a dedicated polishing cloth in your instrument case. A quick wipe over all exposed brass minimizes the build-up of oils, acids, and perspiration.
- Hand Washing: Clean your hands before rehearsals or gigs. Lotions or hand sanitizers with alcohol can transfer chemicals onto sensitive finishes—use unscented, soap-and-water hand washing instead.
- Safe Storage: Store in a hard case with a tight seal, away from direct sunlight or high humidity. Silica gel packets in the case easily absorb extra moisture—a proven hack for damp climates.
- Seasonal Checks: In changing temperatures, condensation can build up inside the instrument; open the case to air a few hours weekly, especially over summer and winter transitions.
Anti-Tarnish Products
Anti-tarnish paper or strips (such as 3M Tarnish Shield) are an additional defense—just tuck a sheet inside your case or instrument bell, out of the way of moving parts. Brands like Yamaha, Bach, and Selmer also market special lacquer-safe sprays for professional use.
Comparing Cleaning Methods: Home vs. Professional Service
While routine cleaning at home is usually sufficient, consider periodic professional servicing for your brass instrument, especially after frequent use. What’s the difference?
Home Cleaning
- Pros: Budget-friendly, familiar, and maintains regular hygiene.
- Cons: Limited reach—cannot remove all internal build-up or treat stuck slides and valves.
Professional Cleaning
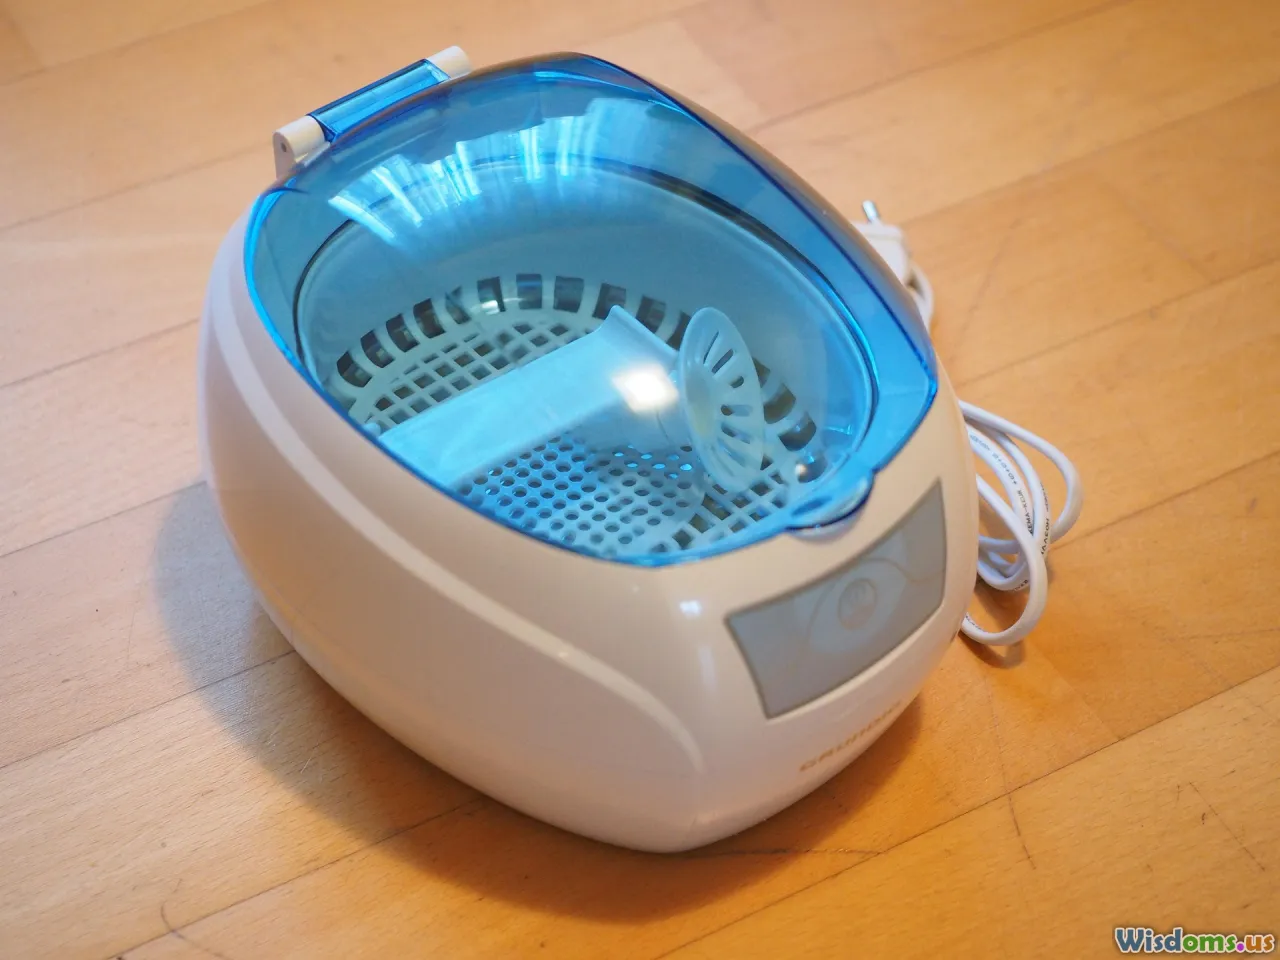
Expert technicians use specialized tools, including:
- Ultrasonic Cleaning Equipment: Uses sound waves to gently remove scaled deposits from every nook, safe for all finishes.
- Buffing Machines and Inspection Tools: Bring back mirror shine and diagnose minute cracks or corrosion invisible to the naked eye.
- Assembly and Leak Checks: Advanced checks to ensure airtight and smooth playability.
Annual professional cleaning is recommended if you perform regularly or have an expensive, vintage, or rare instrument. At-home cleaning in between visits keeps costs and repair needs manageable.
Frequently Overlooked Care: Mouthpieces, Felts, and Water Keys

The main body isn't the only part prone to grime and tarnish. Extra attention to neglected spots can make a substantial difference.
Mouthpieces
Though small, they see the most contact. Weekly scrubs with a designated mouthpiece brush and monthly disinfecting are wise. For gold or silver-plated mouthpieces, consult the manufacturer's care guide—never use abrasive agents.
Felts, Corks, and Pads
Parts like felts and corks (in valves and water keys) degrade with exposure to water and polish. Replace when frayed, shrunken, or if you notice a change in response after cleaning—most music stores carry replacement parts or service kits.
Water Keys
After each playing session, engage water keys to release internal moisture. Wipe thoroughly; moisture inside tuning slides can quickly turn into limescale or facilitate corrosion. For stuck key springs or leaking seals, a technician’s tune-up is the best course.
Polishing for Shine and Longevity

After a thorough cleaning, responsible polishing can elevate your instrument's performance and appearance.
When and How Often to Polish
Depending on usage, polishing every couple of months is ample for most players—over-polishing can erode dictatorial lacquer layers or plate. For professional, unlacquered ("raw") instruments, once a month may be warranted.
Application Tips
- Small Amounts: Always go light; over-application leads to buildup.
- Buff With Care: Use soft, circular strokes along the grain where possible.
- Wipe Residue Promptly: Any leftover polish can dull the finish or attract dust and dirt.
Avoid furniture polishes or anything containing ammonia (extremely corrosive to brass!). When in doubt, consult reputable brands such as Blue Juice, Pledge Protect, or other music shop staples.
Myth Busting: Common Mistakes to Avoid
Even well-intentioned efforts can inadvertently cause harm to your instrument. Watch out for these often-repeated errors:
- Submerging Valve Felts or Pads: Waterlogged felts degrade rapidly, compromising airtight seals.
- Excessive Force With Snakes or Brushes: Dents and scratches can marry both appearance and intonation.
- Household Cleaners: Generic or overly strong products can strip protective lacquer or tarnish silver plating.
- Using Paper Towels: These can introduce fine scratches, especially over time.
Better to spend a little extra on approved cleaning supplies and prevent costly repairs, rather than risking shortcuts!
Building a Maintenance Routine

Establishing a straightforward schedule can go a long way:
- Every Session: Light wipe-down and water key clearing.
- Weekly: Mouthpiece cleansing, check for slickness of valves/slides.
- Monthly: Thorough bath and deep interior brush cleaning for moderate use (e.g., school ensembles, hobbyists); every 2–3 weeks for daily performers.
- Annually: Full professional detailing, check-up for replacement felts, corks, and regulation adjustment.
Keeping a Log
Many musicians keep a simple maintenance journal (paper or app-based) with cleaning dates, valve oiling, minor repairs, and any changes noticed in sound or feel. This helps identify trends, such as sticky slides after humid gigs.
A Tradition of Great Care—For a Lifetime of Sound
A well-cared-for brass instrument not only looks arresting under stage lights but offers years—potentially generations—of resonant music. By adopting hygienic habits, learning to clean properly, and choosing proven products, you take pride not just in your performance, but in stewardship of tradition. Let your instrument sing—with clarity, color, and unmistakable glow.
Rate the Post
User Reviews


Popular Posts


