Step by Step DIY Home Repairs
7 min read Master essential step-by-step DIY home repairs with practical tips to save money and build confidence in your skills. (0 Reviews)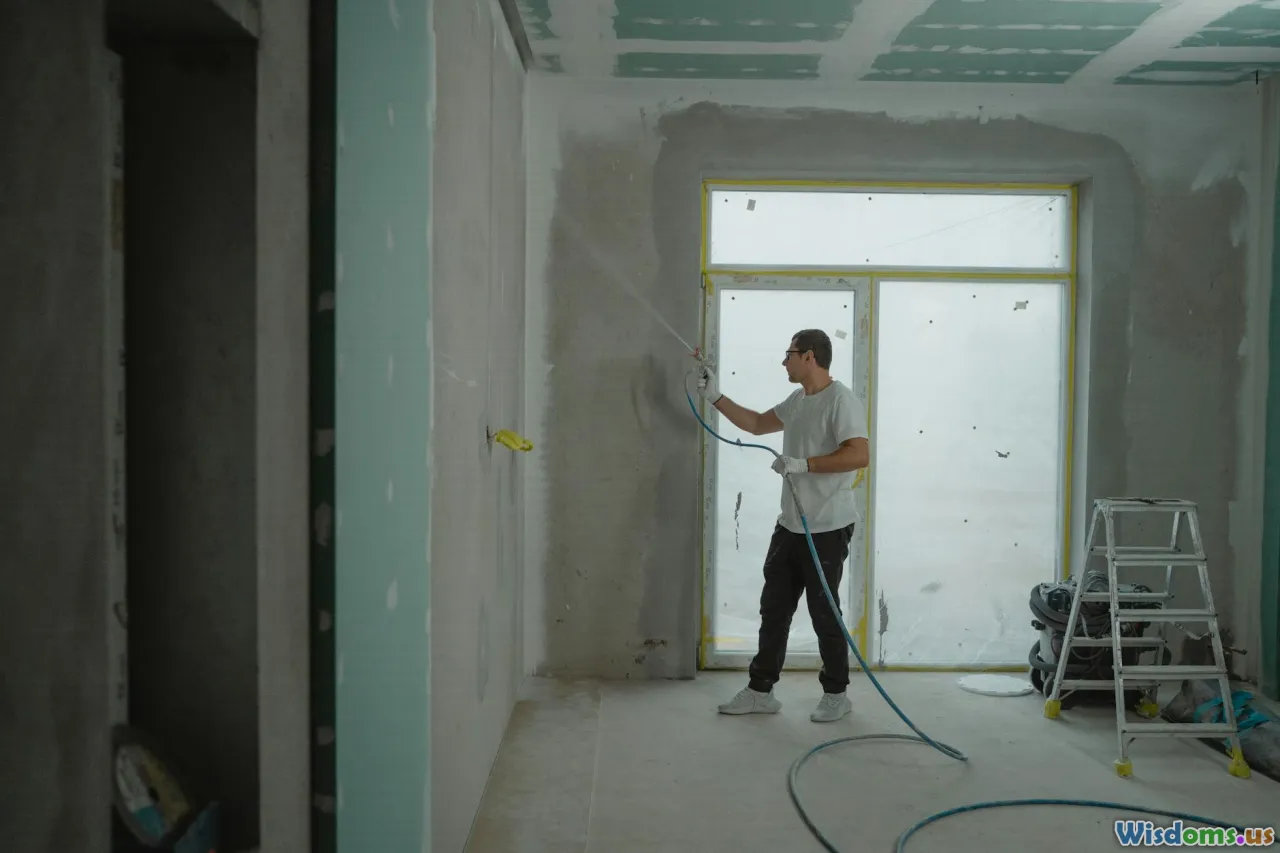
Step by Step DIY Home Repairs: Your Ultimate Guide
Introduction
Imagine the satisfaction of fixing a leaking faucet or patching a hole in your wall without calling in a professional. DIY home repairs empower homeowners to tackle a wide range of common household issues while saving money and gaining valuable skills. In this article, we will walk you through essential home repairs step by step, sharing practical tips, tools you need, and insider tricks to ensure your projects succeed on the first try.
DIY home repair isn't just about fixing problems—it's about understanding your home's mechanics, increasing its value, and building lifelong abilities. Whether you’re a beginner or brushing up on your skillset, this guide is designed to inspire and educate.
Essential Tools for DIY Home Repairs
Before diving in, setting up a toolkit with the right equipment is the foundation of success. Some must-haves include:
- Screwdrivers (both flathead and Phillips)
- Adjustable wrench
- Hammer
- Measuring tape
- Utility knife
- Pliers
- Level
- Safety gear (gloves, goggles)
Having these on hand enables you to efficiently perform a wide range of repairs.
Common DIY Home Repairs and Step-by-Step Instructions
1. Fixing a Leaky Faucet
Leaks not only waste water but can increase your utility bills over time. Here’s how you stop that drip:
Materials Needed: Replacement washers or cartridges, plumber’s grease, wrench.
Steps:
- Shut off the water supply under the sink.
- Remove the faucet handle using a screwdriver.
- Inspect the faucet cartridge or washer — this is often the culprit.
- Replace worn-out parts with exact matches from hardware stores.
- Apply plumber’s grease to moving parts.
- Reassemble the faucet and turn on the water supply.
- Test for leaks.
Real World Insight: According to the EPA, fixing leaks can save homeowners about 10% on water bills annually.
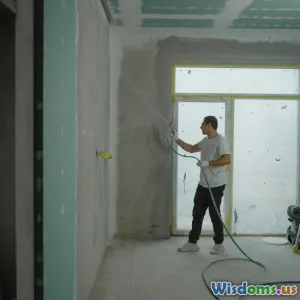
2. Patching Drywall Holes
Small holes can be repaired quickly, and larger ones can be managed with more advanced patching techniques.
Materials Needed: Drywall patch kit, putty knife, sandpaper, primer, paint.
Steps:
- Clean around the hole and remove any loose debris.
- For small holes, apply patching compound and smooth with the putty knife.
- For larger holes, apply a drywall patch according to kit instructions.
- Let dry completely (usually 24 hours).
- Sand smooth to blend with surrounding wall.
- Prime and paint to match existing color.
Pro Tip: Use mesh tape inside for large holes to reinforce the repair.
3. Unclogging Drains
A sluggish sink or bathtub drain is a common frustration and often solvable without harsh chemicals.
Tools Needed: Plunger, drain snake, bucket.
Steps:
- Remove the drain cover.
- Use a plunger vigorously to dislodge minor clogs.
- If plunger fails, insert a drain snake to break up or pull out debris.
- Run hot water to flush remaining residue.
Data: The average plumber service costs between $100-$200; avoiding that with DIY can keep your wallet intact.
4. Replacing a Broken Tile
A cracked or chipped tile can detract from your home’s appearance but is straightforward to fix:
Materials Needed: Replacement tile, grout, adhesive, putty knife.
Steps:
- Carefully remove the damaged tile using a chisel and hammer.
- Clean the area and remove old adhesive.
- Apply fresh adhesive and set the new tile in place.
- Once set, apply grout around edges and wipe excess.
- Let cure as per product instructions.
Insight: Regular maintenance can extend tile life and keep spaces looking immaculate.
5. Installing a Ceiling Light Fixture
Upgrading lighting is a rewarding and energy-saving project.
Materials Needed: New light fixture, wire stripper, voltage tester, screwdriver.
Steps:
- Turn off power at the breaker box.
- Use a voltage tester to confirm power is off.
- Remove the old fixture carefully.
- Connect new wires (match colors: black to black, white to white, green/bare to ground).
- Secure fixture and attach bulbs.
- Restore power and test.
Safety Note: Always verify power is off before electrical work to avoid hazards.
Tips to Ensure Success in DIY Repairs
Research Before You Act
Understanding the problem and the required fixes saves time and reduces costly mistakes. Websites like Family Handyman and YouTube tutorials offer visual aid and community advice.
Start Small and Build Confidence
Begin with simpler tasks, progress to more complex repairs as your skills grow.
Invest in Quality Tools
Durable tools may cost more initially but make projects easier and prevent damage.
Safety First
Wear protective gear, have a first aid kit nearby, and know your limits to avoid accidents.
Conclusion
Step by step DIY home repairs open the door to self-reliance and can significantly lower maintenance costs. It transforms ordinary homeowners into skilled caretakers of their living space, merging creativity with practicality. The skills you develop today become invaluable assets tomorrow, whether fixing a drip, patching drywall, or upgrading light fixtures.
Every project presents a chance to learn, save money, and enhance your home's comfort. Start small, embrace the journey, and watch your home—and confidence—grow one repair at a time.
Ready to roll up your sleeves? The tools and knowledge are at your fingertips. Start your next DIY home repair project confidently and watch your home transform.
References:
- Environmental Protection Agency, WaterSense
- HomeAdvisor, Average Plumber Cost
- Family Handyman Tutorials
Rate the Post
User Reviews


Popular Posts


