
How to Maintain Perfect Brows Without Professional Help
17 min read Learn how to maintain flawless brows at home with expert-approved grooming, shaping, and care tips for all skill levels. (0 Reviews)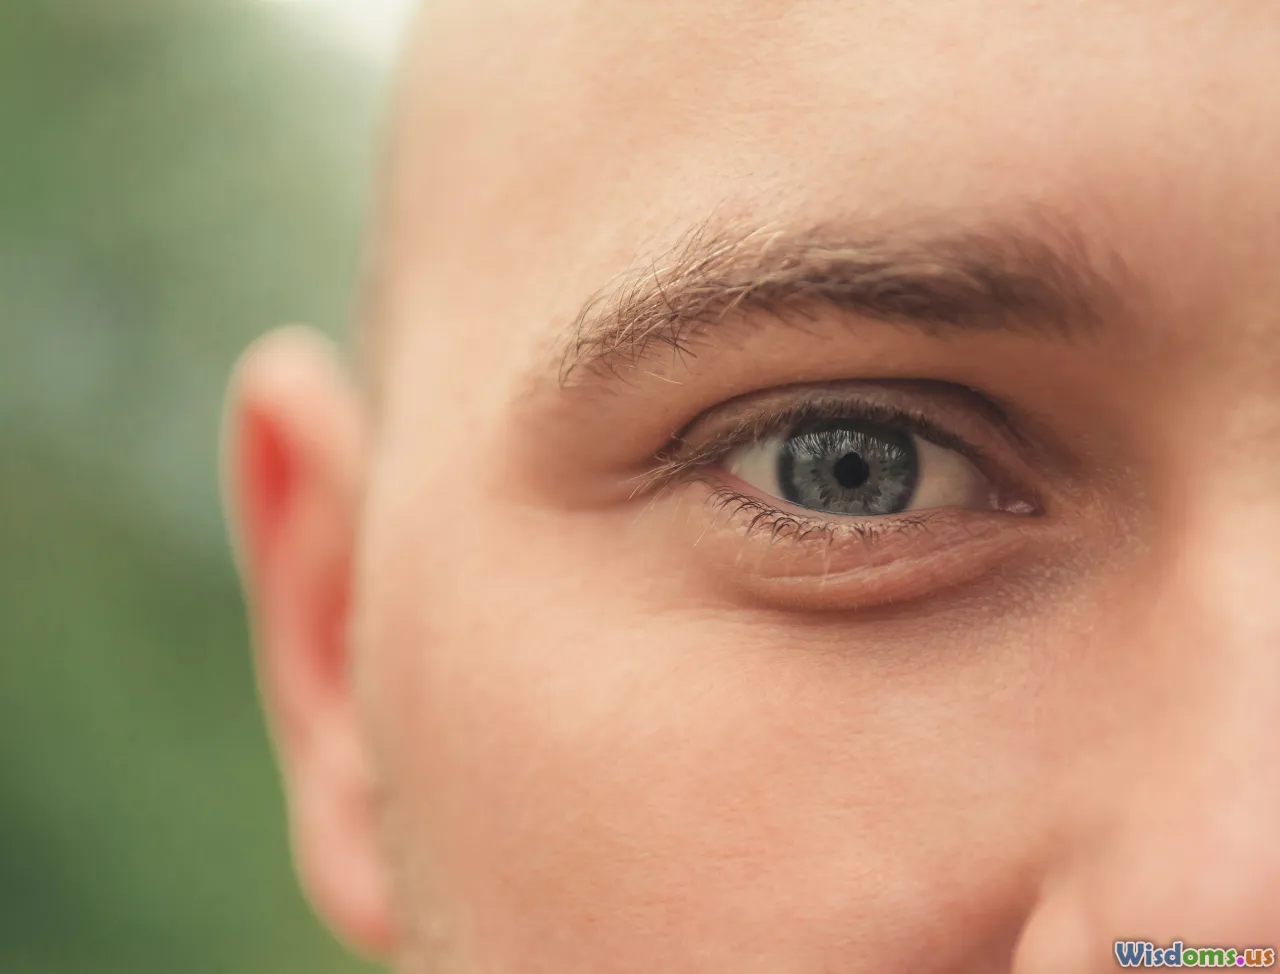
How to Maintain Perfect Brows Without Professional Help
Perfect eyebrows can transform your face, accentuate your eyes, and elevate your confidence. While salon services offer expert results, maintaining beautiful brows at home is entirely possible—and surprisingly rewarding. With a thoughtful routine, affordable tools, and some insider tips, you can achieve clean, symmetrical brows that frame your face flawlessly, all without stepping foot inside a salon.
Getting to Know Your Natural Brows
Before shaping or grooming, take time to observe your eyebrow's natural shape, density, and growth patterns. Individual brow types—whether straight, arched, thick, or sparse—call for personalized maintenance strategies.
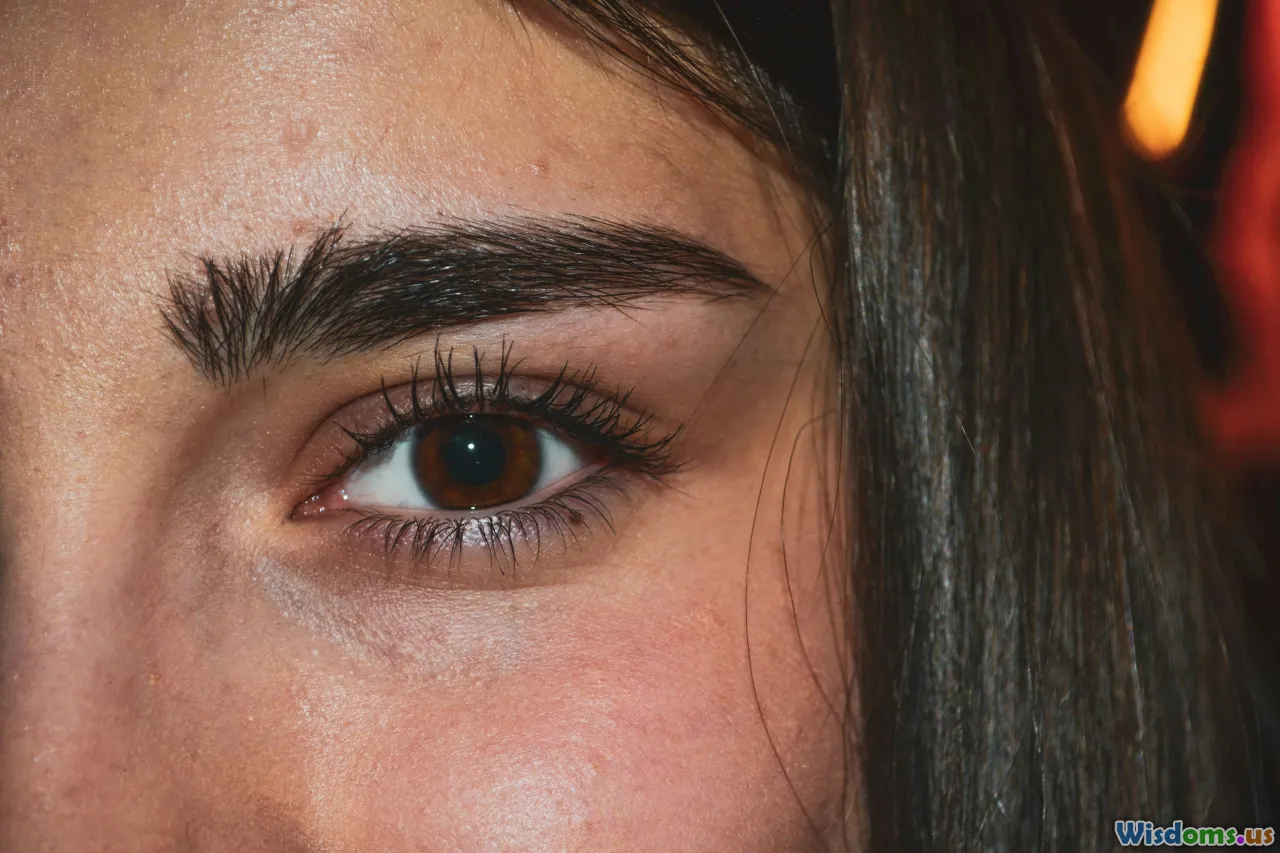
For example, those with thick, bushy brows (think Lily Collins or Brooke Shields) may need more frequent trimming and subtle shaping, focusing on defining the arch and removing strays. Sparsely grown or patchy brows, as seen on many with fine or blonde hair, often require careful filling and minimal tweezing to avoid over-thinning.
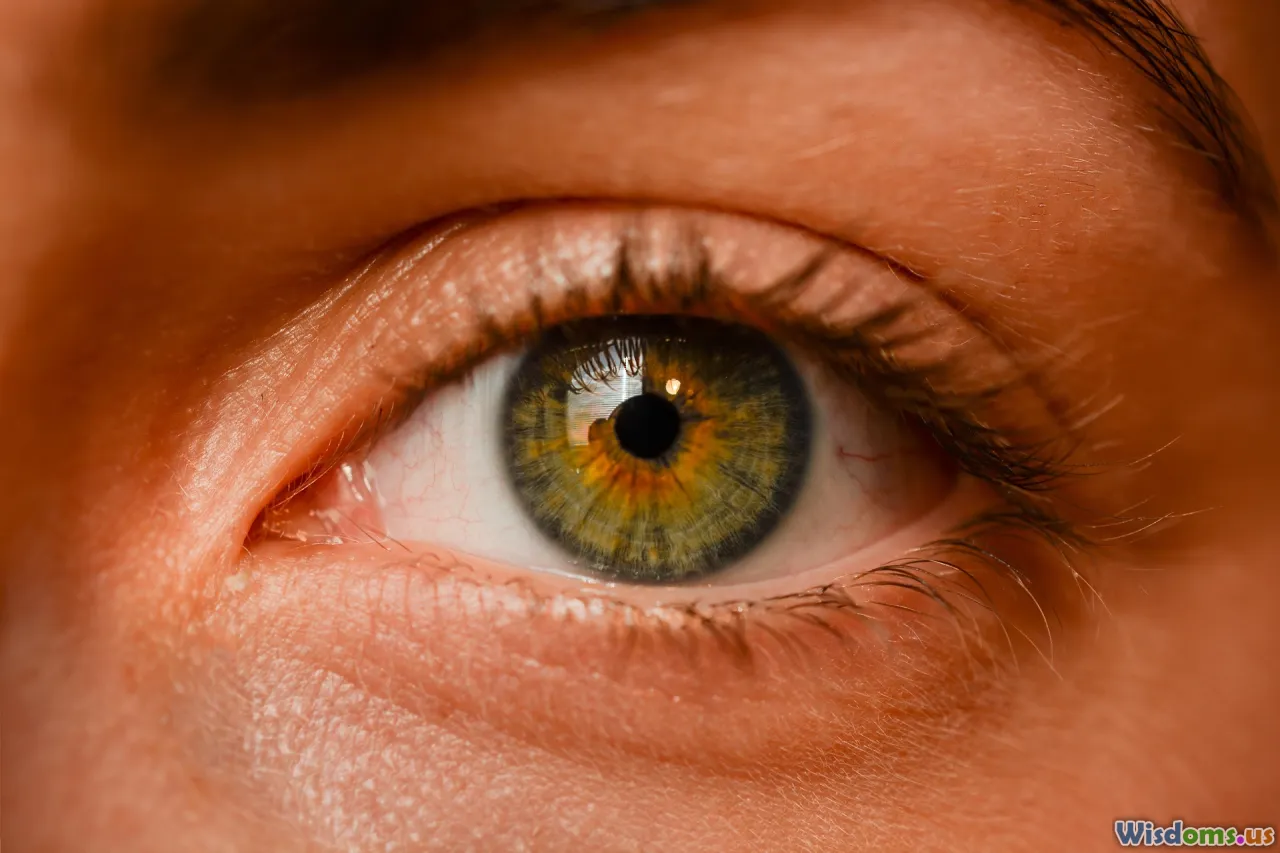
Tip: Use a magnifying mirror under natural daylight to inspect the hairs and their direction. Eyebrows typically start above the inner corner of your eye, peak at the outer edge of your iris, and end diagonally from your nostril to the outer corner. Mark guide points lightly with an eyebrow pencil: this initial mapping will help you maintain natural proportions and symmetry.
At-Home Brow Essentials: Tools You Need
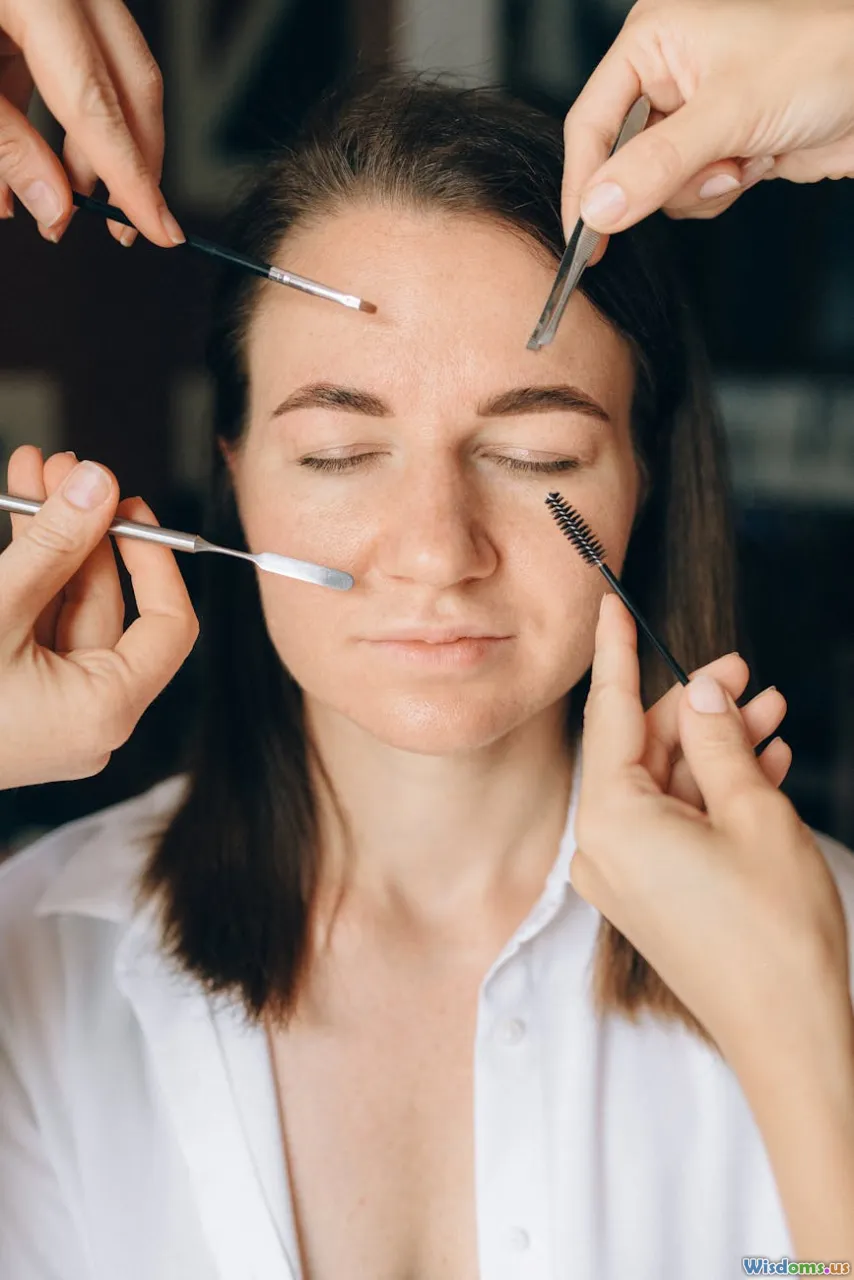
Invest once in a few quality tools and you’ll be set for regular upkeep. Here’s your must-have toolkit:
- Precision Tweezers: Choose a slant-tipped pair for gripping even the shortest hairs. Brands like Tweezerman and Anastasia Beverly Hills receive high marks from beauty lovers.
- Small Brow Scissors: Ideal for trimming long unruly hairs. The blades should be short and sharp for exact snips.
- Spoolie Brush: This spiral-shaped brush blends brow makeup and sweeps hairs into place for trimming.
- Brow Pencil or Powder: Opt for a shade that closely matches or is slightly lighter than your natural brow color.
- Highlighter Pencil or Concealer: Cleans up edges for a crisp, professional look.
Example: A $12 investment in a quality pair of tweezers can last years and prevent the frustration of missed tiny hairs or accidental pinching.
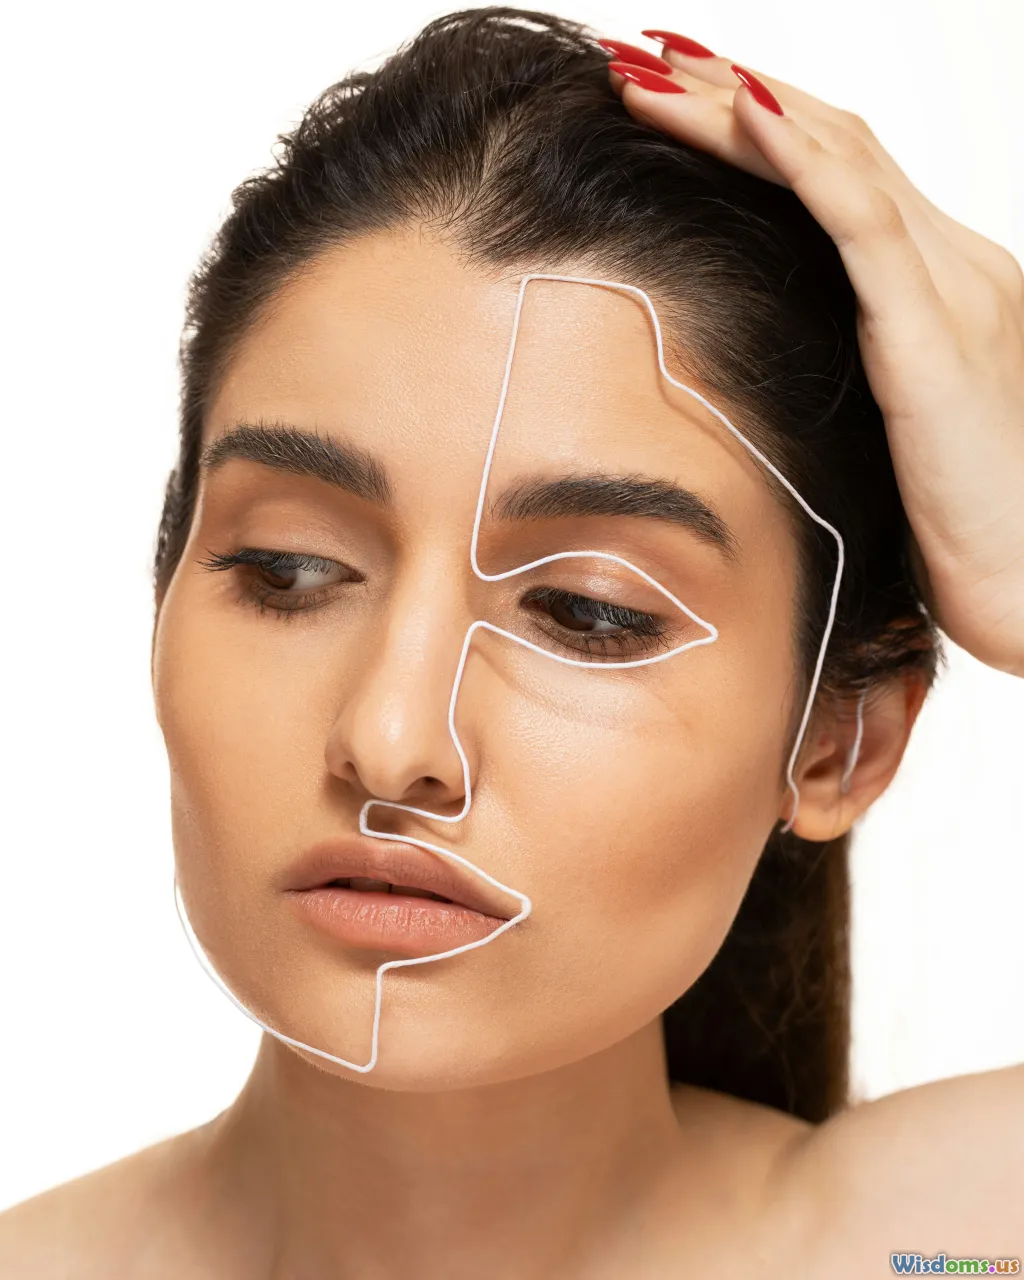
The Brow Shaping Blueprint

A huge advantage of DIY brow care is the ability to customize your arch to suit your face. Here’s how to map and shape your brows with precision:
- Mark Your Start, Arch, and End:
- Start: Hold a pencil vertically alongside your nostril; where it lands at your brow is your ideal starting point.
- Arch: Angle the pencil from your nostril, passing over the outer edge of your iris. That’s where the highest point should be.
- End: Tilt the pencil from your nostril to the outer eye corner for your ideal tail end.
- Connect and Visualize: Using an eyebrow pencil, lightly connect these marks to form your preferred shape, following the natural upper and lower boundaries of your brow.
- Identify Stray Hairs: Anything well outside these guides can be marked for removal, but always err on the side of caution—brows look best with a little fullness.
Pro Tip: The natural brows of stars like Zendaya and Cara Delevingne follow the bone structure and rarely stray into overly arched or overly trimmed territory.
Mastering Tweezing: Painless Plucking Strategies

Tweezing is the cornerstone of great DIY brows. But one false move can leave a visible gap or an awkward curve. Master these techniques for a smoother experience and better results:
- Start After a Warm Shower: This softens the follicles and reduces discomfort. Alternatively, apply a warm towel to your brows for 1–2 minutes.
- Pluck with Hair Growth: Always pull each hair out in the direction it grows to avoid breakage and minimize irritation.
- Maintain Brow Symmetry: Take a step back every few plucks to ensure you’re maintaining even density and shape on both brows.
- Don’t Over-Tweeze: If in doubt, leave it. Brows often look thinner than they should under bright bathroom lighting. Fuller brows look more youthful and are easier to correct later.
- Soothe Skin Afterwards: Dab on some aloe vera gel or a gentle facial oil to calm redness.
Example: If you accidentally over-tweeze, clean up the immediate area but avoid plucking the corresponding spot on the other brow; let growth fill in over a few weeks.
Trim with Precision, Not Hesitation
Brow scissors make all the difference in taming long or curly brows, keeping the line neat without losing density. Here’s the safest approach:
- Brush Brow Hairs Upward: Use your spoolie brush to comb the brow hairs straight up.
- Trim Extending Tips: Only snip hair tips that stick far above the brow line; avoid cutting the main body of the hairs.
- Work Slowly: Trim a little, then brush the hairs back into place to check your work. Over-trimming leads to sparse, choppy brows—less is always more here.
Case in Point: Jennifer Aniston’s grooming team famously swore by tiny, incremental trims, crediting this for her signature soft but defined look.
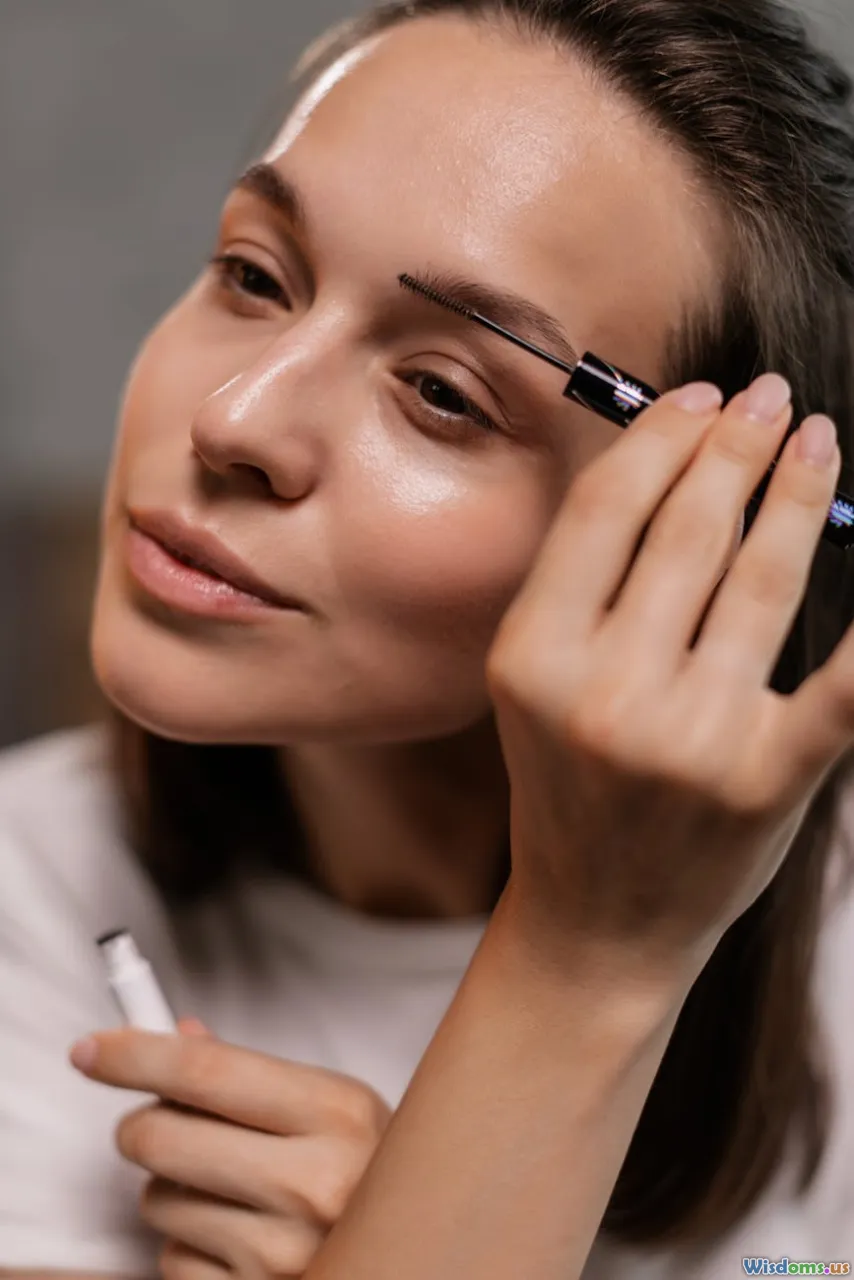
Filling and Defining: Makeup Musts for Flawless Brows

Makeup elevates everyday brows, filling in gaps or enhancing definition for the perfect frame. Achieve polished results with minimal product:
- Choose the Right Product: Pencil for precision and definition; powder for a soft, natural finish; brow pomades or gels for mega-hold and color boost.
- Apply with Short, Hair-Like Strokes: Mimic the natural hair growth, starting at the sparse spots, focusing on the lower edges and tails.
- Blend for Seamlessness: Use your spoolie brush to soften harsh lines and distribute color.
- Lock in with Brow Gel: For unruly or stubbornly straight brows, set with a clear or tinted brow gel.
Example Routine: Start with a twist-up pencil (like NYX Micro Brow) to sketch small strokes, blend with the spoolie, and set with a clear gel for all-day hold. Avoid black on all but the darkest hair as it can look too harsh—taupe, light brown, or soft brunette shades suit most.
Brow Hygiene and Growth Care
Maintaining clean brows and supporting natural hair health leads to fuller, shinier results over time. Some quick routines to adopt:
- Remove Makeup Nightly: Always dissolve brow makeup with a gentle, non-irritating micellar water or oil cleanser to keep follicles clear.
- Exfoliate the Brow Area: Weekly, very gently buff the brow bone with a mild face scrub or a clean, soft toothbrush. This removes dead skin and unclogs hair follicles for better growth.
- Invest in Growth Serums: Over-the-counter serums with peptides, biotin, or castor oil can encourage thicker, longer brows. Apply nightly, but expect gradual results over several months.
- Nourish from Within: Diet impacts hair health—a protein-rich diet including vitamins A, C, E, and biotin supports strong brow growth.
Real-Life Evidence: Models in the beauty industry regularly use castor oil as a nightly treatment for natural fullness, often skipping chemical serums entirely.
Avoiding Common DIY Mistakes

Even seasoned beauty enthusiasts are not immune to brow mishaps! Awareness is your best protection. Here are classic errors and how to sidestep them:
- Over-Plucking: Most people remove too much from the tails or bottoms, resulting in short, half-arched brows. Set a limit: only pluck visible strays below the natural brow line.
- Creating Artificial Arches: Trying to force an arched shape on straight or flat brows often looks unnatural. Work with your bone structure, not against it.
- Mis-Matching Color: Eyebrows should closely align with your hair color or be one–two shades lighter (for dark hair) or slightly darker (for light hair). An off-key color can make the look appear stark or cartoonish.
- Neglecting Symmetry: Uneven arches or inconsistent fullness are instantly noticeable. Always check your progress in daylight and from a distance—mirrors can be deceptive up close.
- Skipping Aftercare: Ignoring red, plucked skin can lead to ingrown hairs or irritation. Use soothing gels and avoid makeup for at least an hour after tweezing or trimming.
Expert Insight: In a survey by Allure, 70% of women who regretted their DIY brows did so because of over-tweezing and undertreating post-pluck redness.
Brow Maintenance for Different Face Shapes
Understanding how different brow shapes can flatter or imbalance your features is an art worth learning. Here’s a quick reference for pairing brow shape with face structure:
- Oval Face: Slight arch above the iris with a softly tapered tail; most shapes are flattering here.
- Round Face: Aim for a high, sharp arch to add length and break up roundness.
- Square Face: Soft, curved arch with defined ends balances prominent jawlines; avoid overly straight shapes.
- Long Face: Keep brows straight and slightly extended toward the temples to balance vertical length.
- Heart Face: Rounded, low arch with a subtle tail; avoid over-thinning for a natural, approachable look.
Visualization Exercise: Use virtual try-on apps (like Benefit’s Brow Try-On or YouCam Makeup) to preview shapes before you begin shaping at home, ensuring flattering results with less guesswork.
Keeping Up With Brow Trends—But Staying True to You

Eyebrow styles evolve—what’s fashionable in one season (think early 2000s ultra-thin brows) may be stigmatized in another. Recent years praise the untamed, natural look à la Emrata and Zendaya, while others favor defined arches and sculpted tails.
- Tinted Gels: Brands like Glossier’s Boy Brow make fuller, messier looks possible and low maintenance.
- Lamination at Home: While salon brow lamination can be risky to duplicate, temporary gels can give a brushed-up, glossy effect that lasts the day.
- Hybrid Styles: A mix of penciled structure and brushed-up hair texture bridges both natural and polished looks.
Trend-chasing can be fun, but the most timeless brows suit your unique features and style—adjust popular ideas to enhance and not overshadow your individuality.
Finding Your Brow Routine—and Sticking To It
Consistency yields the best at-home results. Block out 10 minutes weekly for tweezing, and 2–3 for daily brushing and touching up with pencil or gel. If you ever make a mistake, remember hair regrowth is forgiving—take a break from tweezing, fill gaps with makeup, and let nature restore fuller brows over a few weeks.
Weekly Example Schedule:
- Mondays: Map and shape with pencil, trim any overgrown hairs
- Wednesdays: Lightly tweeze strays, apply hydrating serum
- Fridays: Exfoliate brow area, brush up into style for your weekend look
You don’t need a professional stylist for perfect brows. With mindful technique, the right products, and a little patience, your best brows are entirely in your hands—ready for close-ups, selfies, and everyday confidence.
Rate the Post
User Reviews


Popular Posts


