Step by Step Guide to Recycled Pallet Herb Gardens
15 min read Learn to transform recycled pallets into vibrant, space-saving herb gardens with this beginner-friendly, step-by-step guide. (0 Reviews)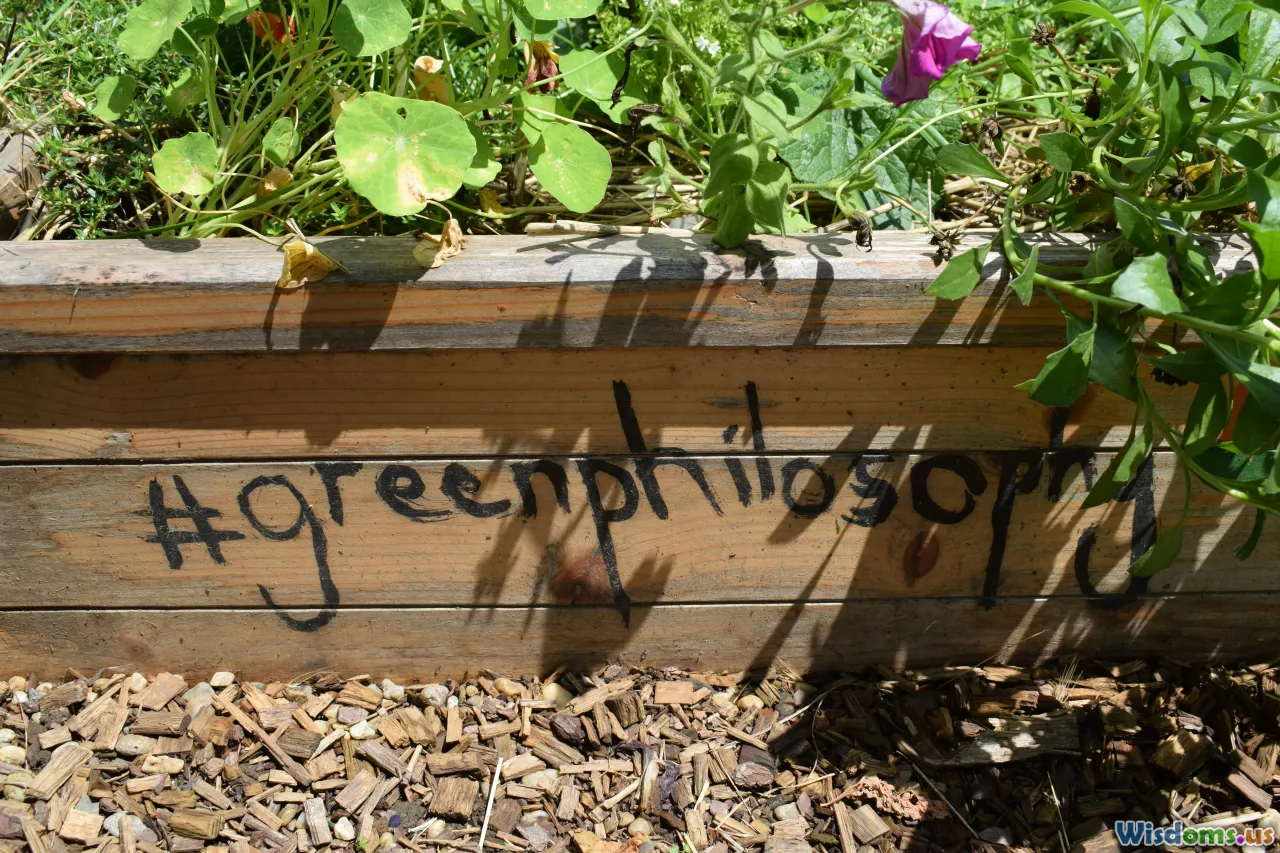
Step by Step Guide to Recycled Pallet Herb Gardens
Reimagining the humble shipping pallet as a thriving vertical herb garden is more than just a DIY trend—it's a sustainable solution for home gardeners seeking eco-friendly and budget-conscious ways to maximize compact spaces. Pallets, typically discarded after transporting goods, offer a sturdy framework for upcycling initiatives that not only reduce waste but also provide fresh, homegrown herbs at your fingertips. This guide walks you through each stage of transforming reclaimed wood pallets into show-stopping, productive herb gardens, whether you have a generous backyard or a modest balcony.
Sourcing Safe and Suitable Pallets
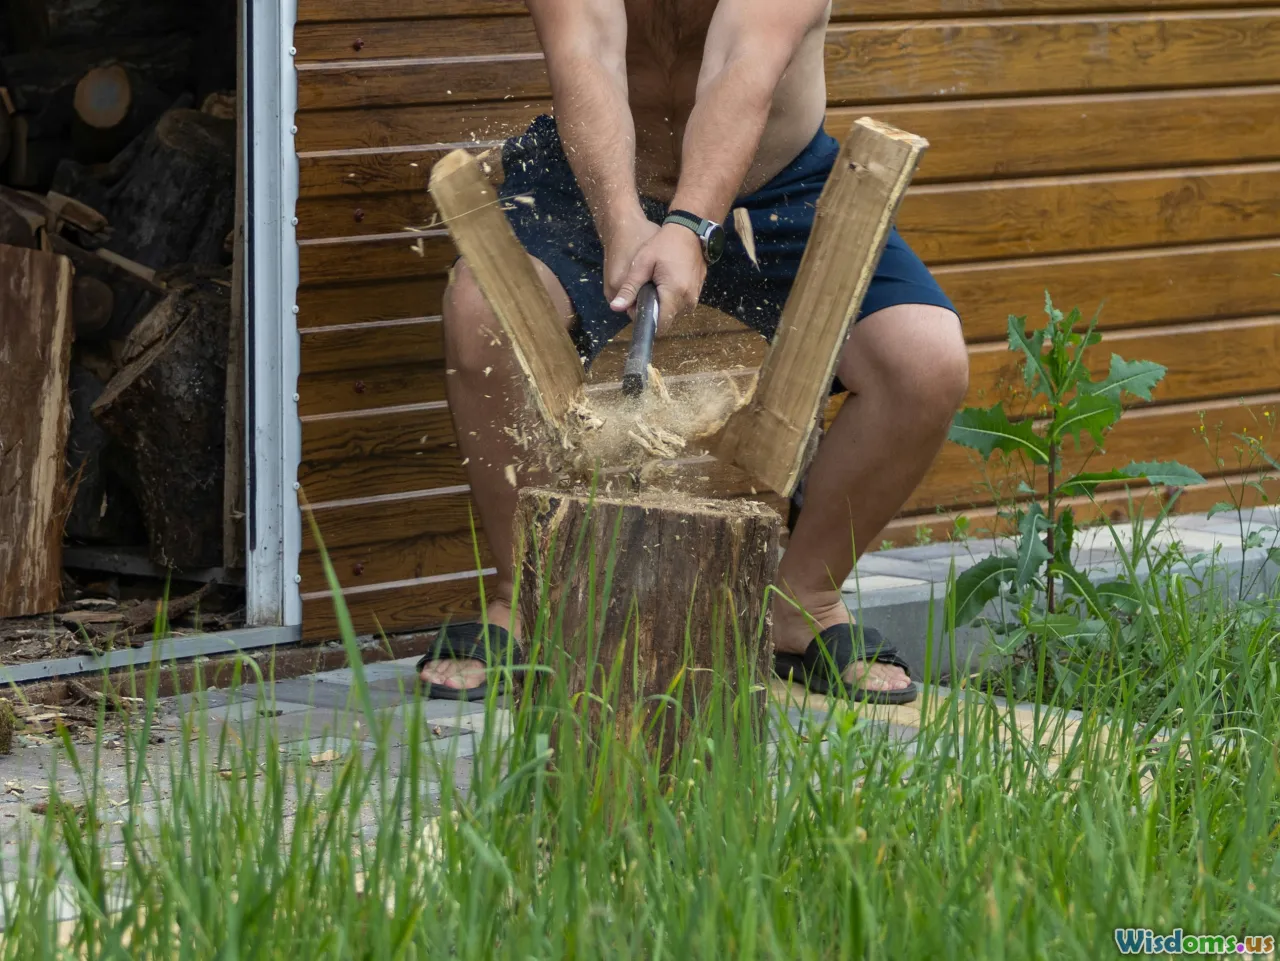
Before picking up the nearest pallet lying beside a dumpster, it's essential to confirm it's safe for garden use, as not all pallets are created equal. Shipping pallets often encounter harsh environments, and some are treated with chemicals unsuitable for gardening.
How to Identify Safe Pallets:
- Look for Stamps: Authentic pallets have a stamp indicating treatment; only use those marked HT (Heat Treated), which are sanitized with heat instead of chemicals.
- Avoid MB: Pallets labeled MB have been treated with methyl bromide, a pesticide hazardous to human health.
- Inspect for Mold and Damage: Choose pallets free of excessive staining, spills, mold, or wood rot.
- Local Sources: Grocery stores, garden centers, and hardware shops are often good places to request free—or cheap—pallets. They typically use higher-grade, non-toxic shipping standards.
Real Example: Australian online forums regularly highlight the use of heat-treated pallets in city rooftop gardens with great success—no contamination and thriving plants.
Planning Your Pallet Herb Garden

Determine where and how your recycled pallet herb garden will function best for you. Reflect on available space, lighting conditions, and the culinary needs of your household.
Tips for Effective Planning:
- Garden Orientation: North- or east-facing walls offer ample morning sun; these are ideal for most herbs, which require at least 4–6 hours of light daily.
- Placement: For apartments, balconies provide not just access, but also ensure less mess and easier maintenance; consider installing upright along railings or against the wall for wind protection.
- Size and Quantity: One pallet is perfect for beginners, accommodating a dozen herb varieties. Spacing pallets apart can create an impressive visual wall effect or gardening privacy screen.
- Garden Sketch: Use grid paper or apps like SketchUp for digital pre-visualization. Plot where each herb might be planted based on its size and spreading habit.
Selecting Herbs: Basil, thyme, oregano, mint, chives, parsley, coriander, and dill are all well-suited for pallet gardens. Plant those you use most but also experiment—lemon balm and culinary sage offer robust flavors and visual interest.
Preparing Your Pallet for Planting
Preparation sets the foundation for successful growth and attractive presentation. Start by cleaning the retrieved pallet thoroughly with water and biodegradable soap. Afterward, it's all about prepping the wood and structure.
Essential Steps:
- Sanding: Use a 120-grit sandpaper to remove splinters and rough patches, paying special attention to corners and outer slats to prevent injury when handling.
- Repair: Secure any loose boards with rustproof screws or nails; remove any protruding hardware.
- Add a Back and Bottom: Staple a sheet of landscape fabric or thick burlap across the rear and at the bottom of each planting space, forming planting "pockets." This keeps soil in while allowing for proper drainage.
- Optional Protection: Though optional, treating the wood with food-safe, plant-based oil (like linseed or tung oil) can extend its outdoor life.
Pro Tip: If you're aiming for a rustic aesthetic, leave the pallet's natural patina. For a more finished look, apply an outdoor, non-toxic paint or stain relevant to your exterior décor.
Setting Up the Pallet Structure
Mounting your pallet garden safely is critical, especially if it's vertical. Here’s how to ensure stability while keeping it accessible for daily harvesting and watering.
Freestanding or Wall-Mounted:
- Freestanding: Lean the pallet at a 60–75° angle against a sturdy structure, such as a shed, fence, or balcony railing. Bricks, pavers, or even old tires can anchor it at the base.
- Wall-Mounted: Securely fasten using galvanized L-brackets and masonry anchors for brick or concrete. For wood or drywall, locate studs and use lag screws for best grip.
Accessibility: Arrange the garden so you can reach all slots comfortably; space between pallets for air circulation is key to healthy plant growth.
Example: Urban gardeners in Berlin frequently mount pallets as movable panels—hinged to allow access to the exterior wall for maintenance, while doubling as wind breaks or privacy screens.
Planting Your Herbs: Soil & Spacing Essentials
Soil choice is a key determinant of herb health and yield. Pallet pockets are shallow, so they need a light, fast-draining potting mix with ample nutrients.
Ideal Soil Mix:
- A combination of 60% high-quality potting soil, 20% well-aged compost, and 20% coarse sand or perlite provides structure and oxygen for the roots.
- If planting Mediterranean herbs such as rosemary or thyme, add extra sand for superior drainage.
Filling the Pallet:
- Start at the bottom-most pocket and work upward, gently filling and settling the soil as you go.
- Water lightly to pre-moisten; roots establish more quickly in damp medium.
Spacing Tips:
- Herbs like basil or coriander can be planted closer (about 6 inches apart) since they’re trimmed often.
- Spreading herbs (mint, oregano) may need their own pocket to prevent overtaking others.
- Tall growers like dill should be reserved for top slots to avoid shading lower herbs.
Sowing, Transplanting, and Arranging Herbs
You can start your pallet garden from seed or young nursery plants—but keep the weather in mind; late spring is optimal in temperate zones.
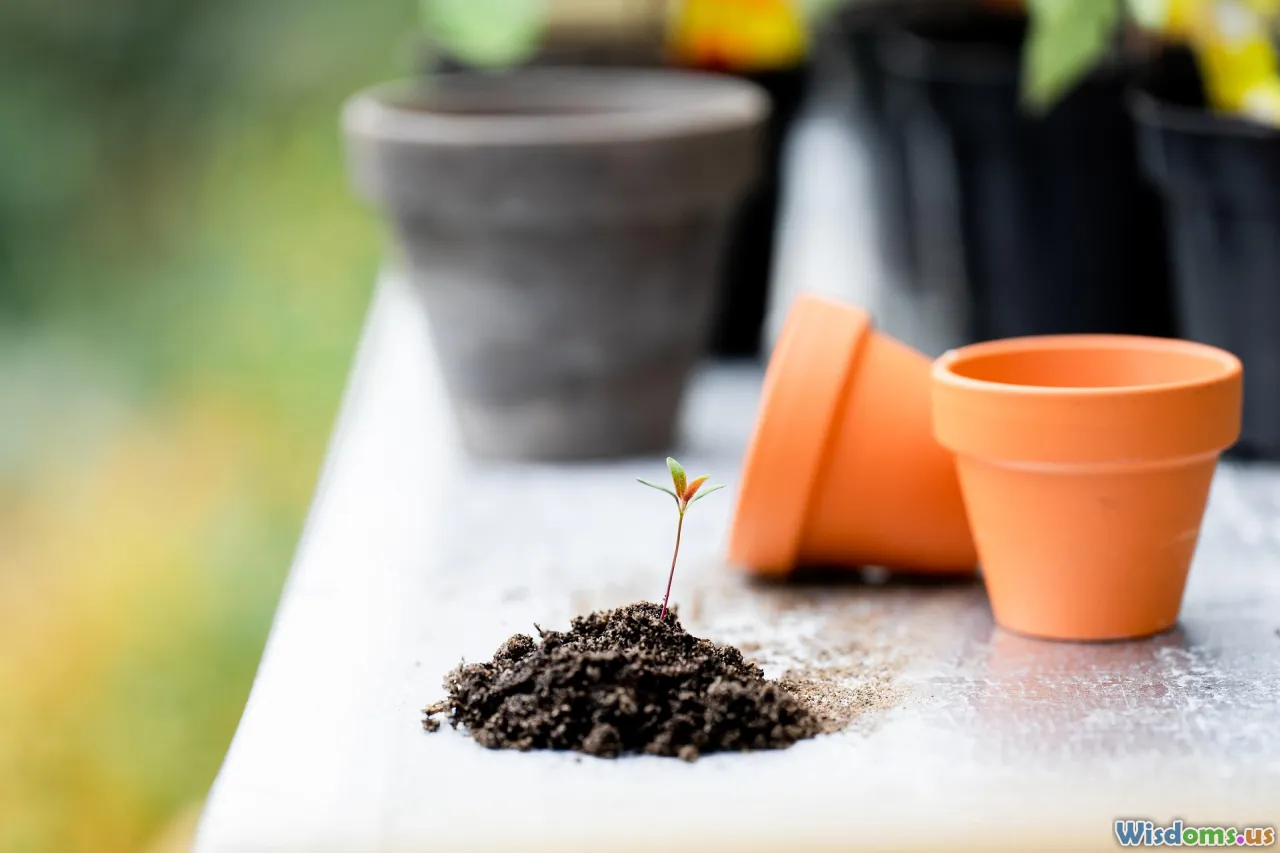
Seeds vs. Seedlings:
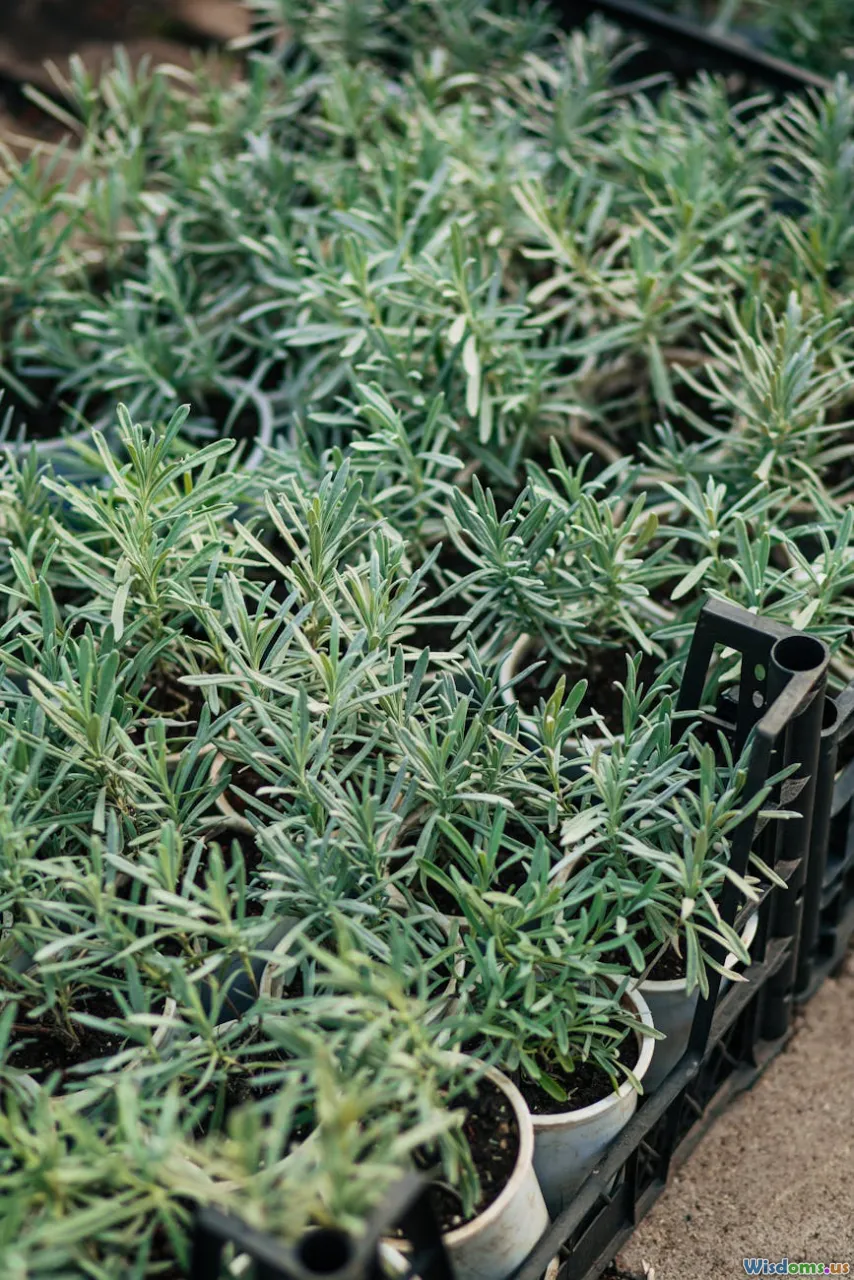
- Seeds: Cost-effective and with wider varieties available, but may take weeks to establish. Plant in the topmost pockets or directly in the wall if well secured.
- Seedlings: Quicker results and easier success for beginners. Gently tease apart tangled roots before planting.
Arranging for Beauty and Function:
- Place cascading varieties such as thyme or oregano on lower pockets for a lush, draping effect.
- Upright herbs like parsley or sage look best at eye level for visual appeal and easy clipping.
- Mix leaf shapes and shades for aesthetic interest; contrasting feathery dill with flat-leaf parsley for example.
Real Example: London chef-gardeners often use a mix of edible flowers (nasturtiums, calendula) in the top pockets for a burst of color and pollinator attraction.
Watering, Feeding, and Maintenance Strategies

Pallet gardens, with their limited soil and exposure, dry out more rapidly than raised beds. Consistent routines prevent stress and maximize yields.
Watering Developments:
- Check the soil daily, especially in summer. Pallet herbs need water when the top inch of soil is dry.
- Use a small watering can or a drip irrigation system attached to the top—gravity efficiently distributes moisture downward.
- Avoid wetting the leaves unnecessarily to reduce fungal diseases.
Fertilizing Tips:
- Herbs thrive with modest nutrition—apply a dilute organic liquid feed every 2–4 weeks for robust foliage.
- Over-fertilizing can decrease essential oil concentration, reducing flavor.
Maintenance Tasks:
- Pinch back leggy growth to encourage bushiness.
- Regularly harvest stems to promote new growth.
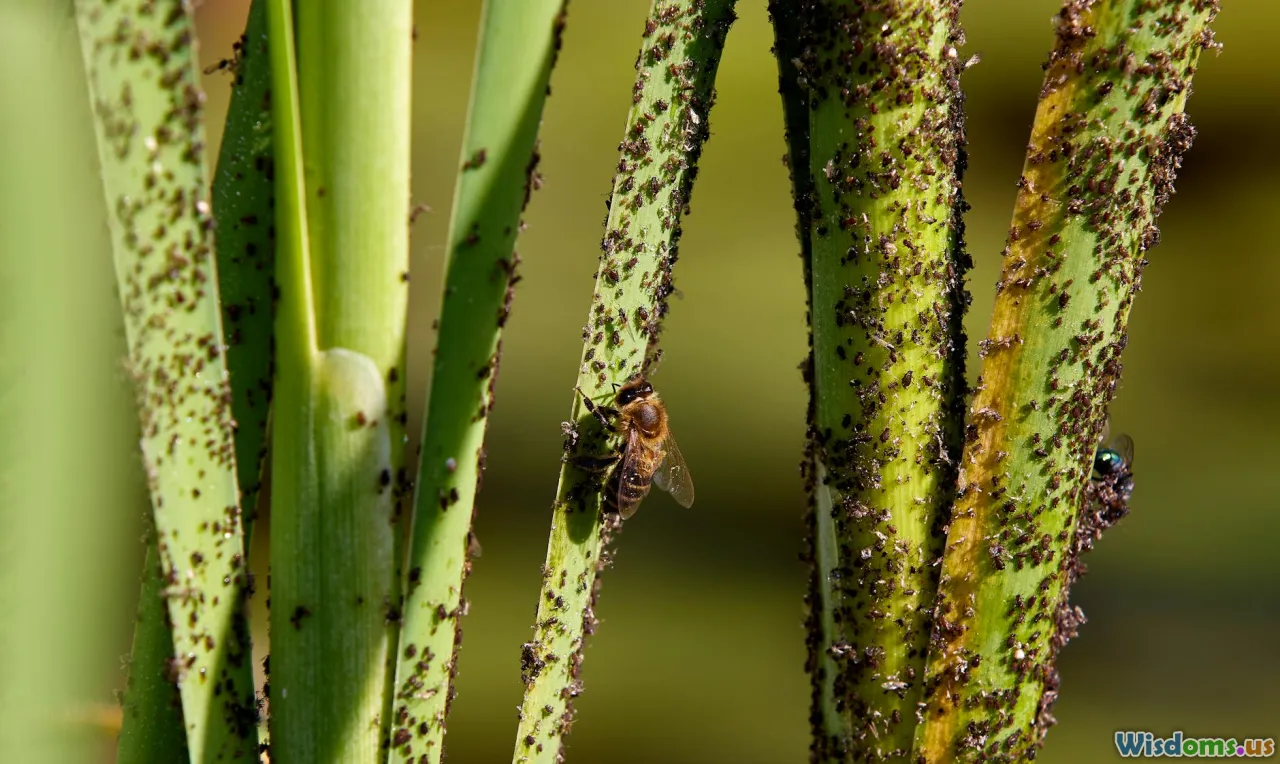
- Watch for pests: aphids, spider mites, or whiteflies may appear. Use insecticidal soap for outbreaks.
- Refresh or mulch the top layer of soil each season to prevent compaction and replenish nutrients.
Troubleshooting: Common Issues and Smart Solutions
Every garden faces hurdles—distinctive signs help diagnose and address setbacks early, sustaining the vitality of your pallet garden.
Problem: Wilting or Yellowing Leaves
- Diagnosis: Over- or under-watering is usually the culprit in confined spaces. Feel soil; if soggy, improve drainage by amending with more sand or adding outer drainage holes.
Problem: Stunted Growth or Pale Color
- Diagnosis: May reflect nutrient deficiency, compaction, or poor herb variety match. Amend soil yearly and rotate plant types between pockets.
Problem: Pest Infestation
- Use neem oil spray, introduce ladybugs for aphid control, and always isolate new nursery plants before integrating.
Problem: Fungal Spots
- Improve ventilation by trimming overcrowded herbs, water the base of plants rather than leaves, and clean up fallen debris promptly.
Example Solution: A Toronto gardener installed a strip of copper mesh at the bottom to deter snails from climbing into her herbs—simple, non-toxic prevention.
Enhancing Your Pallet Herb Garden’s Beauty and Productivity
While function is primary, there’s no reason your recycled pallet shouldn’t also delight the eye and feed the soul.
Decorative Touches:
- Paint slats with chalkboard paint so you can write herb names or recipe notes.
- Add hanging mason jar tea lights to illuminate the garden at dusk.
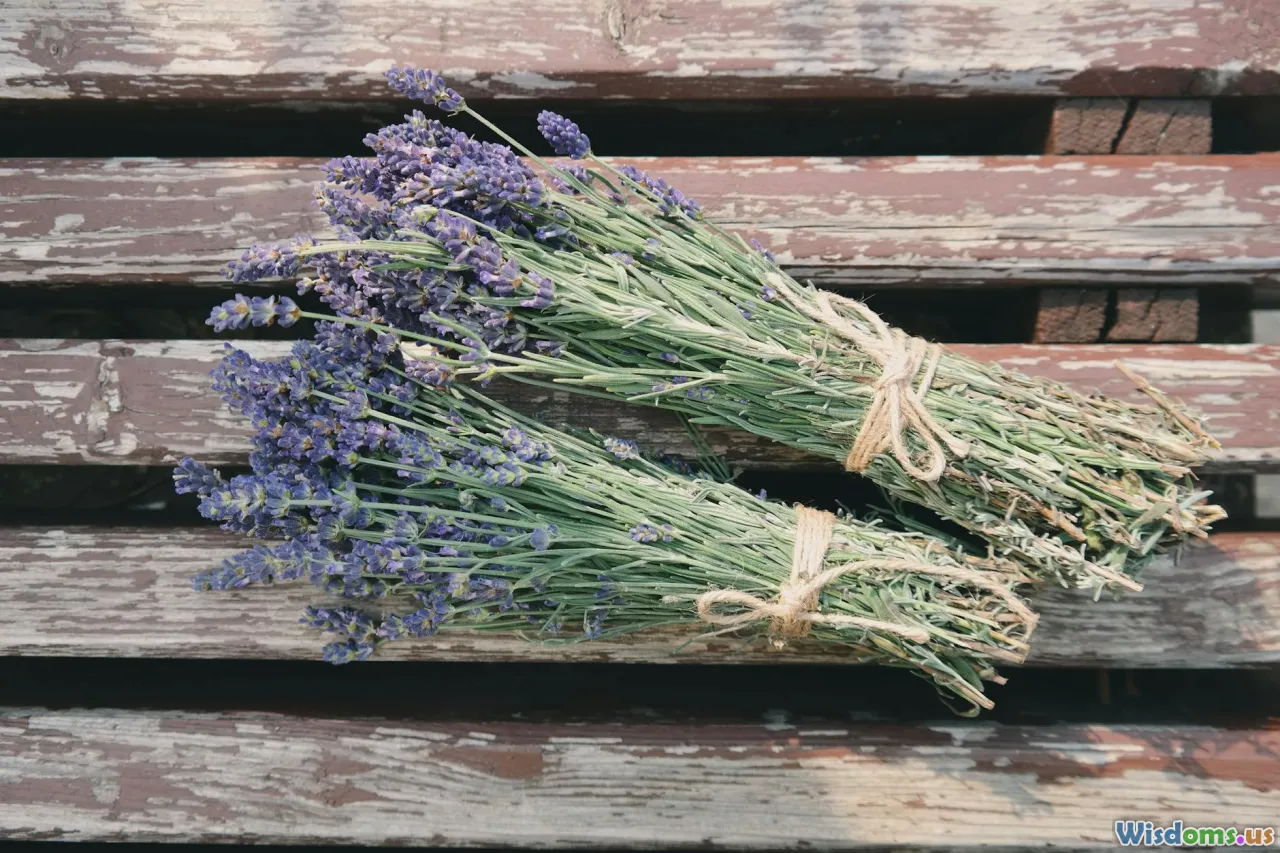
- Mix in window boxes on alternate levels for flowering herbs (borage, lavender) or strawberries.
- Install small hooks for garden scissors and twine rolls—tool organization within fingertip range.
Creative Examples:
- In Tokyo, community green spaces showcase pallet gardens with mosaic tiles as a backdrop, blending urban art with greenery.
Yield Maximization:
- Practice companion planting (chives repel aphids from basil, for example).
- Rotate out tired herbs each season to maintain productive vigor and resilience in your living wall.
- Save seeds from annual herbs at season’s end for next year’s planting—both economically and for terroir adaptation.
Palettes transformed into vertical herb gardens are more than weekend projects. They are living statements of creativity, sustainability, and culinary delight. With each pocket you fill and leaf you pluck, you’ll be reminded how small urban spaces can brim with life, flavor, and ingenuity—one reclaimed pallet at a time.
Rate the Post
User Reviews


Popular Posts


