
What Not To Do When Painting Holiday Wooden Signs
31 min read Common mistakes to avoid when painting holiday wooden signs, plus pro prep, paint, sealing, and design tips for crisp lines, durable finishes, and weatherproof seasonal decor. (0 Reviews)
Holiday wooden signs have a way of making a porch feel welcoming, a mantel feel festive, and a gift feel handmade and heartfelt. But if you have ever watched your white letters turn yellow, your crisp stencil bleed into fuzzy edges, or your perfectly painted sled sign peel after one cold night outdoors, you know that small missteps can quietly ruin big efforts. The good news: most sign disasters are entirely preventable. Below is a practical, no-nonsense guide to what not to do when painting holiday wooden signs—and, crucially, what to do instead.
Don’t start with the wrong wood
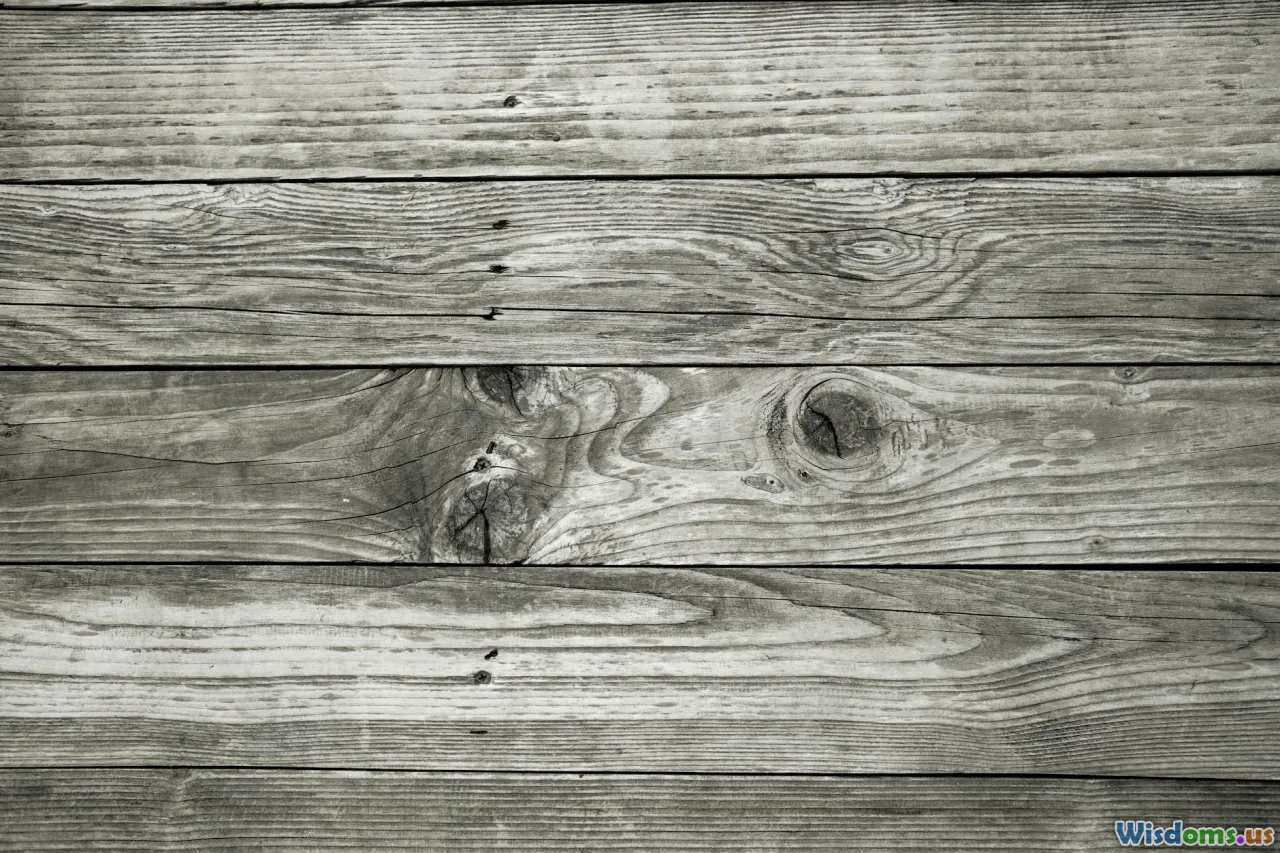
Choosing wood is not just about price or the first decent board you find at the home center. Certain woods fight paint; others invite it.
What not to do:
- Don’t grab fresh pressure-treated lumber for a sign. It is often saturated with preservatives and moisture; paint will not adhere correctly, and you will get peeling and blistering.
- Don’t count on rough pallet boards unless you know their history. Oils, stains, and contamination are common; hidden nails can tear up your tools.
- Don’t ignore the edges of plywood. Raw edges are like straws; they will drink up moisture and cause delamination and ugly, uneven paint.
Do this instead:
- Choose stable, paint-friendly species: select pine, poplar, birch plywood, or MDF for indoor signs; cedar and exterior-grade plywood for outdoor use. Cedar and redwood are great outdoors but tend to bleed tannins—plan your primer accordingly.
- Check moisture content. Use a simple pin moisture meter. For painting, aim for under 12% moisture. Fresh pressure-treated wood may need months to dry; kiln-dried lumber is safer.
- Seal plywood edges. Before painting, brush on a thin epoxy, wood hardener, or multiple coats of thinned wood glue to seal edges. Sand smooth, then prime.
Example: A porch “Joy” sign made from 1 x 10 pine stood up to four winters because the maker sealed the back and edges and used an exterior-grade primer and paint. A similar sign made from green, pressure-treated wood peeled within weeks because the board was wet and oily.
Don’t skip surface prep
Preparation is where crisp finishes are born.
What not to do:
- Don’t paint over mill glaze or glossy factory finishes. The sheen resists adhesion, causing your topcoat to scratch off easily.
- Don’t jump straight from saw cuts to paint. Saw marks telegraph through paint; dust clogs pores and causes fisheyes.
Do this instead:
- Sand in a sensible progression: start at 80 or 100 grit to flatten, move to 120 to remove scratches, and finish at 150–180 for a satin-ready surface. For ultra-smooth lettering fields, you can go to 220 on face grain, but stop at 180 on edges to preserve tooth for adhesion.
- Raise the grain: lightly dampen the surface with a clean cloth, let it dry, then do a final pass with 180–220 grit. This prevents roughness when water-based products hit the wood.
- Clean thoroughly: blow off dust, vacuum, then wipe with a slightly damp, lint-free cloth or a water-dampened microfiber. Avoid silicone-laden dusting sprays; they cause craters in paint.
- For glossy or previously finished wood, use a deglosser or scuff sand with 220 grit, then clean with a TSP substitute.
Don’t ignore tannins, knots, and bleed-through

Wood isn’t uniform. On pine, resinous knots can weep; on cedar, tannins can leach; on oak, deep pores can telegraph tannin stains into light colors.
What not to do:
- Don’t assume two coats of white acrylic will hide knots. They will reappear as yellow or brown halos, sometimes weeks later.
- Don’t try to spot-correct bleed with more white paint after it appears. The stain will push through again.
Do this instead:
- Use a stain-blocking primer where needed. Shellac-based primers are the gold standard for knots and tannins. For water-based projects, a dedicated waterborne stain blocker designed for tannin bleed can work, but shellac remains the most reliable for troublesome woods.
- Seal knots individually with a knot sealer or a couple of spot coats of shellac primer before priming the whole board.
- Test: brush a small patch of your light topcoat over raw wood and let it sit a day. Any brownish tone showing through signals the need for stain-blocking primer.
Don’t paint in the wrong weather
Weather makes or breaks exterior signs, especially during the holiday season.
What not to do:
- Don’t paint outdoors when temperatures are below 50 F or above 90 F, or when humidity is very high. Don’t paint right before a frost or rain. Don’t paint in direct, hot sun or in strong wind.
Why this matters:
- Cold slows curing; paint skins over but stays soft underneath, leading to prints and scuffs.
- High humidity traps moisture, causing blushing or poor adhesion.
- Hot sun and wind flash-dry the surface, causing lap marks and poor leveling.
Do this instead:
- Aim for 50–85 F with relative humidity below about 65%. If painting outside, keep the surface temperature at least 5 F above the dew point.
- Move to a garage or sheltered spot. Set up a simple dust tent with drop cloths. Use fans for air movement, not directly at wet paint.
- Give coats time. Acrylics are usually recoat-ready in 1–2 hours; oil enamels may need 6–24 hours. Always read your product label.
Example: An outdoor Noel sign painted at 40 F looked fine in the garage, then cracked and dulled outside because the top film formed before solvents could escape.
Don’t use the wrong paint for the job
Not all paints perform the same on wood, especially outdoors.
What not to do:
- Don’t expect craft acrylics alone to withstand a winter porch. Many are formulated for indoor decorative use.
- Don’t choose chalk paint for a smooth, crisp stencil unless you plan to seal and sand for a closed surface; chalk finishes are porous and grab paint under stencils.
- Don’t assume a metallic or glitter paint will cover or hold up outdoors without special handling.
Do this instead:
- For outdoor signs: use exterior-grade acrylic latex or oil-based enamel. Exterior paints include mildewcides, UV stabilizers, and flexible binders to handle temperature swings.
- For indoor signs: high-quality acrylics are fine. If you need ultra-durable lettering or a glassy finish, a waterborne enamel or hybrid alkyd can be ideal.
- For metallics and glitter: apply a solid color base coat first, then use metallics as accent layers; seal glitter with a compatible clear coat.
Tip: If in doubt, look for labels that explicitly state exterior use, UV stability, and adhesion to wood.
Don’t neglect primer (or use the wrong one)
Primer is more than a base color; it ties the coating system to the wood.
What not to do:
- Don’t skip primer on bare wood, especially with white or light colors. Wood drinks the first coat and causes patchy coverage and uneven sheen.
- Don’t use an all-purpose primer that does not match your topcoat chemistry and needs. Not every primer blocks stains or bonds to glossy surfaces.
Do this instead:
- Use a primer tailored to the task: bonding primer for previously finished wood; stain-blocking primer for cedar, redwood, or knotty pine; exterior primer for outdoor signs.
- Feather sand the primed surface with 220–320 grit to knock down dust nibs before topcoating.
- Spot prime repaired areas after filling holes with wood filler; then prime the entire surface to ensure uniform sheen.
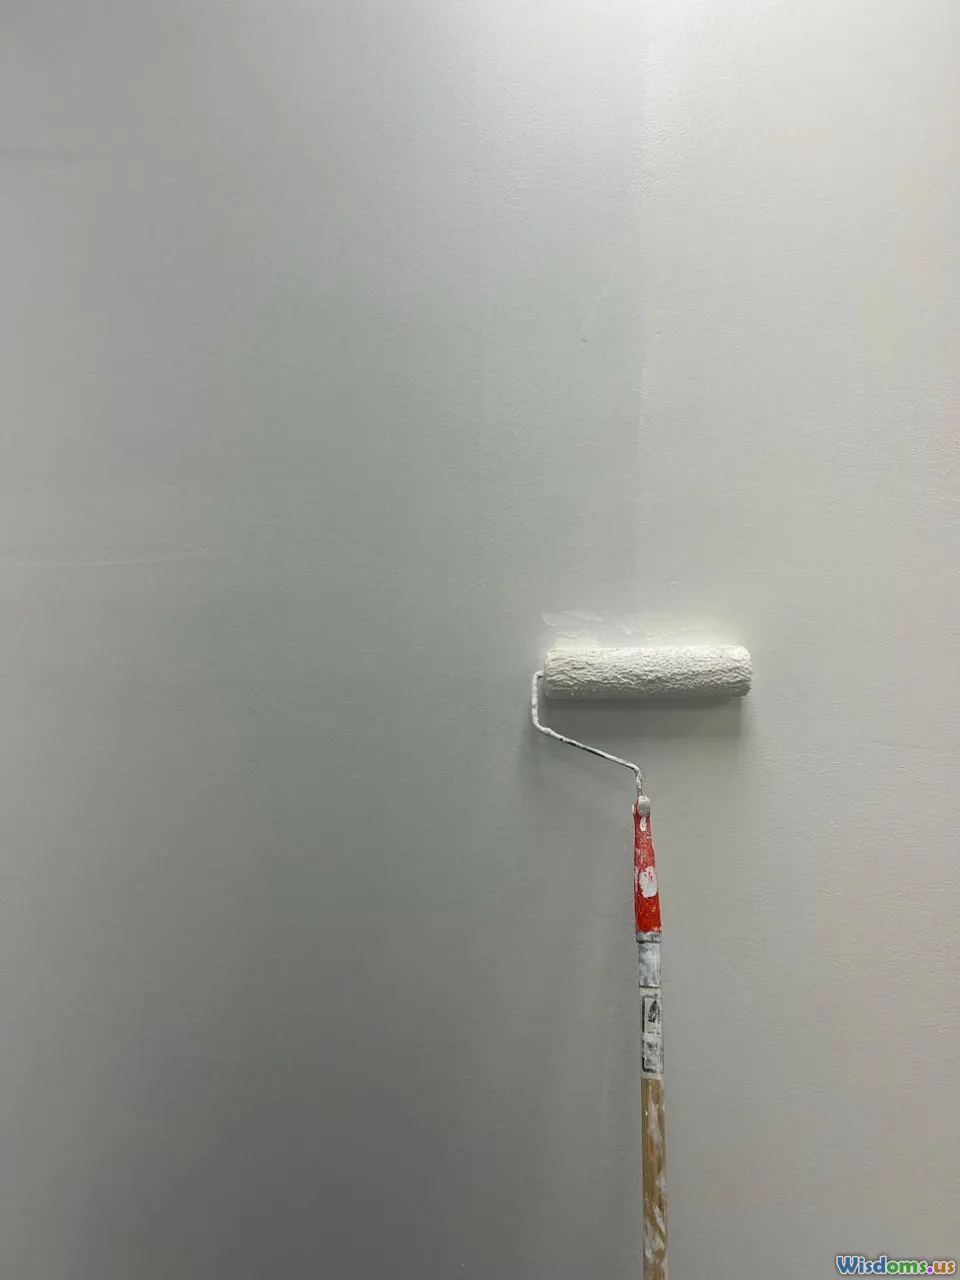
Don’t overload your brush or roller
Application technique determines whether your lettering looks refined or amateur.
What not to do:
- Don’t dunk your brush to the ferrule. Excess paint leads to drips, runs, and brush marks.
- Don’t shake paint vigorously; it introduces bubbles that will track across smooth areas and stencils.
- Don’t use a cheap shedding brush or a saturated foam roller on detailed lettering; fuzz and bubbles ruin edges.
Do this instead:
- Stir, don’t shake. If paint has sat, strain it through a paint strainer or even a clean nylon stocking to remove clumps.
- Use quality tools: a 1.5–2 inch angled synthetic brush for cutting lettering and a high-density foam roller for smooth fields. Load the brush halfway, then tap and offload slightly on the tray.
- Apply thin coats. Two or three thin coats build a tougher finish than one heavy coat and minimize runs.
- Maintain a wet edge: work from one side across, overlapping slightly. If the surface starts to tack, stop and let it dry before touching up.
Don’t mishandle stencils, masks, or lettering
Crisp text is the calling card of a good sign.
What not to do:
- Don’t stick a paper stencil with masking tape and brush heavy paint across the cutouts; it will bleed under.
- Don’t flood paint at stencil edges or peel the stencil while paint is still gooey and stringy.
- Don’t center text by eye alone on a long board; misalignment shows instantly on simple designs like NOEL or JOY.
Do this instead:
- Use a vinyl mask (such as stencil film) or a reusable mylar stencil with a light coat of repositionable adhesive. Burnish the edges firmly with a squeegee.
- Offload the brush or foam pouncer until nearly dry, then build color with light, repeated passes. With rollers, use minimal pressure.
- For the bleed-prevention trick on textured wood: after placing the stencil, do a light pass of the background color first to seal the edges, then apply the lettering color.
- Peel smart: remove the stencil when paint is set but not fully cured—usually 10–30 minutes with acrylics. Pull back at a low angle.
- Align with guides: lightly mark a centerline and baseline on tape, not the wood. Measure letter spacing; trust a ruler more than your eye.
Don’t forget about color contrast and readability

A beautifully painted sign is wasted if you cannot read it from the intended distance.
What not to do:
- Don’t use low-contrast combos outdoors (like red on green) for primary text; colorblind viewers—roughly 1 in 12 men and 1 in 200 women—may struggle, and at dusk the message vanishes.
- Don’t choose ultra-thin script fonts for rough wood; the texture swallows the stroke.
Do this instead:
- Aim for high light-dark contrast for main text: white on navy, black on white, gold on deep green, or cream on burgundy. Use accent colors for ornaments.
- Think in distances. Rough rule of thumb: 1 inch of letter height is readable from about 10 feet. A 30-inch porch sign seen from the sidewalk needs 3–4 inch tall main letters.
- Prefer fonts with generous x-height and medium strokes for rustic boards. Save delicate scripts for smooth plaques.
- Consider finish sheen: matte or satin reduces glare and improves legibility under porch lights; high gloss can cause hot spots.
Don’t tape like a rookie
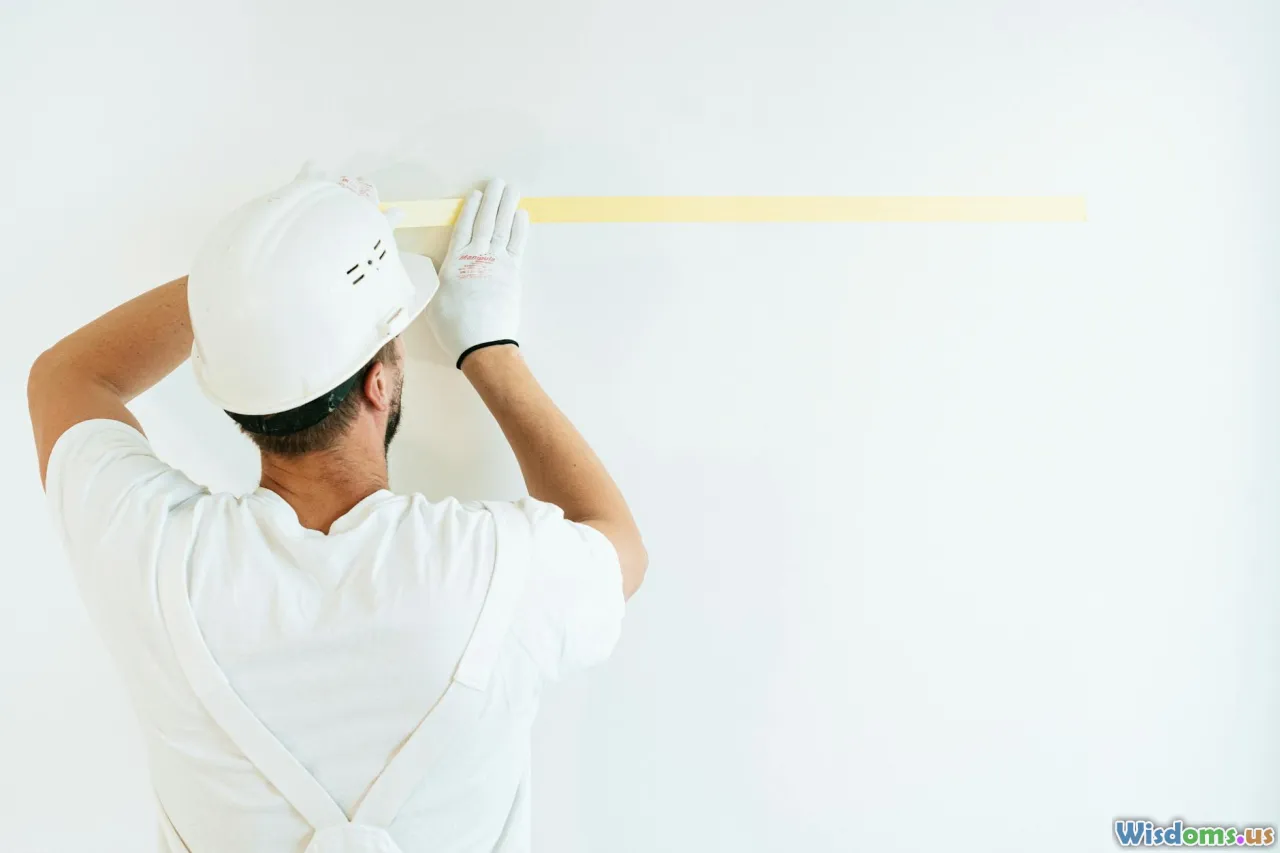
Masking is a skill. Done wrong, it causes tears and bleeds; done right, it saves time.
What not to do:
- Don’t use bargain masking tape on finished paint; it often leaves residue or tears the surface.
- Don’t skip burnishing the tape edge or let paint flood the edge.
- Don’t yank tape off dry and brittle; this rips paint.
Do this instead:
- Choose the right tape: blue painter tape for general work, delicate-surface tape for fresh paint, or a tape with a paint-blocking edge technology for water-based paints.
- Burnish edges with a plastic card or fingernail. If you are painting stripes or frames, do a seal pass using the base color before adding the new color.
- Remove tape at a 45-degree angle while the paint is still slightly soft, or score the edge with a sharp knife if fully cured.
Don’t rush dry and cure times

Dry to the touch is not the same as cured.
What not to do:
- Don’t stack or wrap signs in plastic before they cure. The paint can imprint or stick.
- Don’t hit wet paint with a heat gun or hair dryer to force drying; the skin can trap solvents beneath, causing wrinkling or adhesion failure.
- Don’t miss the recoat window. Some enamels wrinkle if recoated too late; others need a light sand first.
Do this instead:
- Respect the label. Many acrylics are dry to touch in an hour, recoat in 2–4 hours, and cure in 7–30 days. Oil-based paints often need overnight before recoating and a longer cure.
- For production speed, plan multiple boards and rotate tasks rather than rushing one piece.
- If you must wrap a gift sign before full cure, interleave with silicone-release paper or glassine, not plastic. Leave airflow.
Don’t skip sealing, especially for outdoor signs
Paint is a finish; it also appreciates protection.
What not to do:
- Don’t leave outdoor signs unsealed in harsh climates. Snow, freeze-thaw cycles, and UV will chalk and crack paint quickly.
- Don’t assume any clear coat is suitable outdoors. Some polyurethanes yellow badly; others lack UV inhibitors.
Do this instead:
- For outdoor signs, use an exterior-rated clear coat. Water-based spar urethane or marine varnishes contain UV absorbers and remain flexible. Expect a slight warm tone with oil-based spar; choose water-based for whites.
- Seal all sides and edges, including the back and any drilled holes. Two to three thin coats are better than one thick one.
- For heavy exposure, refresh the clear coat annually. A quick scuff and top-up coat each fall extends life.
Note: Some exterior paints are robust enough to go without a clear coat, especially if under cover. But clear coats help resist grime and add easy-to-clean durability.
Don’t forget the back, edges, and hardware
The places you do not see are where moisture sneaks in.
What not to do:
- Don’t paint just the front. An unsealed back will absorb moisture differently and cause cupping or warping.
- Don’t drill mounting holes after finishing without sealing the raw wood; those holes become water chimneys.
- Don’t use interior screws or low-grade hooks that rust and stain the sign.
Do this instead:
- Seal the back and edges with primer and finish coats just like the front. It equalizes moisture movement.
- Pre-drill mounting holes before finishing; seal inside the holes with clear coat or thin epoxy. If you add holes later, dab primer and clear coat into them.
- Use stainless or coated hardware for outdoor signs: D-rings for hanging, exterior screws with washers for mounting, and rubber bumpers to keep the sign off wet surfaces.
Don’t mix incompatible products

Finish chemistry matters.
What not to do:
- Don’t apply water-based paint over an uncured oil enamel without the right primer; the water can bead and the paint may scrape off.
- Don’t use furniture wax on chalk paint if you plan to add lettering later; waxed surfaces resist adhesion.
- Don’t let silicone anywhere near your finishing area; it causes fisheyes and craters. Many lubricants and polishes contain silicone.
Do this instead:
- If switching systems, use a bonding primer that bridges oil to water-based or vice versa. Let the underlying coat fully cure before priming.
- Keep finishing tools and the area free from silicone-based products; dedicate cloths and brushes to finish work only.
- Test combos on a scrap with your exact products and timing.
Don’t over-sand or overwork the finish

There is a sweet spot between smooth and slippery.
What not to do:
- Don’t sand raw wood to a mirror polish before priming; over-burnished surfaces reduce mechanical bite.
- Don’t go back and forth over partially dried paint to fix a brush mark; you will make it worse.
Do this instead:
- Stop sanding raw wood at about 180–220 on faces. After priming, scuff with 220–320 to refine.
- Level between finish coats lightly with 320–400 grit or a maroon non-woven pad. Clean dust carefully.
- Lay off the final strokes in one direction with a light touch. Then leave it alone.
Don’t ignore safety and clean-up

Good safety habits prevent accidents that can overshadow your project.
What not to do:
- Don’t sand without a dust mask or respirator, especially on MDF or old finishes. Don’t work in a closed room with strong solvent fumes.
- Don’t toss oil-soaked rags (from stain, linseed oil, or oil paint) in a pile; they can spontaneously combust.
- Don’t pour leftover paint or solvent down the drain.
Do this instead:
- Wear eye protection, gloves for solvents, and at least an N95 for sanding dust. Use a respirator with appropriate cartridges if spraying or working with strong solvents.
- Handle oily rags safely: lay them flat to dry outdoors and then store in a sealed metal can or dispose of according to local hazardous waste guidelines. Spontaneous combustion is a real risk identified by fire safety organizations.
- Store finishes in labeled containers, wipe rim threads, and close lids tightly. Take waste to a household hazardous waste facility when needed.
Rapid troubleshooting: if you already made a mistake
- Peeling or flaking paint: Check for glossy substrate, silicone contamination, or moisture. Solution: Sand to sound paint or bare wood, clean thoroughly, apply a bonding or appropriate primer, and repaint in proper conditions.
- Yellowing over whites: Likely tannin bleed or an oil-based clear coat ambering. Solution: Sand lightly; apply a shellac-based stain-blocking primer; repaint with acrylic; topcoat with a non-yellowing water-based clear.
- Stencil bleed: Sand and smooth the base; use stencil adhesive; seal edges with the base color; apply light coats of the lettering color; remove stencil carefully at a low angle.
- Fisheyes or craters: Indicates contamination (often silicone or oil). Solution: Strip or sand past the defect; clean with a solvent recommended by the paint maker; avoid silicone near the workspace; prime with a high-adhesion primer.
- Runs and sags: Let dry fully, then level with 320 grit and recoat in thinner layers.
- Rough feel after water-based coats: Raise the grain before painting; between coats, scuff sand with 320 grit and clean dust.
A simple, safe workflow you can trust (and what to skip)

Here is a proven path for a holiday sign, with common pitfalls to avoid.
- Select the right substrate
- Do: Choose kiln-dried pine, poplar, or exterior-grade plywood for outdoors; check moisture content.
- Don’t: Use wet, pressure-treated boards or damaged pallet wood without serious prep.
- Prep the surface
- Do: Sand 100 to 180 grit, raise the grain, and clean without silicone. Fill holes and sand flush.
- Don’t: Paint over dust, gloss, or unknown finishes.
- Prime strategically
- Do: Use shellac-based or stain-blocking primer for knotty or tannic woods; bonding primer for slick surfaces. Sand the primer smooth.
- Don’t: Skip primer under whites or on bare wood.
- Base coat with the right paint
- Do: Use exterior-grade latex or enamel for outdoor signs; high-quality acrylic or waterborne enamel indoors. Apply thin, even coats.
- Don’t: Expect craft paint alone to survive a winter porch.
- Lettering and designs
- Do: Use vinyl masks or quality stencils with light adhesive; offload paint and seal stencil edges with the base color if the surface is textured. Plan letter size using the distance rule.
- Don’t: Flood the stencil or eyeball alignment on long boards.
- Protect and finish
- Do: Clear coat outdoor signs with a UV-resistant, exterior-rated finish; seal edges and the back; let the finish cure.
- Don’t: Wrap or stack signs before curing; don’t drill mounting holes after finishing without sealing them.
- Mount and maintain
- Do: Use stainless or coated hardware; add bumpers; refresh clear coats annually for harsh exposure.
- Don’t: Hang outdoors in a spot that gets direct sprinkler spray or standing snow without a drip edge or cover.
By deliberately avoiding these pitfalls—wrong wood, rushed prep, mismatched products, sloppy masking, and impatient drying—you will spend more time admiring your handiwork and less time sanding out mistakes. Holiday signs live in tough conditions: cold porches, damp entryways, and lots of handling as gifts. Treat them like the miniature exterior projects they are, and they will reward you with rich color, crisp lettering, and durability that lasts past New Year’s and into many seasons to come.
Rate the Post
User Reviews


Popular Posts


