Why Milky Way Photography Is Not as Hard as You Think
13 min read Discover why capturing the Milky Way isn't just for professionals, as this guide demystifies night sky photography with practical tips and accessible advice. (0 Reviews)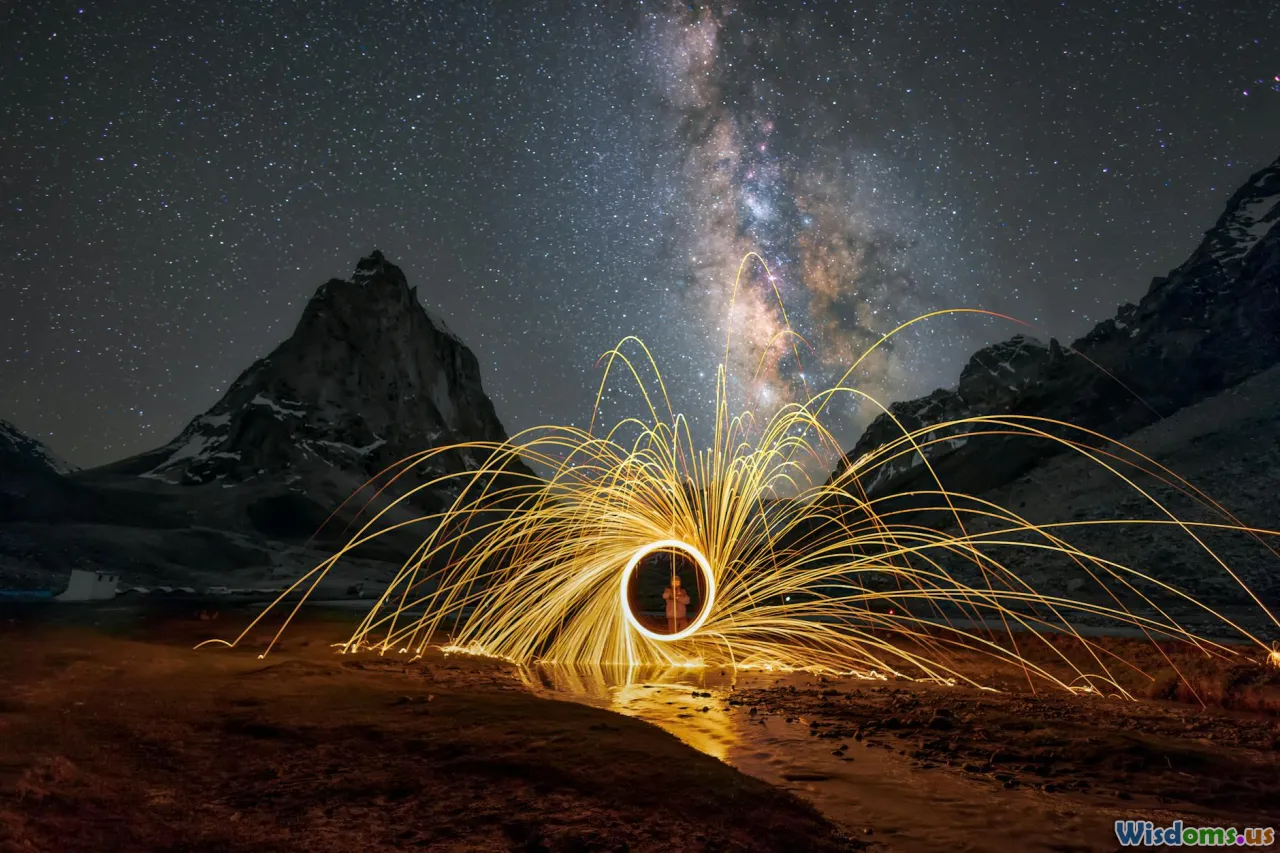
Why Milky Way Photography Is Not as Hard as You Think
The stunning, star-filled arch of the Milky Way stretches across the sky in countless photos that inspire awe and wonder. To many, these images seem almost magical—surely the domain of professionals with expensive gear, years of experience, and far-flung locations. Yet, here’s an astronomical revelation: capturing the galaxy’s grandeur is much more accessible than you imagine.
Contrary to popular belief, Milky Way photography isn’t reserved for experts or tech-savvy stargazers. The advances in modern cameras, planning tools, and user-friendly editing software mean that embracing astrophotography is no longer out of reach. In this article, you’ll learn step-by-step how anyone—from novice shutterbugs to curious enthusiasts—can photograph the Milky Way with remarkable results. No rocket science required.
Unpacking the Myths: It’s Not Rocket Science
Let’s start by smashing some misconceptions. Many people hesitate, daunted by perceived obstacles:
- "I need expensive equipment."
- "It’s too technically demanding."
- "I have to travel to dark, remote locations."
- "Editing is beyond me."
But are these barriers real? Let’s separate fact from fiction.
Myth 1: High-Grade Equipment Is a Must
You don’t need a high-end, full-frame camera and ultra-fast lens. While such gear helps, many consumer-level DSLRs, mirrorless cameras, and even advanced compacts are up to the task. The key ingredients are manual controls, and ideally, a lens with a wide aperture (like f/2.8 or wider). Even entry-level gear performs astonishingly well under the right conditions.
Example: The Canon EOS Rebel series, or the Nikon D3500 (both often available secondhand), paired with a kit 18-55mm lens, can capture the Milky Way brilliantly. Numerous jaw-dropping images online come from gear costing less than $800 altogether.
Myth 2: You Need Years of Experience
Astrophotography may sound daunting, but the basics—proper focus, settings adjustment, stable shooting—fall within anyone’s reach. Decent results can happen on your first try by following simple steps and experimenting.
Fact: A 2021 Milky Way photography survey by Lonely Speck found that 79% of the top-voted images were taken by photographers with less than three years’ experience, highlighting rapid learning curves with today’s resources.
Myth 3: Remote, Perfectly Dark Skies Required
While the sun-drenched heart of the Milky Way shines brightest under dark skies, many striking images are made from suburban edges—sometimes closer than you think. Mobile apps reveal dark-sky windows in nearby parks or coastal areas. Light pollution filters, now built into some cameras and available as clip-in extras, provide help too.
Real-World Story: A hobbyist from suburban Bristol, UK, photographed the galactic core with a basic camera near a nature reserve. With thoughtful planning, he sidestepped city lights to produce a memorable photo shared thousands of times online.
Tools of the Trade: Accessible Essentials
1. Camera and Lens—What’s Really Needed?
Astrophotography boils down to collecting faint light. You’re aiming for:
- Manual exposure control: to adjust shutter speed, ISO, aperture
- Interchangeable or wide-angle lens: lenses between 14mm and 35mm on a full-frame sensor are perfect
- Aperture: Wider is generally better (f/2.8–f/4), but even kit lenses at f/3.5 or f/4 can suffice
Don’t be deterred by less-than-exotic gear. Smartphone cameras—even iPhones and Samsungs from the last five years—can, with apps like NightCap or ProCam, photograph the Milky Way in low to moderate light pollution areas.
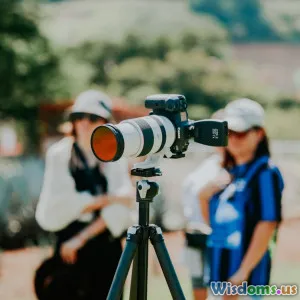
2. Tripod: Stability Is Non-Negotiable
Because shutter speeds are long (typically 10 to 30 seconds), a tripod is essential. But it needn’t be an expensive carbon-fiber beast. Affordable tripods under $50, or even a beanbag on a steady rock, will do. Prioritize stability over all else.
3. Remote Shutter or Timer
To avoid camera shake, use a wired remote, Bluetooth trigger, or simply the 2- or 10-second self-timer setting on your camera.
4. Apps and Planning Tools
Modern apps make planning a breeze. Try:
- PhotoPills: Visual cascade of the Milky Way, moon phase, and time
- Stellarium: Interactive sky maps, identifying stars, constellations, galaxy core rise/set
- Clear Outside: Pinpoints weather windows
Setting Yourself Up For Success: Location, Timing, and Weather
Locating the Milky Way
The Milky Way is always above the horizon—but its brightest core is visible only at certain times, varying globally.
- Best season (Northern Hemisphere): Late March to early October
- Peak viewing: Around 1 a.m. to 4 a.m. (May to July)
- Southern Hemisphere: February to October, with slightly better visibility
Tip: Use PhotoPills’ augmented reality function to visualize exactly when and where the core arcs above your horizon on any planned night.
Light Pollution: Overcoming the Glow
The Bortle Scale rates night sky brightness from Class 1 (darkest) to Class 9 (bright city). Try for Bortle 4 or lower if possible. But, don’t lose heart if you live in suburbia—head just outside town, local parks, or waterside locations usually suffice.
Example: The International Dark-Sky Association lists more than 130 dark-sky parks worldwide, but creative hobbyists often find success in university campuses after hours, national park campsites, or remote beaches even near metros.
Weather and Moon Phase
For clarity, shoot when the moon is below the horizon or during a new moon. Clouds are the biggest spoiler; apps like Clear Outside or AccuWeather’s astronomer forecast will save frustration.
"The greatest challenge is willingness, not equipment. The sky is for everyone ready to look up." — David Lane, Award-winning Astrophotographer
Camera Settings Simplified: Roadmap to First Success
Manual Mode Demystified
Here’s your go-to starter recipe:
- Mode: Manual
- Focus: Manual, set to infinity (use live view and zoom in on a star to confirm sharpness)
- Aperture: Wide open (lowest f-number)
- Shutter Speed: 15–30 seconds, depending on lens (Use the 500 Rule: 500 ÷ focal length = maximum exposure in seconds, for no star trails on full-frame. On APS-C or Micro Four Thirds sensors, adjust further)
- ISO: Start at 3200; adjust based on image noise/test shots
For example, with an 18mm lens on an APS-C camera:
- 500 ÷ (18 × 1.5 crop) ≈ 18 seconds
Autofocus vs Manual Focus
Autofocus gets lost in the dark. Use live view or focus peaking, magnify a bright star or distant light, and fine-tune until sharp. Tape the focus ring or lock it to avoid movement.
File Format: Shoot RAW
RAW images retain far more detail in highlights and shadows, giving you stretch room in post-processing.
Composing the Shot: Creativity Tips
- Foreground interest: Twist trees, old barns, rock arches, water reflections, or distant silhouettes add drama.
- Wide-angle lenses: Capture more sky and landscape—the curve of the Milky Way looks epic stretched over a horizon.
- Rule of thirds: Place the arc strategically for compelling compositions.
Inspiration: Mike Taylor, a renowned astrophotographer, creates artful photos whereby the Milky Way rises over lighthouses, bridges, and mountains—transforming cosmic vistas into visual narratives.
Editing Without Intimidation: Bringing Out Cosmic Wonder
Post-processing polishes clarity, contrast, and color. Programs like Lightroom, Photoshop, or free tools such as GIMP can:
- Reduce noise
- Enhance stars/pop the galactic core
- Reveal subtle nebula colors
Countless YouTube tutorials and Instagram guides make editing a friendly, step-by-step process. Mobile apps like Snapseed or Adobe Lightroom Mobile allow editing directly on a phone or tablet.
Editing Steps for Beginners
- Boost contrast and clarity: Make galactic dust lanes stand out.
- Adjust white balance: Give the Milky Way a natural or artistic tint.
- Reduce noise: Especially important at high ISOs—Lightroom’s noise reduction does wonders.
- Sharpen carefully: Avoid exaggerating grain.
Tip: Stick to minimal edits at first to let the Milky Way’s natural beauty shine through.
From Start to Star: A Beginner’s Checklist
- Scout a location pre-sunset. Find interesting foregrounds and check for potential obstacles.
- Check the weather and moon phase a week in advance and again on the planned evening.
- Arrive early, set up, and dial in your settings while there's still some twilight.
- Test shots: Take low-ISO, short-exposure previews to line up your shot.
- Frame, focus, and shoot.
- Review and repeat with small adjustments.
- Edit and share your cosmic creation.
Real-World Success: Stories that Inspire
- Zarina, Chicago: Used a $300 Sony mirrorless and a thrifted tripod to shoot the Milky Way from a lakeshore—even with urban light in the distance, she captured a dazzling exposure hailed on social media.
- Tim, Brazil: His first Milky Way attempt was behind his family’s farmhouse with a
Canon Rebel, simple kit lens, and smartphone planning app. Within two months, he landed his shot on a local astronomy club website. - Nathan, New Zealand: Used a Google Pixel phone with 'Night Sight' mode on a nearby coastline, surprising friends with the clarity and sweep of the galactic arc.
Each of these represents not professionals, nor remote travelers, but everyday people starting from scratch.
Actionable Tips for Immediate Success
- Learn by doing: Your first attempt may not be perfect, but each session teaches you new skills
- Engage with communities: Online groups like Reddit's r/astrophotography, or dedicated Facebook groups, offer feedback, encouragement, and location tips.
- Keep notes: Record what settings worked (or didn’t), weather conditions, and times. This helps hone your process.
Conclusion: The Cosmos at Your Fingertips
Milky Way photography, far from being a gatekept art, is one of the most approachable photographic endeavors today. With modest tools, the right preparations, and a willingness to experiment, you can reveal the galaxy’s splendor—no matter where you start.
Demystified and democratized, night sky photography is an invitation to explore, create, and connect. Step outside, look up, and give it a try—the universe awaits your lens.
Resources for Getting Started:
Remember: the hardest step is beginning. The sky doesn't belong to the professionals—it belongs to all of us ready to look up.
Rate the Post
User Reviews
Other posts in Night Photography


Popular Posts


