Simple Abstract Art Projects for Creative Weekends
18 min read Discover easy abstract art projects to spark weekend creativity, with simple materials and step-by-step inspiration for all skill levels. (0 Reviews)
Simple Abstract Art Projects for Creative Weekends
A creative weekend is an invitation to unwind, explore, and reconnect with your artistic instincts—no formal training required. Abstract art, with its freedom from strict rules, offers the perfect canvas for expressiveness, experimentation, and play. Whether you crave a simple splash of color or want to build layers of shapes and textures, these approachable projects prove that great art can start with household materials.
Read on for practical guides, inspiration, and actionable tips to fill your weekend with abstract creativity.
The Allure of Abstract Art
Abstract art thrives on interpretation, emotion, and innovation, making it wonderfully accessible regardless of skill level. Unlike representational art, which tries to mimic the real world, abstract art focuses on visual language: color, line, shape, and composition become tools for unconventional storytelling.
Celebrated 20th-century artists like Wassily Kandinsky and Jackson Pollock redefined painting with passionate, boundary-pushing canvases. Pollock's famous drip technique, for example, transformed the very act of painting into a physical experience. Still, you don't need a massive studio or expensive materials to get creative: the spirit of abstraction is about embracing freedom and surprise. Even amateurs can boldly explore styles, experiment with media, and personalize their creations.
Abstract projects are especially effective for weekend makers because they:
- Sharpen observation and intuition
- Relieve creative pressure with "no mistakes" thinking
- Allow experimentation with color, texture, and composition
- Easily adapt to any schedule or available materials
Let's dive into hands-on projects and practical advice to help you create vibrant, meaningful art during your downtime.
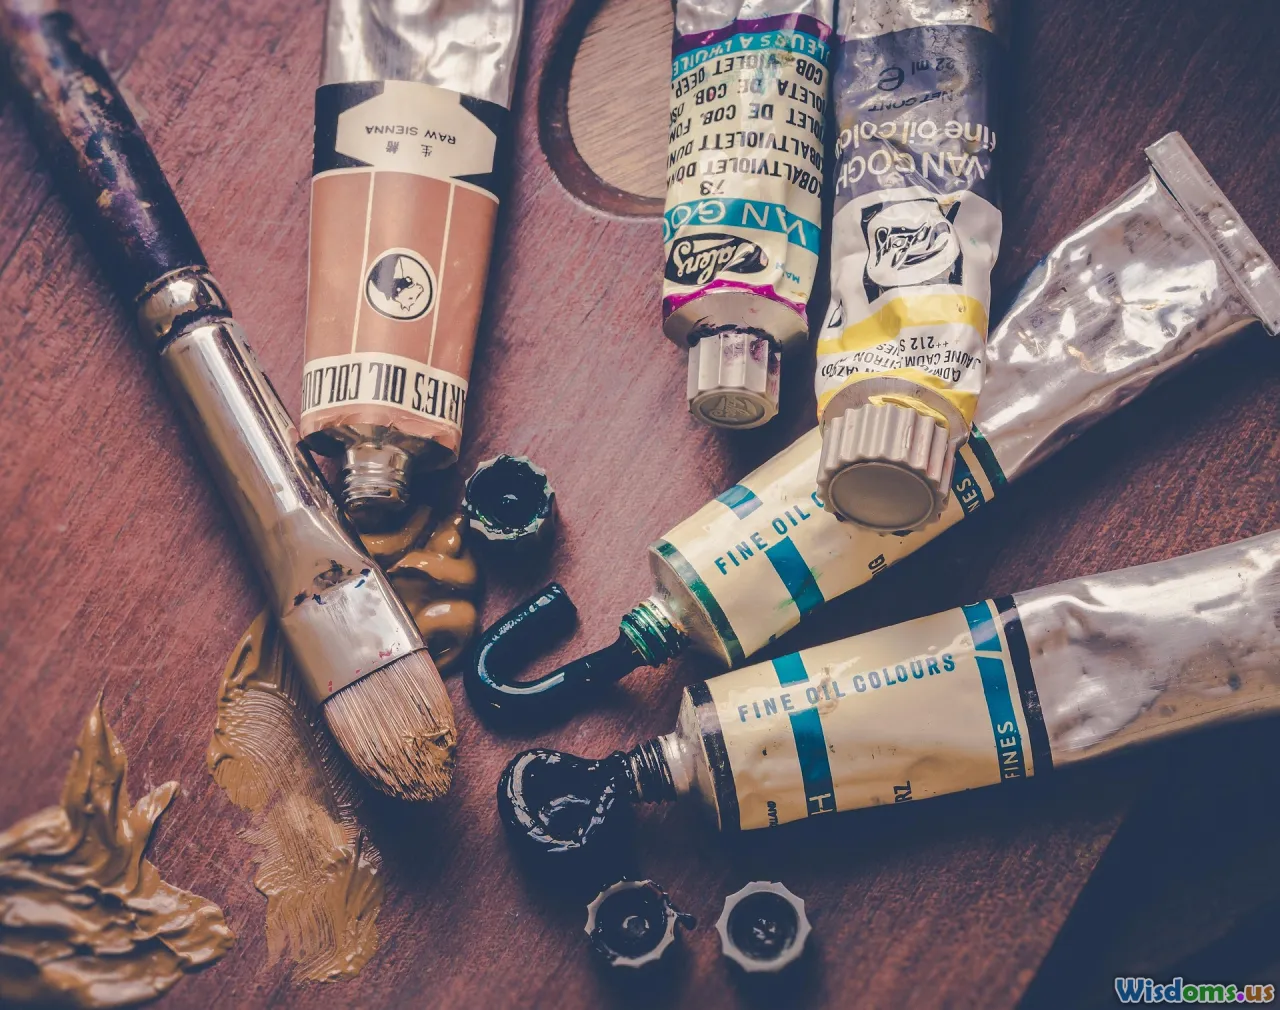
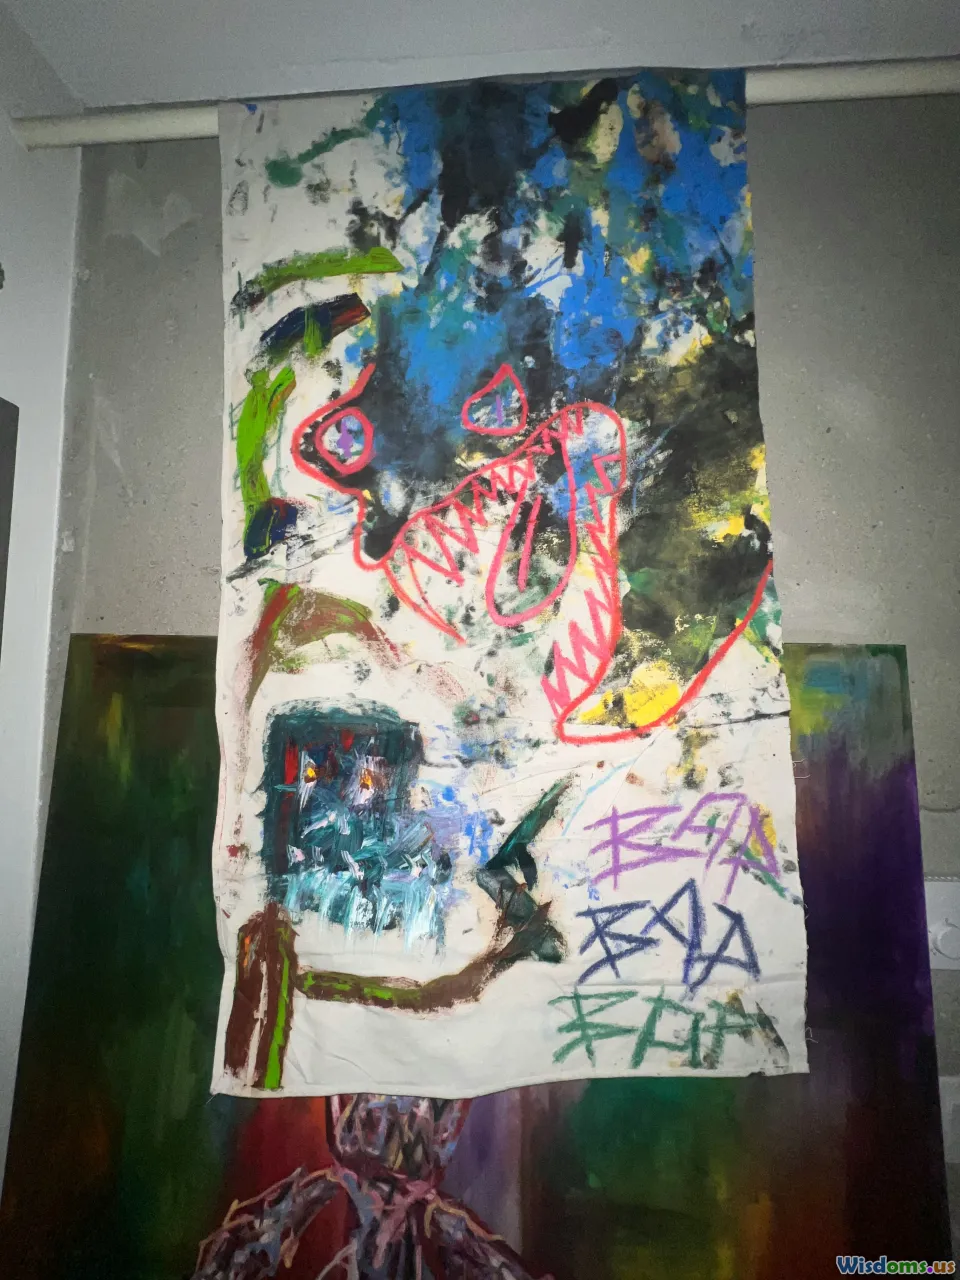
Paint Pouring: Harnessing Controlled Chaos
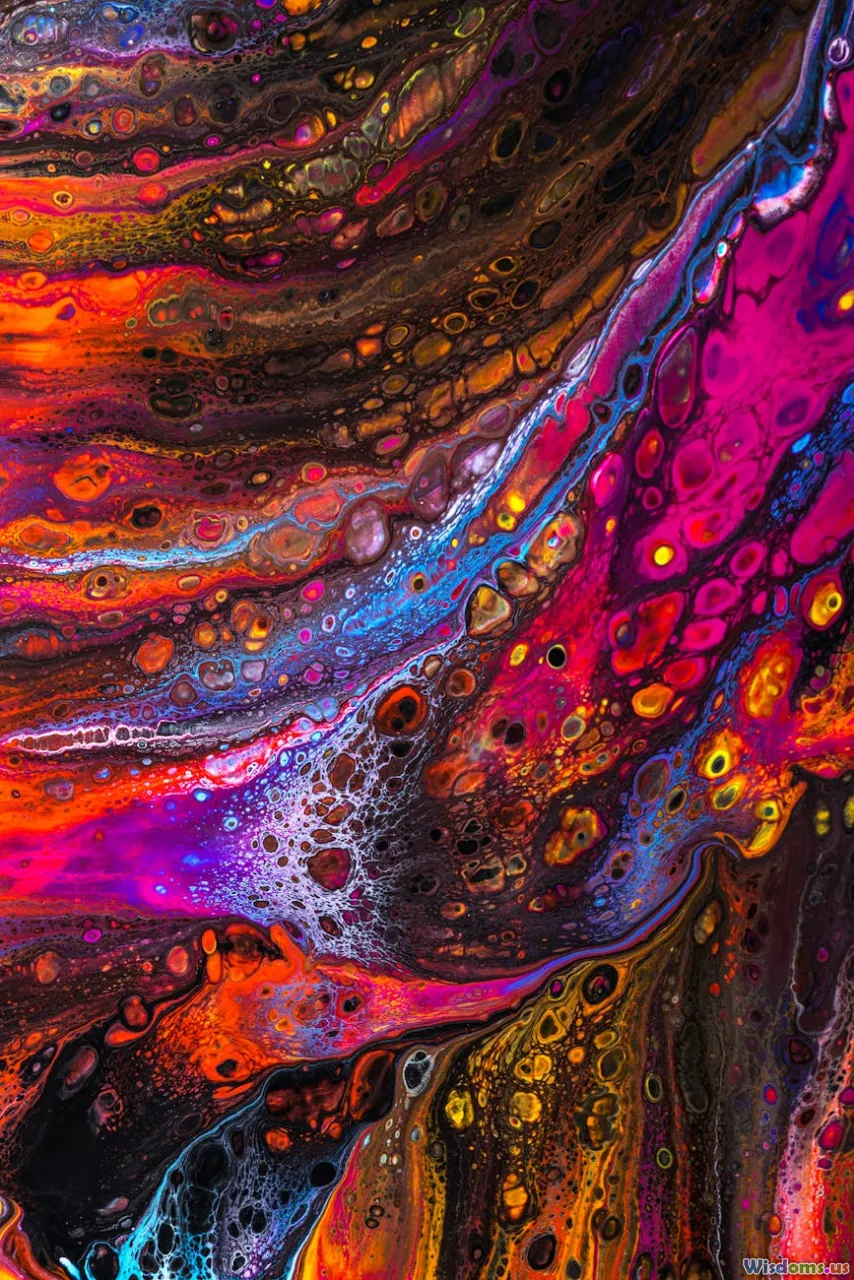
One of the most approachable styles for abstract art beginners is acrylic paint pouring—a process as mesmerizing as the results themselves. This technique has taken social media by storm for good reason: it's easy, scalable, and endlessly unpredictable.
Basic Paint Pouring Tutorial
Materials:
- Pourable acrylic paints (pre-mixed or prepared with pouring medium and water)
- Canvas or sturdy board
- Disposable cups
- Stir sticks
- Gloves and protective covering
Process:
- Prepare Paints: Dilute acrylic paints to a runny, honey-like consistency using a pouring medium (available at art stores) and water. Each color goes into its own cup.
- Layer in Cup: Pour different colors into a separate, larger cup. Layer them gently to avoid mixing.
- Flip or Pour: Either place the canvas face-down on top of your filled cup and flip, or pour the paint directly onto the canvas in swirling patterns.
- Tilt and Flow: Gently tilt the canvas to spread the paint. Watch as cells and rivers of color emerge.
- Dry and Seal: Allow to dry flat for 24–48 hours. Optionally, finish with a clear varnish to enhance shine and durability.
Tips:
- Add a drop of silicone oil to some colors for dynamic "cell" patterns.
- Experiment with swipes, straws, or combs for different effects.
- Use leftover paint to create colorful gift tags or bookmarks!
Masking Tape Geometrics: Creating Bold Lines and Shapes

Geometric compositions—intersecting lines and vivid blocks—offer a structured yet playful take on abstraction. Masking tape is the secret weapon: it lets you block out crisp, clean areas before painting, resulting in striking designs with minimal effort.
How-To: Modern Tape Art on Canvas
Essentials:
- Canvas, wood panel, or heavy paper
- Masking tape or painter’s tape
- Acrylic paints and brushes
Execution:
- Plan Your Layout: Think intersecting triangles, rectangles, or freeform shapes. Map these lightly with a pencil if you wish.
- Apply Tape: Firmly press tape to your surface—experiment with angles and overlapping sections. Wherever the tape sits will remain white or unpainted.
- Paint the Segments: Fill areas between tapes with different colors. Let your palette run wild, or use harmonious tones for a more subdued piece.
- Peel and Reveal: Before the paint is fully dry, gently peel off the tape to reveal sharp, clean lines.
- Final Touches: Once dry, add extra details or outlines with fine tip markers or metallic pens for interest.
Examples for Inspiration:
- Black, gold, and white triangles for a sleek, modern aesthetic.
- Rainbow ombré rectangles for a playful, uplifting vibe.
- Asymmetrical color blocks reminiscent of Mondrian’s iconic compositions.
This project is easy to adapt for all ages, making it perfect for families or collaborative Saturday afternoons.
Collaged Abstractions: Tactile Layers and Mixed Media
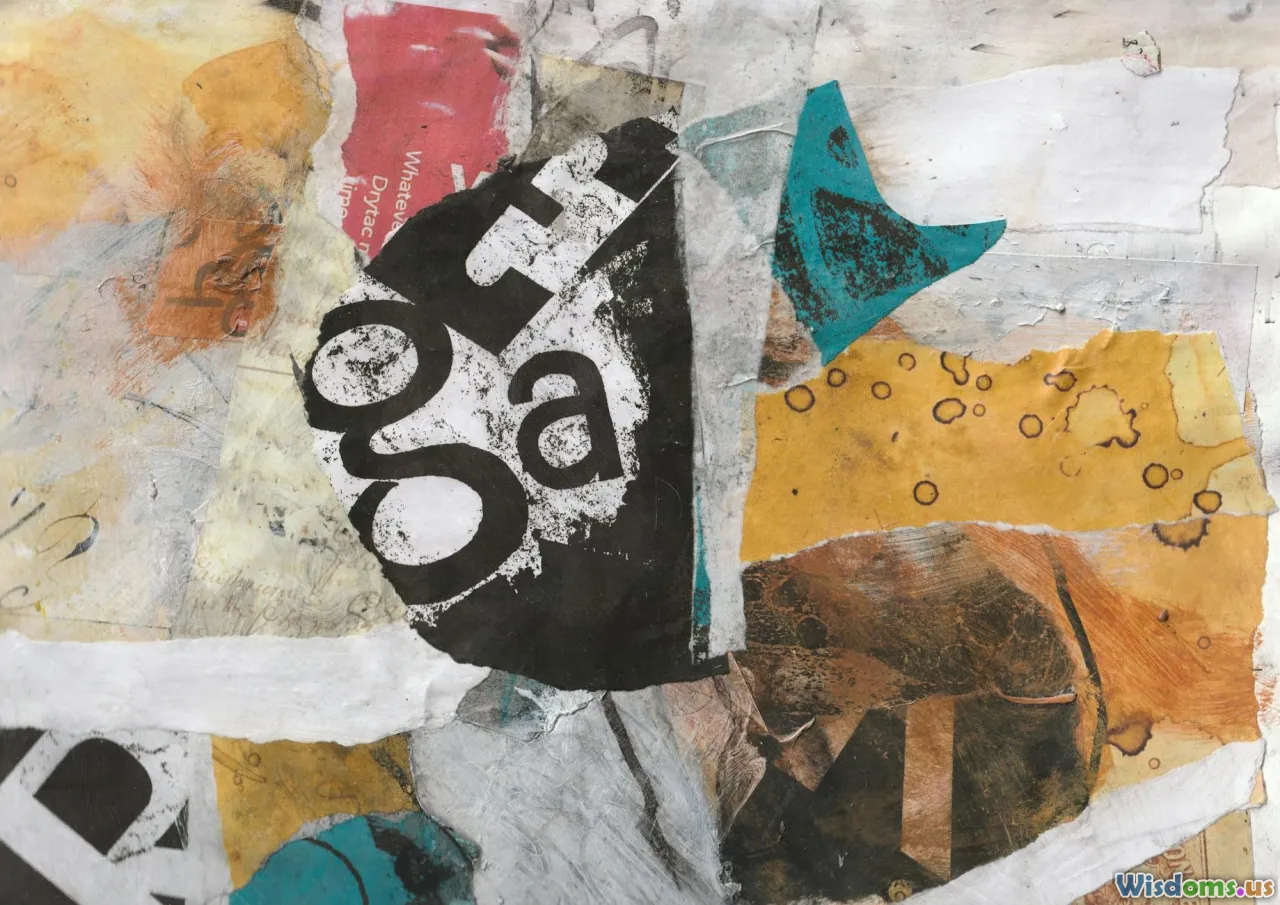
When texture and tactile exploration call to you, collage delivers. Layering paper, fabric, and found objects leads to rich, dimensional pieces. Abstract collage can blend painting and drawing with magazine clippings, maps, or even handwritten notes—perfect for telling a personal story.
Steps for Creating Your Mixed Media Collage
Gather Ideas & Materials:
- Foundation (canvas, mixed media paper, or cardboard)
- Magazines, newspapers, colored paper, old book pages
- Craft glue or mod podge
- Acrylic or watercolor paints
- Brushes, palette knives, or old credit cards
- Optional: string, textiles, receipts, dried leaves
How-To:
- Select a Theme or Mood: It could be as simple as “warmth” or “movement.” Let this guide your choices; for instance, summer magazine cuttings for warmth.
- Create a Painted Base: Paint random shapes, drips, or color washes to loosen up the background.
- Arrange and Layer: Tear or cut your collage materials. Overlap pieces, varying opacity and scale.
- Glue in Place: Secure each layer before adding more. Don’t be afraid to move things around until you’re happy.
- Build Texture: Press crumpled tissue paper, string, or mesh for added tactile quality. Try thick brushstrokes or scratching into wet paint.
- Final Details: Add scribbles in pen, splatters, or handwritten messages.
Collage Insights:
- Embrace imperfection: uneven edges and layering make collages feel alive.
- Fewer elements can look just as dramatic as busy arrays—let sections "breathe."
- Use a limited palette to keep the piece unified and visually striking.
Monochrome Minimalism: Less Is More
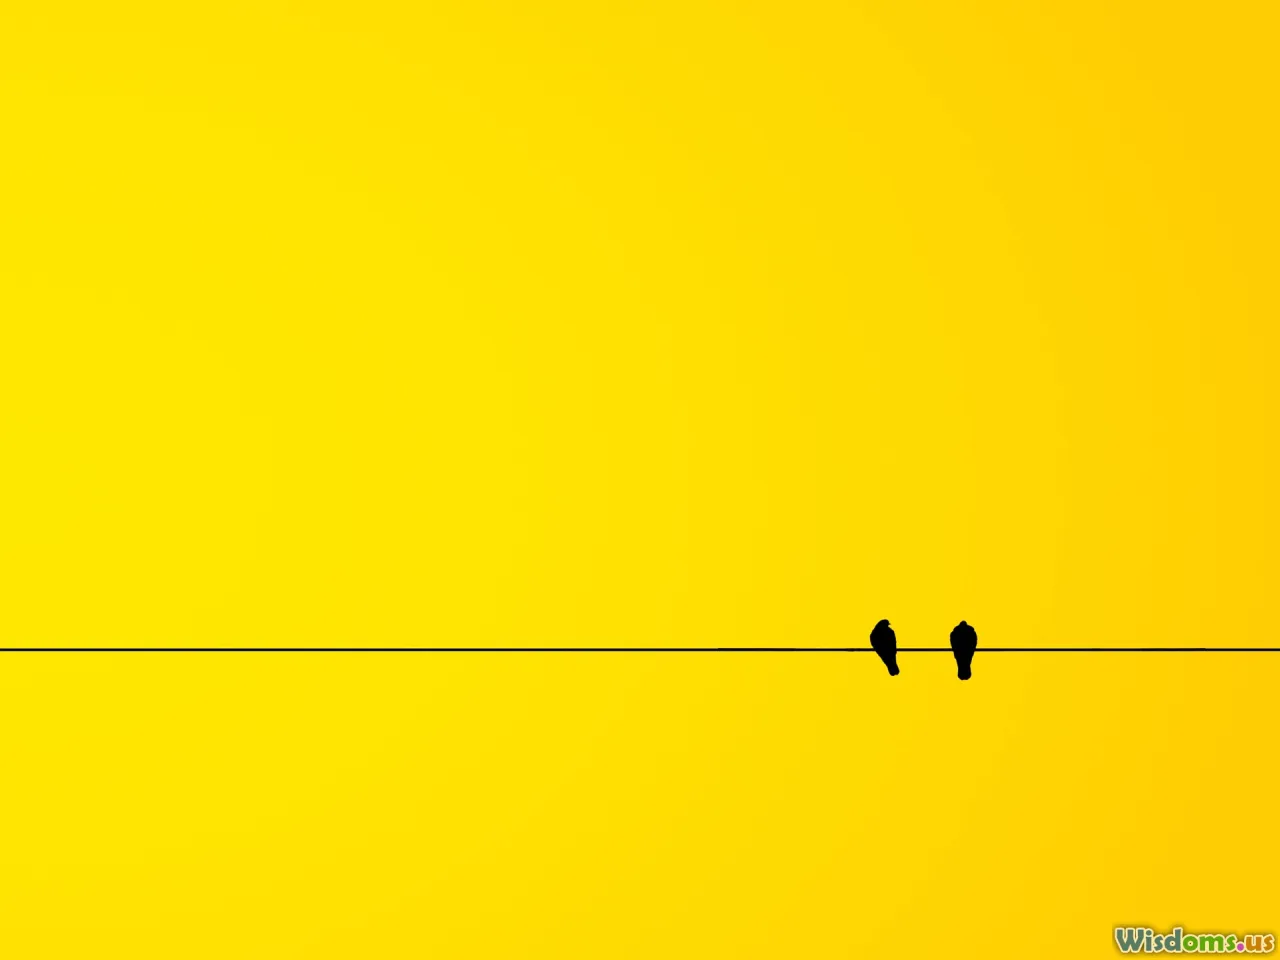
Minimalist abstracts rely on simplicity: a handful of shapes, a restricted palette, or deliberate negative space. The power of these projects lies in refining ideas down to their essentials.
Minimalist Monochrome Painting
- Choose a Palette: Black, white, and one accent color are all you need.
- Sketch Your Idea: Use a charcoal pencil or a fine brush to mark where major forms will go. Think circles, lines, arches, or simple organic curves.
- Paint Clean Shapes: Load a round or flat brush; paint confidently in a single stroke whenever possible. Leave large areas unpainted to let the surface show through.
- Refine and Finish: Crisp up edges with a small brush, or intentionally leave them loose for softness.
Examples:
- A single black arc on a white background, echoing zen circles (ensō).
- Negative space compositions—one or two blocks of bold pigment defining the composition.
- Repetition of similar shapes (lines, dots) creates rhythm and visual harmony.
Creative Insight: Look to artists like Ellsworth Kelly or Agnes Martin for inspiration—note how their restraint leads to emotional resonance through simplicity.
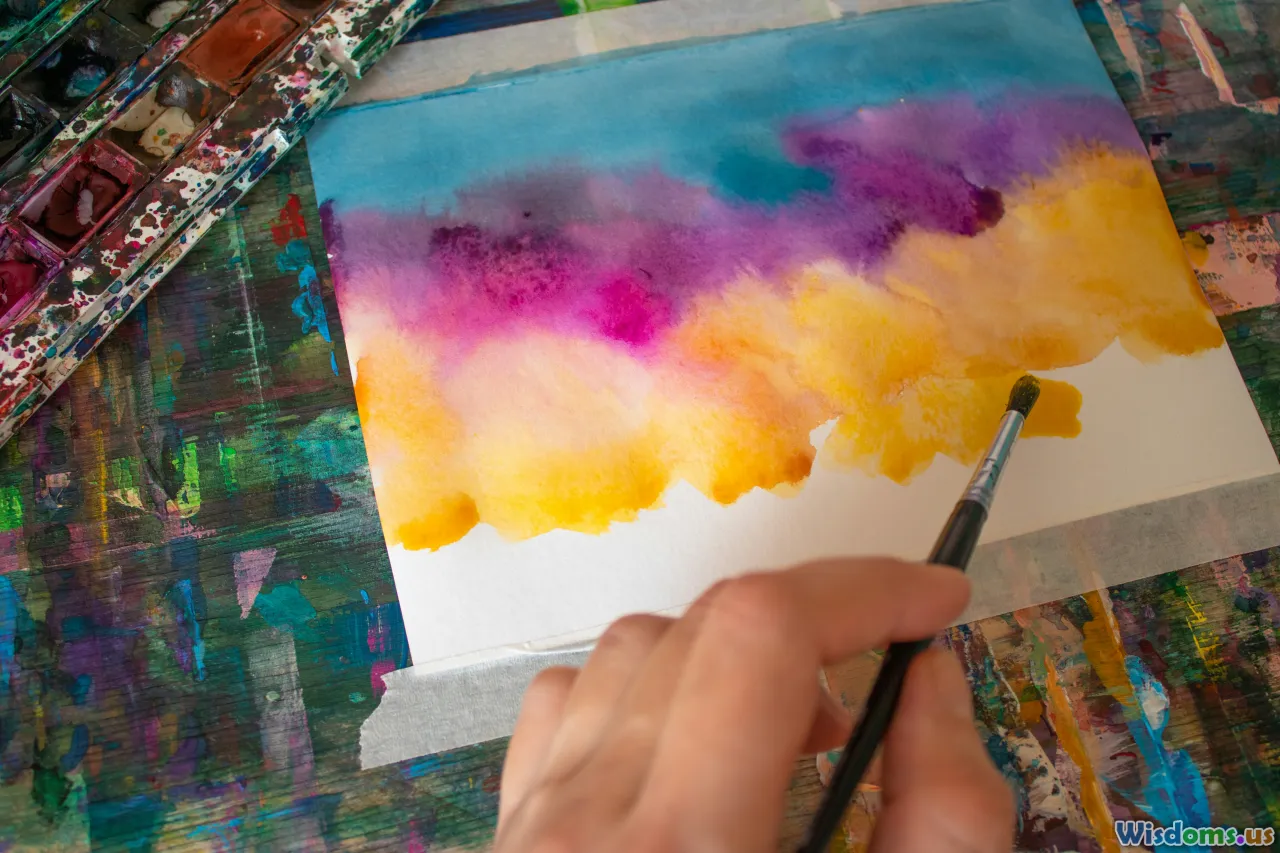
Digital Abstracts: Painting With Pixels

You don’t need to dirty your hands to pursue abstract art: digital tools make exploration accessible, especially if studio space is limited. Smartphone and tablet apps—like Procreate, Adobe Fresco, or even free options such as MediBang—replicate brush techniques, layering, and color experimentation in virtual space.
Getting Started With Digital Abstract Art
Essentials:
- A tablet or smartphone
- Stylus (optional, but helpful for fluid line work)
- Art app of your choice
How-To:
- Explore Brushes and Effects: Try out texture, watercolor, oil, charcoal, and pattern brushes built into your app.
- Layer Play: Experiment with transparency and blending modes for complex color shifts.
- Non-Destructive Editing: Use digital layers for every painted "move," undoing or adapting without worry.
- Share and Print: Post your creation or use print-on-demand sites to transfer it to canvas, T-shirts, or pillows.
Benefits and Tips:
- Revision is endless—try bold moves without repercussions.
- Digital copying and variation make it easy to create a series of coordinated works for a gallery wall.
- For screen-free weekends, consider sketching ideas by hand and translating them digitally when back to your device.
Unconventional Tools: Household Items as Art Supplies
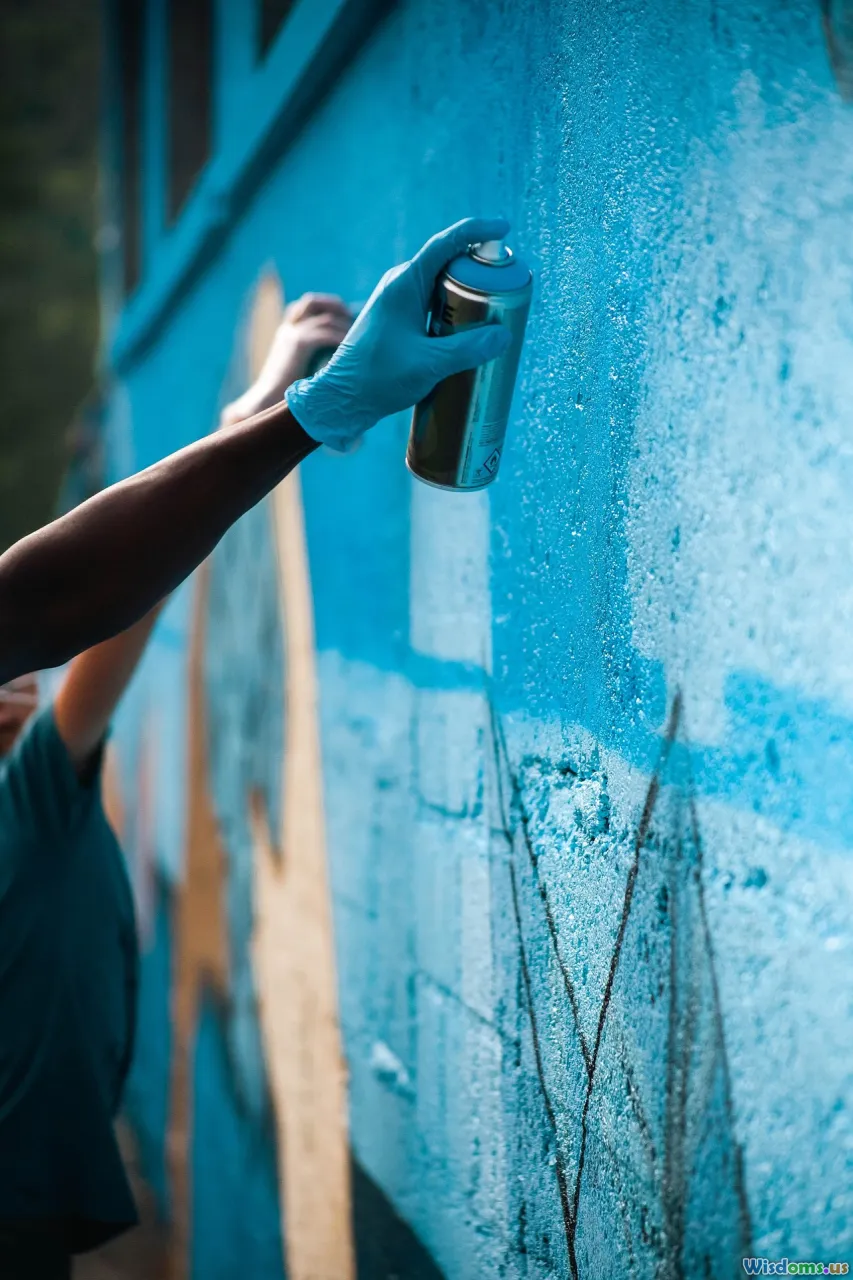
Some of the most exciting results come from working with non-traditional tools. The abstract tradition encourages creative mark-making, so why not raid your kitchen and toolbox for inspiration?
Simple Tools for Surprising Results
- Credit Card Squeegee: Drag paint thinly across the canvas for dramatic strips and blends.
- Bubble Wrap Printing: Dip bubble wrap in paint, then press onto your artwork for irregular textures reminiscent of pop art.
- Toothbrush Spatter: Draw back bristles loaded with thin paint for a galaxy of splatters.
- Kitchen Sponges: Block in color areas or dab to build organic, cloud-like forms.
- String Pulling: Dip string or yarn in acrylic, lay it across your canvas, then pull it away for spontaneous, beautiful forms.
Practical Insights:
- Collect trial marks in a sketchbook to reference later.
- Layer unconventional techniques within the same piece for contrast and excitement.
- Use painter’s tape to mask areas you’d like to keep untouched by texture experiments.
Session Planning: Make the Most of Your Creative Time
Maximize enjoyment (and minimize frustration) by setting yourself up for success before starting. Here are expert tips for designing your own abstract art weekend retreat:
1. Prep Supplies Beforehand: Gather paints, surfaces, and tools for easier flow. Cover your workspace with newspaper or drop cloth, and keep a damp rag for spills.
2. Set a Loose Agenda: Will you focus on one ambitious project, or several bite-sized pieces? Set realistic goals to avoid overwhelm. You might:
- Dedicate one day to paint pouring, and another to collage
- Mix short (60-minute) projects with slower, layered works
3. Create an Inspiring Atmosphere:
- Good lighting makes colors more vivid and process more enjoyable
- Curate a creative playlist or soothing background music
- Display favorite art books or prints for reference
4. Welcome Serendipity: Let curiosity guide you. Abstract art often rewards improvisation; let go of strict outcomes and enjoy the process.
5. Review and Share:
- Photograph work in progress; compare early and late stages.
- Invite friends or family to join—shared sessions often spark new ideas!
- Consider sharing online to connect with a creative community (Instagram, Reddit's r/Art, Behance, etc.)
Personalizing Your Abstract Art: Finding Meaning in the Non-Objective
The true value of simple abstract projects lies in personalization. With no prescribed subject, you’re free to imbue the work with personal resonance:
- Emotional Themes: Paint the mood of your week—using hot, vivid colors for energy or cooler tones for serenity.
- Textures with Memories: Collage sheets of old letters, ticket stubs, or fabric scraps for nostalgia.
- Ritual and Reflection: Repetition (like stamping or continuous lines) can transform art-making into a meditative ritual, as in Hilma af Klint’s mystical works or Sol LeWitt’s process-based art.
- Colors from Life: Choose palettes that echo your favorite spaces, seasons, or even meals.
Document your inspirations as you go so you can look back and refine your style. Sketched studies, journaling about the process, and revisiting gratitude through art enrich both the piece and your well-being.
From Weekend to Wall: Showcasing Your Work Proudly
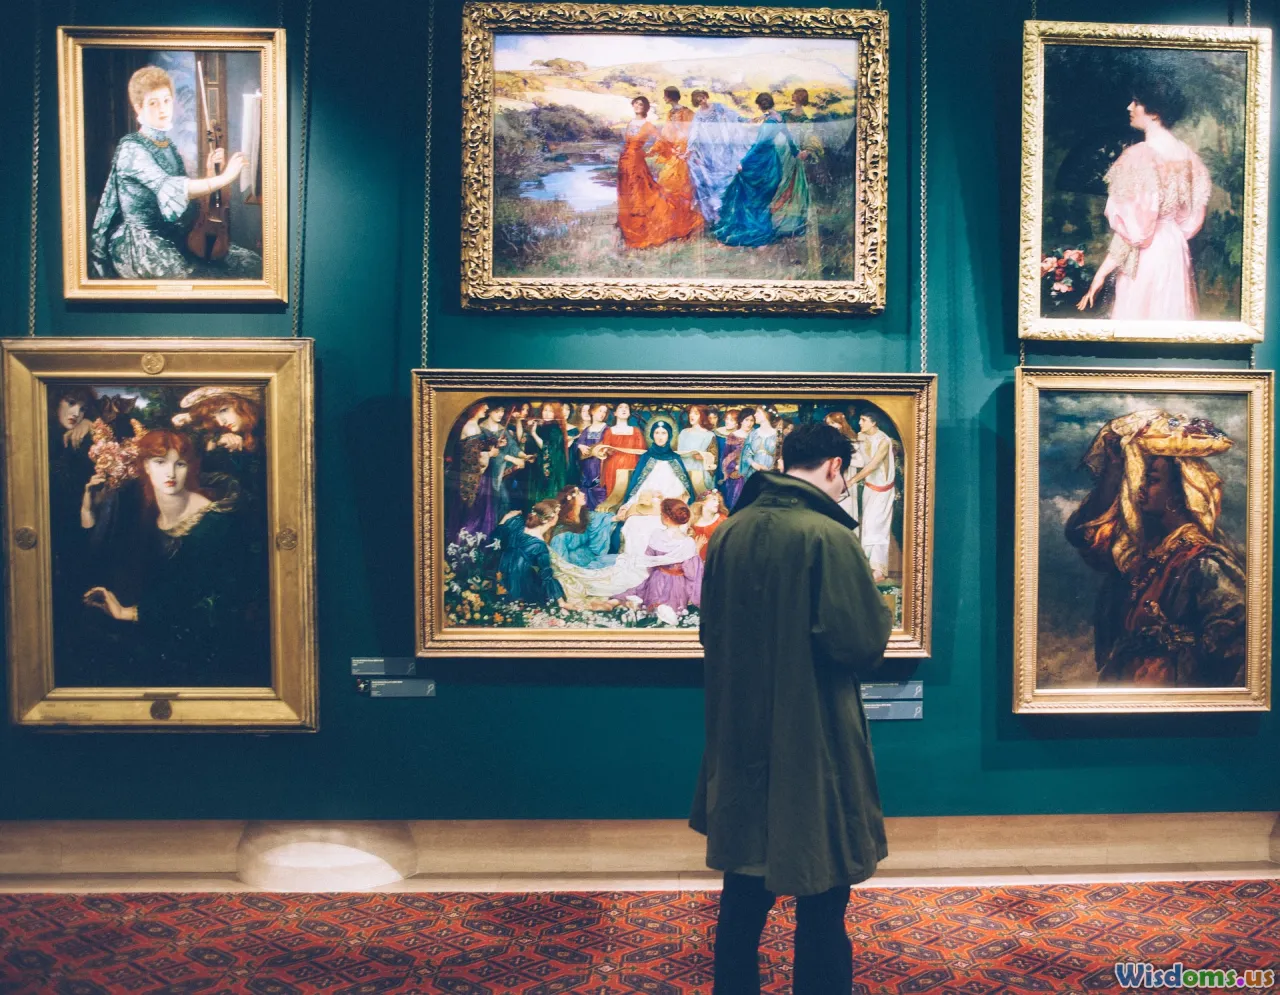
A creative weekend yields more than just pleasant memories—your abstract projects deserve to be seen! Elevating your artwork with thoughtful display choices can enhance both your space and artistic confidence.
Display Ideas:
- Frame several pieces in coordinating mats for a modern home gallery.
- Prop unstretched canvases or boards on floating shelves for casual, ever-changing arrangements.
- Scan and print your favorites as greeting cards or stickers.
- Try shadow boxes for thicker, collage-based works.
Practical Advice:
- Rotate art for fresh inspiration all year.
- Consider gifting a favorite piece—handmade abstracts are heartwarming presents!
Abstract art offers room for endless exploration, emotional expression, and joyful accidents—perfect for creative weekends that fit your life. As you experiment, you’ll not only fill your free time with beauty but build skills and confidence in every brushstroke and collage layer.
Rate the Post
User Reviews
Other posts in DIY Art & Wall Decor


Popular Posts


