The Truth About Metalworking at Home for Beginners
17 min read Learn the essentials and myths of metalworking at home tailored for beginners, including safety tips, starter tools, and achievable project ideas. (0 Reviews)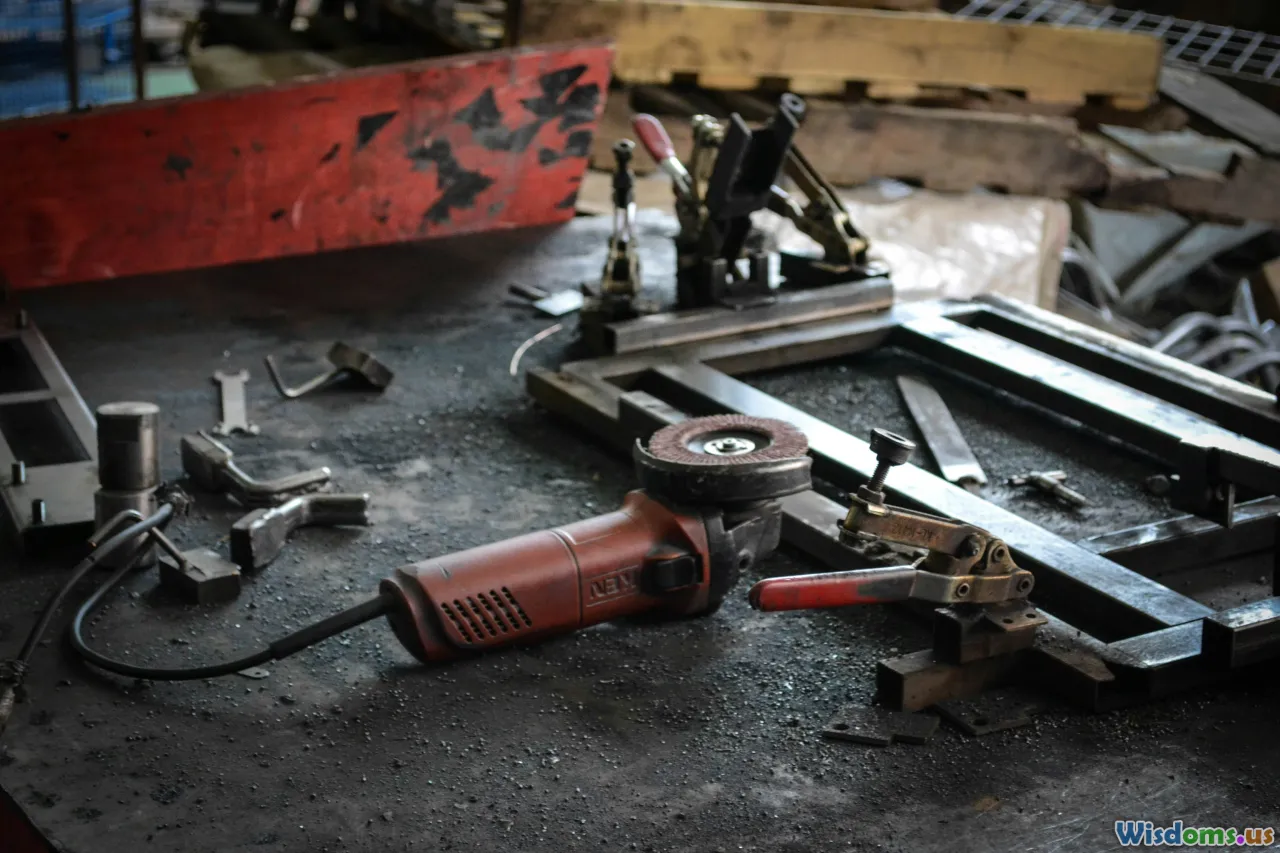
The Truth About Metalworking at Home for Beginners
For centuries, metalworking has been the bedrock of invention, craftsmanship, and ingenuity. From intricate jewelry to sturdy garden gates, everyday items owe their existence to the skillful manipulation of metal. Today, with an explosion of interest in DIY projects and crafted goods, many people wonder: Can metalworking realistically be learned and practiced at home as a beginner?
The answer is a nuanced yes. Home-based metalworking isn’t just possible—it’s surprisingly accessible. While it may never altogether replace a professional, machine-filled shop, the modern beginner can create impressive, functional, and beautiful metal projects right from their own garage, shed, or spare room. But there are critical truths, honest challenges, and key skills you’ll need to face head-on. This article sets the record straight on what to expect, how to begin, and how to thrive as a home metalworker.
Setting Up Your Home Metalworking Space

Before diving into your first project, it’s essential to create a safe, efficient, and inspiration-friendly space. Unlike woodworking or painting, metalworking often requires controlled heat, powerful tools, and can produce noise and fumes. That doesn’t mean you need a massive workshop, though.
Space Considerations and Basics
Most beginners start in a garage, basement, or shed—anyplace with a sturdy, flat floor, good lighting, and separation from living areas. Make sure you:
- Prioritize ventilation. Open windows, fans, or ideally a small extractor system are key—especially if you use fluxes, paints, or create dust.
- Install a non-flammable workbench. Steel or heavy hardwood with a metal sheet on top is best. Avoid plastics or particle board near heat.
- Maintain order. Metal filings and tools are hazardous when underfoot. Use shelves, pegboards, or magnet strips to organize everything from hammers to files.
Tool Essentials for Beginners
Start with the basics:
- A small vise or clamp
- Hack saw or metal-cutting saw
- Set of files (bastard, smooth, round)
- Hammer (ball-peen is the classic)
- Pliers and tongs
- Measuring and marking tools (steel ruler, scriber, caliper)
- Personal protective equipment: safety glasses, gloves, ear plugs, dust mask
As you experiment, you’ll know when to upgrade—perhaps to a bench grinder, manual shear, or portable welder.
Example: The Adapted Home Workbench
Gary, a beginner in Ohio, transformed half his one-car garage into a neat metalworking hub with these steps: heavy-duty table, $30 thrifted vise, salvaged steel sheet, LED shop lights, and a basic set of hand tools. The total setup was under $400, ready for both cold and some hot work—no cutting corners on safety!
Understanding Materials: Metal Types and Their Nuances

All metals are not created equal, especially when it comes to how they behave under your tools. The choice of material isn’t just about looks—it’s about workability, safety, and your wallet.
The Big Three for Beginners
- Mild Steel: Cheap, strong, and forgiving. Mild steel holds its shape and is easy to drill, file, or weld. Ideal for brackets, garden structures, tooling, and small sculptures.
- Aluminum: Lightweight and rustproof. Aluminum is softer than steel; it can be cut and shaped with less force. However, it’s trickier to weld (special wire/gas needed) and scratches easily.
- Copper and Brass: The favorite for jewelry, small electronics, or decorative pieces. These are relatively soft and malleable, offering a nice patina as they age.
Form Factors: Sheets, Bars, and Beyond
- Sheet Metal: Great for boxes, panels, art. Usually comes in thicknesses from 0.3mm to a few millimeters.
- Bar Stock and Rods: Solid, strong, and perfect for handles, frames, and reinforcement.
- Tube and Pipe: Used in structural frameworks, furniture, and lamp-making.
Real-Life Project Stories
Take Marcia, who started making wall-mounted shelves. She experimented with store-bought mild steel angle bar. The material handled drilling, tapping, and painting without fuss. The same pattern in aluminum required less muscle but demanded more careful handling to avoid dents. Both versions worked—each with its own learning curve and finish.
Essential Skills: Cutting, Shaping, and Joining Metal
Metalworking isn’t a single skill—it’s a toolkit in itself. Build your foundation by mastering these core techniques:
1. Cutting Metal at Home
- Hack Sawing: With a steady hand and patience, a hack saw gets through most small-diameter rods and sheets. Pro tip: Apply long, even strokes and let the teeth, not your muscle, do the work. Invest in quality blades; cheap ones snap and frustrate.
- Snips and Shears: Basic tin snips cut thin sheet metal efficiently for light projects like planter boxes or enclosure panels.
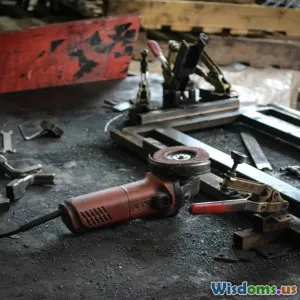
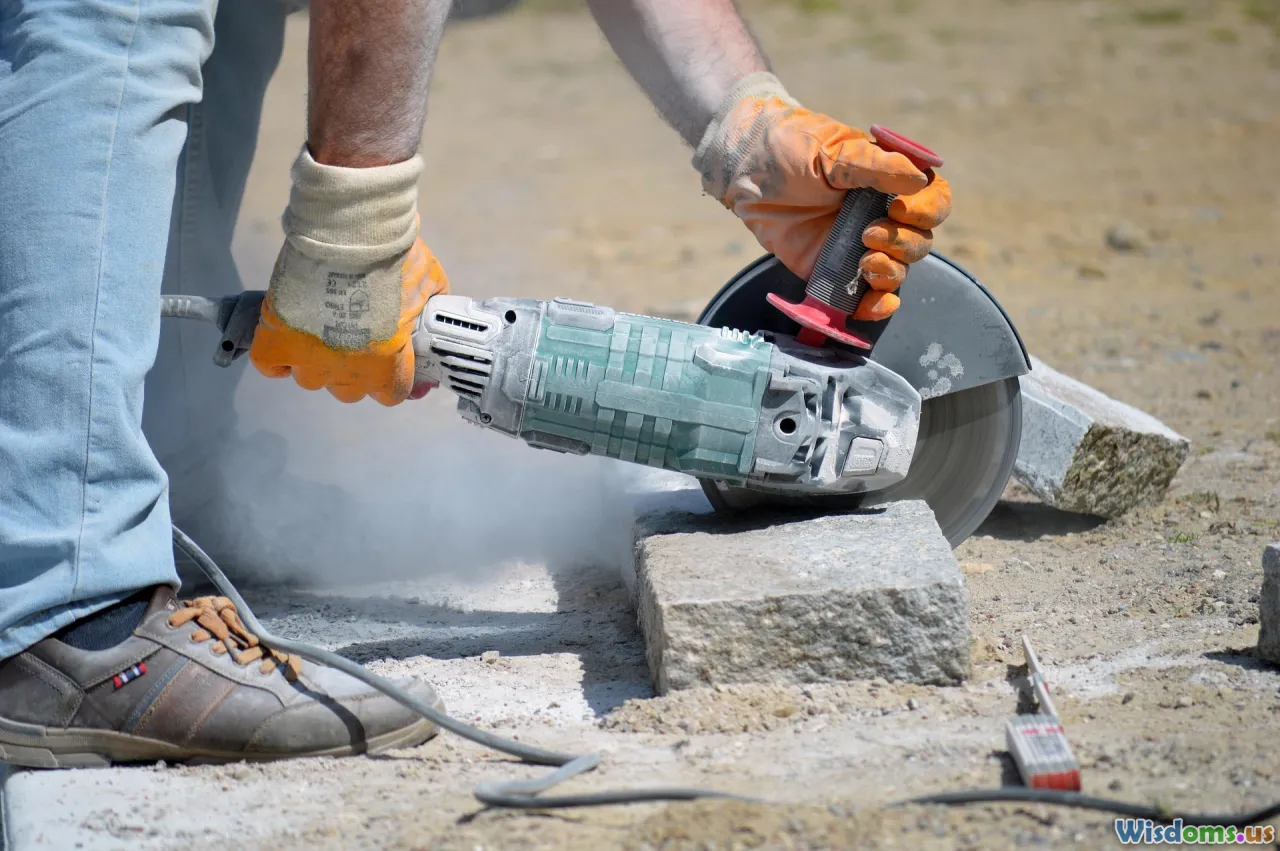
- Angle Grinder: Not a must-have, but invaluable. It cuts, deburrs, and even polishes—with the right wheels. Always wear eye and ear protection!
2. Shaping and Forming
- Filing: Sharp, hardened files remove burrs, smooth edges, and correct mistakes. Work progressively: rough file, then smooth, and finish by hand sanding with 120–600 grit sandpaper.
- Heat Bending: For mild steel and some aluminum, a propane torch and robust tongs let you heat-bend simple curves. Always keep a bucket of water handy and wear heat-resistant gloves.
- Simple Jigs: Wood blocks, bench vises, or DIY forming tools help bend angles or curves consistently.
3. Joining: Beyond Glue
- Bolting/Screwing: Drill holes and use metal-specific bolts/screws to hold parts. Consider washers to spread load.
- Brazing and Soldering: Beginner-friendly torch techniques join thinner metals (especially copper/brass) with metal-infused solder/flux.
- Welding: Entry-level MIG welders (inverter types under $300) are increasingly approachable but require respect for heat, skills, and safety. Practice on scrap before assembling a final piece.
Example: Simple Table Project
Mark, a home tinkerer, designed a compact worktable. He measured, sawed, and filed mild steel box section for four legs, joined them with bolts and right-angle brackets, then painted for rust resistance. His only power tool was a handheld drill—a perfect beginner’s success story.
Safety: The Non-Negotiable Foundations

In metalworking, every sharp edge or spark deserves complete respect. Safety is not a bureaucratic rule—it’s what lets you keep working, day after day, injury-free.
Protect Your Eyes, Skin, and Lungs
- Eye Protection: Always (no exceptions) wear impact-rated safety glasses, even if you’re just filing or drilling.
- Gloves: Use snug, cut-resistant gloves for handling sharp pieces. Avoid loose gloves around moving tools—they can snag.
- Work Apron and Ear Protection: Welders’ leather aprons guard against heat, while good earplugs or earmuffs prevent hearing damage with grinders or saws.
- Masks and Air Quality: Metal dust and fumes are hazardous. Dust masks suffice for sanding—professionals use P100 or fume-rated respirators for welding and cutting with torches indoors.
Fire Prevention
- Clear the Zone: Clear all flammable materials (solvents, rags, paper) far from your workspace. Sparks can fly many feet.
- Fire Extinguisher: Every home hobby metalworker should keep an ABC (multi-purpose) fire extinguisher nearby—period.
Example of a Close Call
Lucia, a novice welder, left a paint rag near her welding bench. A stray spark ignited the rag while her attention was elsewhere, causing an expensive (but lesson-filled) scare. Now, she swears by a meticulous five-minute "spark check" before and after every session.
Choosing Projects: From Practice to Pride

The key to success is not ambition alone—but picking projects that straddle challenge and achievability. Here are starter-friendly ideas that teach as you build:
Entry-Level Projects
- Tool/Hammer Rack: Use steel flat bar—cut, debur, drill holes, and screw to your wall. Simple, sturdy, and endlessly useful.
- Garden Stakes or Grow Markers: Shaped from recycled wire or bar, engraved with a center punch.
- Picture Frames or Wall Hooks: Small-in-scale, with endless customization for décor. Try bending shapes from copper or brass strip.
Incremental Difficulty
- Metal Boxes or Storage Bins: Tackle sheet metal cutting and joining—practice makes perfect on seams and corners.
- Fire Pit or Brazier: Use thicker mild steel for this challenge. You’ll hone cutting circles and test structural assembly.
- Simple Sculpture or Wall Art: Ideal for playing with shapes, finishes, and combinations of metals with wood or glass.
Highlight: The First-Milestone Moment
Pat, a beginner from Utah, spent weekends making steel hooks for garage storage using just a hacksaw, vise, and file. Months later, her confidence soared—she tackled a custom bike rack with bolted joints and painted finish. Start small, celebrate progress, and keep leveling up.
Tools: When and How to Upgrade for the Home Hobbyist

As skills grow, so does the itch for better, faster, and more specialized tools. The trick is to let your projects pull you forward—not marketing hype.
Smart Upgrades by Project Type
- Frequent Cutting: Consider a quality angle grinder (with cutoff, grinding, and flap discs) and a more powerful drill.
- Shaping Variety: Add a bench vise or small metal brake for repeat bends. A bench grinder polishes quickly.
- Joining Mastery: Experiment with an entry-level MIG or stick welder, plus safety gear, if you aspire to strong, permanent joins.
- Measurement and Precision: Upgrade to digital calipers and combination squares when you crave accurate alignment.
Budget Considerations
Often, gently used or older tools from classifieds, estate sales, or auctions beat budget new tools. Ask local hobbyist or welding clubs for leads—they’re often generous with advice or extra equipment.
Critical Advice: Buy As You Go
Dalton, after an expensive early binge on unnecessary tools, now recommends: “Buy exactly what's needed for your next project—and nothing more, until it’s finished. Your skills and needs change as you grow."
Troubleshooting and Avoiding Common Beginner Mistakes

All learning curves are riddled with missteps—but in metalworking, proper troubleshooting speeds learning and saves costly headaches.
Frequent Issues and Solutions
- Rough or Crooked Cuts: Readjust your saw-blade angle, use more secure clamping, and check for dull blades. Deburr every fresh edge with a file.
- Misaligned Joints: Always dry-fit parts before joining. Mark alignments with a scriber or pencil. Practice precise measuring.
- Warping When Heating/Bending: Reduce heat or clamp more firmly near the bend. For welding, let each section cool slowly to avoid “pulling” the structure out of true.
Embrace the Process
Metalworking teaches patience. Every imperfectly drilled hole or scuffed finish is an on-the-job lesson. Keep a scrap bin for offcuts—priceless for practice or backup material.
Nurturing the Maker's Mindset: Creativity, Community, and Progress

Beyond skill and safety, home metalworking is about self-discovery and connection. The journey from beginner to confident maker involves more than tools or technique.
Feed Your Creativity
Experiment with textures: hammered finishes, brushed stainless, or antique patina. Mix materials—copper with wood, steel with glass. Many of history’s best-makers were relentless tinkerers.
Connect with Others
- Online Communities: Reddit’s metalworking forum, Home Shop Machinist boards, Facebook groups—these welcome all experience levels.
- Classes and Makerspaces: Local libraries, continuing education programs, or nonprofit makerspaces often lend access to advanced tools and friendly teachers.
- Share and Ask: Post triumphs, failures, and troubleshoot with the group. The feedback, encouragement, and mentorship can spark new ideas.
Example: Making It Social
Owen, a hobbyist in England, gave weekly progress updates on his garden trellis project to a YouTube DIY community. Tips from the crowd helped him improve weld quality and powder-coat durability—and inspired others to start their projects.
Learning to work metal at home transforms more than just raw material. Each cut and curve connects you to centuries of craft, ingenious creativity, and the pride of making something real, functional, and lasting. So embrace the sparks, the sweat, and most of all, the satisfaction—a new generation of home metalworkers is forging their tools, projects, and friendships one piece at a time.
Rate the Post
User Reviews
Other posts in Jewelry Making


Popular Posts


