Top Five Plyometric Drills Every Volleyball Athlete Should Try
30 min read Boost vertical jump, quickness, and stability with five volleyball-specific plyometric drills, complete with cues, progressions, and safety tips to convert explosive power into better approaches, blocks, and court coverage. (0 Reviews)
Volleyball is a game of small margins decided above the net and in the air. A quicker first step to the outside, a higher touch point on the block, a faster countermovement before a spike—these snapshots of performance all rely on your ability to store and release elastic energy in fractions of a second. That’s exactly what smart plyometric training improves.
Below you’ll find five volleyball-specific plyometric drills that are practical, coachable, and time-efficient, plus guidance on how to progress them, program them around practice and lifting, and measure gains that matter on court. Whether you’re a high school outside hitter or a pro libero, these drills can sharpen your jump, speed up your transitions, and harden your landing mechanics so you can repeat high-quality efforts deep into the fifth set.
What Makes Plyometrics So Effective for Volleyball
Volleyball players live in the stretch-shortening cycle (SSC)—the rapid switch from muscle lengthening to shortening that powers fast, springy movement. In practice, SSC shows up in your countermovement before a jump, your shuffle-stop when moving laterally, and your drop step when tracking a tip.
Key concepts to understand:
- Elastic energy and SSC timing: In fast SSC actions, ground contact times are typically under 250 milliseconds. The shorter the amortization phase (the instant between landing and takeoff), the more elastic energy you preserve for propulsion.
- Rate of force development (RFD): It’s not just how strong you are, but how quickly you can apply that strength—a decisive factor in tight blocking and rapid approach jumps.
- Tendon stiffness: Stiffer tendons can return more elastic energy, behaving like compressed springs. Well-managed plyometric work helps optimize stiffness for snap without sacrificing control.
What does the research suggest? Systematic reviews of youth and collegiate athletes show plyometric training can improve countermovement jump height, approach jump performance, and change-of-direction speed in as few as 6–8 weeks. Gains depend on baseline training age, technique quality, and programming, but improvements of 5–10% in vertical jump measures are common when athletes consistently apply progressive overload and maintain recovery.
In volleyball terms, that can mean touching the ball 2–4 cm higher on a block or hitting seam angles you couldn’t reach last season. Even more importantly, plyometrics reinforce safe landings and dynamic control—two keys to reducing lower-limb injury risk across a long season.
Safety, Readiness, and Equipment Checklist

Before diving into explosive work, set the foundation:
Readiness checks:
- Single-leg balance: Stand barefoot, eyes forward, hands on hips. Hold for 30 seconds each side without excessive wobble. Add a slight knee bend to mimic landing positions.
- Bodyweight squat and split squat: You should control full range without collapsing knees inward or arching your back.
- Landing stick: Step off a 15–20 cm surface, land quietly with knees tracking over toes, hips back, chest stable, and hold for 2 seconds. Repeat for 5 smooth reps.
Equipment and surfaces:
- Surface: Hardwood court or a firm rubberized floor is ideal. Turf is acceptable; avoid concrete.
- Footwear: Lightweight court shoes with a responsive midsole and stable heel. If you wear ankle braces, account for the small change in proprioception.
- Boxes and hurdles: Use sturdy boxes with non-slip tops. For hurdles, start with 15–30 cm soft barriers or lines on the floor.
- Space: At least 5–7 meters of clear space is sufficient for approach work and bounds.
Volume and spacing guidelines:
- Beginners: 40–80 total ground contacts per session, 1–2 sessions per week.
- Intermediate/advanced: 80–120 contacts per session, 2–3 sessions per week, cycling intensity across days.
- Rest: High-quality plyometrics need quality rest. Use 30–60 seconds between low contacts (pogos) and 90–150 seconds between high-output jumps (depth jumps, approach jumps).
Now let’s get to the top five drills.
Drill 1: Depth Drops to Stick and Absorb

Why it matters for volleyball: If you can’t land well, you won’t jump well for long. Depth drops teach you how to accept force safely, setting the stage for more advanced reactive work. They also groove the exact landing shapes you need after blocks and spikes—hips back, knees aligned, torso controlled, and weight distributed through the midfoot.
How to do it:
- Set a 20–30 cm box (start lower if you’re new) and stand tall with toes slightly over the edge.
- Step off, don’t jump down. Land on both feet simultaneously, feet shoulder-width apart.
- On landing, think: “quiet feet, knees track over toes, hips back.” Sink into a 30–45° knee bend and hold (stick) for 2 seconds with your chest proud.
- Reset and repeat.
Sets and reps:
- 3–5 sets of 3–5 reps, 60–90 seconds rest.
- Beginners stay at 20–30 cm. Intermediate athletes may progress to 30–45 cm once they can consistently land quietly with perfect alignment.
Coaching cues and common fixes:
- Cue “hips, knees, ankles bend together” to avoid stiff-knee landings.
- If knees cave inward, cue “push the floor wide” or use a light mini-band just above the knees as feedback.
- Land midfoot-to-heel softly; avoid heavy forefoot slaps.
Progressions:
- Single-leg depth drops to stick: Step off and land on one foot, keeping your hip, knee, and foot aligned. Start from 10–20 cm.
- Depth drop to vertical jump: Land, absorb, then explode up after a controlled stick. Maintain height-quality over quantity.
Transfer to court:
- Block landings: Practice depth drop sticks, then immediately move into a lateral shuffle to mimic block-and-chase patterns.
- Post-attack control: Single-leg sticks reflect many real landing scenarios after off-balance hits.
Drill 2: Countermovement Jumps (CMJ) with Arm Swing
Why it matters for volleyball: CMJs are the bread-and-butter measure for vertical power. Incorporating an aggressive arm swing better mimics your swing-block and approach mechanics, letting you convert more power through the trunk and hips.
How to do it:
- Stand tall with feet hip- to shoulder-width apart.
- Drop into a quick, controlled countermovement—think “fast down, fast up”—to about a quarter squat (roughly 60–80° knee bend).
- Sweep the arms back during the drop, then violently swing them up as you drive through the floor and triple-extend (hips, knees, ankles).
- Land softly in an athletic stance and reset.
Sets and reps:
- Power focus: 4–6 sets of 3–5 reps, 90–120 seconds rest. Keep every rep crisp and similar speed.
- Quality filter: Stop a set if jump height drops noticeably or if you start searching for extra depth.
Helpful variations:
- Pause CMJ: Hold the bottom for 1–2 seconds to remove the elastic rebound; teaches pure concentric drive and posture control.
- Hands-on-hips CMJ: Standardizes arm involvement for testing days.
- Loaded vest CMJ: Light load (2–8% body mass) for advanced athletes in off-season blocks to increase impulse. Maintain speed.
Measurement ideas:
- Mark a wall or use a Vertec for approach and standing reach difference.
- Use smartphone slow-motion to check depth and speed; free apps or affordable tools can estimate jump height from flight time.
Transfer to court:
- Attackers: Practice CMJ sets followed by three- or four-step approach footwork, linking vertical power to rhythm.
- Liberos: Use low reps to maintain spring for emergency jumps without residual fatigue.
Drill 3: Lateral Skater Bounds with Reactive Stick
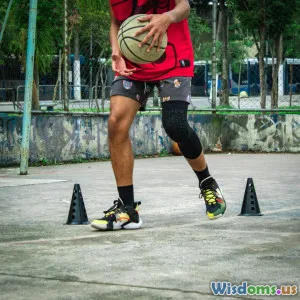
Why it matters for volleyball: Many decisive plays happen side-to-side—closing the block, chasing a tip, or digging cross-court heat. Skater bounds build lateral hip power and single-leg control, creating strong frontal-plane braking and propulsive ability.
How to do it:
- Start on your right foot, knee slightly bent, hips back.
- Bound laterally to the left, landing on the left foot with a soft, quiet stick. Keep the knee stacked over the foot; don’t let it cave inward.
- Pause for 1–2 seconds to settle balance, then bound back to the right.
- Maintain level hips; avoid bobbing up and down.
Sets and reps:
- 3–5 sets of 4–6 bounds each direction, 60–90 seconds rest.
Progressions:
- Continuous skater bounds: Remove the stick and bound rhythmically, minimizing ground contact while keeping control.
- Distance targets: Place cones or floor tape to gradually increase bound distance by 5–10 cm as quality allows.
- Single-leg load: For advanced athletes, hold a light med ball (2–3 kg) at chest height to challenge trunk control.
Coaching cues and fixes:
- “Land tall” to prevent collapsing at the hip.
- “Knee over second toe” keeps alignment honest.
- If balance is shaky, reduce distance and stick longer.
Transfer to court:
- Middle blockers: Mirror the timing of slide coverage with bounded steps.
- Defensive specialists: Practice skater bounds into a drop step or sprawl drill to link plyo control to ball pursuit.
Drill 4: Approach Jump Pop-Ups (3-Step to Single-Leg to Two-Leg)
Why it matters for volleyball: The approach jump is your money skill—rhythm, speed, penultimate step mechanics, and arm swing combine for your highest touches. This drill breaks the approach into controllable pop-up reps that emphasize timing and the “penultimate” step—the long, fast step that stores elastic energy for takeoff.
How to do it:
- Set a short runway: 5–7 meters is plenty.
- Use your normal approach pattern (e.g., left-right-left for right-handed hitters). Focus on a long, quick penultimate step and a shorter, aggressive final step into takeoff.
- Pop up vertically with a sharp arm swing, aiming for height rather than drift.
- Land softly and jog back; maintain consistent rhythm.
Sets and reps:
- 4–6 sets of 2–3 high-quality pop-ups, 90–150 seconds rest.
Progressions and refinements:
- Single-leg penultimate rehearse: Run-up into the penultimate, quick plant, and a small pop-up. This isolates timing without full effort.
- Approach with target touch: Hang a strap or use a taped line from a basketball hoop; aim for consistent touches within 2–3 cm of your best.
- Approach to block step: Practice a pop-up, land, and immediately perform a two-step block movement to train elastic recoil and transition.
Coaching cues and fixes:
- “Fast, long penultimate; quick, short plant” to load the spring.
- “Arm swing up and through” to connect trunk and hips.
- If you drift forward, cue “eyes up, jump up” and slightly shorten run-up speed.
Transfer to court:
- Outsides/Opposites: Run variations from different start points to simulate out-of-system balls.
- Middles: Use shorter, sharper approaches to mimic quick sets and 1s.
Drill 5: Low Hurdle Hops for Reactive Strength Index (RSI)
Why it matters for volleyball: RSI blends jump height and contact time—how springy and fast you are. Low hurdle hops train short ground contacts that translate to quicker block closes and rapid transition jumping.
How to do it:
- Set 3–6 low hurdles (10–25 cm) spaced 60–80 cm apart, or mark lines on the floor.
- Stand tall and begin with ankle-dominant pogo hops, keeping knees relatively straight and using the ankles and calves like springs.
- Hop over each hurdle with minimal knee bend, aiming for short, snappy contacts and a rhythmic cadence.
- Land quietly and keep your torso stacked over midfoot; think “down-up” rather than “sit then jump.”
Sets and reps:
- 3–5 sets of 2–3 passes through the hurdle line, 45–75 seconds rest.
Progressions:
- Single-leg pogo runs: Only for advanced, strong athletes with pristine landing mechanics.
- Mixed heights: Alternate low and medium hurdles to challenge timing.
- Depth-to-hurdle combo: Step off a 15–20 cm box, quick contact, then immediately into two low hurdle hops.
Coaching cues and fixes:
- “Stiff but springy ankles” to emphasize elastic rebound.
- “Quiet contacts, fast rhythm.” If contacts get slow or you fold at the knees, reduce hurdle height.
Transfer to court:
- Blockers: Pair low hurdle hops with a 2–3 step lateral block footwork drill to rehearse fast SSC between movements.
- Setters: Short-contact pogo patterns help maintain spring for late-match jump sets.
How to Program These Drills: Off-Season and In-Season

A little planning turns great drills into reliable performance gains. Use these templates as a starting point and adjust based on practice volume, matches, and lifting.
Off-season (build capacity and power):
- Frequency: 2–3 sessions per week, non-consecutive days.
- Structure: Technical landing work first, then power jumps, then reactive hops. Heavy lower-body strength on separate or earlier days.
- Example session:
- Warm-up (10–12 min)
- Depth drops to stick: 4x4
- CMJ with arm swing: 5x4
- Skater bounds continuous: 4x6 each side
- Low hurdle hops: 4x2 passes
- Optional approach pop-ups: 3x2
In-season (maintain spring, manage fatigue):
- Frequency: 1–2 sessions per week, micro-dose around practices.
- Keep total contacts lower (40–80 per session), with more emphasis on quality and specific patterns like approach pop-ups and short-contact hops.
- Place plyos 24–48 hours before matches or as a short primer 24 hours out with reduced volume.
Pairing with strength work:
- Contrast sets: Pair a heavy squat (2–4 reps at 80–85% 1RM) with 3 CMJs, rest 2–3 minutes. Great in off-season blocks.
- Upper/lower splits: On heavy lower-body days, limit plyos to low contacts and technique; on lighter days, do the higher-output jumps.
Monitoring Progress Without Fancy Tech

You don’t need a lab to know if you’re getting springier.
Simple tests:
- Countermovement jump (hands on hips): Measure best of 3–5 attempts weekly. Record height from flight time (using a smartphone app) or use a marked wall.
- Approach jump touch: Track best touch distance relative to standing reach. Take 3–4 attempts after a standard warm-up.
- RSI via 10/5 test: Perform 10 rapid ankle hops and record the best 5-consecutive ground contacts with a metronome or smartphone slow-mo. Estimate RSI as jump height divided by contact time; consistency matters as much as the number.
Readiness checks:
- Subjective feel: Rate leg stiffness/soreness (1–5) pre-session. If soreness ≥4 or jumps drop >10% from typical, reduce volume or switch to technique work.
- Landing quality: Film from the front for knee alignment and from the side for trunk position. Smooth, quiet landings beat a slightly higher but sloppy jump.
Goal setting:
- Short term (4 weeks): Aim for consistent technique, a 2–3 cm improvement in CMJ, and crisper contacts on hurdle hops.
- Medium term (8–12 weeks): Target 5–8% gains in CMJ/approach jump, improved skater bound distance, and lower perceived effort in transitions.
Common Mistakes and Quick Fixes
- Jumping too deep: Over-squatting kills elastic timing. Fix: Limit CMJ depth; use a box behind you as a tactile cue for a shallow drop.
- Neglecting landings: If the landing is loud, force acceptance is poor. Fix: Include 2–3 sets of depth drop sticks every session.
- Too many contacts too soon: Fatigue turns plyos into conditioning. Fix: Trim volume; stop sets once height or rhythm drops.
- Ignoring lateral work: Volleyball isn’t just vertical. Fix: Keep skater bounds or lateral hurdle hops in weekly rotation.
- Not resting enough: Power needs rest to reload. Fix: Set a timer for 60–120 seconds between power sets.
- Progressing box height too fast: Depth jumps are advanced. Fix: Master 20–30 cm before moving higher; quality > height.
A 4-Week Sample Progression Plan

Assume two plyometric sessions per week alongside two strength sessions and volleyball practice 3–5 times per week. Adjust to your schedule.
Week 1 (Technique emphasis):
- Session A
- Depth drops to stick: 4x4 (20–30 cm)
- CMJ with arm swing: 5x3
- Skater bounds with stick: 4x4 each side
- Low hurdle hops: 3x2 passes
- Session B
- Single-leg depth drop to stick: 3x3 each (10–20 cm)
- Pause CMJ (1–2 s hold): 4x3
- Approach pop-ups: 4x2
- Pogo hops in place: 3x20 contacts
Week 2 (Add small intensity):
- Session A
- Depth drop to vertical jump: 4x3 (20–30 cm)
- CMJ with arm swing: 5x4
- Skater bounds continuous: 4x6 each side
- Low hurdle hops: 4x2 passes
- Session B
- Single-leg depth drop to stick: 3x3 each
- Hands-on-hips CMJ (test best of 5): 3x3 plus 2–3 test reps
- Approach pop-ups with target: 4x2
- Pogo hops forward: 3x15 contacts
Week 3 (Power focus):
- Session A
- Depth drops to stick: 3x4 (30–40 cm if quality holds)
- CMJ with arm swing (attempt PRs): 6x3
- Skater bounds distance targets: 4x5 each side
- Low hurdle hops mixed heights: 4x2 passes
- Session B
- Depth-to-hurdle combo (15–20 cm box + 2 hurdles): 4x2
- Approach pop-ups: 5x2
- Pause CMJ: 3x3
- Pogo runs: 3x12 contacts
Week 4 (Consolidate, slight deload):
- Session A
- Depth drops to stick: 3x3 (back to 20–30 cm)
- CMJ with arm swing: 4x3
- Skater bounds with stick: 3x4 each side
- Low hurdle hops: 3x2 passes
- Session B
- Approach jump test (best of 4)
- Hands-on-hips CMJ test (best of 5)
- Pogo hops in place: 2x20 contacts
- Light mobility and trunk work
Notes:
- Reduce volume by 20–30% during heavy match weeks.
- If testing numbers dip >10% from typical, prioritize sleep and reduce contacts the next session.
Warm-Up Blueprint for Plyo Days (8–12 Minutes)
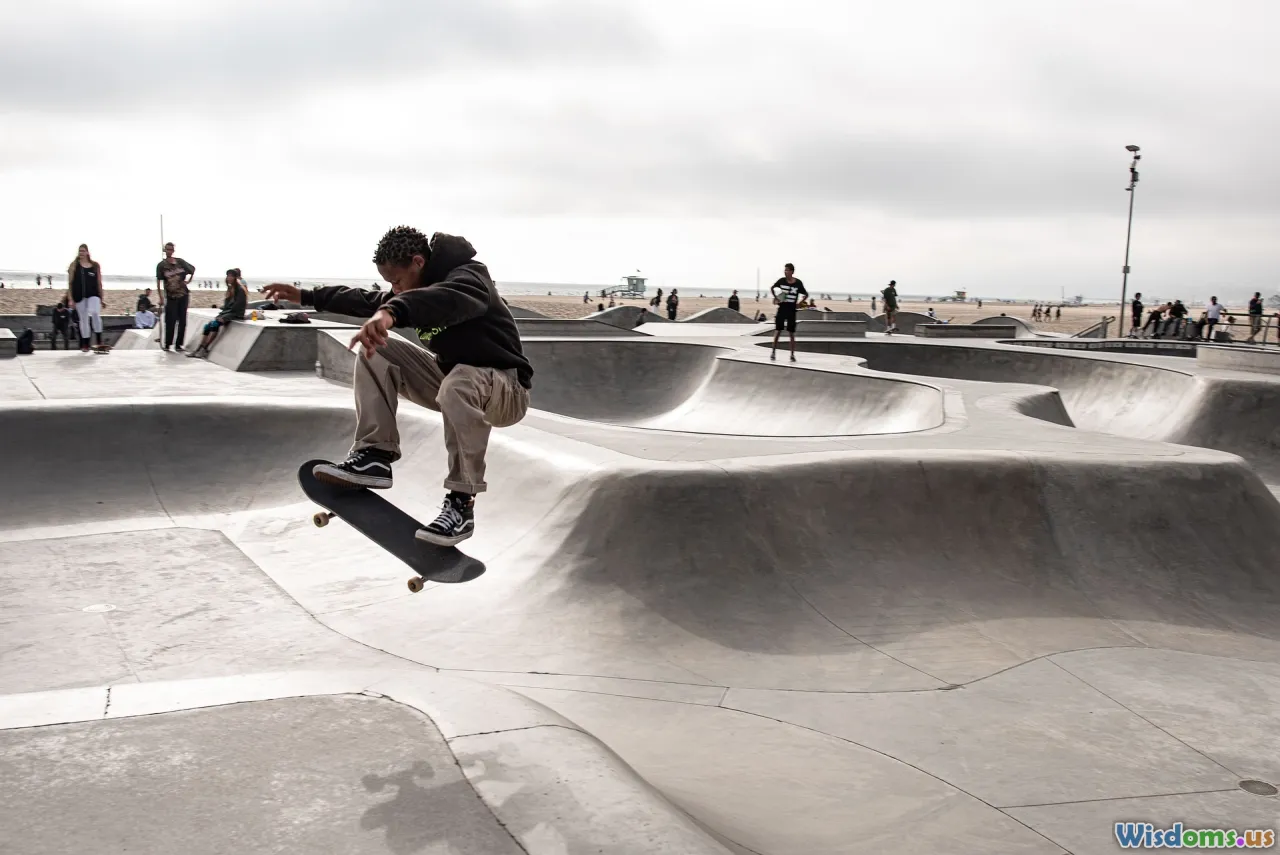
Use a RAMP structure: Raise, Activate, Mobilize, Potentiate.
- Raise (2–3 min): Light jog or jump rope; lateral shuffles; carioca.
- Activate (2–3 min): Glute bridges x10, mini-band lateral walks x10 each way, calf raises x10, forefoot rocks x10.
- Mobilize (2–3 min): Ankle dorsiflexion rocks x8 each, hip flexor stretch with overhead reach x20 seconds each, thoracic rotations x6 each.
- Potentiate (2–3 min): Ankling drills x20 m, A-skips x20 m, 2x3 CMJ at 70–80% effort, 2x10 pogo hops low amplitude.
This warm-up primes the ankles, knees, and hips for elastic loading while embedding landing cues before the work gets intense.
Recovery and Nutrition Notes for Jumpers

High-output plyos tax connective tissue as much as muscles. Build resilience with smart recovery:
- Sleep: Aim for 8 hours on average; even a 30–45 minute nap after heavy sessions can help restore power later in the day.
- Soft-tissue care: 5–10 minutes of calf and lateral hip soft-tissue work post-session can reduce next-day tightness. Light mobility beats aggressive stretching right after explosive work.
- Calf-soleus strength: Twice weekly, add bent-knee calf raises (3x12–15) to bolster Achilles and improve pogo performance.
- Collagen/gelatin plus vitamin C: A practical strategy some athletes use is 10–15 g gelatin or collagen with vitamin C 30–60 minutes before bounding sessions to support collagen synthesis. Discuss with a qualified professional if you have dietary restrictions.
- Hydration and electrolytes: Even mild dehydration dampens power output; keep fluids steady throughout practice and training days.
Pain rules:
- Joint pain during or after plyos isn’t normal. If pain persists beyond 48 hours or alters your movement, scale intensity, swap to low-impact options (bike sprints, med-ball throws), and consult a clinician if needed.
Equipment and Space Modifications
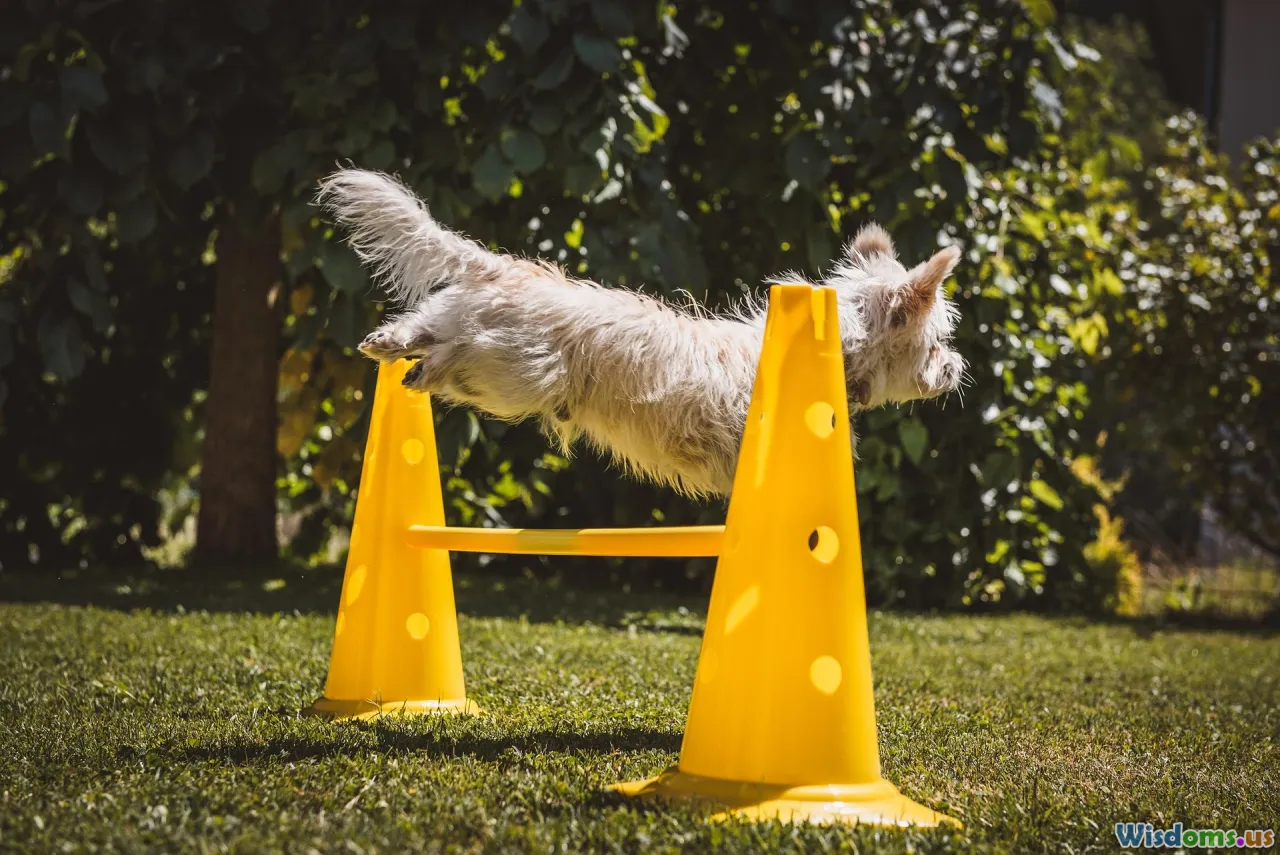
No fancy setup? No problem.
- No hurdles: Use court lines or 2.5 cm mats as low targets. Chalk or tape works too.
- No box: A stable step or a single bumper plate can serve for low depth drops.
- Low ceilings: Swap max-vertical CMJs for pause CMJs and pogos; do approach footwork outside or in a gym with clearance.
- Crowded practice: Micro-dose—2 sets of depth sticks and 2 sets of CMJ before team drills as a primer.
Putting It All Together on Court Day
On match day, you want to feel snappy without fatigue.
- Primer 4–6 hours before: 2x3 CMJ at 70–80%, 2 passes of low hurdle hops, light skater bounds with sticks. Stop while you’re feeling springy.
- Pre-warm-up: 5 minutes of ankle and hip prep, 2x5 pogos, 2x2 approach pop-ups.
- Post-match: 5–8 minutes of walking, calf/hip mobility, hydration, and a protein-rich meal within 1–2 hours.
Plyometrics don’t replace volleyball—they sharpen it. When you master landing, dial in rhythm, and progress volume with patience, your approach jump feels easier, your block closes faster, and your body holds up to the grind of rallies and travel. Start with the five drills above, track your numbers, and let consistent, quality work stack week after week until your play above the net tells the story for you.
Rate the Post
User Reviews
Other posts in Sports Training & Performance
Popular Posts


