What Most DIYers Miss When Restoring Antique Armoires
15 min read Discover the essential steps and common pitfalls DIY enthusiasts overlook when restoring antique armoires for lasting beauty and value. (0 Reviews)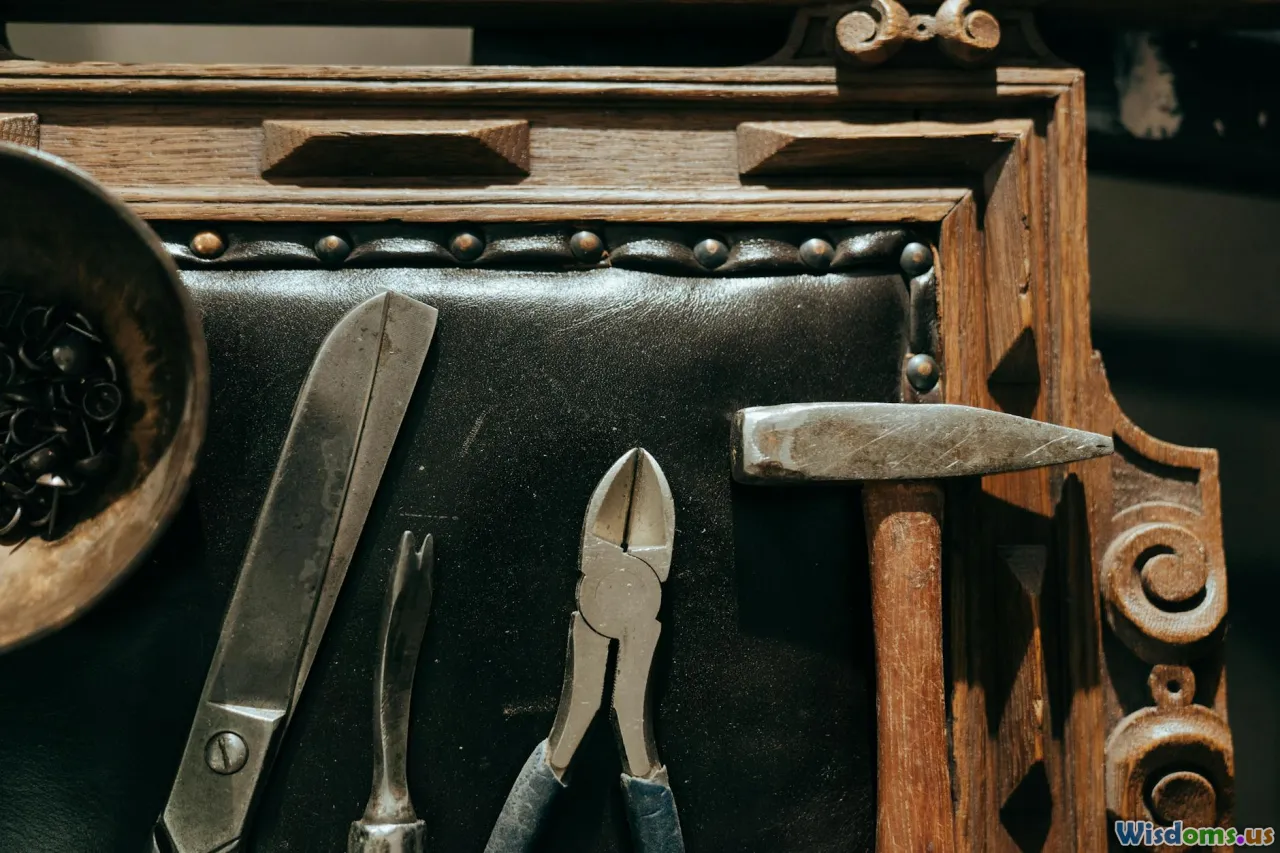
What Most DIYers Miss When Restoring Antique Armoires
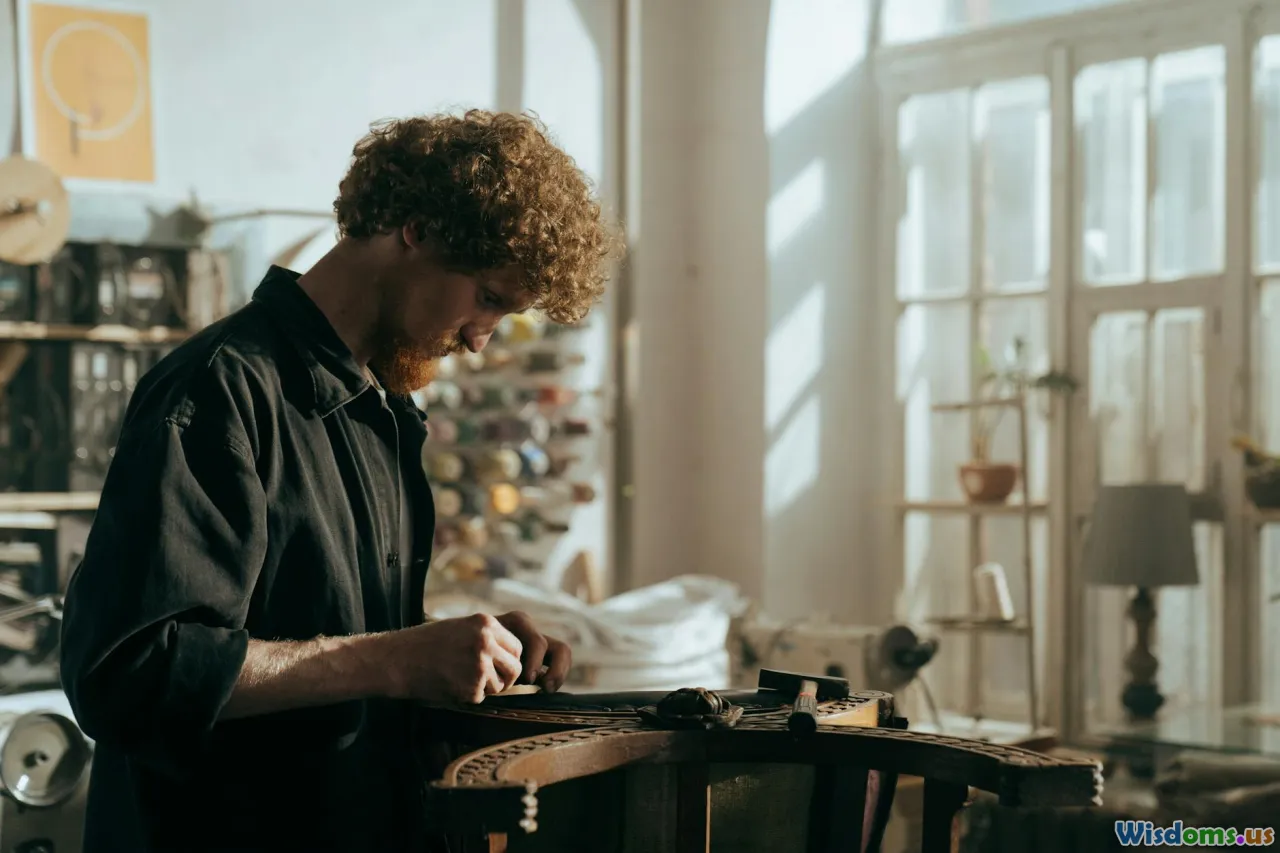
Restoring antique armoires can feel like unlocking a treasure chest from the past—except these wooden heirlooms require not just admiration but careful craftsmanship to truly shine again. However, while countless guides cover sanding, reassembling, and repainting, there are several often-overlooked details that, if missed, can undermine both the beauty and longevity of your restoration efforts.
In this article, we uncover the commonly missed nuances and share expert-backed tips to help you elevate your restoration project from simply revived to truly remarkable.
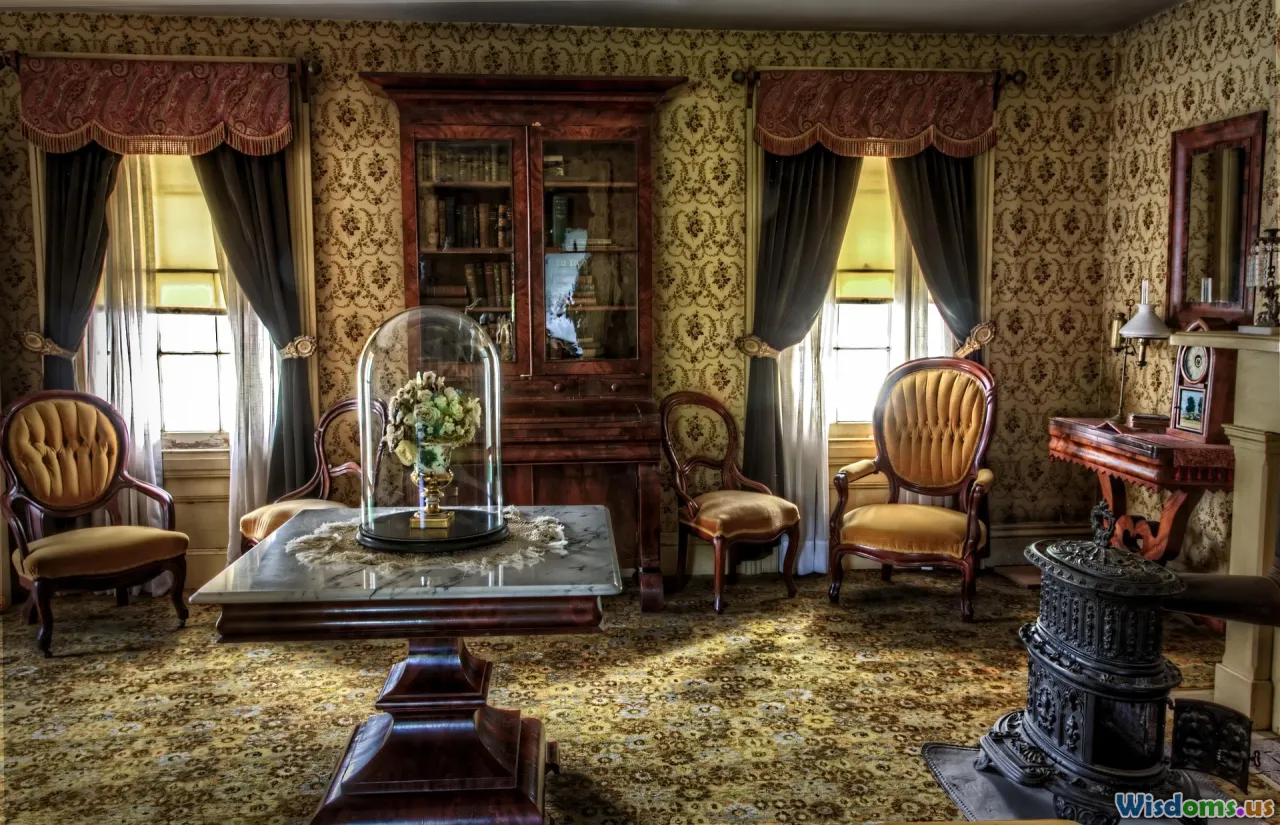
Understanding Historical Context Matters

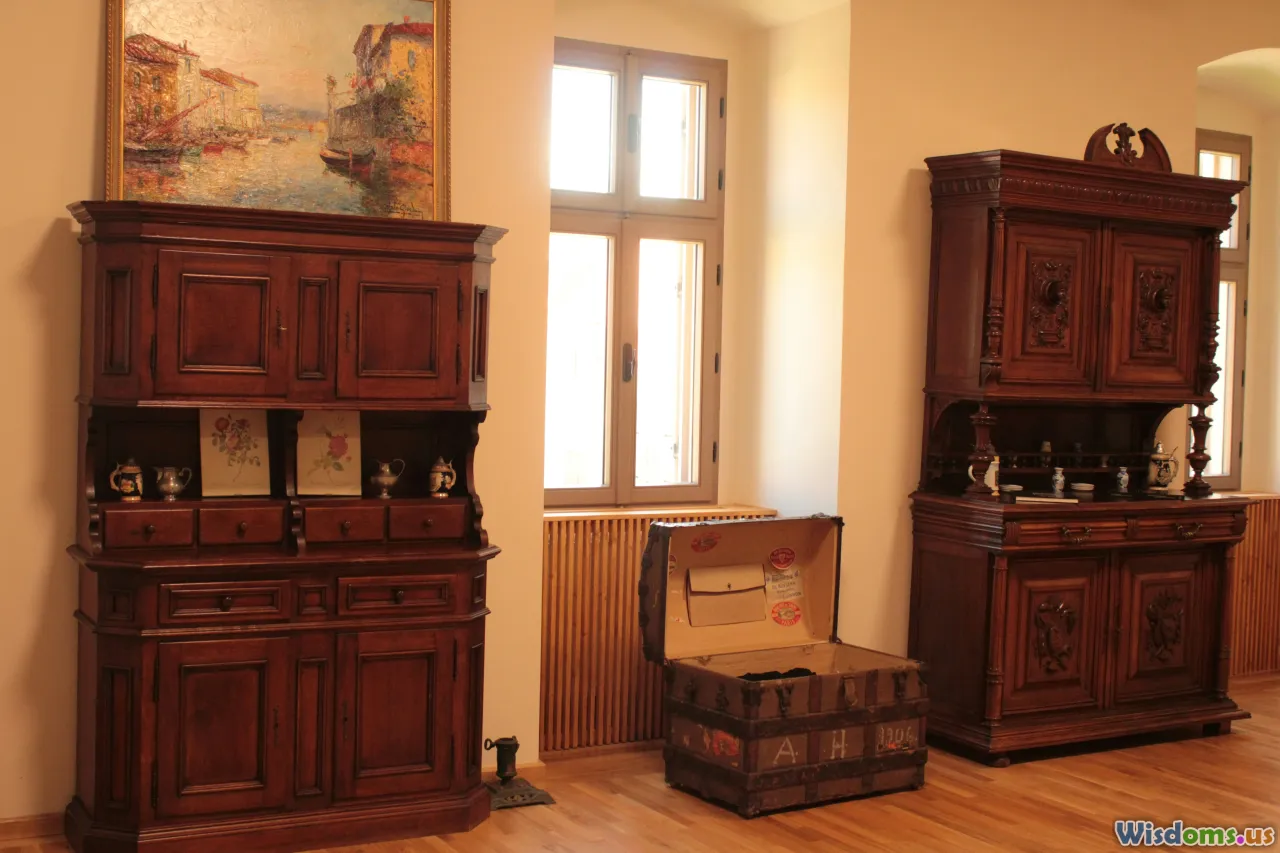
One crucial, yet frequently ignored, step is studying the origin and era of the armoire. Each period—Victorian, Art Deco, French Provincial, or Colonial—affects how the piece was constructed and which methods are authentic for restoration.
For instance, many late Victorian armoires showcase elaborate carvings and were finished with shellac, while French Provincial styles favor gentle curves and lighter finishes like wax. Ignoring this context can lead to using the wrong materials or finishes, causing a mismatch that undermines the piece’s historical value.
Expert tip: Seek out hallmarks like joinery style (dovetail, mortise, tenon) and hardware. For example, machine-cut dovetails and Phillips screws often indicate a later reproduction, while hand-cut dovetails and slotted screws suggest genuine antiques. Spend time researching catalogues, museum pieces, or antique shops—this deeper approach pays homage to history and value.
Hidden Structural Issues: More Than Meets the Eye
Under layers of paint or varnish, antique armoires may suffer from hidden threats, including woodworm, rot, or previous botched repairs. Many DIYers focus on surface beauty, inadvertently skipping a comprehensive structural check.
Case in point: A mid-century armoire gifted to a family had a wobbly door that seemed a minor nuisance. Upon careful inspection, it turned out that one of the stiles was riddled with old insect damage, requiring significant reinforcement—a problem invisible at first glance.
Actionable advice:
- Check joints: Disassemble doors and drawers. Press gently on joints to detect give or soft spots.
- Look for sawdust trails: A sign of active pests like woodworm.
- Gently test solidity: Use a blunt implement to tap large panels. Listen for hollow or crumbly sounds indicating internal damage.
- UV light inspection: A portable UV lamp can reveal hidden repairs and glue lines under the finish.
Always address structural issues before refining the finish. A beautiful surface is meaningless if the furniture is one shake away from collapse.
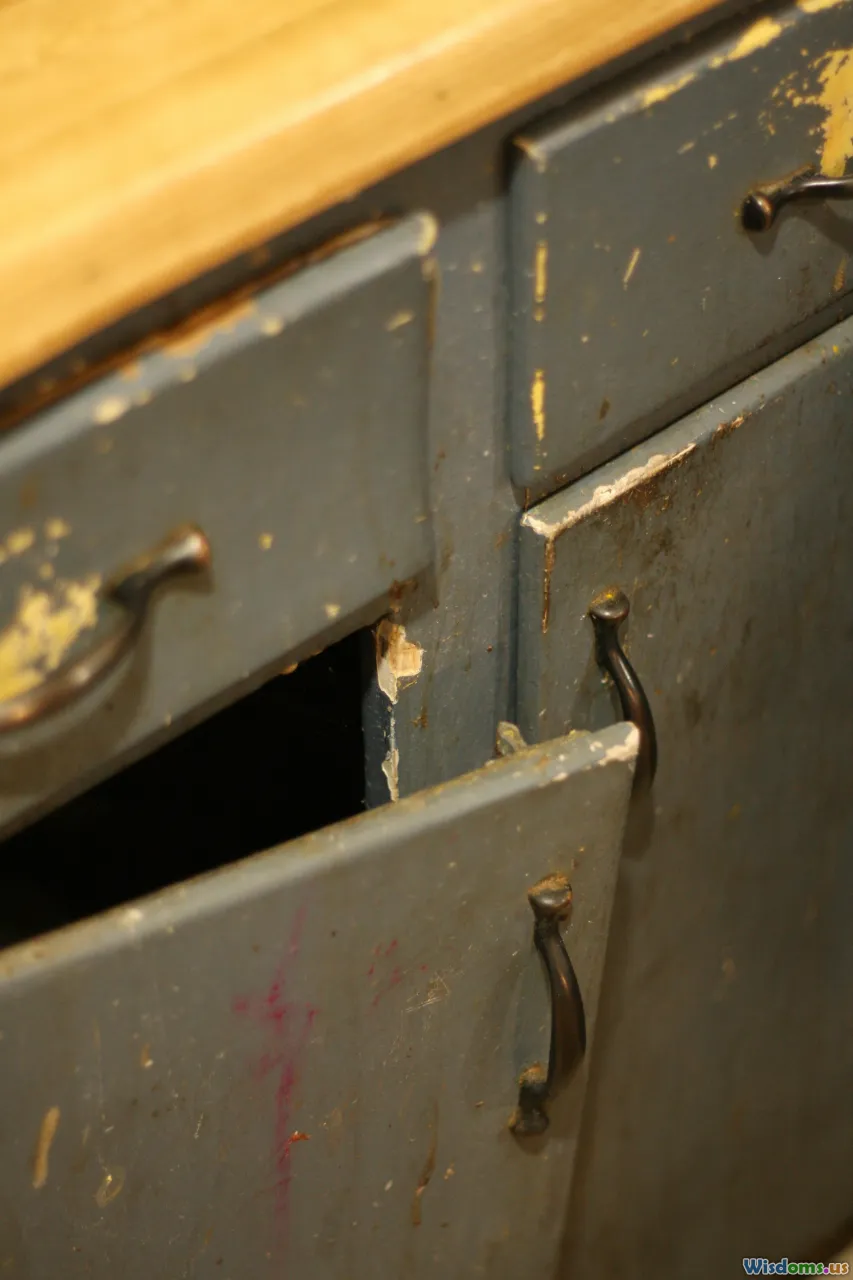
The Importance of Original Hardware
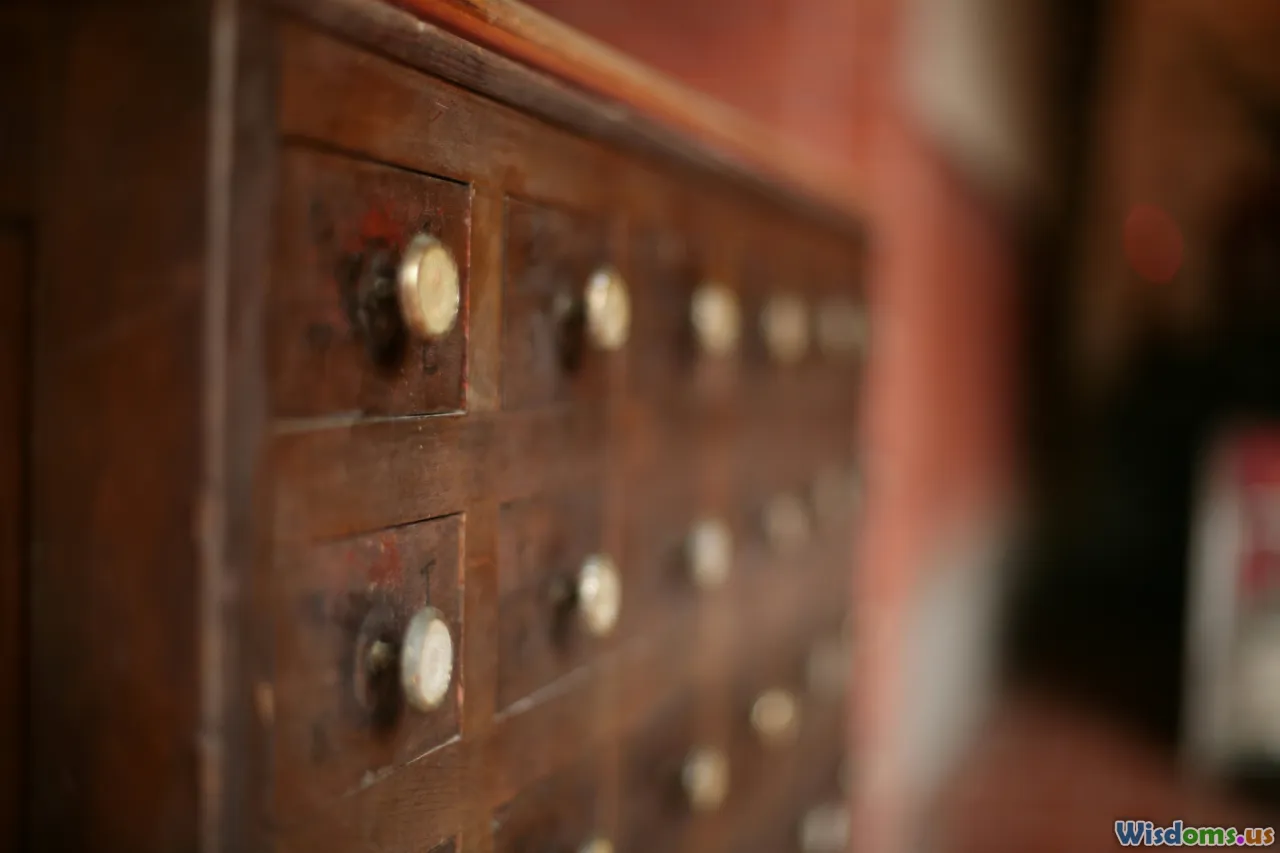
A dazzling finish can be undone by replacing century-old brass knobs with modern hardware. Antique hardware not only adds authenticity but also value. However, it is all too common for DIYers to misplace, misinstall, or inadvertently damage original pieces.
Consider the story of a 1920s Art Nouveau armoire whose value dropped significantly after restoration—the original bronze pulls were replaced with generic ones from a hardware store, destroying its authenticity.
What to do instead:
- Catalog all hardware before removing. Take photos and label each item.
- Gently clean brass or iron fittings using a mild solution or commercial brass cleaner—test in an inconspicuous spot first.
- If hardware is missing or broken, source reproductions from specialty antique supply stores. Online resources like House of Antique Hardware or restoration-focused Etsy shops can surprise with close matches.
- Avoid over-polishing. Slight patina is prized and adds to the story of the piece.
Choosing the Right Restoration Techniques
Restoration is not the same as refinishing. The first rule: respect the patina. Patina—natural wear developed over time—not only preserves value but also distinguishes a genuine antique from a mere replica.
Frequently, DIYers reach for sanders and strip finishes indiscriminately. While a shiny new look might seem appealing, over-sanding erases character-defining marks like subtle scratches, color variations, and hand-planed surfaces.
Examples and pitfalls:
- Aggressive sanding can obliterate hand-carved details and soften crisp moldings.
- Universal use of polyurethane creates an overly glossy, artificial look. Instead, traditional finishes—shellac, wax, or oil—offer a soft sheen and are more in keeping with history.
How-to:
- Spot cleaning: Use ultra-fine (0000) steel wool lightly dipped in mineral spirits for sticky areas, preserving underlying finish.
- Test before stripping: Always start with the least invasive cleaning method first.
- Small repairs: Use dyed wax fillers for scratches, matching color to adjacent areas.
- Appropriate finishing: Shellac flakes dissolved in ethanol can often be French-polished to revive a period-correct luster without heavy stripping.
Safeguarding Joinery and Veneer
Many antiques feature complex joinery and delicate wood veneers—a testament to the craftsmanship of bygone eras. These are particularly prone to damage through improper handling or repair.
Joinery:
- Hand-cut dovetails are strong, but glue degradation can make them loose. Use reversible animal/hide glues, not modern PVA, which can make future repair difficult or impossible.
- Avoid nails unless absolutely necessary; they were rarely used on visible joints in fine antique furniture.
Veneer:
- Bubbling or lifting is mostly caused by humidity changes or aging glue. Use a warm (not hot) iron with brown paper (to diffuse heat) and gentle pressure to re-set loose areas after applying fresh hide glue beneath.
- For missing veneer segments, source matching veneer from salvaged furniture or specialty shops. Cut patches with a scalpel along the grain, feathering edges to blend seamlessly.
Tip: Test glues on a scrap piece; some adhesives darken or bleed through veneer.
The Art and Science of Matching Finishes
Matching the finish of an antique armoire is both an art and a technical challenge. The color and texture of aged wood evolve over decades; new repairs can stand out glaringly unless blended skillfully.
Step-by-step for matching touch-ups:
- Apply stains in thin layers rather than one thick application, gradually building color depth. Gel stains usually provide more control.
- Blend with waxes: After staining, hand-rub pigmented waxes to tone down sheen and even colors.
- Use toning sprays sparingly: Aerosol toners designed for restoration help feather edges of touch-ups to eliminate hard lines.
- Lighting check: Examine under various lighting: daylight, warm lamp, and indirect, as hues shift depending on ambient environment.
Pro tip: Keep notes detailing ratios and product types at each stage for future reference. This documentation ensures consistency during multi-session projects or repeat work.
Climate Control and Prevention After Restoration
Once an antique armoire is restored, environmental changes continue to threaten it. Wood expands and contracts with humidity and temperature swings. Sadly, many beautiful restorations fall victim to sticky drawers or split panels within a single season due to inadequate aftercare.
Prevention strategies:
- Place furniture away from direct sunlight, radiators, and windows to prevent uneven fading and warping.
- Use a hygrometer to monitor room humidity—ideally 40–55%. In dry regions, a small humidifier can prevent cracking.
- Regular wax maintenance: every 6–12 months helps repel dust and lock in moisture for stable wood condition.
- Use felt pads under feet to guard against damp rising from floors—especially in older homes with uninsulated floors.
Conservation Ethics vs. Restoration Techniques
Not every antique armoire requires a total overhaul. The growing movement toward conservation emphasizes minimal intervention—securing loose elements, stabilizing finishes, and respecting all evidence of age, even if a finish is imperfect or hardware is mismatched.
Conservation:
- Recognizes the historical and emotional value of "imperfection."
- Often uses reversible materials and records interventions for the benefit of future restorers.
Restoration:
- Prioritizes visual or functional perfection, sometimes at the expense of originality (e.g., re-carving lost moldings or inpainting massive color losses).
Choose your path purposefully: Consult a professional conservator for rare or museum-quality pieces, or if you feel nervous about making irreversible changes. The key is balancing respect for history with the practical need for usability in a modern home.
Real Stories: Wisely Navigating Common Pitfalls
The "all-in" refinisher: Jessica, an inexperienced DIYer, eagerly sanded down a marquetry armoire, seeking a flawless new look. Without researching, she used an orbital sander with coarse grit, removing the delicate inlay in the process. The loss was irreparable—reminding us of the importance of delicate, well-informed work.
The patient restorer: Meanwhile, Bill took weeks simply cataloging every component, learning about his Edwardian armoire, researching finishes, and sourcing period-correct replacement escutcheons. Each step was documented. The final result preserved original patina, maintained harmonious structure, and added to the piece’s story—a true triumph of patience and research.
Mistakes, and the humility to learn from them, create the best guidance for future projects.
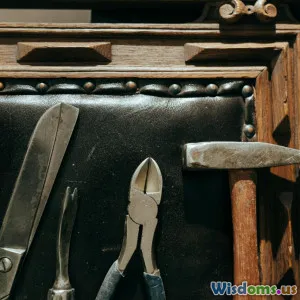
Essential Tools and Supplies Checklist

For serious, value-savvy DIYers, having the right arsenal is crucial. Beyond standard sanders and paintbrushes, consider stocking these specialty tools:
- Ultra-fine steel wool (0000 grade)
- Natural bristle brushes
- Hide glue or reversible adhesive
- Palette knives and micro spatulas
- Artist’s oil paints and pigment sticks (for color touch-up)
- Wax sticks, in multiple tints
- French polishing mop or pad
- UV flashlight (for inspecting repairs)
- Small humidifier/hygrometer combo
- Digital calipers (for precise hardware measurement)
Investing in purpose-built tools means fewer accidental mishaps, making each project both more enjoyable and successful.
The joy of restoring an antique armoire is not only in the before-and-after reveal. It’s in the deeper understanding you gain—about materials, methods, and history—along the way. Focusing on oft-missed nuances like original hardware, patina, proper adhesives, and conservation-minded care ensures a finished armoire that is authentic, functional, and ready to become tomorrow’s heirloom. Happy restoring!
Rate the Post
User Reviews
Other posts in Upcycled Furniture


Popular Posts


