Comparing top base coats for nail strength
28 min read Head-to-head review of leading base coats for stronger nails, with ingredient analysis, wear tests, and picks by nail type—peeling, brittle, ridged, or gel users. (0 Reviews)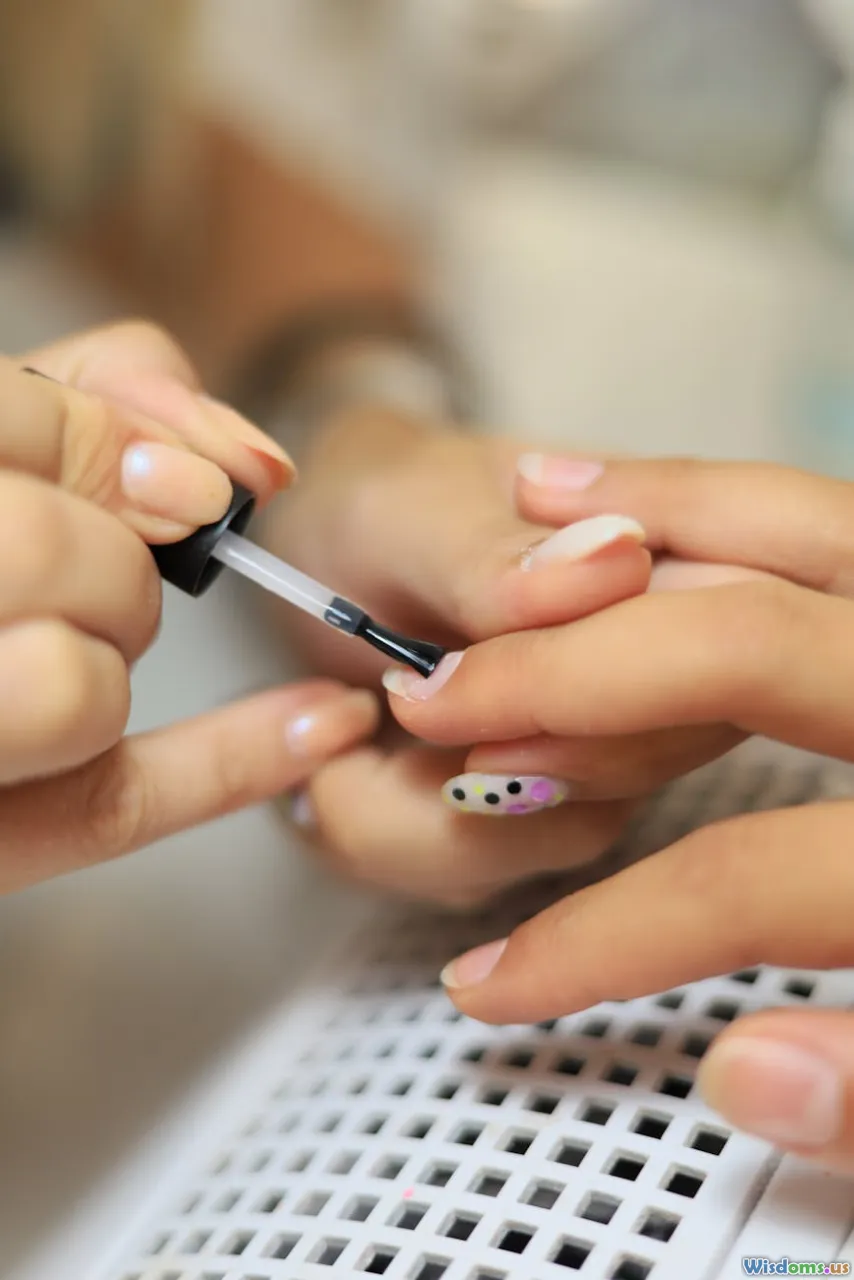
Comparing Top Base Coats for Nail Strength: What Actually Works, Why, and How to Choose
Strong, resilient nails don’t start with the color—they start with the base. If your manicure chips in two days, your nails peel in layers, or you’re recovering from gels and acrylics, a strengthening base coat can be the small, consistent change that transforms your nail health. The best ones don’t just make polish last longer; they reinforce the nail plate, cushion it from daily knocks, and help regulate moisture so your nails flex rather than snap.
But with every brand promising “harder, stronger, longer,” how do you separate marketing from meaningful results? This guide compares top base coats through the lens of what matters most: your nail type, the active ingredients, and real-world trade-offs like dry time, removal, and long-term wear. You’ll also find a practical routine for repairing weak nails and pro tips to get salon-level results at home.
The hidden architecture of a strong manicure

A base coat does more than anchor color to the nail—it’s the structural underlayment for your manicure. Think of your nail plate as layered shingles of keratin. Daily life—water exposure, temperature swings, typing, opening cans—expands and contracts those layers. Without a good base, micro-gaps form, moisture escapes or floods in, and those shingles lift (hello, peeling) or crack (hello, splits).
A smart base coat solves three jobs at once:
- Adhesion: It grips the nail plate so color doesn’t shear off at the free edge. That alone reduces breakage because you’re not picking at chips.
- Cushion and flexibility: It adds a micro-thin, flexible film that moves with the nail, so stress disperses instead of fracturing a weak point.
- Barrier and balance: It moderates water flow—enough breathability to avoid trapping moisture but enough sealing to prevent dehydration from solvents and handwashing.
When those three are right, weak nails stop peeling, splits stop propagating, and length can finally grow without constant setbacks.
What makes a strengthening base coat work (and what doesn’t)
Understanding the label helps you pick the right formula, especially if your nails are peeling, bendy, or brittle.
- Film-formers: Nitrocellulose, acrylates copolymers, polyurethane resins. These create the core protective shell. High-nitrocellulose formulas often feel classic and quick-drying; modern acrylates can deliver extra flexibility.
- Cross-linkers and resins: Tosylamide/formaldehyde resin and other resin systems boost hardness and adhesion. Strong, but in some people they can cause brittleness or sensitivity. Many brands now opt for alternative resins to avoid this trade-off.
- Microfibers and fillers: Nylon, silk, or quartz/silica can “bridge” micro-fissures, acting like rebar in concrete and leveling ridges.
- Plasticizers: Camphor alternatives, citrate esters, and phthalate-free options maintain flexibility so nails bend—not snap.
- Proteins, keratin peptides, and calcium: They don’t fuse into your nail like magic, but in a lacquer matrix they can help fill and smooth the surface, improving flex and feel. Calcium doesn’t harden the nail plate the way it does bone; here it’s more about film properties and marketing. Biotin in polish doesn’t penetrate enough to change growth at the matrix; oral biotin (when warranted and monitored by a clinician) affects future growth, not the existing nail.
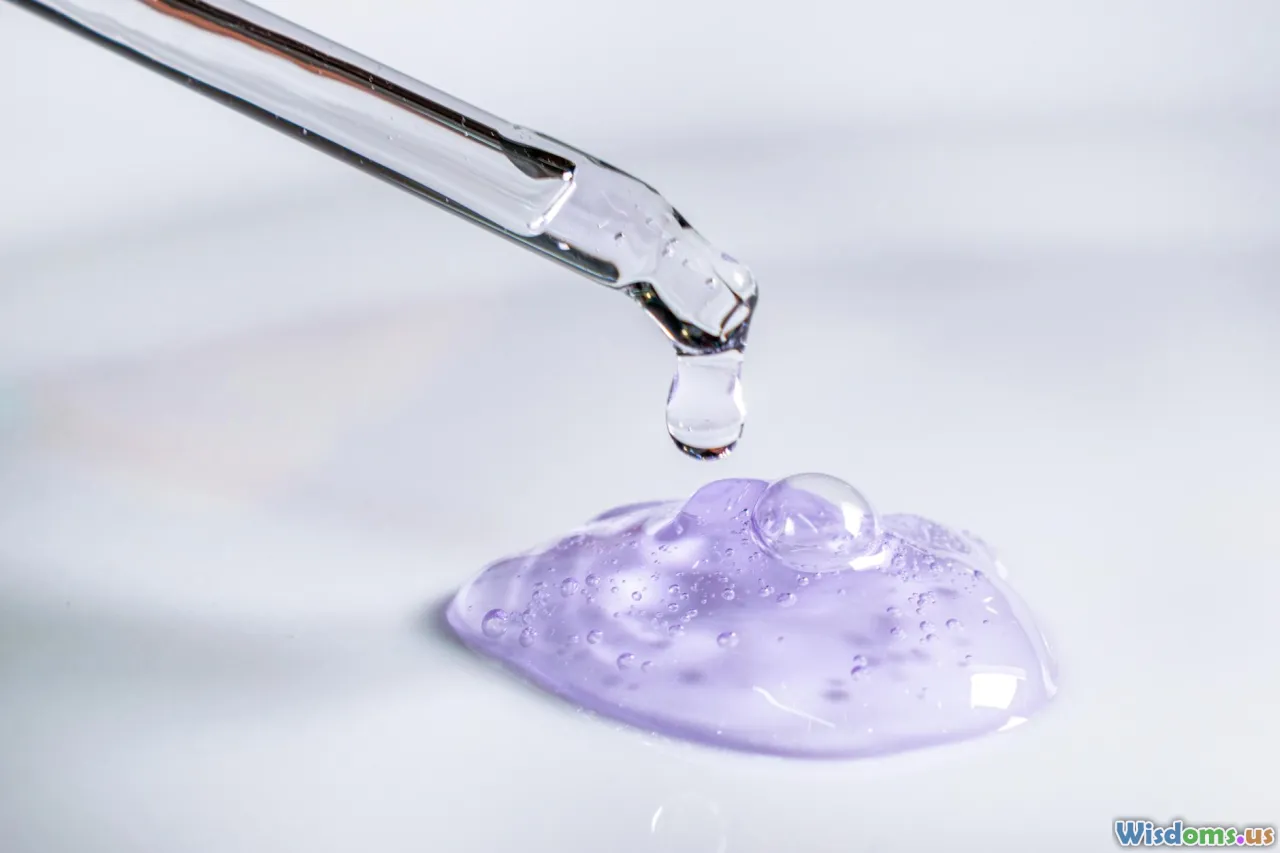
- Oils and humectants: Argan oil, avocado oil, phospholipids, glycerin—these can buffer against dehydration from removers and frequent washing.
- “Breathable”/permeable tech: Some base coats use oxygen- and moisture-permeable polymers. Practically, your nail gets all the oxygen it needs from blood supply, not the air; permeability here is mostly about comfort and preventing waterlogging.
Labels like “5-free,” “7-free,” or “10-free” aren’t standardized; they generally indicate omission of certain solvents or resins, not a guarantee of superiority. Always check the current ingredient list—formulas change.
How to match a base coat to your nail type
- Peeling, layered nails (flaking at the free edge): Look for microfiber or silk-fortified bases with flexible film-formers. Avoid super-brittling “hard as glass” options at first.
- Bendy, thin nails (curl easily, tear): Choose a balanced strengthener with good adhesion and moderate flexibility. Two thin coats can outperform one thick coat.
- Brittle, snapping nails (break with a sharp crack): Pick formulas emphasizing plasticizers and conditioning additives, not just resin-heavy hardness. Think “tough and springy,” not “stiff.”
- Post-gel/acrylic recovery: A ridge-filling, cushioning base with humectants and fibers can buy you time while new growth comes in. Keep solvent exposure gentle and oil your nails daily.
- Sensitive skin or allergies: Stick with “resin-light” or “free-from” options and patch-test. If you’ve had dermatitis near the nails, avoid formaldehyde-releasing hardeners and consider consulting a dermatologist.
How we evaluated and compared
Comparisons used practical, real-world criteria that affect your week-to-week results:
- Dry time and set feel at 5, 10, and 20 minutes under typical home conditions
- Adhesion and chip resistance over 5–7 days with standard color and topcoat
- Flex vs. stiffness: does the nail feel pleasantly supported or too rigid after two coats?
- Wear on naked nails (no color), for those using base coats as treatments only
- Removal behavior: how easily it dissolves with non-acetone and acetone removers
- Brush shape, stroke control, and self-leveling
- Finish type: glassy, satin, ridge-blurring, or fiber-textured
- Fragrance intensity and sensitivity considerations
- Value per mL and the number of thin coats needed for best results
Because brand formulas evolve, always compare your bottle’s ingredient list to the points here. If you’ve used a product before and it suddenly behaves differently, that’s your cue to re-check the label.
Top strengthening base coats worth comparing right now
Below are widely loved options across salons and at-home kits. Each entry notes who it’s for, why it helps, and any trade-offs. Formulas can vary by region and year; verify ingredients on your bottle.
-
OPI Nail Envy (current line)
- Who it’s for: General weakness, everyday peeling, and anyone wanting salon-level adhesion.
- Why it works: A modern film-former system designed to add toughness without making nails feel like brittle glass; the line includes targeted variants (e.g., for sensitive or colored tints). Historically, Nail Envy has been the go-to for visible improvement in a few weeks of disciplined use.
- Finish/dry time: Glossy; typically quick to touch-dry with thin coats.
- Trade-offs: Some users find best results with consistent reapplication (2–3 times/week) rather than a single weekly manicure.
-
Essie Strong Start Strengthening Base Coat
- Who it’s for: Bendy nails craving a cleaner-feeling formula and smooth adhesion under Essie’s wide color range.
- Why it works: Balanced nitrocellulose/acrylate film with conditioning additives; marketed with biotin. Delivers a smooth, even base with predictable dry time.
- Finish/dry time: Shiny, quick-drying.
- Trade-offs: If you need heavy ridge-filling, you may want a dedicated filler instead.
-
Orly Nail Defense
- Who it’s for: Peeling layers and post-gel roughness.
- Why it works: Known for fiber-supportive, flexible films that “bridge” micro-tears and reduce edge fray; Orly’s pro brushes make application easy.
- Finish/dry time: Slightly satin to glossy; forgiving self-level.
- Trade-offs: Two very thin coats perform better than one thicker one.
-
Londontown Kur Strengthening Base Coat
- Who it’s for: Users who prefer a conditioning-forward, “clean” leaning formula.
- Why it works: Modern polymers plus botanical oils/humectants designed to cushion thin nails and improve wear of sheer colors.
- Finish/dry time: Glossy; moderate dry time.
- Trade-offs: Conditioning focus means you’ll still want good capping at the free edge for maximum chip resistance.
-
Butter London Horse Power Nail Rescue Basecoat
- Who it’s for: Fragile nails that need a strength bump without harshness.
- Why it works: Silica-rich horsetail extract and classic film-formers encourage a flexible feel, not a brittle snap.
- Finish/dry time: Smooth shine; medium dry time.
- Trade-offs: Not the strongest ridge-filler; pair with a filler if ridges are prominent.
-
Duri Rejuvacote (1 and 2)
- Who it’s for: Chronic peeling and breakage; often recommended during a repair phase.
- Why it works: A hardening-leaning resin system that, for many, shows quick feel changes at the nail tip. Version 2 is marketed as gentler.
- Finish/dry time: Glossy; quick set.
- Trade-offs: Some find it too firm over time—watch for new brittleness and rotate to a more flexible base once length is restored. Always check current resin content if you’re sensitive.
-
Nail Tek Foundation (various types e.g., II, XTRA)
- Who it’s for: Peeling or soft nails needing a custom level of support.
- Why it works: The brand categorizes by nail condition, offering tailored hardness/flex profiles and fiber support.
- Finish/dry time: Slight ridge-blur; medium dry time.
- Trade-offs: Read the type number carefully; the wrong “strength grade” can over-harden sensitive nails.
-
Nailtiques Formula 2 (treatment used as base)
- Who it’s for: Post-acrylic or gel rehab, peeling, and splits.
- Why it works: Protein-forward treatment that doubles as a base; many users report visible improvement over 2–4 weeks with steady reapplication.
- Finish/dry time: Thin, glossy; fast.
- Trade-offs: Works best as part of a routine (reapply, remove, oil) rather than a set-and-forget weekly manicure.
-
Zoya Naked Manicure Naked Base
- Who it’s for: Natural-look devotees and sensitive users wanting a delicate, breathable-feel system.
- Why it works: Smoothing, flexible film that layers under Zoya’s Perfector tints to visually correct damage while protecting the plate.
- Finish/dry time: Satin-gloss; forgiving application.
- Trade-offs: Durability is best with the full Naked Manicure system (base + perfector + seal).
-
Sally Hansen Hard as Nails/Nail Rehab (double-duty as base)
- Who it’s for: Budget-friendly strengthening and quick improvement in edge feel.
- Why it works: Classic film-formers plus conditioning agents and, in Nail Rehab, a slightly tinted, ridge-blurring effect that makes damaged nails look healthier on day one.
- Finish/dry time: Gloss or sheer tint; fast.
- Trade-offs: As a generalist, you may outgrow it and seek a more specialized fiber or ridge-filling base.
-
Ella+Mila First Aid Kiss
- Who it’s for: Those pursuing a “7-/17-free” style option with a focus on gentle strengthening.
- Why it works: Modern polymer base coat that supports light strengthening without aggressive hardeners.
- Finish/dry time: Glossy; quick.
- Trade-offs: If you’re very peel-prone, pair with a fiber coat or choose a microfiber-rich option.
-
Deborah Lippmann All About That Base CC Base Coat
- Who it’s for: Visible ridge-blurring and tone-correcting under sheer or nude colors.
- Why it works: CC (“color correcting”) pigments plus a smoothing film make uneven nails look uniform, which indirectly reduces picking and chipping.
- Finish/dry time: Satin, perfecting.
- Trade-offs: More cosmetic correction than heavy-duty strengthening; pair with oiling for true repair.
There are many other excellent choices—Jessica, CND, Olive & June, and indie labs make strong contenders. Always verify the latest formula and select based on your nail type rather than brand name alone.
Real-world differences you can actually feel
- Adhesion and chip control: Bases like OPI Nail Envy and Essie Strong Start reliably extend color wear by 2–4 days vs. bare nails for many users, especially when the free edge is capped and coats are kept thin. If color chips early at the tips, your base likely needs stronger adhesion—or your color layer is too thick.
- Flex vs. brittle feel: If your nails suddenly “ping” and snap when tapping a keyboard, your base may be too rigid. Rotate to a more flexible formula (Orly Nail Defense, Londontown Kur) and add daily oil.
- Ridge masking and surface glide: CC-style or ridge-filling bases reduce visible grooves and help color level evenly, which prevents thick repainting to hide imperfections—a common cause of premature lifting.
- Removal matters: Harsh acetone marathons undo your gains. A base that removes cleanly with minimal rubbing (often those with balanced resins and plasticizers) preserves the top layers of the nail. If you’re scrubbing, switch remover or base.
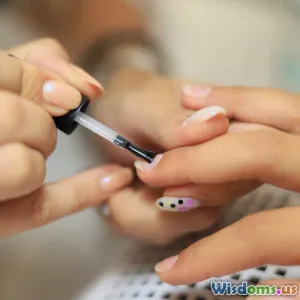
How to apply a strengthening base coat like a pro

A precise application multiplies the performance of your base coat.
- Start with balanced prep, not over-dehydration
- Clean with soap and water, dry thoroughly. Skip aggressive buffing; if needed, use the softest grit to smooth only raised flakes.
- Wipe with a gentle, non-oily prep if your nails are very slick. Avoid repeated alcohol/acetone scrubs.
- Thin, even coats—capped at the free edge
- Load the brush, wipe one side, and apply a thin film from 1 mm away from the cuticle to the tip.
- Cap the free edge by running the brush across the tip’s edge. This drastically reduces tip wear.
- For very weak nails, apply two thin base coats: the first as a sealer, the second as a cushion.
- Respect dry time
- Most bases are touch-dry in 2–5 minutes, but “set” around 10–20. If the base is still tacky, color can slide and cause wrinkling.
- Layer smartly
- If using color, one medium-thin coat is better than globbing to fix streaks. Let it set, then apply the second.
- Topcoat within 15–30 minutes for a cohesive film that shrinks together as it cures.
- Maintenance
- Reapply a thin layer of base or topcoat on day 3–4 to refresh protection.
- Oil cuticles and underside of the free edge daily. Oil is the stealth MVP for flexibility.
Safety notes, sensitivities, and "free-from" labels

- Patch-test if you have a history of contact dermatitis. Apply to one nail for several days and monitor skin near the sidewalls.
- “Formaldehyde-free” and “free-from” claims vary. Some products avoid tosylamide/formaldehyde resin; others use alternative resins. Neither is automatically better—choose based on your tolerance and nail goals.
- Fragrance and solvent sensitivity: Even “clean” formulas can have notable solvent odor; work in a ventilated space and consider fast-evaporating, lower-odor removers between manicures.
- Pregnancy and medical concerns: Bring ingredient lists to your healthcare provider if you’re unsure. Most modern polishes are used safely with ventilation; removers and frequent solvent contact are typically the larger concern.
Builder gel, nail hardener, or base coat: which to use when?
- Strengthening base coat: First-line for everyday weak, peeling nails, and as a cornerstone of any manicure. Great for gradual, sustainable improvement.
- Nail hardeners: Short-term boosts for peeling or post-damage repair. Some rely on strong resins. Use for a few weeks, monitor for brittleness, and transition to a flexible base once stabilized.
- Builder gels/soft gels: Create a thicker protective architecture. Ideal if your nails are extremely thin or you need impact resistance. Requires careful removal (soak-off or gentle e-file) or you’ll reignite the damage cycle.
Tip: Many users succeed with a hybrid approach—one thin coat of a flexible strengthening base under a sheer builder gel overlay for 2–3 weeks, then a meticulous soak-off and rest period with oiling.
A 4-week routine to rehab peeling or brittle nails

Week 0 (Reset)
- Trim to remove lifted layers; gently smooth the free edge with a fine-grit file.
- One thin coat of a flexible, fiber-supportive base (e.g., Orly Nail Defense, Nail Tek Foundation suited to your type) and wear alone for 2–3 days.
- Oil 2–3 times daily; wear light cotton gloves for wet chores.
Week 1–2 (Rebuild)
- Manicure schedule: base + sheer color (optional) + topcoat.
- Midweek refresh: one thin layer of topcoat to reduce tip wear.
- Daily oiling, especially under the free edge. Avoid picking; if a corner lifts, lightly file to a smooth contour rather than tearing.
Week 3–4 (Consolidate)
- If nails feel too stiff, rotate to a more flexible base; if still bendy, try two thin base coats.
- Keep nails just past fingertip length to avoid leverage-related breaks.
- Consider adding a ridge-filling or CC base if surface looks uneven; this reduces the urge to overpaint.
By week 4, most people see fewer edge peels, easier polish removal, and the ability to maintain a consistent length. Keep oiling—it’s the habit that locks in gains.
Common mistakes that sabotage strength (and quick fixes)

- Using a base that’s too hard: If breaks shift from peeling to sudden snaps, your base is over-firm. Switch to a flexible or fiber base and add cuticle oil.
- Skipping the free-edge cap: This one stroke prevents most tip-first chips.
- Thick coats to hide ridges: Use a ridge-filling base instead; thick coats wrinkle and lift.
- Over-buffing: Each buff thins the plate, making breakage more likely. Smooth only what you must.
- Constant acetone baths: Use a quick, efficient removal routine and rehydrate nails immediately with oil.
- Never giving nails a solvent break: Aim for a 24–48 hour bare-nail interval after every 2–3 manicures, with oiling throughout.
Quick picks by scenario

- Maximum adhesion with balanced strength: OPI Nail Envy; Essie Strong Start
- Peeling and flaking at tips: Orly Nail Defense; Nail Tek Foundation (type matched to your nail)
- Post-gel rehab with cosmetic correction: Deborah Lippmann CC Base; Zoya Naked Manicure Naked Base
- “Clean”-leaning, conditioning support: Londontown Kur Strengthening Base Coat; Ella+Mila First Aid Kiss
- Budget-friendly generalist: Sally Hansen Hard as Nails or Nail Rehab
- Need stronger hardening for short-term rescue: Duri Rejuvacote (monitor for brittleness; rotate off after improvement)
Buying and storage tips that protect performance
- Check the batch age: Older bottles thicken as solvents evaporate. If your base strings off the brush, it’s past prime. A few drops of an appropriate polish thinner (not remover) can revive it.
- Cap promptly: Oxygen exposure speeds thickening and reduces self-leveling.
- Store cool and upright: Avoid hot bathrooms and sunny windowsills. Heat can separate components over time.
- Replace when behavior changes: If dry time drags or films dent easily, it’s time for a fresh bottle.
A great base coat is more than a checkbox under your color. It’s the quiet workhorse that fortifies your nails day after day, making every manicure last longer while your natural nails grow stronger. Whether you reach for a fiber-forward formula to stop peeling in its tracks, a CC base to cosmetically correct ridges while you recover, or a flexible, conditioning option for everyday wear, choose with your nail type in mind, keep coats thin, cap the free edge, and oil like it’s a ritual. Do that, and in a month you’ll look down at your hands and realize strength finally stuck.
Rate the Post
User Reviews
Popular Posts


