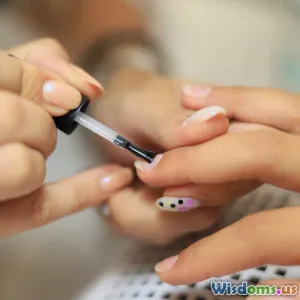
Nail art ideas using drugstore tools only
28 min read Budget-friendly nail art ideas you can create using only drugstore tools—bobby pins, tape, cotton swabs, and more. Step-by-step tips, finish hacks, and long-wear tricks. (0 Reviews)
Nail art ideas using drugstore tools only
If you’ve ever scrolled past a mesmerizing manicure and assumed it required salon gadgets, UV lamps, or a pro’s steady hand, here’s the good news: you can create head-turning nail art with products you’ll find on a single lap through your drugstore. From bobby pins that double as dotting tools to makeup sponges that blend ombré gradients, affordable and accessible items can deliver crisp, creative looks—no specialty equipment required.
This guide lays out practical techniques, step-by-step methods, and smart fixes to help your designs last. Whether you’ve got 15 minutes before a dinner out or a full hour for some art therapy, you’ll find a design (and a tool) that fits.
Build a wallet-friendly nail art kit
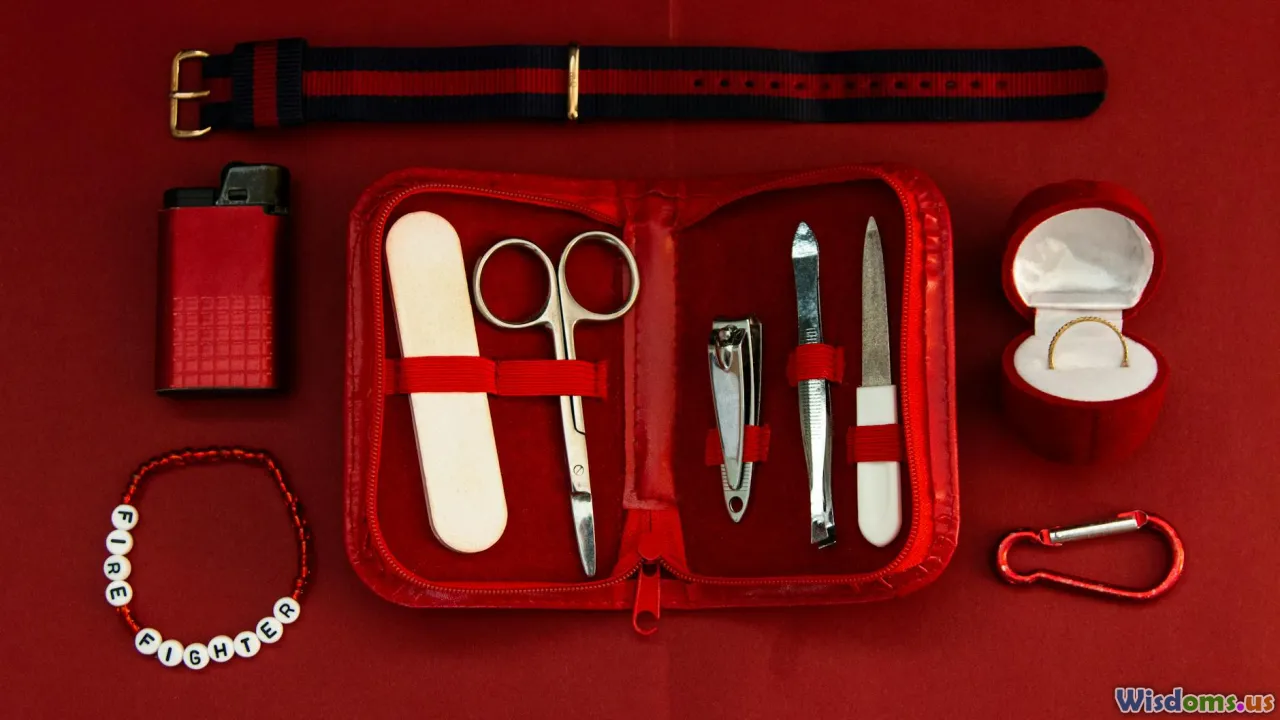
Start with a compact kit. Most of what you need costs less than a latte or two per item, and you can mix-and-match across brands.
Essentials you can find at any drugstore:
- Base coat and top coat: A good base coat improves adhesion and reduces staining; a quick-dry top coat speeds set time to touch-dry in about 10–15 minutes. Look for fast-dry or gel-effect formulas labeled “quick-dry,” “speed,” or “insta.”
- Two to four polishes: Choose at least one light and one dark shade, plus a neutral and a glitter or metallic. Contrasts make designs pop.
- Nail polish remover and cotton pads: Regular acetone works fastest for cleanup; non-acetone remover is gentler on nails and skin.
- Cotton swabs and an angled eyeliner brush: The brush, dipped in remover, cleans up edges like a pro.
- Bobby pins, toothpicks, and a sewing pin stuck into a pencil eraser: Your dotting and fine-line toolkit.
- Makeup sponge wedges: The secret to gradients and texture.
- Clear tape, washi tape, or striping tape: For crisp lines and geometric shapes. Reinforcement stickers (the donut-shaped labels) are perfect for half-moons and French tips.
- Petroleum jelly or peel-off adhesive (some drugstores sell latex-free barriers): Keep your skin clean during messy techniques.
- Optional add-ons if you spot them: Nail stickers, tiny rhinestones, quick-dry spray, press-on nails (great for pre-designing before application), and an inexpensive nail file (100/180 grit combo is versatile).
Cost note: With careful choices, you can assemble a starter kit for roughly $20–$35 depending on sales and local pricing.
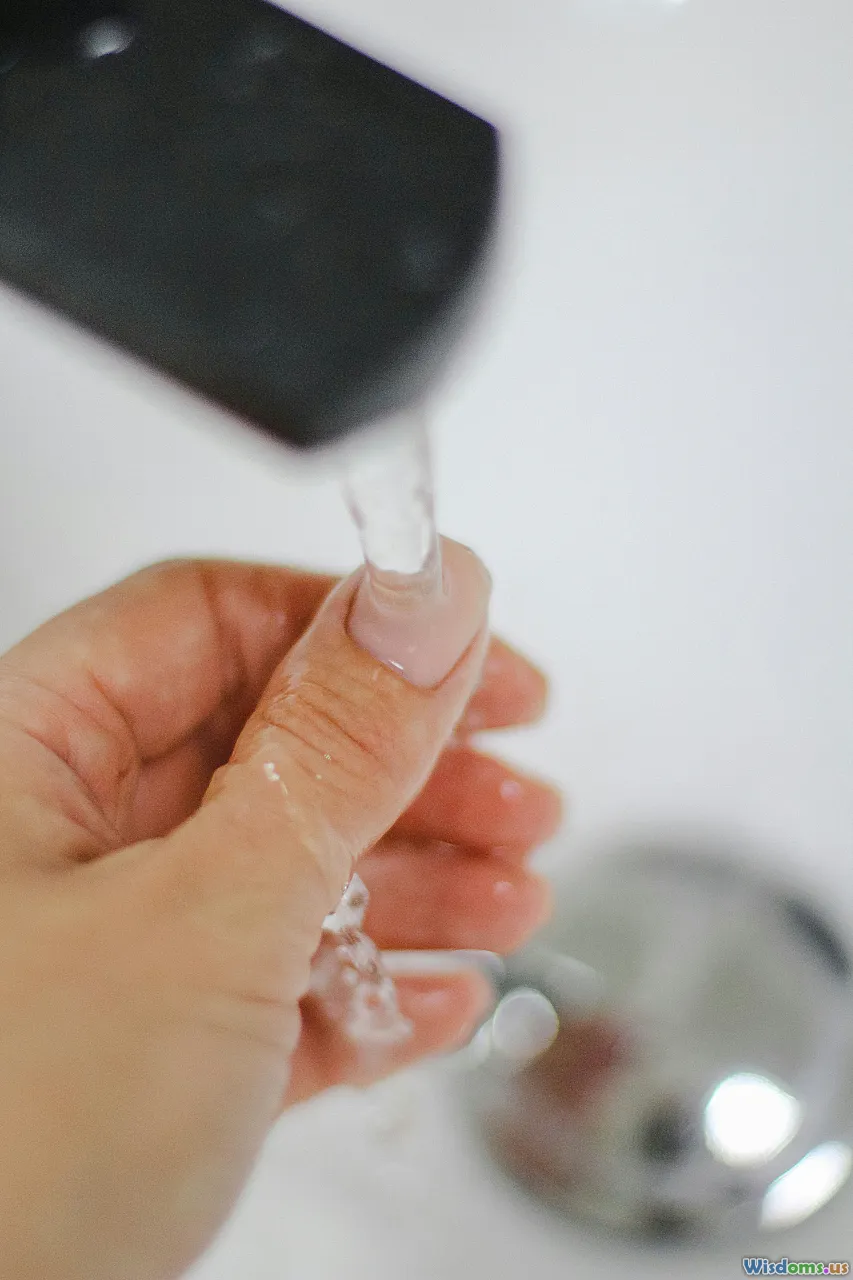
Prep like a pro for lasting wear

Art lasts longer on a smooth, clean canvas. Drugstore prep can be excellent if you know the order.
- File and shape: Use a 180-grit side for shaping; avoid sawing back-and-forth aggressively, which can cause splits. Contour from the edge toward the center in one direction.
- Gentle cuticle care: Soften with a bit of cuticle remover or a dab of petroleum jelly, then push back lightly with the rounded end of a cuticle pusher or an orangewood stick. Avoid cutting; it can lead to hangnails and infection.
- Dehydrate: Wipe nails with a lint-free pad and isopropyl alcohol (commonly 70%) to remove oils. This dramatically improves adhesion.
- Base coat matters: A thin base coat anchors color. Let it dry until it’s no longer tacky (usually 1–2 minutes for quick formulas) before applying color.
Pro tip: Thin coats win. Three thin coats last and level better than two thick ones, and they dry faster between layers.
Dots, dashes, and lines with household helpers
Dots and stripes are foundational designs, and your drugstore will happily supply every tool.
How to make perfect dots:
- Use a bobby pin’s rounded end as a large dotter and a toothpick tip for tiny ones. Dip lightly; wipe excess on a palette (a plastic cap works) to avoid strings.
- Start at the center dot, then work outward to keep spacing neat.
- For polka-dot gradients, vary pressure and switch to a sewing pin head embedded in an eraser for micro-dots.
Striping without a striping brush:
- Toothpick striping: Dip the toothpick tip and drag slowly to create fine lines. Rollover a second coat while the first is semi-dry for opacity.
- Tape striping: Lay down clear or washi tape on fully dry polish (wait at least 20–30 minutes, or use a quick-dry top coat first). Paint over the exposed area and peel tape back while wet for razor-sharp lines.
- Drugstore striper polish: Many drugstores stock polishes with narrow brushes labeled “nail art.” Pick up a black or white—two essentials for contrast lines.
Design idea: Minimalist tuxedo tips. Paint a nude base, add a thin black stripe along the free edge with tape or a toothpick, then dot two “buttons” down each nail with a bobby pin.
Tape and sticker tricks for graphic designs
Tape equals precision, and it costs pennies.
- Half-moon or French tip with reinforcement stickers: Apply your base color and let it fully dry. Place a reinforcement sticker at the base of the nail to expose a crescent, or near the tip for a French edge. Paint the exposed area, peel sticker while wet, and top-coat to seal.
- Chevron with washi tape: Cut two slim strips of washi tape, form a V at the center, press firmly especially along edges, and paint your accent color. Peel promptly.
- Negative space: Leave parts of the nail bare using tape masking. A nude base coat (or ridge-filling base) gives a polished, wearable finish with modern geometry.
- Bandage mesh print: Some fabric bandages have a fine weave. Lay it flat over completely dry polish, lightly sponge a contrasting color through, and lift to reveal a subtle textile pattern.
Tip: Press tape edges down with a clean Q-tip to prevent bleed. If your polish is very runny, wait 10–15 seconds after painting before peeling tape—just enough to thicken but still wet.
Gradient ombré with makeup sponges

Makeup wedges create salon-level gradients with almost no learning curve.
Steps:
- Paint a light base color and let dry. White or a pale pastel makes other tones pop.
- On a clean wedge, paint two or three polish stripes next to each other slightly overlapping (e.g., blush pink, coral, and red). The sponge acts like a mini-canvas.
- Dab the sponge onto the nail with a gentle up-and-down motion, moving slightly to blend. Repeat 2–3 passes, reloading the sponge as needed.
- Reapply a very thin coat of top color onto the sponge between passes to deepen saturation without streaks.
- Cleanup with an angled eyeliner brush dipped in remover. Seal with quick-dry top coat; it softens and visually blends the gradient further.
Variations:
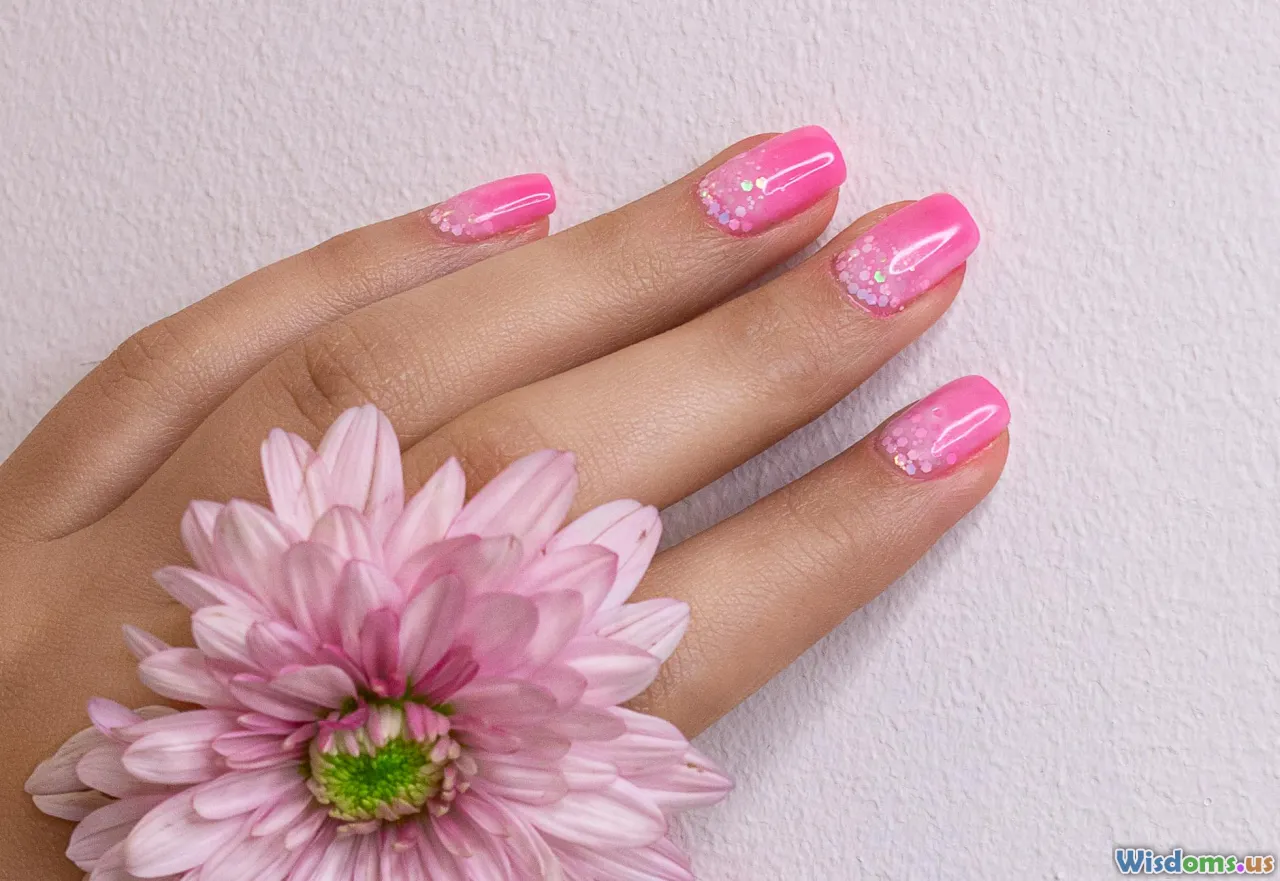
- Glitter fade: Sponge glitter onto the tips only for a sparkling gradient. Sponging deposits more sparkle than brushing.
- Sunset ombré: Yellow to orange to magenta—great on short nails because the color transition adds length visually.
Pro fact: Sponging absorbs much of the clear base in polish, leaving pigment behind. This is why gradients achieve full coverage fast.
Marbles, clouds, and smudges—no water bowl needed
You can skip water marbling (it’s gorgeous but messier) and still achieve soft, fluid looks.
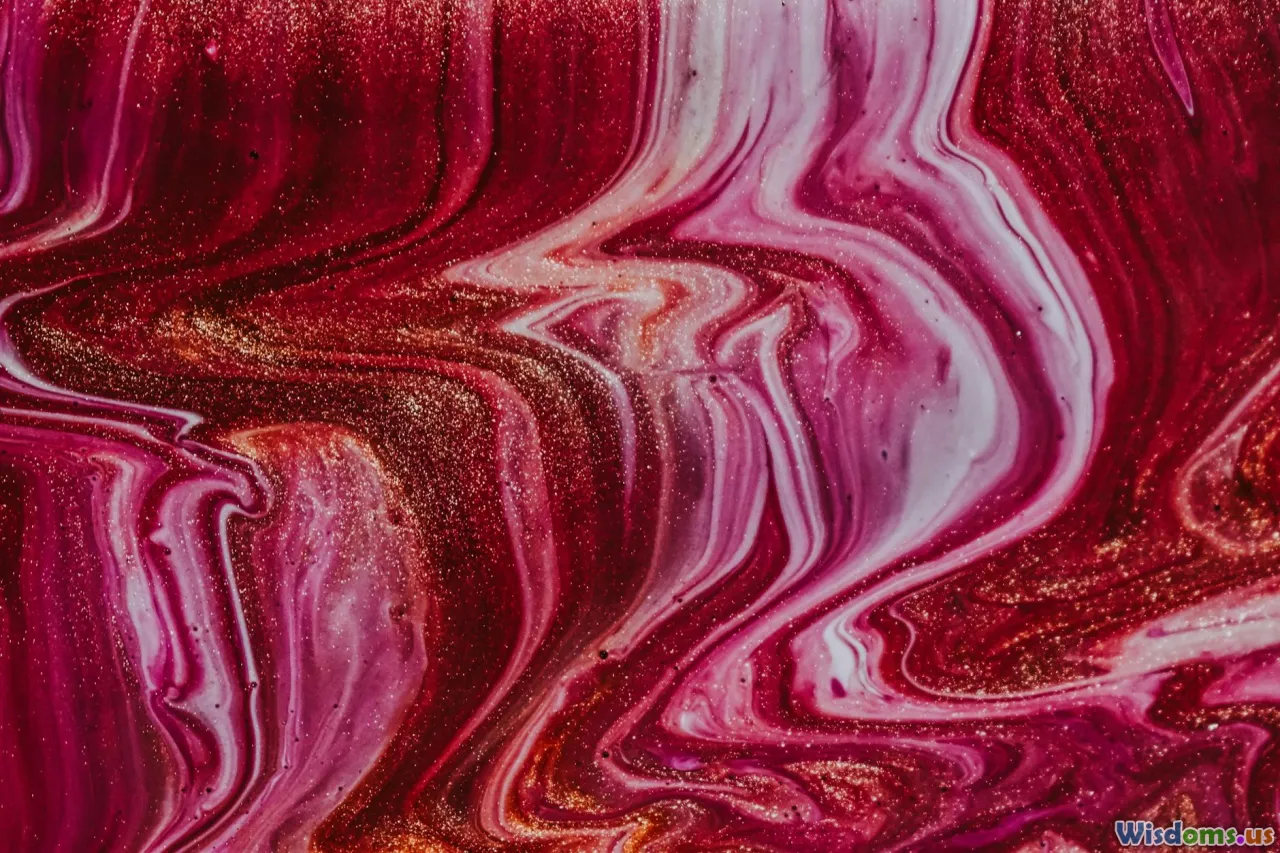
Smoosh marble with plastic wrap:
- Apply a base color and let it dry.
- On a silicone makeup sponge or a scrap of plastic wrap, dot 2–3 coordinating shades close together.
- Lightly press and lift on the nail to “kiss” the colors together. Rotate your hand or the plastic to vary the pattern. Don’t overwork—two presses per nail preserve veining.
Dry marble with a toothpick:
- While your second color is still wet, draw gentle S-curves with a toothpick. Wipe the tip between passes to keep lines clean.
Puffy clouds (super-fast):
- Over a sky-blue base, use a bobby pin to place three white dots in a cluster near the tip, then a couple beneath to round the cloud. Soften edges with the side of a clean makeup sponge for a dreamy effect.
Finish with a glossy top coat to magnify depth. If you crave more shine, a gel-like drugstore top coat creates a plump finish—no lamp required.
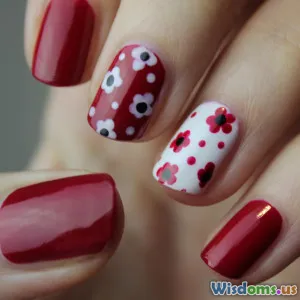
Easy florals and leaves with dot tools
You don’t need an ultra-fine brush to paint convincing florals.
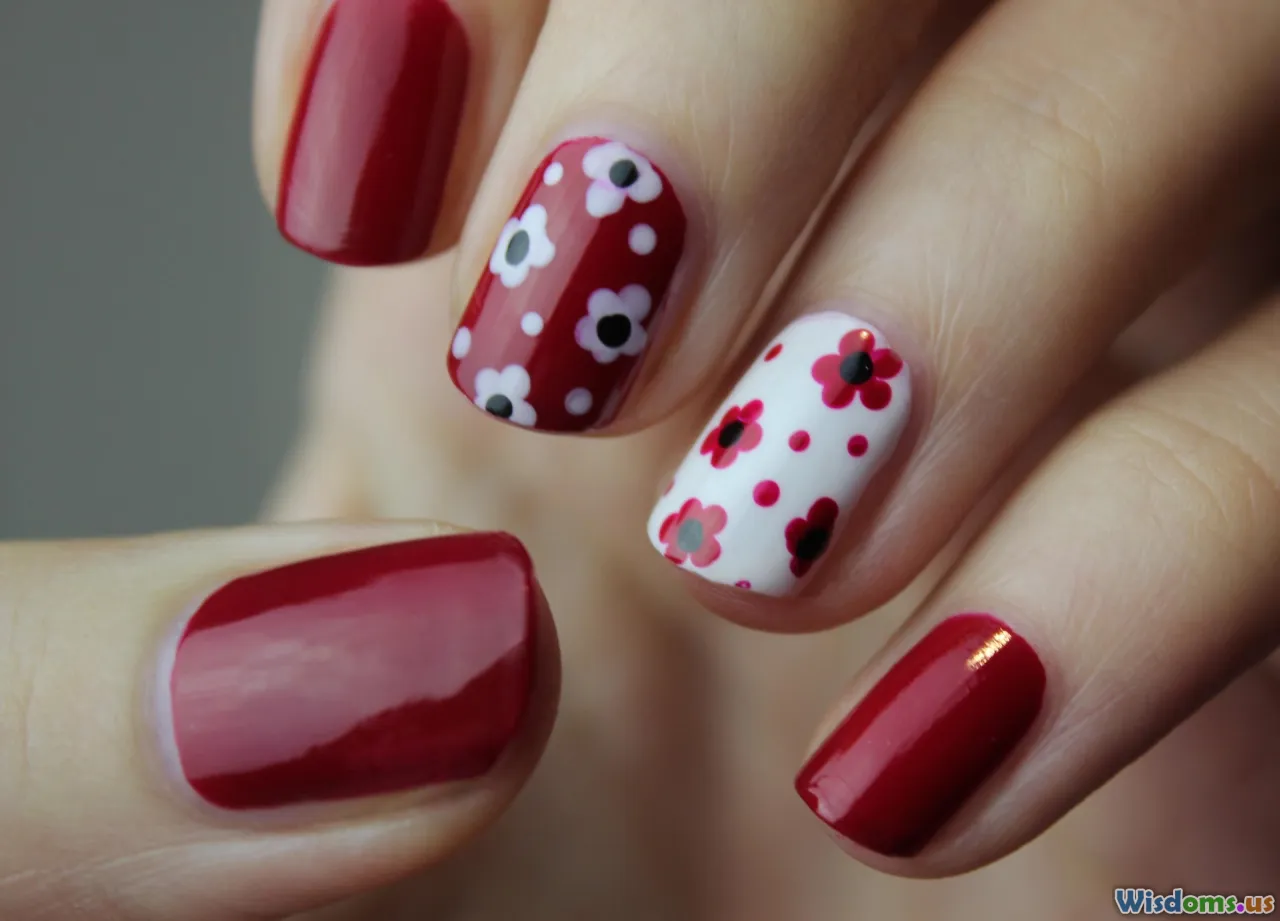
Daisies:
- Make a small yellow center dot with a bobby pin.
- Surround it with 5–6 white petal dots using a toothpick or pin head. Slightly overlap the center for a natural look.
- Add a tiny white dot highlight on the center once dry for dimension.
Roses (two-minute method):
- On a pale base, place a medium pink dot. Before it dries, swirl a toothpick dipped in a darker pink into a loose spiral. Add two tiny green leaf dashes next to the rose with a toothpick angled sideways.
Vines and leaves:
- Use the toothpick tip to draw a thin curved line (a “C” shape). Add almond-shaped dots along the curve to form leaves. Vary sizes so it doesn’t look too perfect.
Fact: Acrylic craft paint is popular for nail art because it’s forgiving, but if you’re sticking strictly to nail polish, thin with a drop of clear top coat for smoother line work.
Glitter, shimmer, and texture on a budget
Drugstores are treasure troves for shimmer.
- Loose glitter: Many carry small pots for crafts or cosmetics-grade sparkles. After painting a clear coat, dip a fan brush into fine glitter and tap gently over the nail. For gradients, concentrate at the tip and taper downward. Always seal with two coats of top coat to smooth texture.
- Sugar effect: Press extra-fine glitter over still-wet polish for a matte, sandy texture. Skip top coat if you want that tactile finish (but know it may wear faster).
- Eyeshadow to shimmer: Pearl or metallic shadows can be tapped over a tacky-but-not-wet polish layer to add sheen. Use a sponge applicator and finish with top coat. This won’t create mirror chrome, but it does give nuanced, pearlescent depth.
- Flakie topper dupe: Mix a tiny pinch of iridescent cosmetic glitter into clear polish on a plastic surface and apply as a topper for a custom flakie look. Work quickly; the polish can thicken on the palette.
Tip: For easy glitter removal, apply a peel-off base coat if your drugstore stocks one. Otherwise, use the “foil method”: soak a cotton bit with remover, place on the nail, wrap in foil (or a cut piece of plastic wrap), wait 8–10 minutes, then slide off.
Speckle, splatter, and galaxy nails
Splatter looks chaotic but controlled—great for edgy designs.
Toothbrush speckle:
- Dip a clean toothbrush into a thinned polish (mix a drop of polish with a drop of remover on a plastic lid).
- Hold the brush 6–8 inches from your nails and use your thumb to flick the bristles toward nails. Practice on paper first to control droplet size.
Straw splatter:
- Dip the end of a drinking straw into polish and blow short, sharp puffs through the straw onto the nail. This makes larger, graffiti-like splats. Use petroleum jelly around nails to catch overspray.
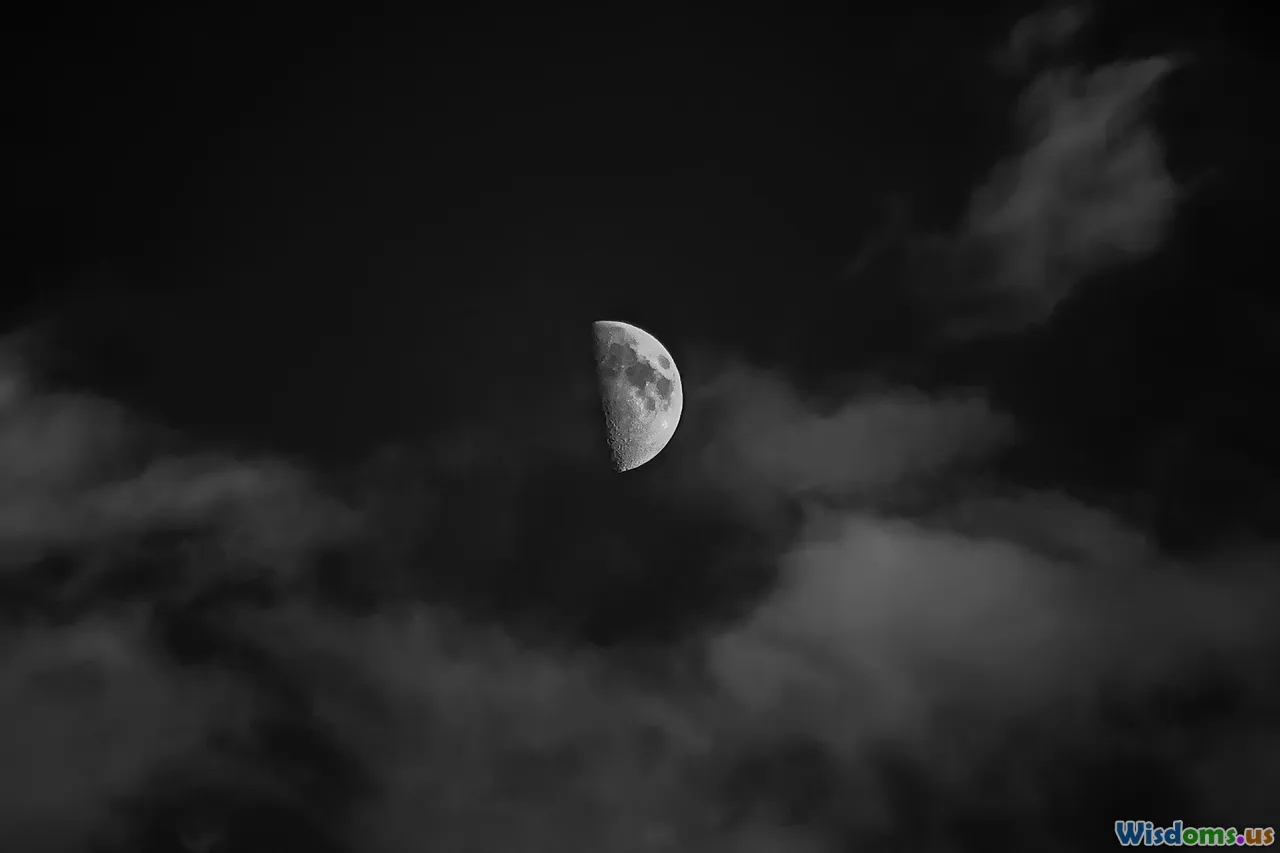
Galaxy how-to:
- Start with a black or deep navy base.
- Sponge on irregular patches of purple, teal, and magenta using a makeup wedge.
- Lightly sponge white at the center of a few patches to create nebula highlights.
- Speckle with a toothbrush dipped in white polish for stars; add a couple of bigger dots with a toothpick for “planets.”
- Seal with a sheer, fine holographic glitter topper and glossy top coat.
Pro tip: Layering semi-sheer shades gives depth without thickness—perfect for galaxies and abstracts.
Press-ons and decals: personalize the easy way
Press-on nails have leveled up, and drugstores carry impressive options. They’re also fantastic canvases for pre-designing.
- Pre-paint before application: Keep the set on its plastic card, apply your design (tape lines, ombré sponging, or even small florals), and let it fully dry. Apply to your nails afterward with adhesive tabs or glue. Pre-painting reduces smudges and makes intricate art painless.
- Upgrade plain press-ons: Add striping tape to create chrome accents, or sponge a glitter fade on tips. Finish with top coat (avoid top coat on adhesive tabs).
- Nail stickers and micro-decals: Seal under a top coat to prevent edges lifting. Place stickers with a slightly dampened toothpick for precision.
- Temporary tattoo trick: Many drugstores sell small skin-safe temporary tattoos. Cut to size, apply over completely dry polish just like on skin, then top coat. Always patch-test one nail to ensure the inks don’t smear under your top coat.
Longevity note: Glue typically outlasts adhesive tabs by several days. If you need a short-term look (event-only), tabs make removal easy.
Quick fixes, cleanup, and longevity hacks

- Barrier your skin: Before gradients or splatter, apply a thin ring of petroleum jelly around the nail. Wipe away after you’re done; polish on the skin will slide off.
- Precision cleanup: An angled eyeliner brush (synthetic bristles) dipped in acetone cleans cuticles and sidewalls far better than cotton swabs alone.
- Cap the free edge: Run color and top coat along the tip to reduce tip wear.
- Re-top-coat: Add a thin top coat every 2–3 days to refresh shine and stave off chips.
- Dry-time reality: Touch-dry is not rock-hard. Polish continues to cure for 1–2 hours. Avoid hot water and pressure during that window.
- Quick-dry spray or drops: If available, these speed surface dry. Otherwise, cool air from a fan helps. Avoid freezing sprays or ice water; rapid cooling can cause micro-cracking.
If you smudge:
- For minor dents, lightly lick a fingertip (or dampen with water), and gently pat to even. Let it level, then add top coat. The moisture creates slip so you don’t add fingerprints.
Troubleshooting: crisp lines, no bubbles, fewer chips
- Streaky pastels: Use a ridge-filling base and keep coats ultra-thin. A final sponge pass (very light) can even the surface before top coat.
- Bleeding under tape: Ensure the base is fully dry. Press tape firmly, paint away from tape edges (not into them), and peel while polish is still wet.
- Bubbles: They come from trapped air and thick coats. Roll polish bottles between your hands instead of shaking. Apply in thin layers and avoid painting in direct heat.
- Chipping within a day: Dehydrate nails with alcohol, avoid cuticle flood (polish on skin lifts), and cap the free edge. If you type a lot, choose rounded shapes; sharp corners chip fastest.
- Ink pens and markers: If you experiment with fine-point markers on dry polish, wait at least 10 minutes before top coat and float the top coat (load the brush and avoid dragging). Some inks can bleed—test on a spare tip first.
Five fast designs for a busy week
- Monday: Negative-space chevron. Apply base coat only. Mask a V with washi tape and paint a bold color at the tip. Two coats, peel, top coat. Time: ~15 minutes.
- Tuesday: Micro-dots French. Nude base, then dot a fine line of white micro-dots along the edge using a sewing pin head. Top coat. Time: ~20 minutes.
- Wednesday: Soft cloud. Sky-blue base. Add white cloud clusters at two corners using a bobby pin; a tiny silver dot in the center adds a “sun glint.” Time: ~20 minutes.
- Thursday: Minimal stripe. Sheer pink base, let dry, then add a single vertical black stripe off-center using tape. Looks editorial on any nail length. Time: ~15 minutes.
- Friday: Glitter fade party tip. Any base color. Sponge silver glitter from the tip down one-third. Double top coat for glassy shine. Time: ~20 minutes.
Cost and time planner (no surprises)
Approximate costs (varies by location and sales):
- Base coat, top coat: $4–$9 each
- Two polishes (cream + glitter/metallic): $6–$14 total
- Remover and cotton: $4–$8
- Makeup sponges: $2–$5
- Tape/reinforcement stickers: $2–$4
- Bobby pins/toothpicks: Often already on hand; otherwise $1–$3
- Optional decals/rhinestones/press-ons: $3–$10
Time expectations:
- Simple dot or stripe look: 15–25 minutes (plus cure time)
- Gradient or marble: 30–45 minutes (including cleanup)
- Galaxy or layered designs: 45–60 minutes
Smart scheduling: If you’re short on time, do prep and base color the night before. Add art and top coat the next day. This splits drying time and reduces smudges.
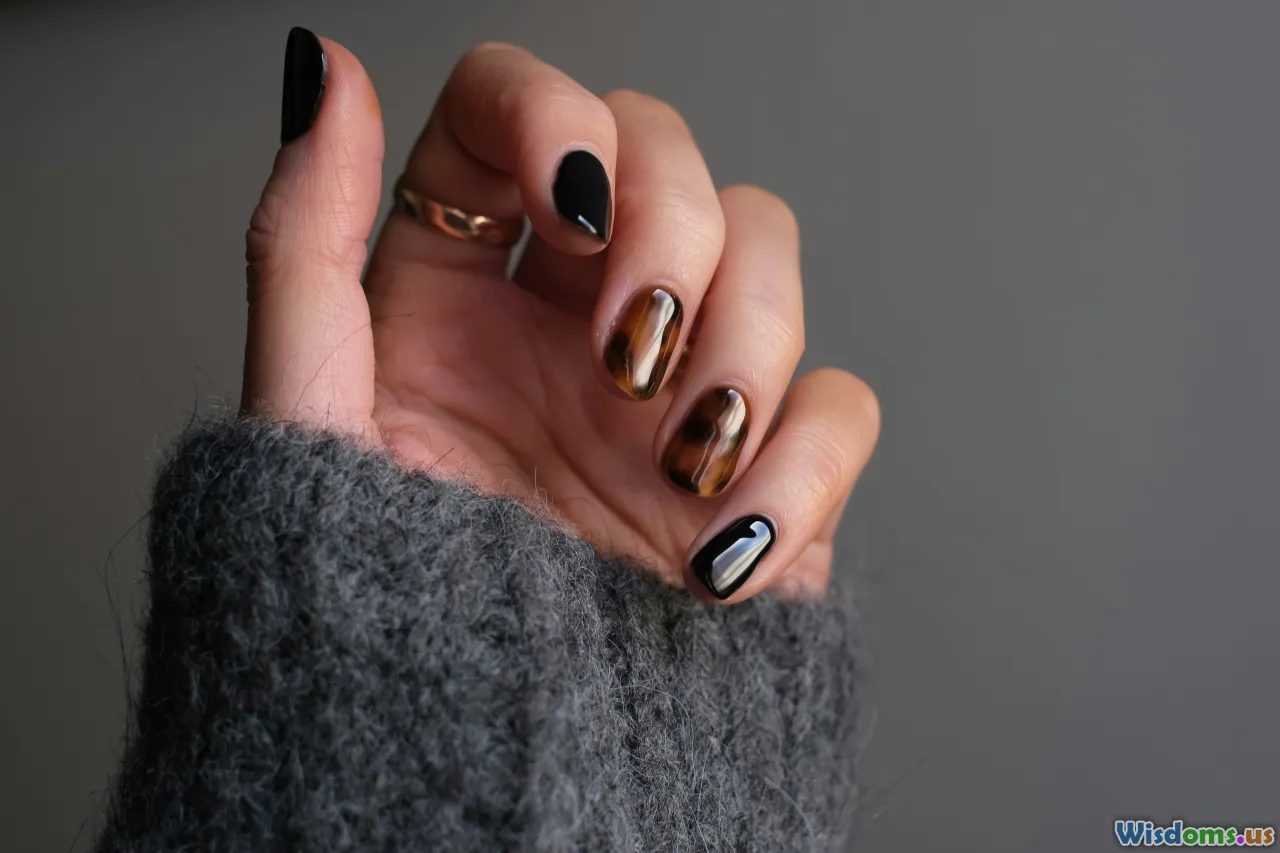
Inspiration palettes from the drugstore aisle
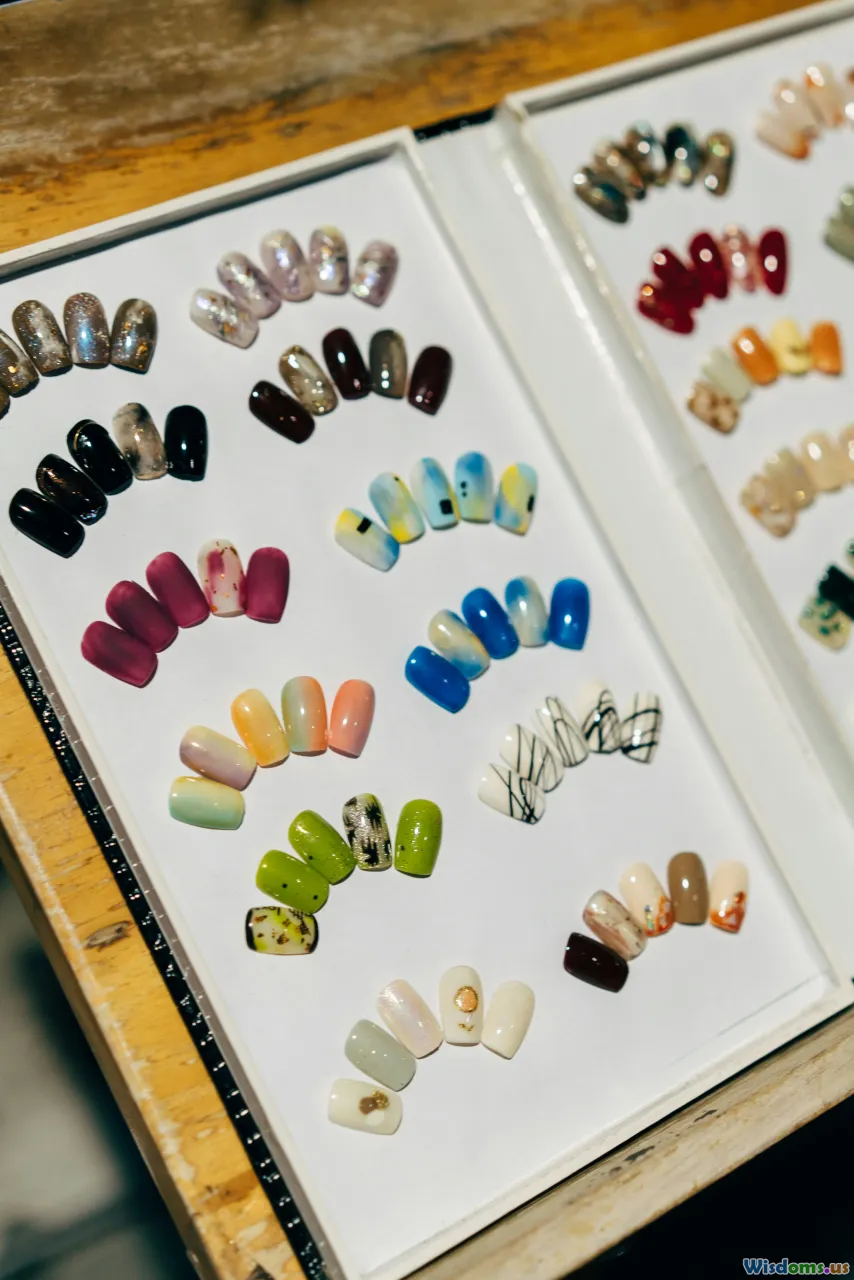
Let your shopping list inspire designs.
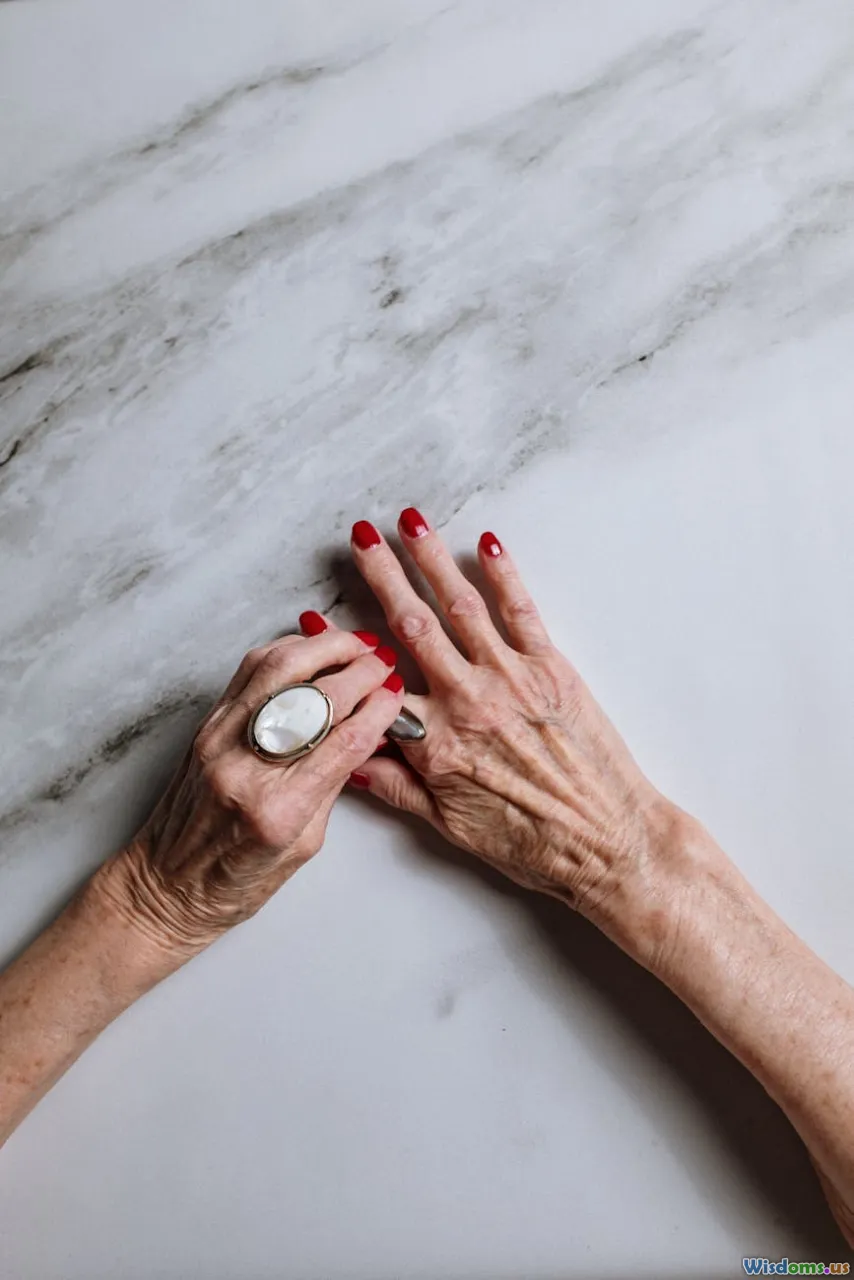
- Classic chic: Sheer pink, opaque white, jet black, silver glitter. Create French variations, tuxedo accents, and glitter fades.
- Sunrise sorbet: Pastel yellow, coral, hot pink. Perfect for ombrés and taped chevrons.
- Forest walk: Sage, deep green, beige nude, gold foil glitter. Ideal for leaf motifs and negative space.
- Retro diner: Mint, cherry red, white, and micro-black glitter. Play with polka dots and half-moons.
- Night sky: Navy, royal purple, teal shimmer, holographic topper. Build galaxies and speckle stars.
Pair colors with your tools: If your store has a white striper brush polish, it becomes the workhorse for highlights and crisp lines in any palette.
Hygiene and safety (simple but important)

- Ventilation: Open a window or use a fan. Strong polish removers and quick-dry top coats contain solvents that evaporate quickly.
- Skin care: If remover dries your skin, wash hands after cleanup and apply cuticle oil or a basic hand cream.
- Brush cleaning: Use a small amount of remover on a paper towel to clean your eyeliner brush or any reusable tool. Rinse with mild soap and water after to remove residue.
- Patch tests: If using cosmetic glitters, temporary tattoos, or unusual decals, test on a single nail to ensure compatibility with your top coat.
- Storage: Keep polishes upright, caps tight, and away from heat and sunlight. A cool, dark drawer helps maintain consistency.
A final nudge to get creative: there’s magic in working within limits. Drugstore tools reward ingenuity—you’ll learn to blend with wedges, draw with toothpicks, and mask with stickers in ways that feel surprisingly professional. Start with a simple dot or tape look tonight. By the time the weekend rolls in, you might be wearing a galaxy on your fingertips, built entirely from a shopping basket of everyday finds.
Rate the Post
User Reviews
Popular Posts


