
How to choose your first bungee jump location safely
33 min read Practical checklist to choose a safe, reputable bungee jumping site for your first leap, covering standards, gear, operator credentials, health screening, weather, and insurance considerations. (0 Reviews)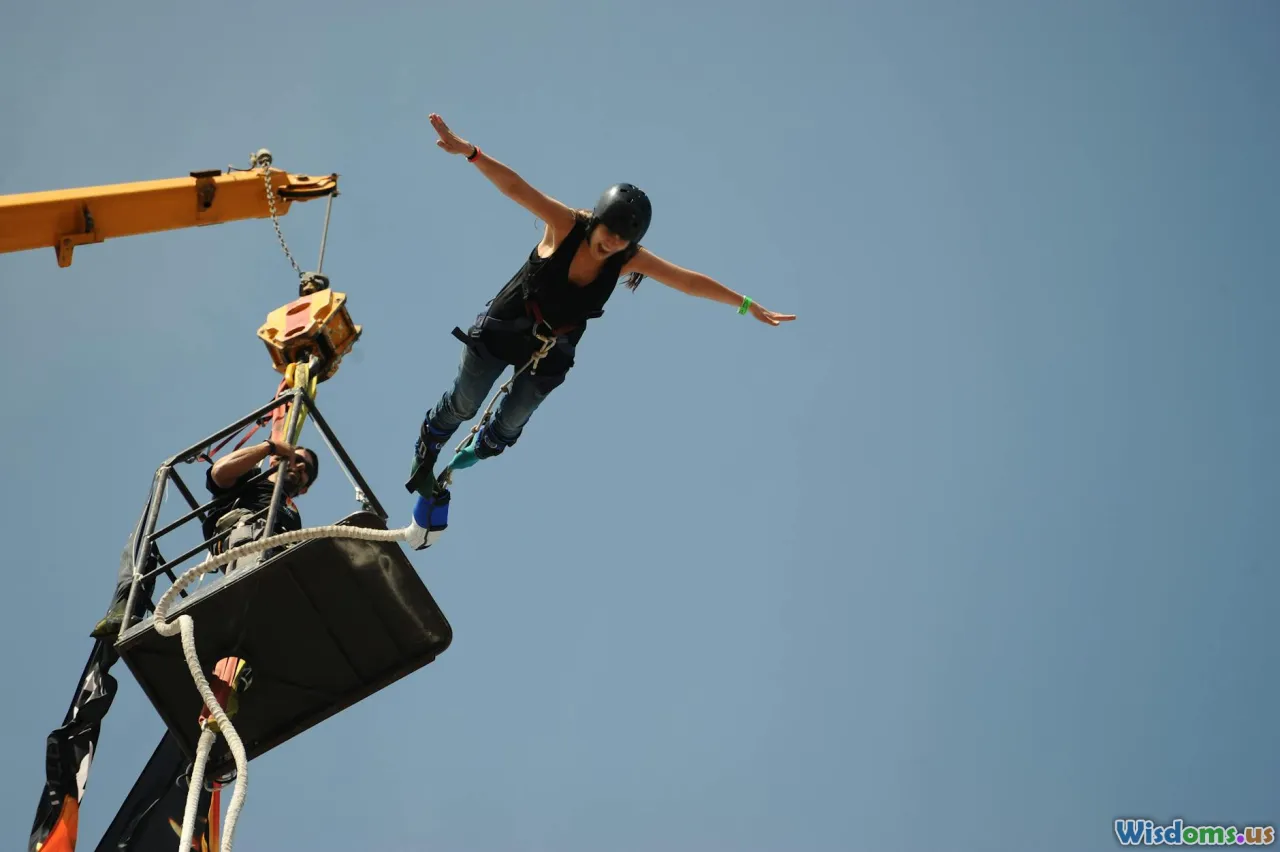
Stepping off a ledge for your first bungee jump is equal parts courage, curiosity, and trust. The trust part—placing your safety in an operator and a system you don’t fully understand—deserves careful thought. Choosing the right location is not just about the view or the height. It’s about standards, staff, weather, equipment, and your own comfort zone. This guide distills what experienced jumpers, riggers, and safety auditors look for so you can make a confident, informed decision—and enjoy the moment when the world drops away beneath your feet.
Start With Your Goal and Comfort Zone

Different bungee sites cater to different first-time experiences. Before you scroll through scenic photos, outline what would make your first jump feel successful.
- Define your sensation target: Do you want a short, punchy drop or a drawn-out, high-adrenaline plunge? First-timers often enjoy mid-height jumps that deliver a strong rush without feeling overwhelming.
- Consider the environment: Rivers and gorges feel natural and scenic; urban crane jumps feel dramatic and accessible. If wide open spaces keep you calm, avoid narrow canyons or night jumps.
- Decide on spectators: Some thrive with friends cheering; others prefer a quiet, focused setting. Choose a site that accommodates your social preference.
- Think through the “redo factor”: A site that offers a second discounted jump or a variety of jump styles (forward, backward, tandem) can help you build confidence after your first leap.
Real-world example: A 40–70 m bridge jump over a river is often ideal for a first-timer, offering a clean line of sight, ample space around the platform, and a moderate freefall followed by a forgiving rebound. If fear of heights is strong, a lower jump with a water-touch option can psychologically anchor the experience by giving you a visible “target” below.
Pick the Right Jump Type (Bridge, Dam, Crane, Gorge)

The structure matters. Each location type affects wind, line management, rescue access, and how “big” the jump feels.
- Bridge jumps: Common, photogenic, and usually have straightforward rigging anchors. Pros: consistent wind channels, robust infrastructure for crowd control and gear. Cons: occasional traffic vibrations or narrow walkways. Bridges over rivers often include optional “water touch.”
- Dam jumps: Often very tall, with sweeping views. Pros: stable concrete anchors, usually controlled access. Cons: stronger, more complex wind shears; exposure to sun and temperature extremes that can impact cord behavior (operators compensate, but it’s a planning factor).
- Crane jumps: Set up in urban or festival settings, great for accessibility. Pros: flexible locations, short travel. Cons: quality varies; vetting is crucial. Look for operators with documented inspection schedules and proper ballast and tie-in points.
- Gorge/cliff jumps: Spectacular scenery with deep, open drops. Pros: immersive nature feel, unique photos. Cons: more complicated rescues, dynamic winds; ensure the operator demonstrates strong emergency planning.
Actionable tip: When comparing two similar heights, pick the operator with the clearest published safety procedures and better rescue access over the more dramatic view every time. Thrills are available everywhere; robust planning is not.
How High Is “Right” for a First Jump?

Height dictates intensity. More height means more time to accelerate, then a longer deceleration and rebound cycle. The “feel” of the drop depends on cord selection, attachment style, and your body position, not just meters on a sign.
- 35–50 m: Great for beginners. The drop feels immediate, the rebound is energetic but not overwhelming, and you’ll likely want a second go.
- 50–70 m: A sweet spot for many first-timers who want a strong, sustained sensation without the psychological load of triple-digit heights.
- 70–100+ m: Epic. Best if you’re comfortable with exposure and can handle “hanging time” before recoil.
Physics note for context (not a promise of exact feel): After stepping off, you accelerate until the cord begins to stretch, then decelerate as the cord absorbs energy. The exact timing depends on your weight, the cord’s unstretched length and elasticity, and whether it’s tuned for your mass and the day’s temperature. Experienced operators choose cords to keep peak forces within safe, comfortable limits for your weight range.
Pro tip: If you want an introduction that feels safer, choose a body harness plus ankle attachment (belt-and-suspenders redundancy) and a mid-height bridge. If you crave maximum airtime, seek a site known for high jumps with impeccable credentials and a thorough briefing.
Vet the Operator: Standards, Audits, and Transparency

A beautiful platform means little without solid systems. Look for signs that the company has built safety into every step.
- Recognized frameworks: Many quality operators align with adventure safety management standards such as ISO 21101 (safety management systems), ISO 21102 (leader competence), and ISO 21103 (participant information). In New Zealand, commercial bungee operations fall under the Adventure Activities Regulations with third-party audits; in the UK, operators follow stringent health and safety regulations and guidance; across the EU, you’ll often see CE-marked equipment and compliance with relevant EN standards. In the U.S., regulation is more fragmented; prioritize operators that voluntarily adopt robust standards and publish audits.
- Documented audits: Ask, “When was your last external safety audit?” and “Who performed it?” Credible operators can name an independent auditor and give a timeframe (e.g., within the last year) and scope (equipment, procedures, training).
- Clear participant information: Reputable sites publish weight ranges, medical exclusions, wind/temperature limits, and cancellation/refund rules. Vague websites or missing safety sections are yellow flags.
- Incident reporting culture: You won’t always see public logs, but staff should speak plainly about how near-misses are recorded and used to improve procedures. Evasive answers are a red flag.
Example: In a country with formal audit requirements, the operator should show evidence of current approval and be able to point to the regulator or scheme under which they’re approved. In less-regulated regions, lean on transparency, references, and independent reviews that specifically mention safety briefings and professionalism—not just “It was awesome!”
Equipment and Rigging: What to Look For at the Platform

You don’t need to be a rigger to notice good practice. Five minutes of observation tells you plenty.
- Harnessing: For first-timers, many operators use both an ankle attachment and a full-body or sit harness as a backup. The harnesses should be snug, with clear, redundant connections. Labels and ratings should be visible and not excessively worn.
- Connectors and anchors: Look for rated steel connectors or purpose-built links with stamped load ratings (in kN or WLL/SWL), properly secured with pins or captive elements. The anchor points should be clearly engineered—no ad hoc knots, no rusted plates, no frayed webbing running over sharp edges without protection.
- Cords: Commercial bungee cords are made from multiple rubber strands within a protective sheath; they’re consumable items with lifespans and inspection intervals. A solid operator logs cord usage cycles, environmental exposure, and retirements. You won’t see the log, but you can ask, “How do you track cord life?” and expect a detailed answer.
- Redundancy and edge management: Where the cord bends over edges or rails, there should be edge protection or a design that avoids abrasion. Look for secondary safety lines during pre-jump stages, such as a lanyard clipped to a rail while you’re being attached to the main system.
- Organization: Tidy gear, dedicated bins, color-coded cords for different weight ranges, and a checklist-driven setup indicate maturity. Tangled lines, unlabeled cords, or make-do repairs signal risk appetite.
Quick visual test: If you can see daylight through a frayed stitch or cut webbing fibers, walk away. A proud, professional operator replaces questionable gear proactively.
Staff Competence: The Briefing, The Checks, The Culture
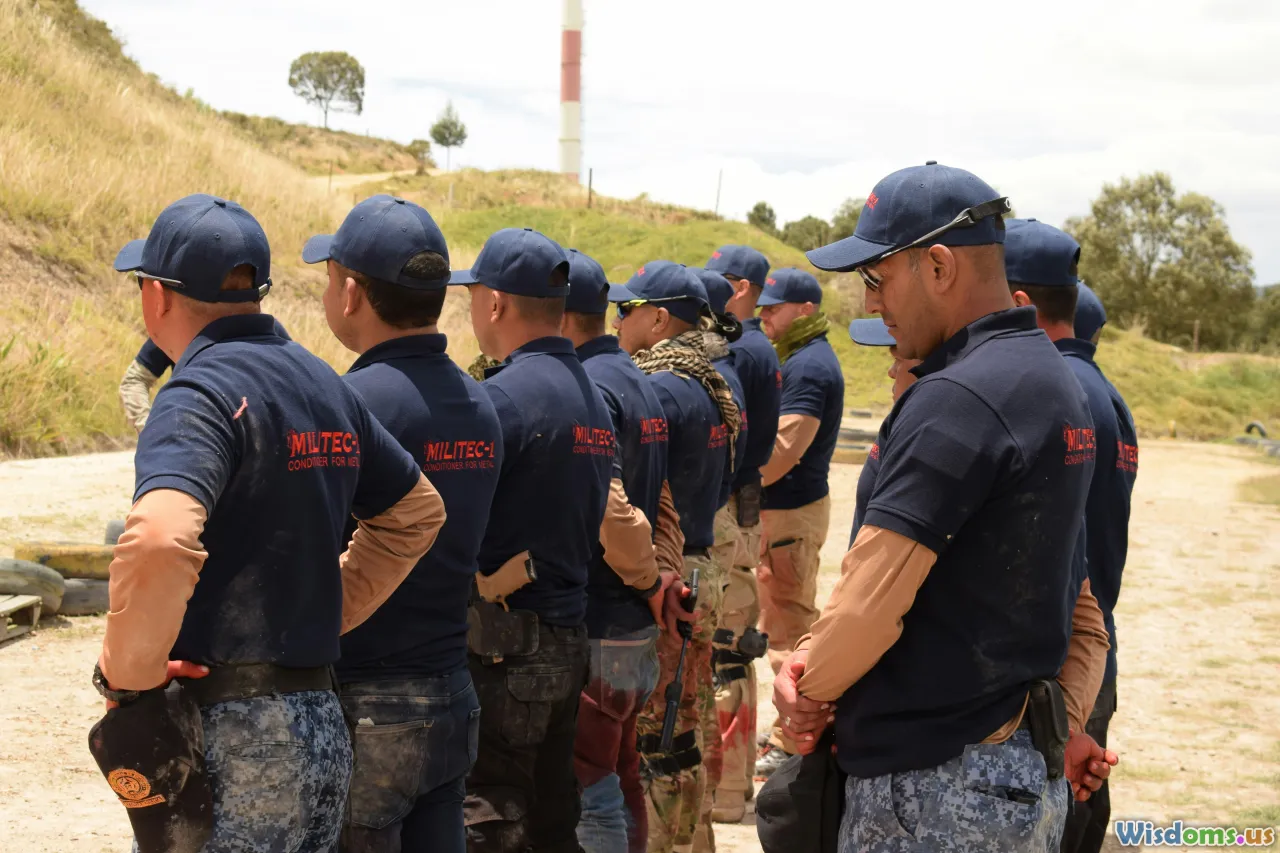
People make systems safe. Evaluate the crew by the way they brief, check, and communicate.
- Weigh-in and pairing: You should be weighed on the day in your jump clothing. Your weight determines cord selection. Matching cords to the participant is core practice—watch for labels, cross-checks, and verbal confirmations.
- Two-person checks: Expect at least two independent verifications of attachments and cord selection. A lead rigger might do a final sign-off before you jump.
- Clear, calm briefing: A good briefing covers body position, what you’ll feel when the cord catches, how to hold your arms, what to do if you hesitate, and how the retrieval works. It’s not a pep talk; it’s a process.
- Professional demeanor: Instructors can be fun and encouraging without being pushy. If you feel rushed or mocked, that’s a culture problem.
Questions to ask (and strong answers):
- “What happens if I freeze on the edge?” Expect: a patient step-by-step, including options to step back, breathe, and try again without pressure.
- “How do you decide which cord I get?” Expect: weight range matching, environmental adjustments (temperature/wind), and confirmation checks.
- “What’s your wind limit today?” Expect: a specific number or range and a method for measuring it (anemometer at the site) plus a plan for gusts.
Site Safety Beyond the Edge: Access, Rescue, and Communication

Great operators design safety into the entire site, not just the jump.
- Access control: There should be a clear boundary between public spaces and the rigging area. Only participants and staff should be near live edges and cords.
- Retrieval and rescue: Look for a visible plan to bring you back to the platform or to a lower access point. In bridges, this may involve a winch system; in gorges, a boat or a platform below. Ask, “If the retrieval line tangles, what’s Plan B?”
- Emergency response: A stocked first-aid kit on-site is a given. Even better: staff trained in first aid/CPR, a designated incident leader, and coordination with local emergency services. Operators in remote areas should have their own evacuation capability.
- Communication: Radios or hard-wired comms between launch and retrieval staff reduce missteps. If staff shout instead of using radios, that’s not ideal.
Field cue: Scan for laminated emergency procedures near the platform and see if staff reference them during the day. Preparedness shouldn’t be a secret.
Weather, Water, and the Environment
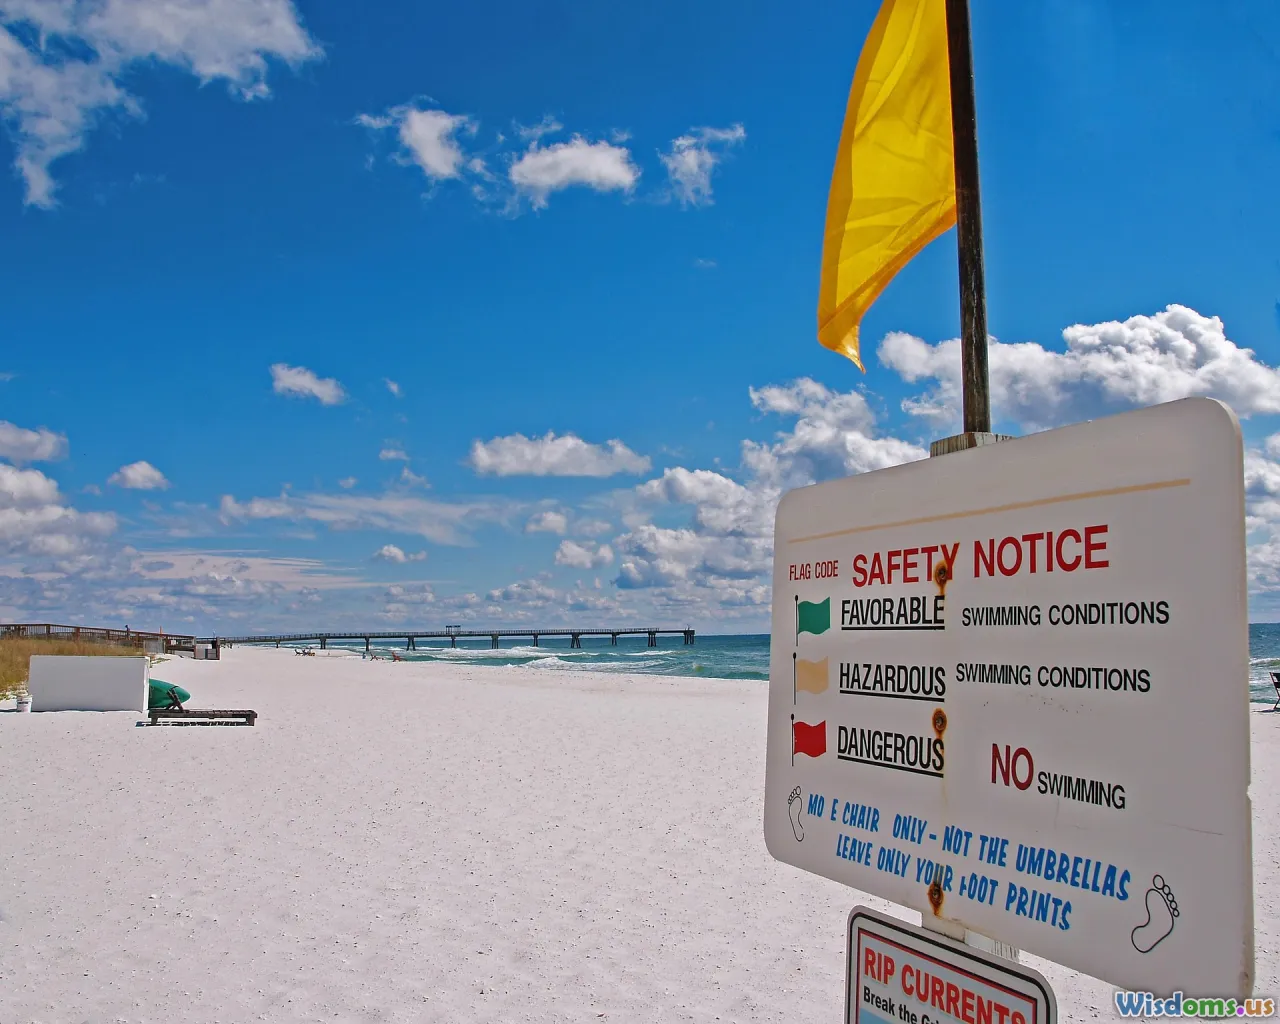
Weather calls are safety calls. Conditions change quickly on exposed structures.
- Wind: Lateral wind can swing you into structures. Quality operators publish wind thresholds and use anemometers to monitor gusts. Many will pause operations in moderate-to-strong gusty conditions; specifics vary by site.
- Temperature: Rubber elasticity shifts with temperature. In colder weather, cords behave stiffer; in heat, softer. Competent teams tune cord choice and operating parameters accordingly.
- Precipitation: Wet platforms get slippery. Ask how they adjust procedures in rain (footwear guidance, anti-slip mats, slower cadence to prevent mistakes).
- Water levels and tides: For river and coastal jumps, operators monitor flows and tides to ensure safe clearance. A water-touch is only safe when the operator has precise control and adequate depth and clearance.
Insider tip: If the operator cancels or delays for weather, that’s a green flag of good judgment, not an inconvenience. Flexible rescheduling and refunds reflect a safety-first culture.
Health, Insurance, and Waivers You Should Actually Read
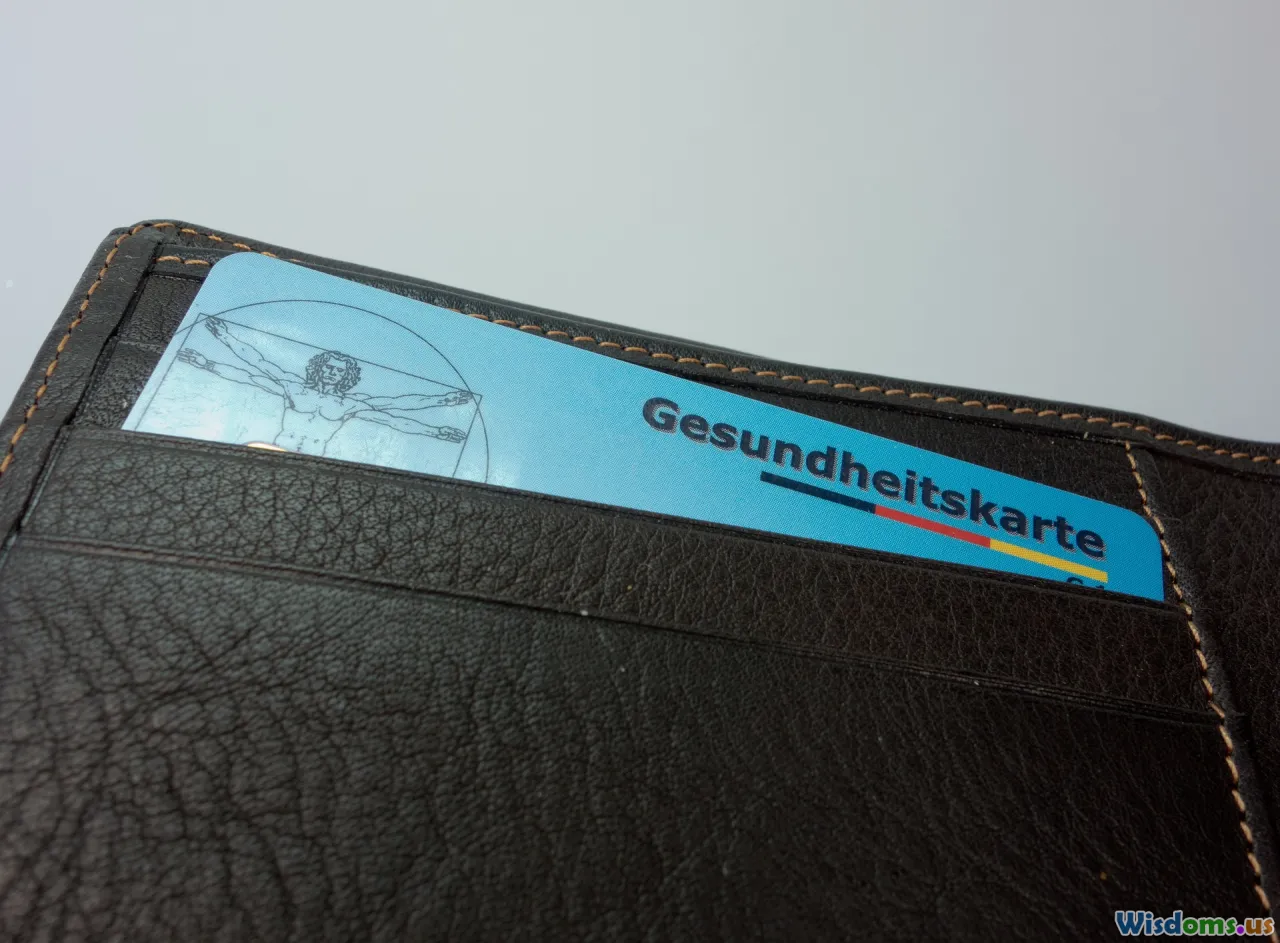
Bungee jumping is high-intensity but short-duration. It’s not for everyone.
- Common contraindications: Pregnancy, serious cardiovascular conditions, uncontrolled hypertension, recent surgeries, significant spinal or neck injuries, and some eye conditions (e.g., known retinal issues or uncontrolled glaucoma). If in doubt, get medical clearance.
- Weight and age limits: Respect them. They’re set based on cord performance windows and harness fit. Expect weigh-in on the day.
- Medication and hydration: Avoid alcohol. If you’re on medication that affects blood pressure, consult a physician. Eat a light meal a few hours before; don’t jump on an empty or overly full stomach.
- Insurance: Standard travel insurance may exclude bungee jumping or categorize it as an add-on adventure activity. Read the policy wording. If local laws limit liability for recreational activities, your personal coverage matters more.
- Waivers: They can be long. Scan for disclosures about risks, equipment descriptions, and emergency procedures. Quality operators explain what you’re signing.
Pro move: Email the operator a week ahead with any medical questions. A thoughtful, specific response indicates they’ve managed similar cases responsibly.
Timing, Seasonality, and Crowd Dynamics

Small adjustments to timing can improve safety and enjoyment.
- Go early: Morning slots often mean calmer winds, cooler temperatures, and less queue pressure. Staff are fresh, and operations are unhurried.
- Avoid rushed operations: If a site is packed and staff are pushing throughput, ask to wait for a quieter window.
- Seasonal differences: In hot climates, midday heat can fatigue both people and equipment. In colder regions, plan for extra layers and warm-up time to maintain focus during the briefing.
Example: At a popular bridge site with rolling tour buses, booking the first wave can transform your experience—calmer line, clearer briefings, and more time to process the moment on the edge.
Budget and Value: What a Higher Price Often Buys You

Prices vary widely by region and site. While a higher fee doesn’t guarantee safety, it often correlates with investments in equipment turnover, training, audits, and rescue capability.
- What’s included: Some sites include photo/video, transport from town, and jump insurance add-ons. Read carefully; a low headline price may exclude essentials.
- Flexible policies: Refunds or reschedules for weather-based cancellations protect you. Strict “no refunds, jump anyway” policies are not confidence-inspiring.
- Equipment turnover: Ask how often cords and harnesses are retired. Operators who track cycles and retire gear proactively are worth the premium.
Value lens: If you’re choosing between a slightly pricier operator with documented audits and a cheaper one with vague details, pay the premium. The thrill feels the same; the risk profile does not.
Reading Reviews Like a Safety Pro

Not all five-star reviews are useful. Focus on safety-relevant clues.
- Look for detail: Mentions of weigh-ins, double checks, measured wind calls, and clear briefings.
- Scan for how issues were handled: Weather delays, nervous jumpers, equipment questions. Professional responses matter more than speed.
- Filter the noise: “Best day ever!” is nice; “They changed cords due to a gust front and re-briefed us” is gold.
- Cross-check platforms: Read beyond the operator’s own site—independent forums, travel communities, or social channels often reveal patterns.
Pro tip: Watch user videos. Does the staff maintain control around the edge? Do you see tidy rigging and a calm pace? Are there consistent attachment procedures across different participants?
Red Flags vs. Green Flags Checklist

Use this quick filter when scouting sites or arriving on location.
Green flags:
- Published weight/health limits and wind thresholds
- Two-person gear checks and verbal confirmations
- Clean, labeled equipment with visible ratings
- Calm, specific briefings and transparent delays/cancellations
- Clear boundaries between spectators and rigging
- Evidence of audits or adherence to recognized safety frameworks
Red flags:
- Cash-only, no receipts, or vague ownership details
- No weigh-in or “eyeballing” cord selection
- Single-point ankle attachment without a backup harness for first-timers
- Frayed webbing, unlabeled cords, or improvised anchors
- Staff pressuring hesitant jumpers or making light of risks
- No mention of wind limits, no radios, or chaotic platform behavior
If you see multiple red flags, don’t negotiate—walk away.
Questions to Ask Before You Book (With Interpreting Hints)

- “What’s your process for matching cords to different weights and temperatures?”
- Strong answer references weight ranges, environment, and documented checks.
- “How often do you retire cords and harnesses?”
- Look for usage logs, not just calendar time.
- “Who audited your safety system and when?”
- A named third party and an approximate date.
- “What are your wind and weather limits, and how do you measure them?”
- Specific numbers and on-site instruments, plus a plan for gusts.
- “If I decide not to jump at the edge, what’s your policy?”
- Respectful options, maybe a partial refund or reschedule.
- “What medical conditions do you screen for?”
- A thoughtful list and an invitation to discuss specifics.
Your goal isn’t to interrogate; it’s to hear how the team thinks. Precision is a proxy for professionalism.
Attachment Styles and Body Position: Choosing What Feels Secure

First-timers often fixate on the ankle tie. Understand your options.
- Ankle-first with backup body harness: The classic feel—with your center of gravity tipping forward—plus redundancy. Many first-timers prefer this combo.
- Body-only attachment (sit or full-body harness): Some operators offer this for particular jumps. It can feel mentally easier because you’re not fixated on your ankles, but confirm that the system is designed for this mode.
- Tandem options: If allowed, jumping with a friend or instructor can steady nerves but requires precise weight matching and practiced procedures.
Position basics for a smooth launch:
- Stand tall, hips forward, eyes on the horizon; don’t curl or sit back.
- Follow the countdown instantly—hesitation builds fear and can disrupt the clean fall line.
- Keep arms close to the torso unless instructed otherwise, reducing line twists.
Tip: Ask for a demonstration on a training line or a short dry run at the platform. Muscle memory helps when adrenaline spikes.
The On-Site Flow: What a Safe Operation Feels Like in the Moment

From check-in to high-five, the vibe tells you everything.
- Check-in: ID, waiver, weigh-in, and a structured safety talk. You’ll be fitted early to confirm harness sizes.
- Pre-jump area: Your harness should be clipped to a safety line while moving near edges. Staff call out and repeat key details (“Participant 73, 68 kg, cord blue 60–80 kg”).
- At the edge: The lead rigger confirms attachments, clears lines, and controls the countdown. No one else distracts you.
- After the jump: A smooth retrieval and a quick check-in to confirm you’re okay. Debriefing is unhurried; you’re not hurried out for the next group.
Note the cadence: Quality teams are unflappable. The rhythm stays steady whether you’re first or fifteenth.
Planning Your Day: A Practical First-Jump Checklist

Preparation reduces anxiety and sharpens focus.
- The day before:
- Sleep well, hydrate, and avoid alcohol.
- Confirm booking details, transport, and timing buffers.
- Review health questions; email the operator if anything changed.
- What to wear:
- Snug, closed-toe shoes. No flip-flops.
- Comfortable, weather-appropriate layers. Avoid scarves or loose items that can snag.
- Empty pockets, remove jewelry, tie back long hair.
- What to bring:
- Government ID, booking confirmation, and payment method.
- Light snack and water. Sunglasses with a retainer if needed.
- A secure strap if you plan to bring an action camera (only if the operator allows it and provides approved mounts).
- On-site:
- Arrive early. Observe rigging practices calmly.
- Listen closely to the briefing; ask one question if anything feels unclear.
- Commit at the countdown. If you hesitate, step back and reset; don’t half-step.
- Aftercare:
- Expect an adrenaline dump—eat something light, hydrate, and sit for a few minutes.
- Mild ankle or harness pressure marks can occur; they usually fade quickly. Report any discomfort immediately so staff can note it.
Pro tip: Book your jump for the first half of your trip. If weather delays occur, you’ll have reschedule options.
Regional Considerations: Regulation Varies—So Should Your Scrutiny

- Strongly regulated locales: Countries with formal adventure activity frameworks (e.g., audit-based systems and specific guidance) often publish operator lists or audit schemes. Use them.
- Moderately regulated areas: You’ll find reputable operators, but standards may be less uniform. Rely heavily on audits, staff competence, and visible process quality.
- Lightly regulated or pop-up settings: Crane jumps at festivals or seasonal events can be safe if run by top-tier teams, but be extra vigilant—verify documentation, look for equipment labels, and insist on process transparency.
Travel note: Language barriers can complicate briefings. If you’re jumping abroad, consider sites with bilingual staff or translated safety materials.
Two Scenarios: How Due Diligence Plays Out

-
The river bridge with a track record: Website lists weight limits, medical exclusions, and wind policies. They publish a recent third-party audit and a page describing equipment retirement cycles. Reviews mention “calm briefings,” “two-person checks,” and “weather postponements handled well.” Price is mid-to-high. Green light.
-
The city fair crane: Social media is heavy on hype, light on details. No weigh-in in the videos, staff shout over loud music, and harness checks look inconsistent. Prices are low, cash preferred. Red flags stack up. Even if thousands have jumped, you don’t need to be the one who tests the margins. Walk.
If You’re Nervous: Techniques That Work Without Cutting Corners

- Normalize the fear: Butterflies are information, not a stop sign. A good operator expects nerves and builds extra time into the process for first-timers.
- Use a focus script: Pick a simple mantra (“Stand tall, eyes up, lean and go”) and repeat it aloud during the countdown.
- Visualize the sequence: Watch a few jumps from the same spot, then close your eyes and imagine your clean step-off and first rebound.
- Ask for a count you control: Some feel better initiating motion on their own 3-2-1 rather than waiting passively.
The point is not to remove fear but to focus it into a clean, safe movement.
Final Confidence Check: A 60-Second Pre-Booking Audit

Before you click “Book,” run this micro-check:
- Does the operator clearly state limits (weight, health, wind)?
- Can they cite an external audit or recognized safety framework alignment?
- Do independent reviews mention specific safety practices?
- Are refund/reschedule policies fair for weather delays?
- Do you feel respected and well-informed in communications?
If you can answer yes to at least four of these, you’re probably looking at a conscientious team.
Stepping off that platform is an unforgettable moment—a clean arc into space, a taut rebound, and the sudden realization that you’ve expanded your own edges. Choose a location that earns your trust long before you reach the edge. When you’ve vetted the operator, matched the jump to your comfort zone, and watched a practiced team run their playbook, the only thing left is the simplest, bravest move you’ll make all year: lean forward and go.
Rate the Post
User Reviews
Other posts in Adventure Travel


Popular Posts


