Step By Step Guide To Rustic Mason Jar Candles
18 min read Learn to create charming rustic mason jar candles with this detailed DIY guide, perfect for home decor or heartfelt gifts. (0 Reviews)
Step By Step Guide To Rustic Mason Jar Candles
There’s a reason why rustic mason jar candles are repeatedly spotted at weddings, dinner tables, and cozy reading corners. Their recognizable charm blends nostalgia with versatility, making them beloved for both gifting and home décor. Whether you’re seeking a hands-on project or an affordable way to add personality to your space, this guide will walk you through creating elegant, one-of-a-kind mason jar candles while highlighting professional techniques for a polished, rustic finish.
Why Choose Rustic Mason Jar Candles?
The popularity of mason jar candles isn’t accidental. Unlike generic store-bought candles, homemade versions—especially those paired with rustic motifs—carry a story. The classic glass jar, first patented by John Landis Mason in 1858, was designed for canning and preservation. Today, it stands as a symbol of practical Americana and eco-conscious crafting.
Rustic mason jar candles evoke warmth and authenticity, perfectly complementing farmhouse, cottage, or bohemian-inspired interiors. They’re practical, too: jar candles reduce wax spills; the lids make them portable or ready for gifting; and the vessel’s transparency allows for creative layering of botanicals or color gradients.
Pinterest surveys show that “DIY rustic candles” rose in search popularity by over 40% last year—highlighting the enduring demand for this craft. Plus, choosing homemade over store-bought allows you to customize for scent sensitivities or select natural ingredients, like soy or beeswax.
Materials and Equipment Checklist

Before diving in, assemble high-quality materials to ensure better results and fewer crafting hiccups. Here’s what you’ll need:
- Mason Jars (pint or half-pint, regular or wide-mouth)
- Candle Wax (soy, beeswax, or paraffin)
- Wicks (pre-tabbed or cotton)—ensure correct thickness by consulting wick size guides relative to jar width
- Fragrance Oils or Essential Oils (optional, but recommended)
- Dye Chips or Liquid Candle Dyes (optional)
- Double Boiler or Microwave-Safe Jug (for melting wax)
- Thermometer
- Glue Dots or Hot Glue
- Wooden Skewers or Wick Holders
- Decorative Additions: dried flowers, cinnamon sticks, twine, burlap ribbon, charms
- Labels (for gifting or personal notes)
Tip: Health-conscious crafters tend to favor soy or beeswax for their clean-burn qualities. Major candle supply stores (like CandleScience or Bramble Berry) offer easy-to-melt versions tailored to beginners.
Step 1: Prepping the Mason Jars
Cleaning jars is more than an aesthetic concern—it drastically extends candle shelf-life and scent quality. Residual grease or dust can inhibit proper wick adhesion and lead to uneven burning.
How To Thoroughly Prep Your Jars
- Wash each mason jar with warm, soapy water.
- Rinse and dry completely to avoid condensation during wax pouring.
- If reusing old jars, soak in a mixture of vinegar and baking soda overnight to remove stubborn stains.
- Wipe the inside with rubbing alcohol for extra cleanliness and to aid wick adhesion.
Pro Tip: Place clean jars on a layer of newspaper or parchment—it makes cleanup easier during later steps.
Choose jars with smooth interiors—embossed designs look quaint but can pose cleaning and wax adhesion challenges. Wide-mouth designs allow more creative options (layering botanicals, for example) and provide easier access for decorating once the candle sets.
Step 2: Securing and Centering the Wick
A perfectly centered wick is crucial for even burning and maximum scent throw. Uneven or loose wicks can lead to tunneling—the frustrating effect where the candle melts only down the middle, wasting wax and shortening burn time.
Precisely Placing the Wick
- Attach the Wick: Affix the metal tab at the bottom using a glue dot or dab of hot glue, pressing it firmly into the jar’s center. Allow a minute for the adhesive to set.
- Stabilize: Secure the wick upright using chopsticks, skewers, or dedicated wick holders placed across the jar’s mouth. Ensure the wick stands taut and centered.
Common Mistake: Pouring wax with an unanchored or sagging wick. Always double-check alignment before proceeding. For wide jars, consider using two wicks for optimal coverage—a method popular among boutique candle makers.
Step 3: Melting the Wax

Proper wax melting is both an art and a science. Overheating can degrade scent or cause discoloration, while under-melted wax won’t incorporate fragrance or dyes evenly.
The Melting Process—Safely and Precisely
- Measure Your Wax: A pint jar holds roughly 16 oz of wax by volume, but candle wax weighs less than water. Weigh out approximately 12–14 oz (by weight) per pint jar.
- Set Up a Double Boiler: Place your wax in a metal pouring jug or a heat-safe glass container. Set this inside a pot of simmering water. Never heat wax directly on the stove—it’s a fire hazard.
- Monitor Temperature: Using a candle thermometer, melt wax to 170–180°F (77–82°C). Higher temps can affect scent and color.
To guarantee ingredient safety, avoid using cooking pots/utensils interchangeably with those for candle making. Candle dyes and fragrance oils, for example, may linger on surfaces and are not food-safe.
Fact: High-quality soy wax typically requires less heat than traditional paraffin, making it ideal for beginners who worry about overheating mishaps.
Step 4: Customizing Your Candle—Color and Scent

Customization sets your rustic candles apart. Subtle natural tones and earthy scents evoke rustic charm—think vanilla, rosemary, cedarwood, or coffee. Soy and beeswax, with their pale bases, take dye and scent well with minimal effort.
Adding Color
- Dye Options: Use either liquid candle dye or solid dye chips, not food coloring (which isn’t oil-soluble and will bead up).
- Method: Once the wax is fully melted but off the heat, add a tiny amount of dye. Stir well and test the color by dribbling a bit onto wax paper—adjust until you reach the desired tint.
Rustic Palette Ideas: Muted, warm tones such as honey, sage, antique white, or dusty rose are timeless.
Infusing With Scent
- Fragrance Oil Dosage: Generally, 1 oz fragrance oil per 1 lb wax for medium scent throw.
- Natural Option: For subtler or hypoallergenic candles, use pure essential oils. Add when wax cools just below 150°F (65°C) to preserve aromatic potency.
Popular Rustic Blends: Try mixing cinnamon with vanilla, fir with orange, or lavender with pine.
Step 5: Pouring the Wax

Careful pouring leads to professional results. Pouring too fast, too hot, or too cold can create sinkholes or bubbles.
Pour Like a Pro
- Let melted, scented, and colored wax cool to 140–150°F (60–65°C).
- Pour slowly into the prepared mason jar, leaving half an inch of space at the top for later decoration or a lid.
- Tap jars gently to release any air bubbles.
If making blended or layered candles, pour in two or three phases, allowing each layer to set slightly before pouring the next. This process is popular for striped or ombré effects.
Wax Retraction: As the wax cools, it will contract. Save a small reserve of melted wax to top up any sinkholes that appear after the first pour.
Step 6: Setting and Curing
Patience is required for stunning, long-lasting candles. Curing allows full fragrance bloom and stable, burn-ready wax.
- Let jars cool at room temperature, untouched, for at least 4–6 hours. Avoid drafts or moving them, which can disrupt the finish.
- For best results—especially with soy or beeswax—cure candles for 3–5 days (more if using robust fragrances).
Fact: According to the National Candle Association, curing improves scent throw and reduces common candle flaws, such as frosting or uneven tops.
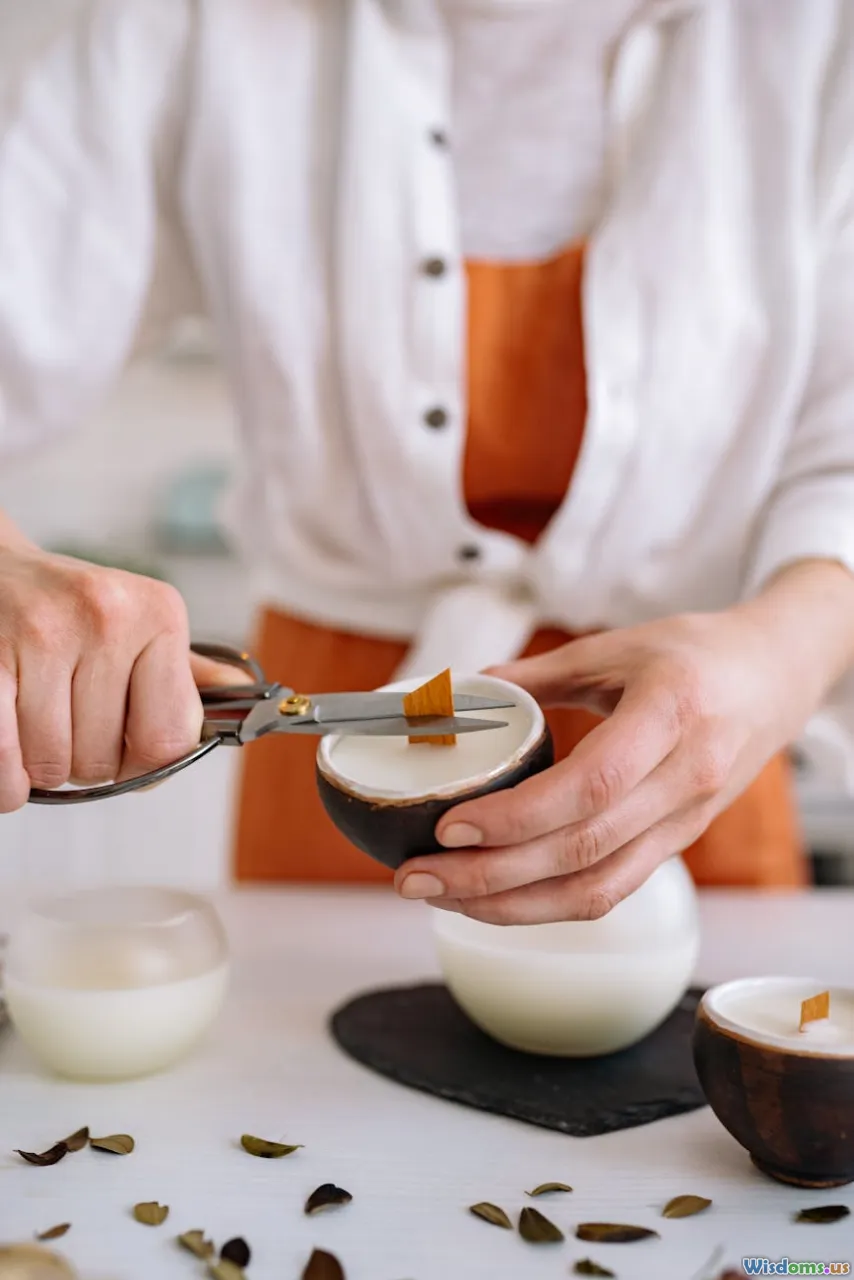
Step 7: Trimming Wicks And Candle Safety
After setting, wicks should be trimmed to ensure a clean, safe burn.
- Trim wicks to ¼ inch before initial lighting. Too-long wicks cause soot, mushrooming, or flickering.
- Test burn each batch; the flame should be steady and smoke-free.
- For gifting or selling, include a safety card. Suggested message: "Never leave a burning candle unattended. Burn only on a stable, heat-resistant surface."
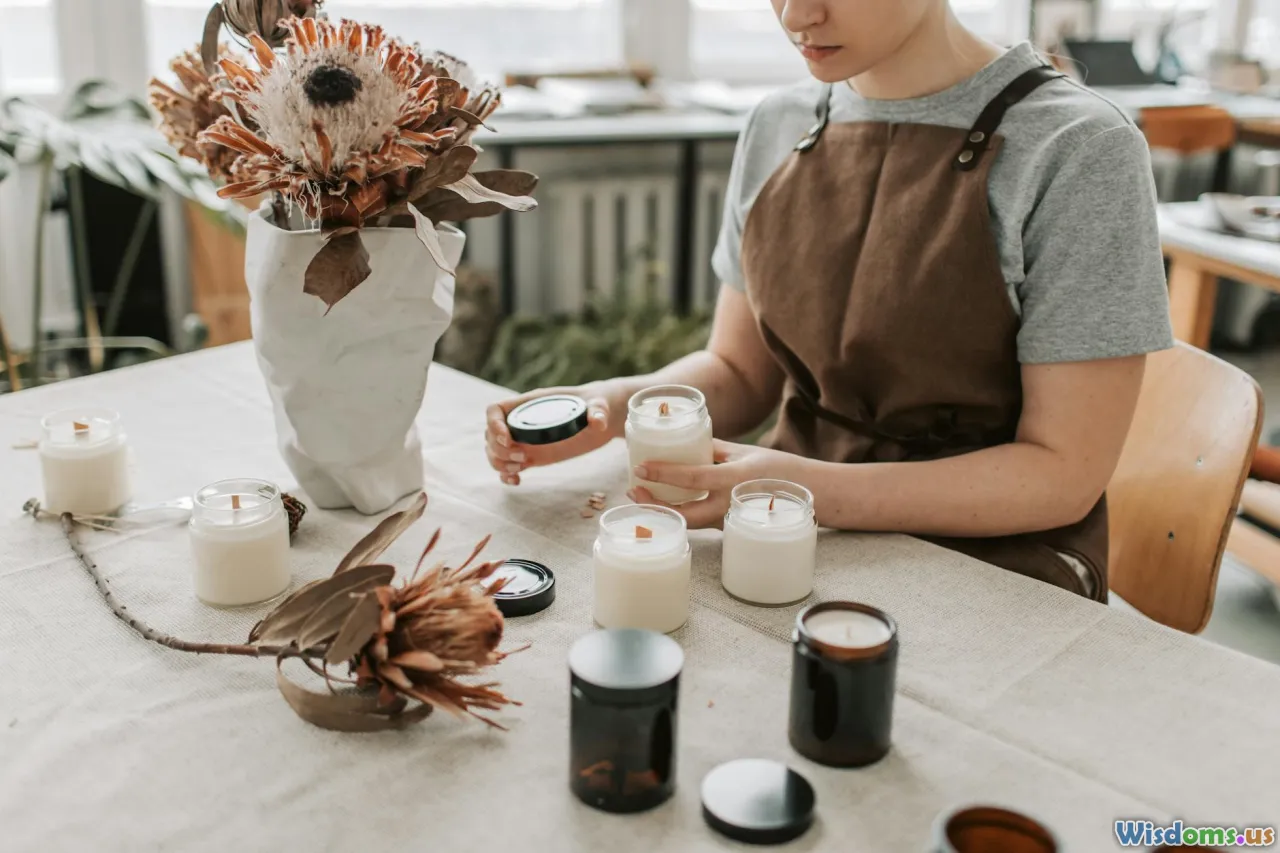
Step 8: Decorating With Rustic Finishing Touches
Decoration clinches the rustic aesthetic. Here’s how to elevate your mason jar candles:
- Twine, Jute, Or Raffia: Wrap a few rings below the jar lip and knot with a little charm (keys, vintage tags, etc.).
- Burlap Ribbon: For countryside flair, wrap the jar collar and secure with hot glue.
- Dried Botanicals: Press flower heads, ferns, or herbs between the glass and the wax shoulder for natural accents.
- Cinnamon Stick Cluster: Attach a cluster around the neck; this nods to traditional cabin coziness.
- Custom Labels Or Tags: Use kraft paper or hand-stamped labels for a personalized, handmade feel. Describe the scent blend, or add a quote about home and comfort.
Inspiration: Martha Stewart Living suggests mixing foraged pinecones with wire or twine for Christmas-ready centerpieces. Meanwhile, rustic weddings trend toward lace bands paired with creamy soy candles in groupings down the reception tables.
Creative Variations And Inspiring Ideas
Your candles can reflect any season or celebration:
- Holiday Themes: For autumn, layer dried orange slices and cinnamon sticks for a spiced cider aroma. For winter, incorporate peppermint sticks, star anise, or miniature pine cones.
- Personalized Gifts: Use family heirloom jars or upcycle unique thrifts. Add a short note, significant date, or initials on a hanging tag.
- Vintage Vibe: Distress the outside of your jar using light sandpaper for a worn, aged effect.
- Mood Lighting Designs: Suspend filled jars from sturdy twine for garden lanterns, or cluster varying heights for a layered centerpiece.
Many crafters also experiment with layered wax colors, embedding crystals, or pouring in unusual antique jars for an upscale rustic look.
Troubleshooting: Common Candle-Making Mistakes
Even experienced makers face hiccups. Here’s how to avoid (or repair) the most frequent blunders:
- Tunneling: Use thicker (or multiple) wicks and ensure the jar’s opening isn’t too large for your chosen wick size.
- Frosting (Surface Crystals): This is common with soy wax—control by avoiding temperature swings and curing longer.
- Bubbles: Slow pouring and room-temp jars help; too-cold jars encourage air gaps.
- Scent Not Lasting: Double-check your fragrance load and pouring temperature. Adding oil when wax is too hot can weaken the aroma.
- Uneven Surface: Top up with reserved melted wax or gently heat the surface with a hairdryer after curing.
Reference: According to CandleScience, most issues resolve with minor tweaks in temperature and patience during cooling.
Candle Burning Care and Display Tips
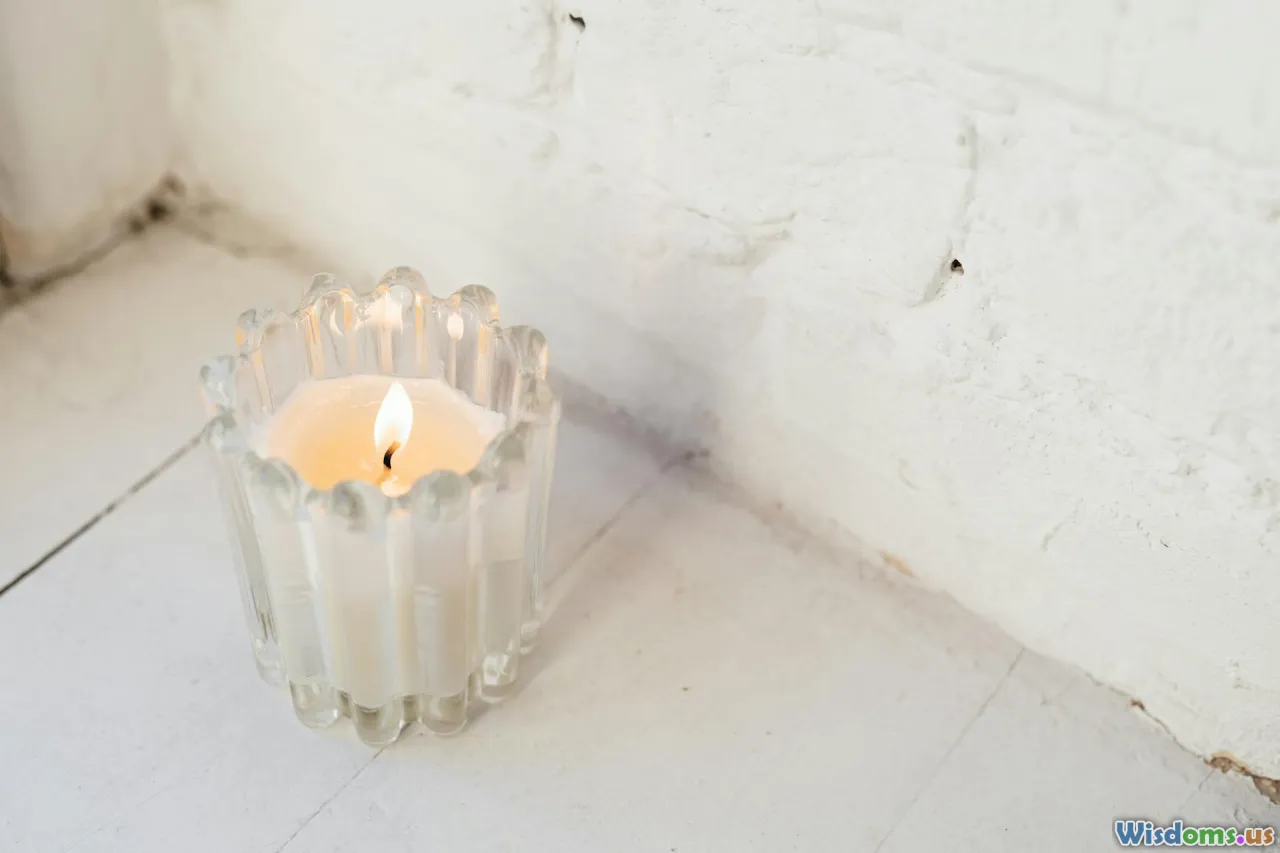
Proper display and care make your candles safer and last longer:
- First Burn: Allow candle to pool across the entire surface (typically 2–4 hours for a medium jar) to set memory for future burns.
- Keep Away From Drafts and Flammable Materials: Shelves, mantelpieces, or enclosed lanterns are ideal.
- Rotate Out-season Candles: Store with lids tightly sealed to preserve scent.
An artfully arranged trio of variously-sized mason jar candles looks both deliberate and inviting. Place on reclaimed wood trays with dried moss or pine needles for the ultimate rustic vignette.
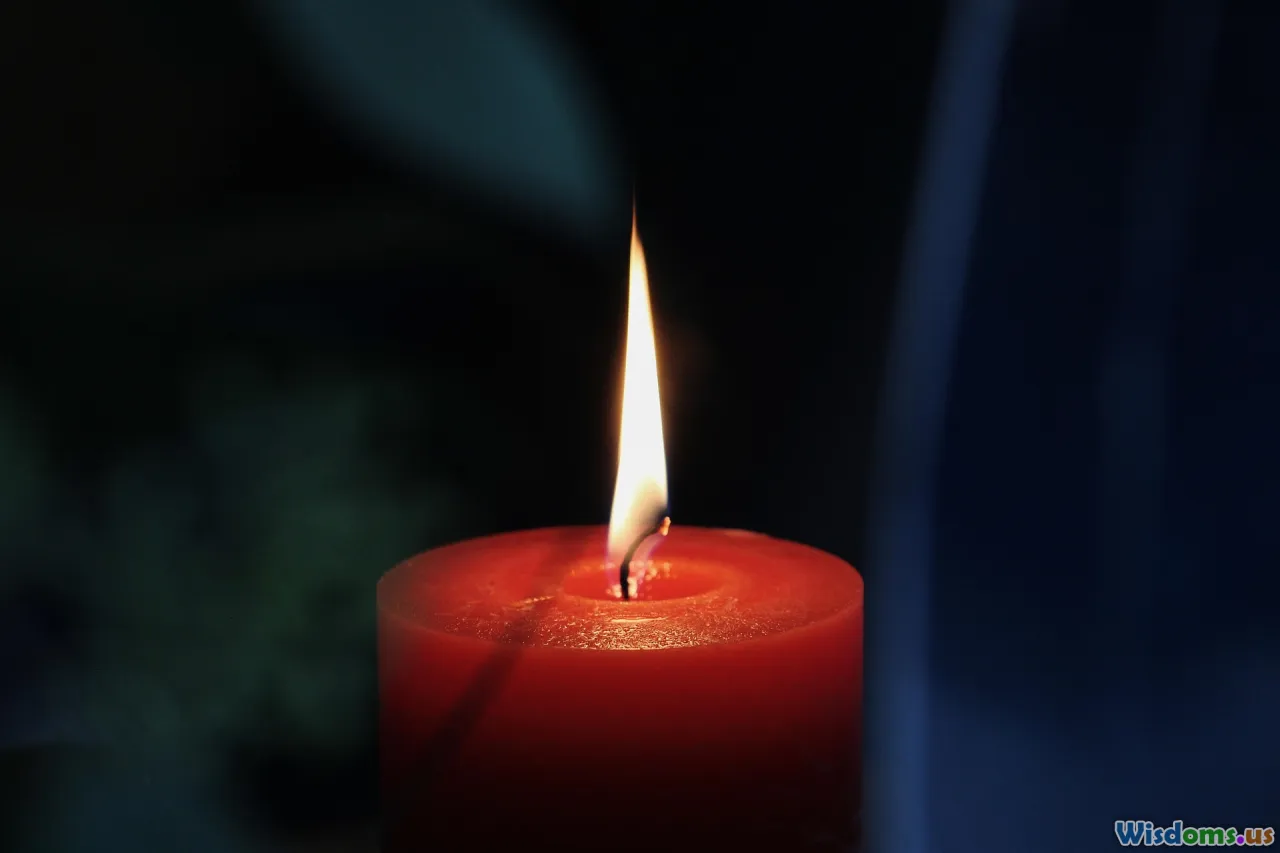
Candlemakers often advise leaving a small, personalized candle by a bedside for gentle, flickering ambiance—perfect for encouraging rest and relaxation.
The beauty of rustic mason jar candles is their blend of utility, tradition, and creative possibility. Beyond a rewarding weekend craft, your hand-poured candles can offer comfort, express your personal style, and become memorable gifts that light up someone’s day. With the right steps and a dash of personality in the decoration, every finished jar becomes much more than a simple candle—it’s a piece of you, shared.
Rate the Post
User Reviews


Popular Posts


