Essential Leatherworking Tools Every Hobbyist Needs
15 min read Discover the must-have leatherworking tools essential for hobbyists aiming for quality craftsmanship and satisfying DIY projects. (0 Reviews)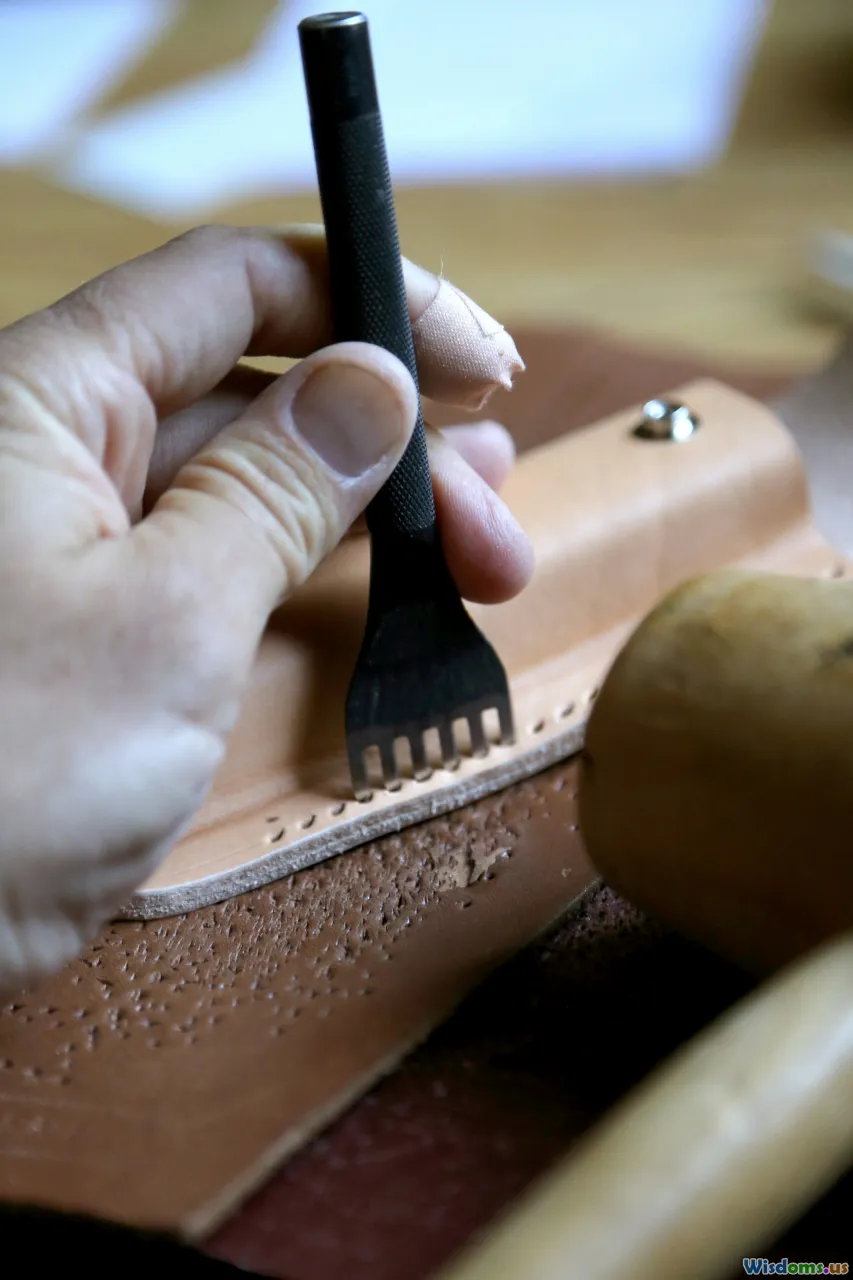
Essential Leatherworking Tools Every Hobbyist Needs
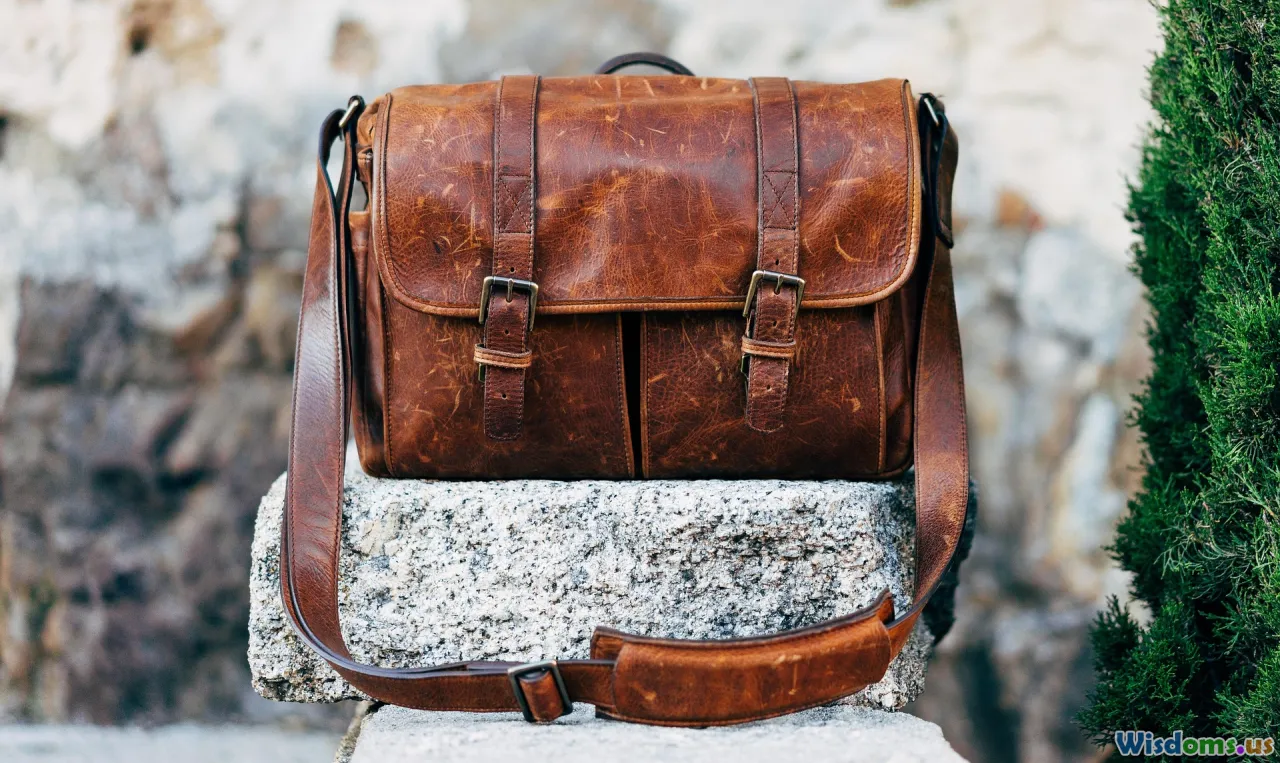
Starting any craft promises a journey of discovery, and leatherworking particularly stands out for its harmonious blend of tradition, utility, and artistry. Whether you're dreaming of creating custom belts, wallets, or intricate accessories, assembling the right toolkit is a must. Many new hobbyists find themselves overwhelmed by the sheer range of gadgets and gizmos available—but you don’t have to be. Let’s break down the core tools that fuel the world of leathercraft, along with practical advice so you can make confident, informed choices.
Choosing the Right Leather

Before you ever reach for a tool, you need to understand the very material you’ll be working with. Leather comes in many types—such as vegetable-tanned and chrome-tanned—with endless finishes and thicknesses. Vegetable-tanned leather is often preferred by hobbyists due to its responsiveness during tooling and dyeing. For your first projects, start with a moderate thickness (around 5–6 oz) which is manageable for cutting and stitching.
Always inspect the hide for scars, uneven texture, or weak spots. Buying small panels or offcuts when starting out is budget-friendly, letting you experiment before investing in full hides. Remember, proper storage—in a cool, dry, and dark environment—preserves your leather's integrity.
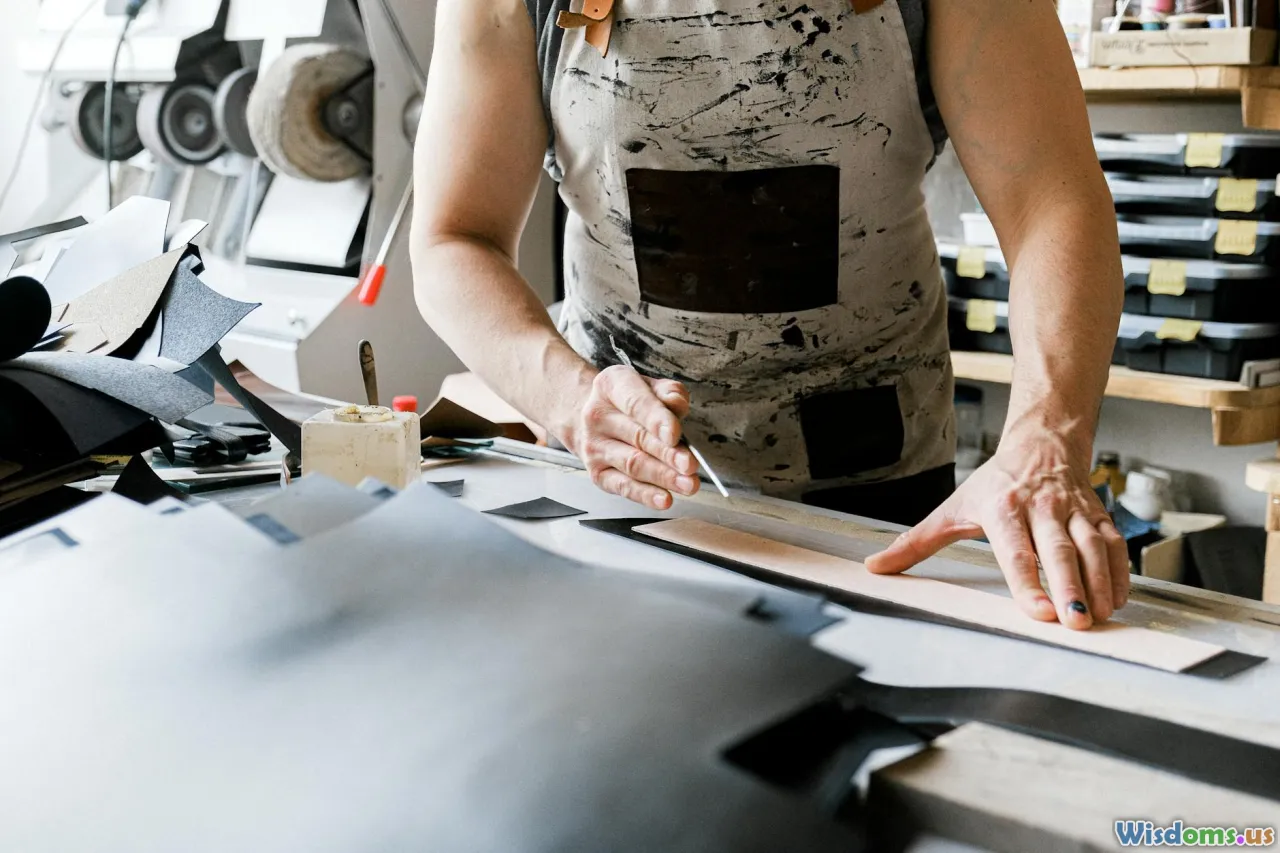
Essential Cutting Tools
Cutting clean, precise edges is fundamental in leathercraft. The most accessible cutting instruments include:
- Utility Knife: Affordable and ideal for beginners. It features replaceable blades for continuous sharpness.
- Rotary Cutter: Designed for smooth, straight lines—excellent for straps or belts.
- Swivel Knife: Specialized for intricate pattern work. Its ease of maneuverability makes it popular for tooling and carving designs, especially on vegetable-tanned leather.
- Cutting Mat: Don’t overlook the need for a self-healing mat, which safeguards your blades and work surface.
Pro tip: Always use a metal ruler (not plastic or wood) when guiding cuts. This ensures accuracy and prevents nicks on your guide.
Marking and Measuring Tools
Achieving professional results requires pristine measurements. While household rulers can suffice, the following items add precision:
- Steel Ruler: With anti-slip backing and clear metric/imperial graduations for reliable accuracy.
- Wing Divider: Unlike compasses, wing dividers let you scribe consistent parallel lines—vital for seam allowance or equidistant stitch guides.
- Scratch Awl: Used for transferring patterns onto leather without leaving permanent marks.
- Tailor’s Chalk or Silver Pen: For visible yet removable markings, essential for darker leathers.
Setting up your workspace with a clear system for marking ensures you avoid waste, crooked seams, and patchy designs.
Punching Tools for Clean Holes

If you want to add hardware or create hand-sewn products, you’ll need the means to punch holes accurately:
- Rotary Hole Punch: A handheld tool with multiple diameter settings, perfect for belts, watch straps, and hardware installations.
- Punch Set & Mallet: For heavier-duty tasks, such as bag handles or larger fabrications, a punch set used with a rawhide or nylon mallet distributes force evenly, preventing bruising.
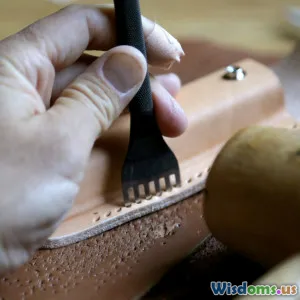
- Stitching Chisels & Pricking Irons: Unlike conventional hole punches, these tools create a line of evenly spaced slits or dimples, providing a guide for perfectly aligned hand stitching. Pricking irons angle the holes for classic saddle stitching methods, while chisels cut prerouted slots for thread.
Example for beginners: The Craftool Pro Stitching Chisel is a favorite for manageable grip and clean results—pair with a poly cutting board for surface protection.
Tooling and Carving Instruments

Decorative tooling is where leatherwork becomes truly customized. Start with:
- Swivel Knife: As previously noted, this knife allows for delicate, controlled movements—critical for freehand patterns and curves.
- Bevelers, Veiners, and Matting Tools: Each stamping tool creates distinct impressions. Bevelers define edges, veiners mimic natural creases, and matting tools add background texture.
- Modeling Spoon: A double-ended tool for smoothing sharp lines, blending, and subtle shaping after stamping.
- Mallet or Maul: Crucial for stamping tools. Rawhide mallets are favored as they apply strong, controlled force but reduce vibration and protect tool heads.
Pro tip: Dampen your leather slightly before stamping or carving—this helps it hold impressions more crisply and with less resistance.
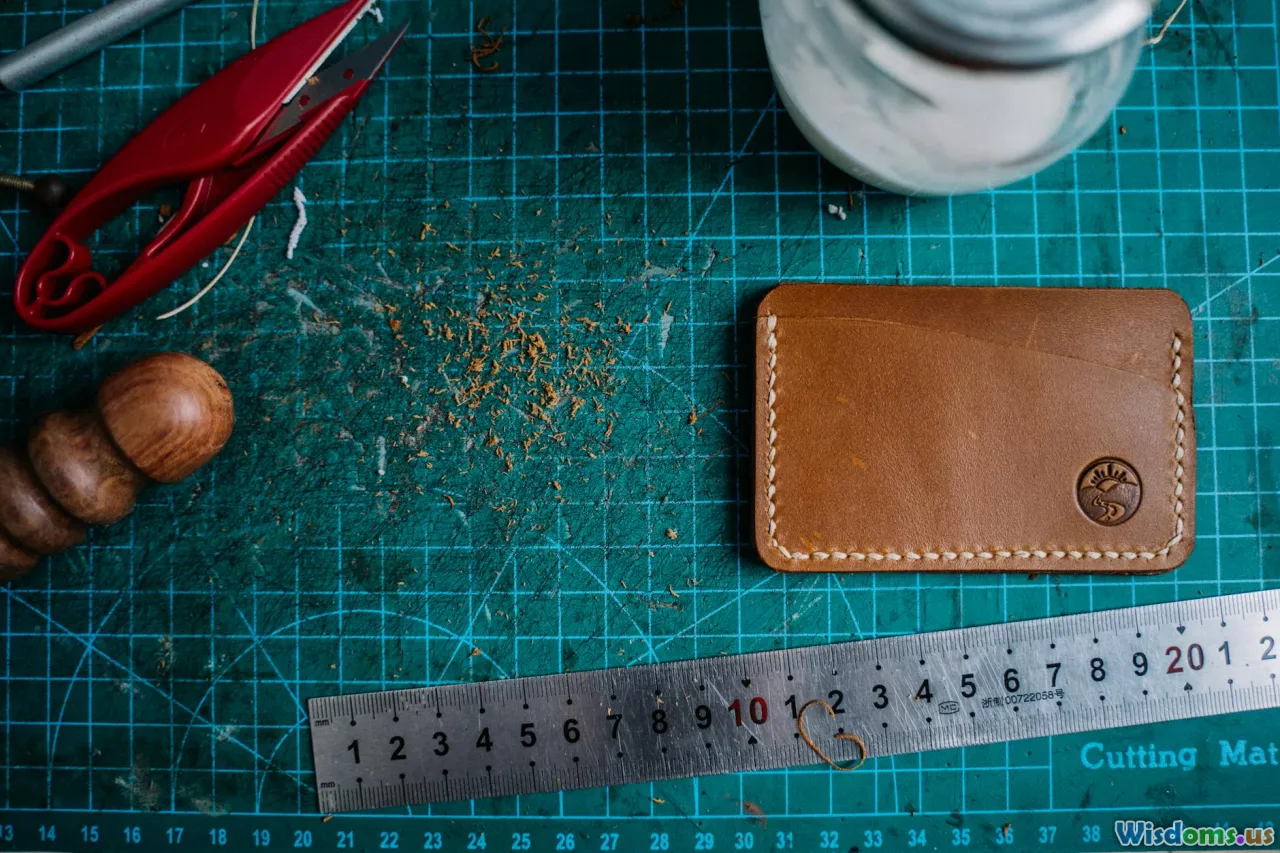
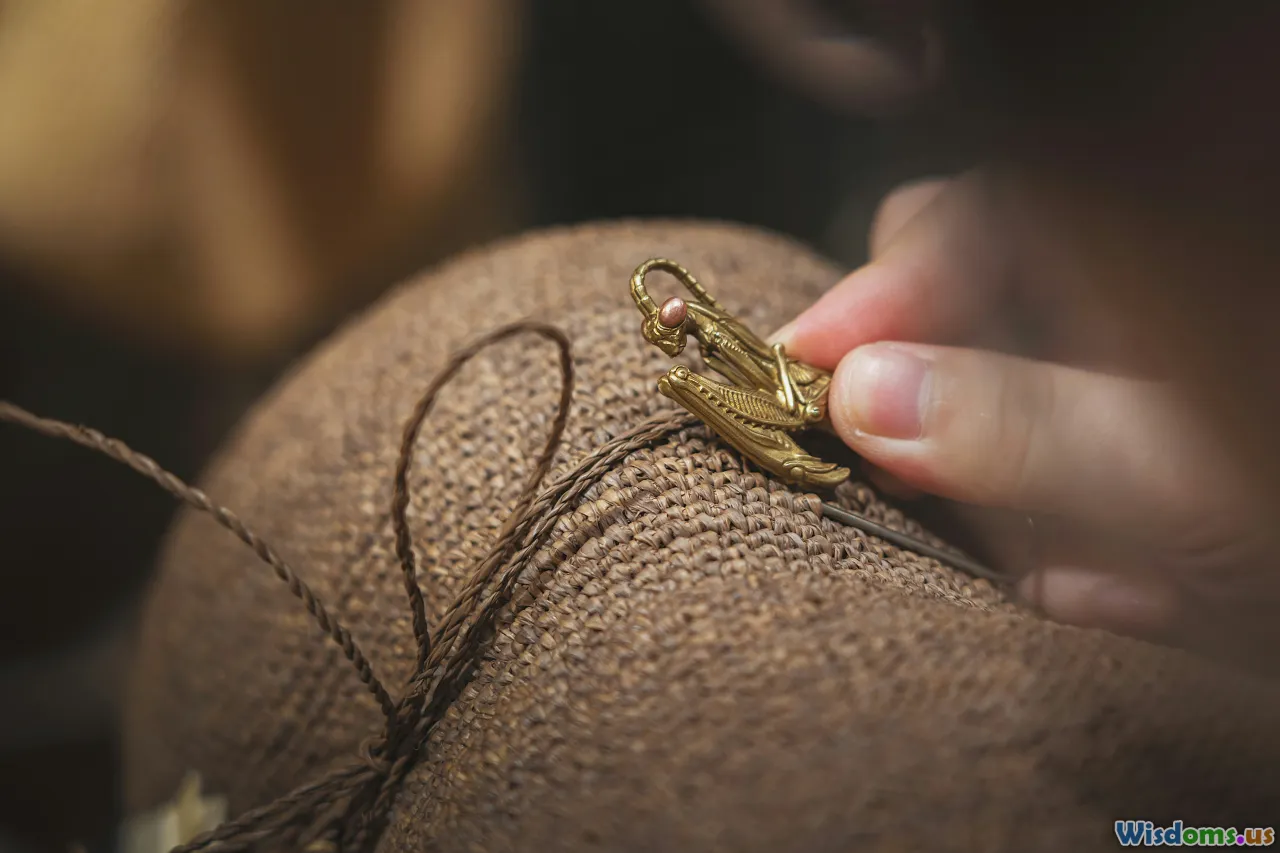
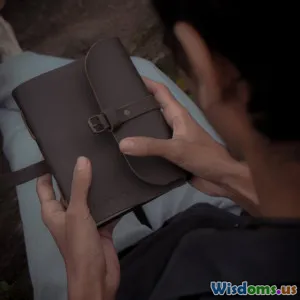
Stitching and Sewing Supplies
The allure of hand-stitched leather goods comes from both their durability and bespoke appearance. To achieve this, assemble:
- Stitching Pony: A clamp that holds your work vertically, freeing both hands for swift, even stitching.
- Harness or Blunt Needles: Designed to glide through leather without damaging fibers; always go for high-quality, slightly blunted needles.
- Waxed Thread: Extra-strong thread, treated to resist fraying and slipping. Polyester or linen are common choices—try Ritza Tiger Thread or Fil Au Chinois for consistent results.
- Thimble: Especially when working with thicker leathers or tight holes, a leather or metal thimble prevents finger injuries.
Example: To create a classic saddle stitch (used in luxury goods), you’ll need two needles and follow a cross-stitching pattern that locks the thread in each hole, preventing unraveling even under stress.
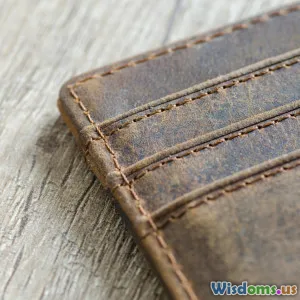
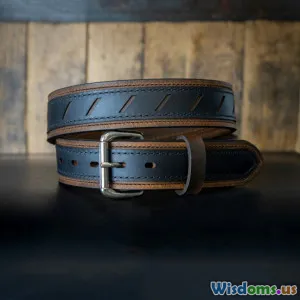
Edge Finishing Tools

Professionalism is reflected in the detail of your leather’s edges. Invest in:
- Edge Beveler: Trims away sharp corners, giving edges a rounded, tactile finish. Size the beveler (#1–3 typically for wallets, #4+ for thicker goods) to your project.
- Burnishing Tools & Slickers: Wooden or bone burnishers, or even canvas cloth, when rubbed along edges (often with a drop of water or soap), compress fibers and bring out a glossy finish.
- Edge Compounds: Products like gum tragacanth or Tokonole help seal and smooth edges, preventing fuzziness & absorbing dyes evenly.
Insider tip: After applying compound, let it dry briefly and then burnish—repeating this step yields a glass-like edge often seen on boutique leather belts.
Gluing and Bonding Tools
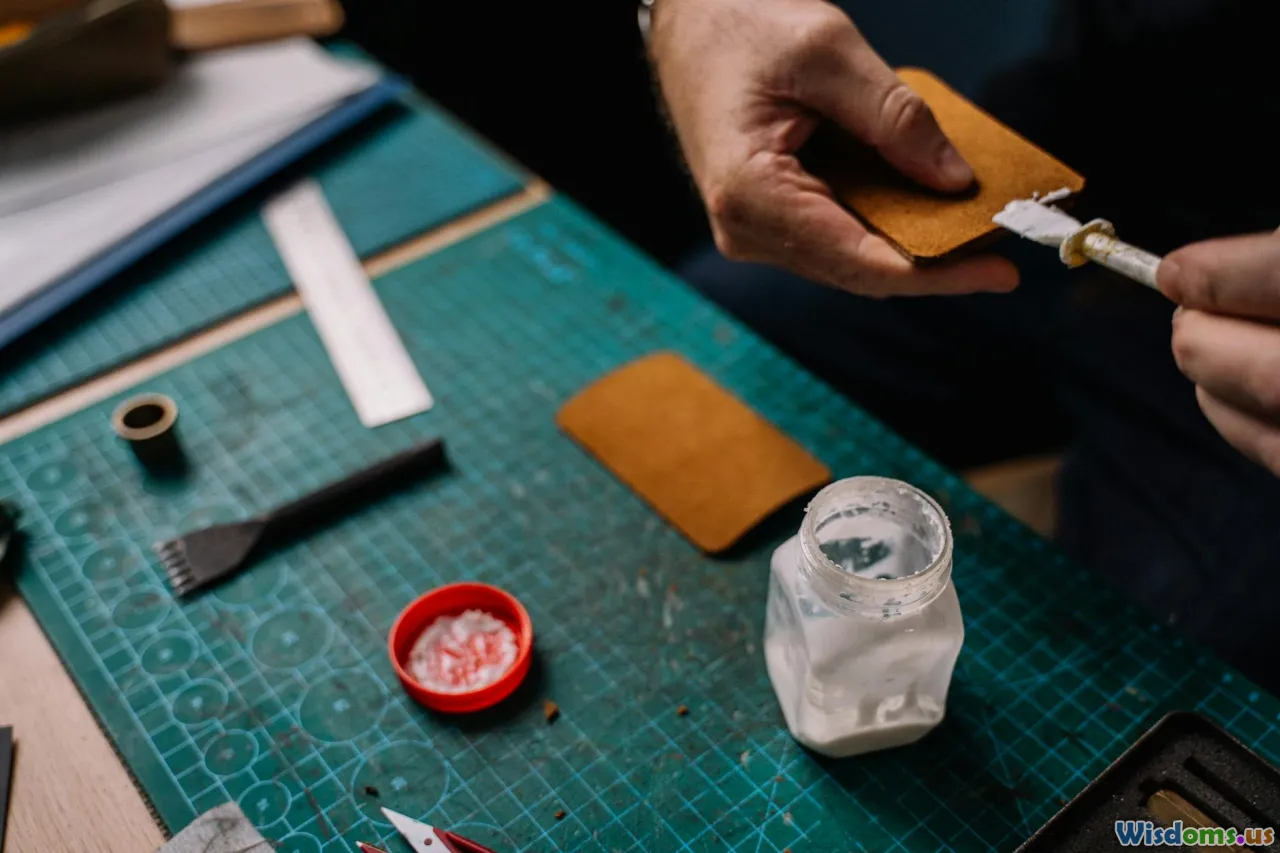
Some areas—such as wallets or complex bag assemblies—require glue before stitching. Not all glues are equal:
- Contact Cement: Industry standard (“Barge” is a top brand). Bonds quickly, but use in well-ventilated areas due to fumes.
- White Craft Glue: Suitable for non-weight-bearing joints or practicing patterns.
- Edge Roller/Applicator: For spreading glue evenly over surfaces without overspill. Silicone-tipped spatulas work wonders for fine detail.
Keep glue away from areas that will remain visible unless you’re working with a dye-able, residue-free adhesive.
Hardware Setting Tools

When adding clasps, snaps, or rivets, dedicated setters—and not just hammers—make a difference.
- Rivet Setter & Anvil: Aligns heads to prevent uneven setting and crushing.
- Snap Setter Kits: Multi-component kits cater to different snap sizes—most include setting punches and crimp dies.
- Eyelet Pliers: For lacing or grommets, these pliers compress and curl eyelets in a controlled, uniform manner.
A beginner set by Tandy Leather usually provides the key hardware sizes you'll encounter in everyday projects.
Safety and Maintenance Supplies

No kit is complete without considering safety and longevity—both for you and your tools:
- Cut-resistant Gloves: Especially important when learning, as skiving and cutting slip-ups can cause injury. Look for versions with flexible, non-slip grips.
- Sharpening Strop & Compound: Maintain blades with a leather strop; green-hued buffing compound is excellent for edge retention.
- Protective Eyewear: While setting rivets or heavy hammering, always shield your eyes from ricocheting debris.
Regular maintenance, from oiling wooden handles to cleaning metalwork, preserves performance and prevents rust. Not only is this a safety feature—it helps you develop a deeper relationship with your craft.
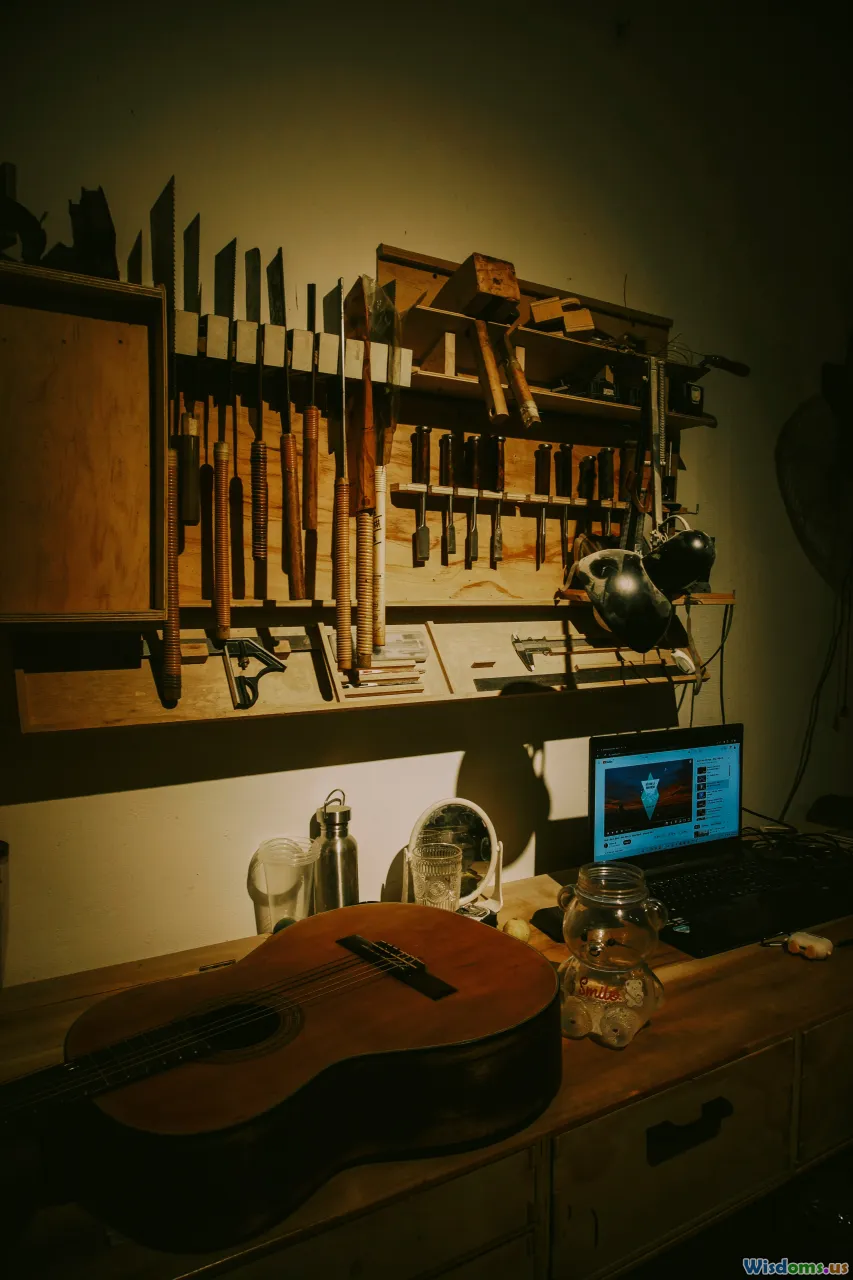
Storage and Organization Solutions
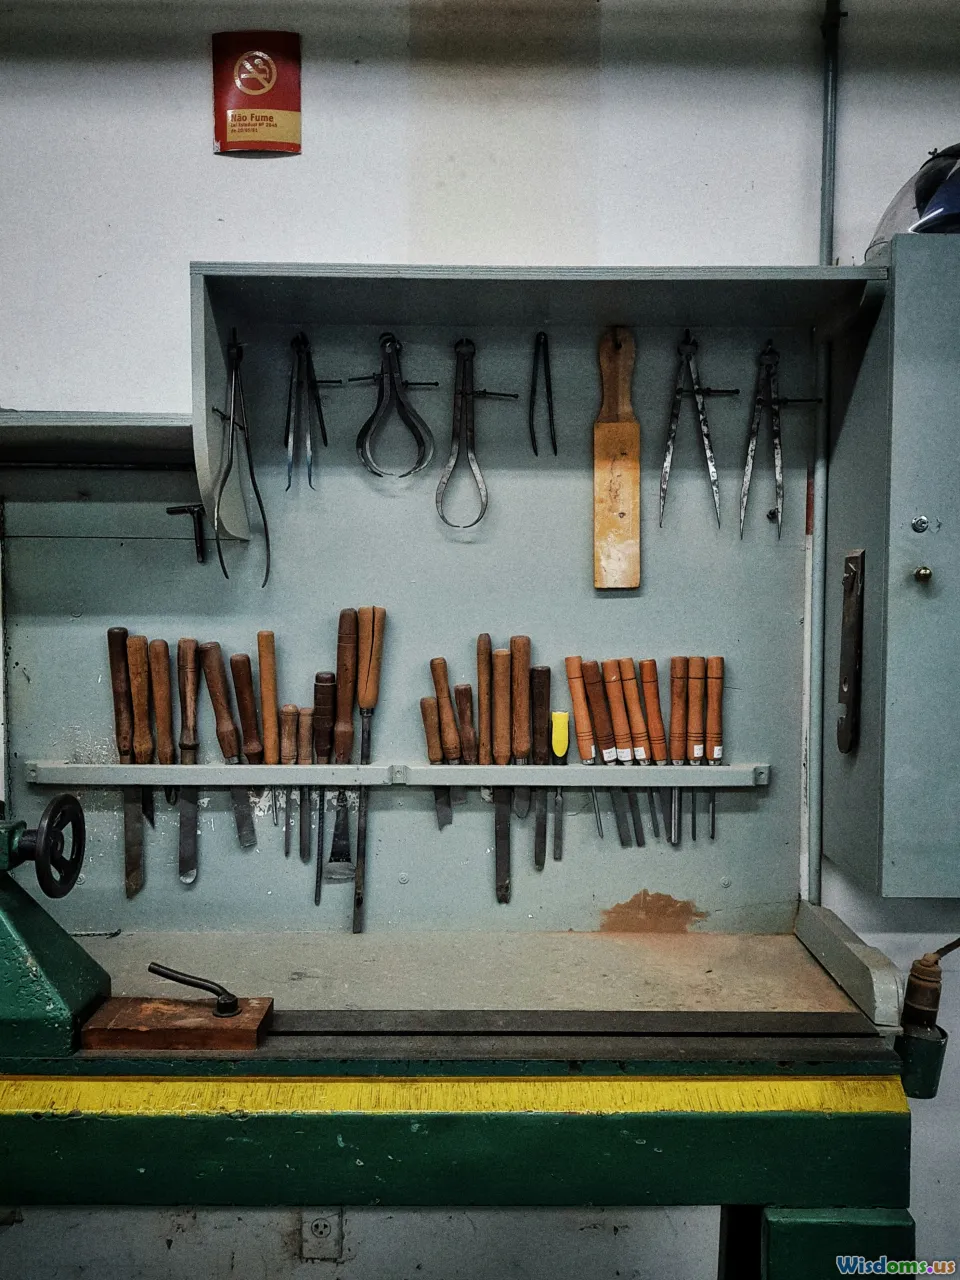
An organized workspace isn’t just aesthetically pleasing; it boosts efficiency and safeguards your investment:
- Toolboxes or Roll-ups: Leatherworkers’ tool rolls allow for easy transport and storage, each slot fitted for a particular tool category.
- Magnetic Strips: Affixed above your workbench, these keep small tools and blades accessible but out of harm’s way.
- Pegboards & Drawers: Allocate separate drawers for stamps, thread, and adhesives—reducing clutter and mix-ups.
Professional leatherworkers often have custom benches, but a tidy repurposed table and smart separators will serve any hobbyist putting down roots.
Navigating Tool Quality: Budget vs. Investment
Leather tool prices vary wildly. Should a beginner invest heavy upfront, or buy cheap and upgrade later? Here are some guiding principles:
- Buy Once for Key Tools: Choices like a quality knife, reliable edge beveler, and sturdy stitching pony pay dividends—in accuracy, satisfaction, and long-term savings.
- Experiment with Kits: Reputable starter kits (by brands like Tandy Leather, Craftool, or Seiwa) allow exploration without overwhelming cost.
- Upgrade Selectively: As your skills develop, replace heavily-used items and add specialty tools targeted at your evolving style.
- Consider Secondhand: Vintage tools from auctions or markets often outperform modern entry-level equivalents—particularly mallets, awls, and metal rulers.
Investing thoughtfully ensures you avoid waste, while satisfying the tactile joy that well-made tools provide.
Tips for Building Your Leatherworking Toolkit
- Start Small, Project-Focused: Choose a practical and rewarding first project, like a card holder or watch strap. Source only the tools specifically needed, broadening your set over time.
- Seek Community Guidance: Join local meetups, online groups (like Reddit’s r/Leathercraft), or take specialty classes. Sharing resources and experiences reduces beginner frustration.
- Keep a "Wish List": As you watch tutorials or try new saves, jot down tool recommendations. Watch for sales or bundles from local suppliers.
- Don’t Neglect Consumables: Replace blades, rotary cutters, and adhesives promptly. Dull or expired supplies lead to mistakes and hazards.
Ultimately, the craft’s satisfaction lies in steady progression—learning to wield each tool, understanding its quirks, and honing new techniques that grow with your passion.
Building your essential toolkit doesn’t have to be stressful or expensive. Approach each tool as an opportunity to learn and grow in this timeless art. The real magic isn’t just in the tools themselves—it’s what you’ll make with them, and the creativity you’ll unleash in every cut, stitch, and finish.
Rate the Post
User Reviews


Popular Posts


